
Easy Outdoor Resin Wicker Basket Makeover
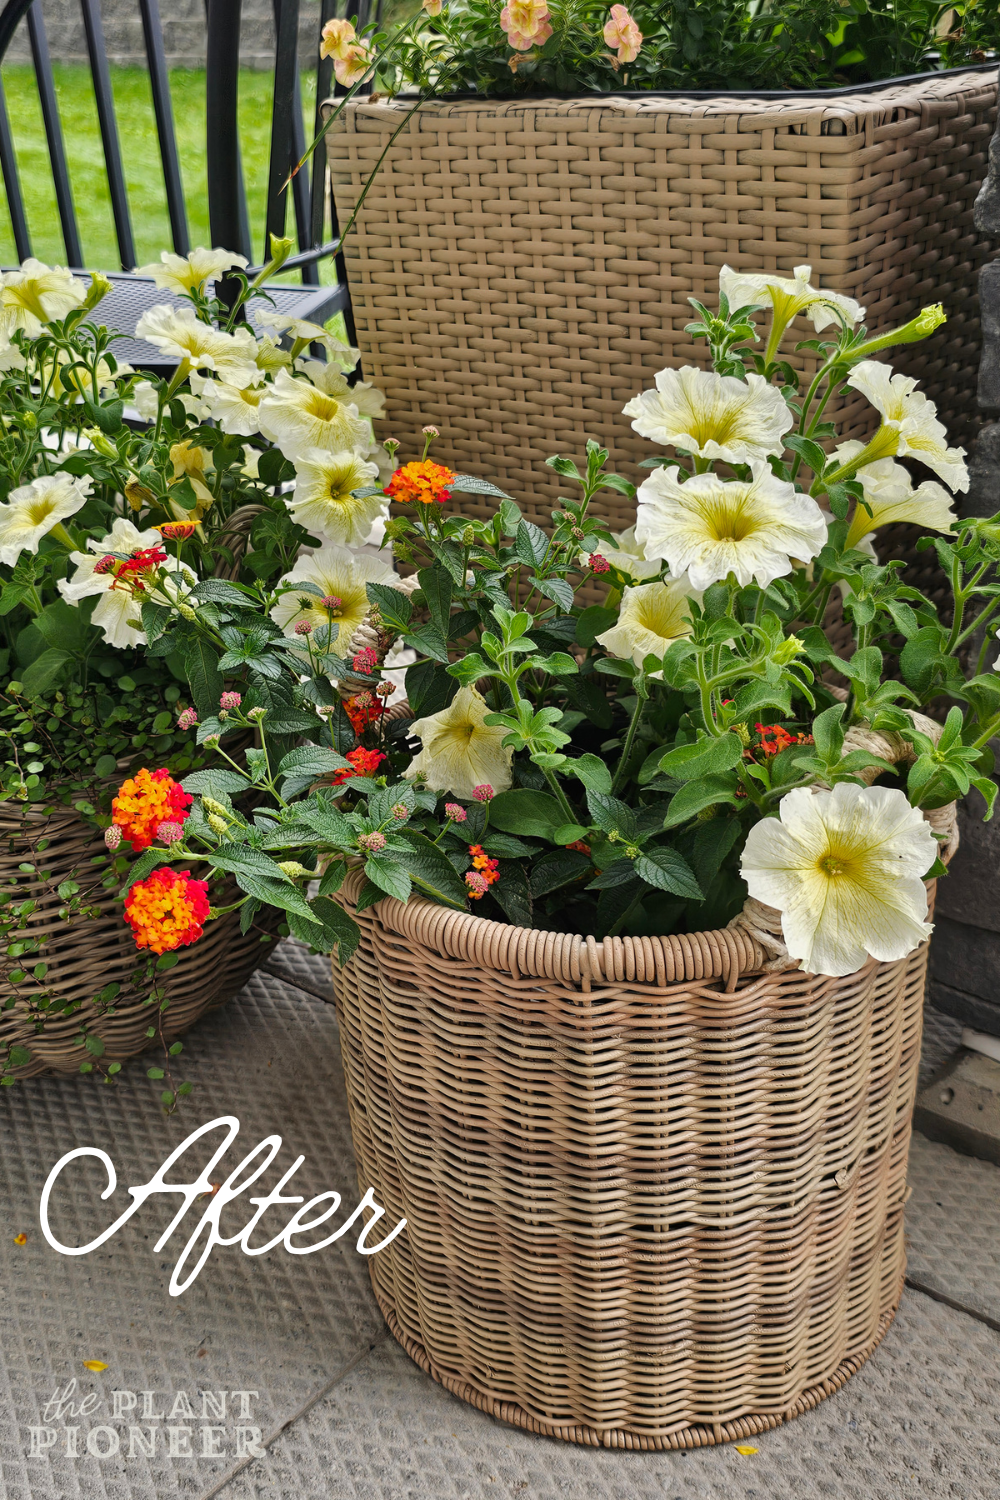
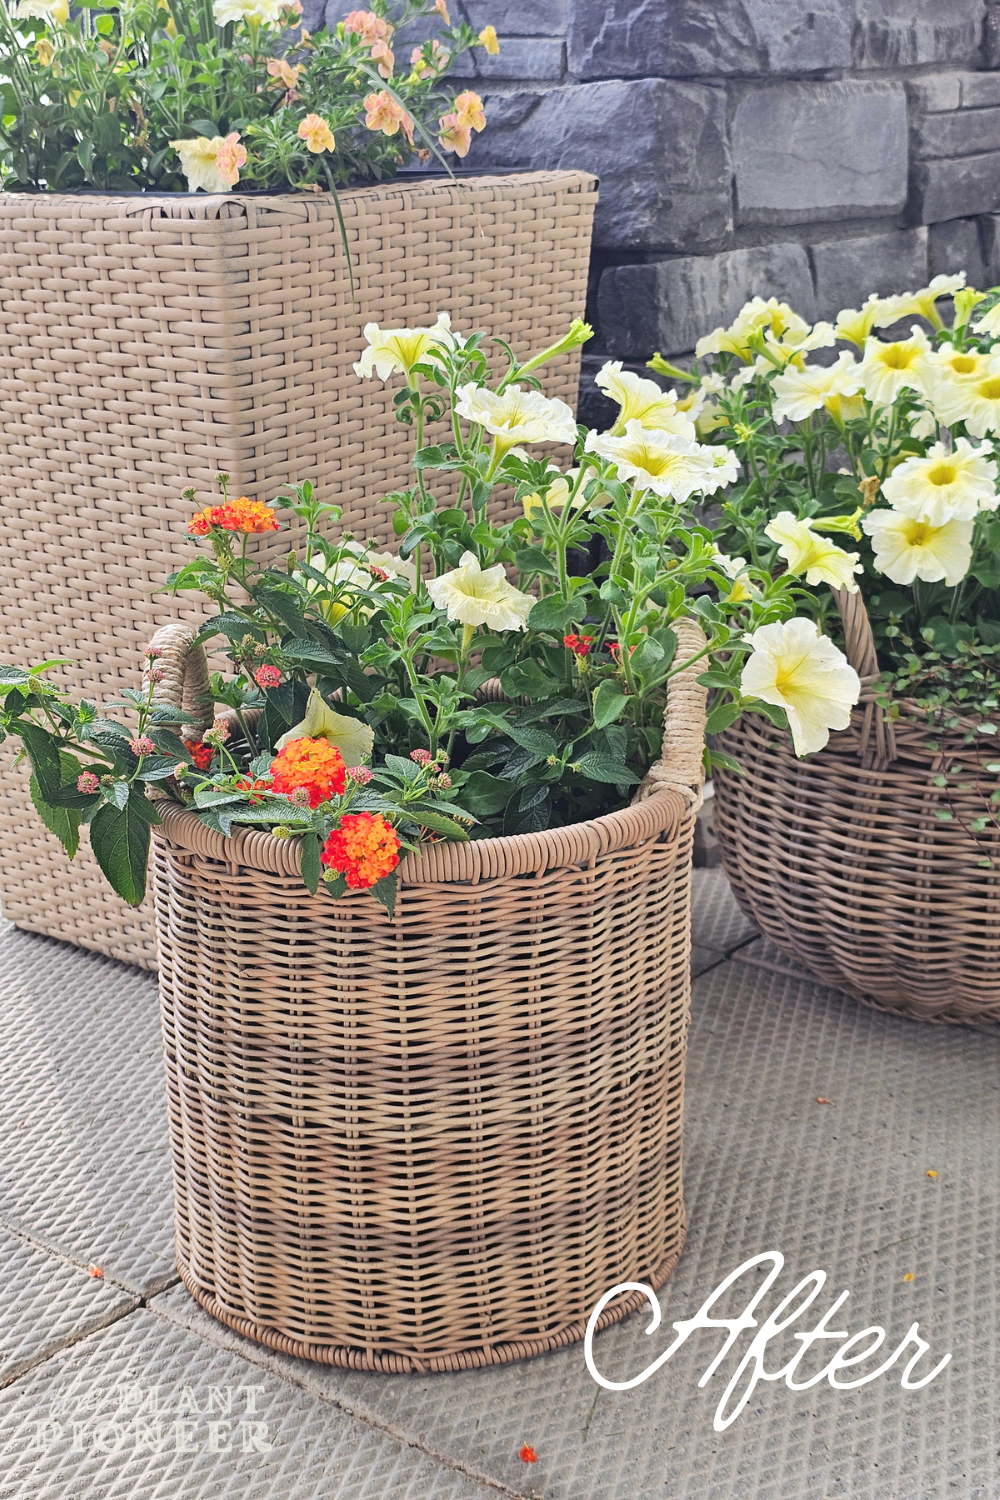
This resin wicker basket had seen better days and no longer suited my style. Time for a budget-friendly makeover! Check out how I painted this resin wicker basket with cheap acrylic craft paint and repaired the handles to give it a whole new look! I hope this inspires you to see how you can reuse and makeover your own wicker items.
This page contains some affiliate links, which means I may receive a small commission, at no extra cost to you, if you purchase through these links. I only recommend products that I LOVE and personally use. Read more here.
Getting the multi-tonal look of this basket required a bit of experimentation. Here’s the step-by-step process I used to get this look. Baskets like these can be very expensive! This one was originally around $30 from HomeSense, but you could totally try this project with one from the thrift store.
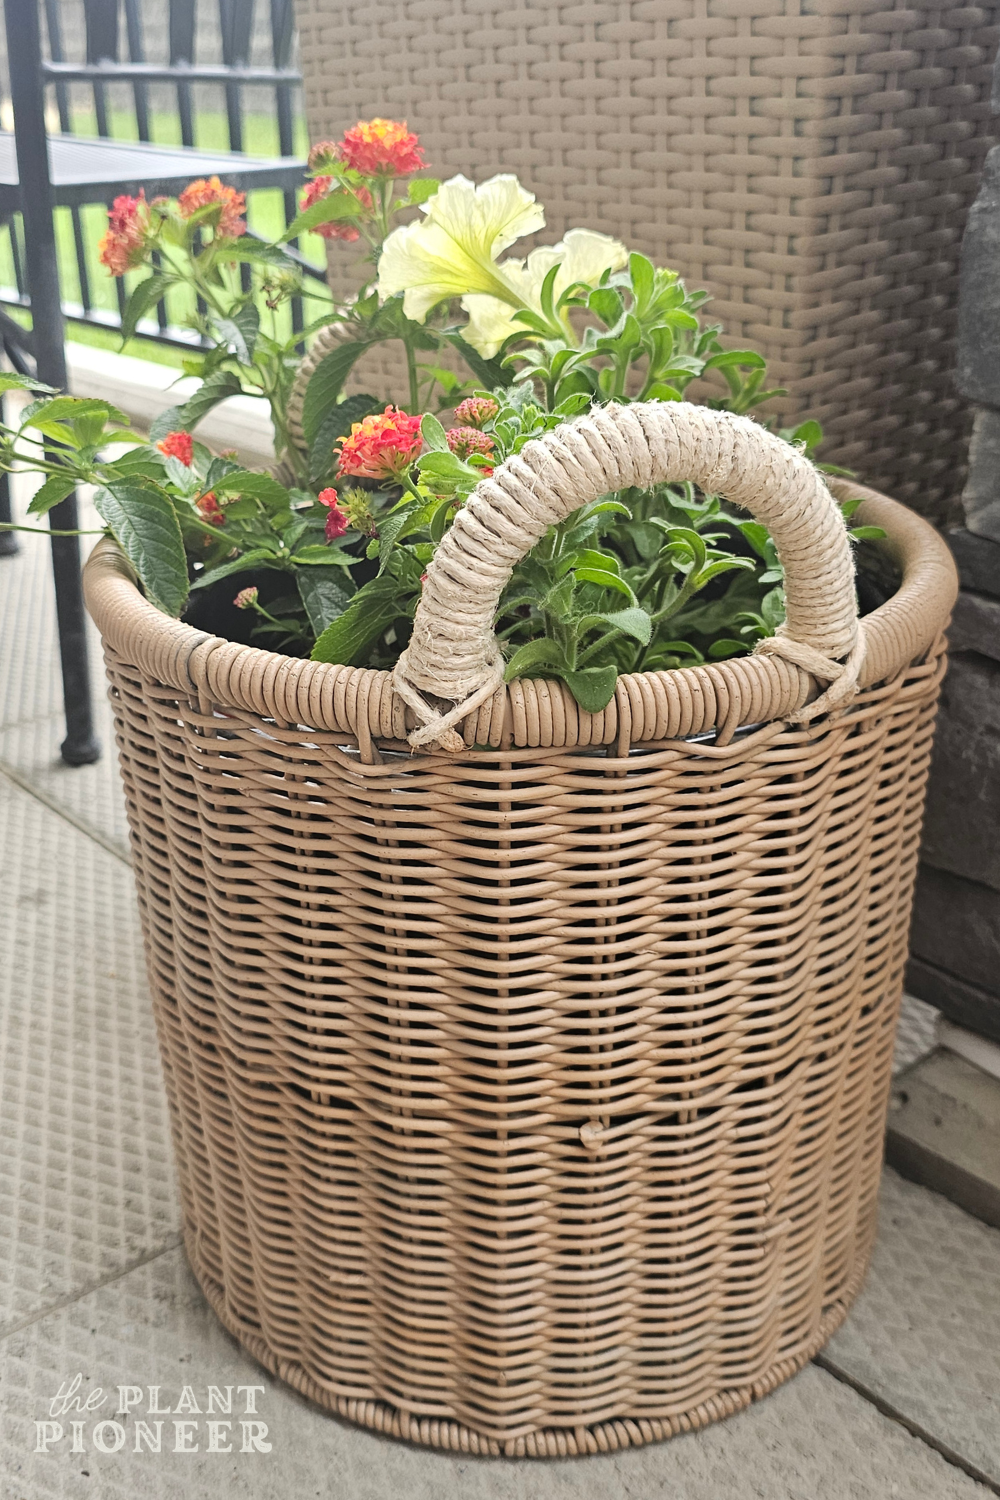
This is a resin wicker basket that is suitable for outdoor use.
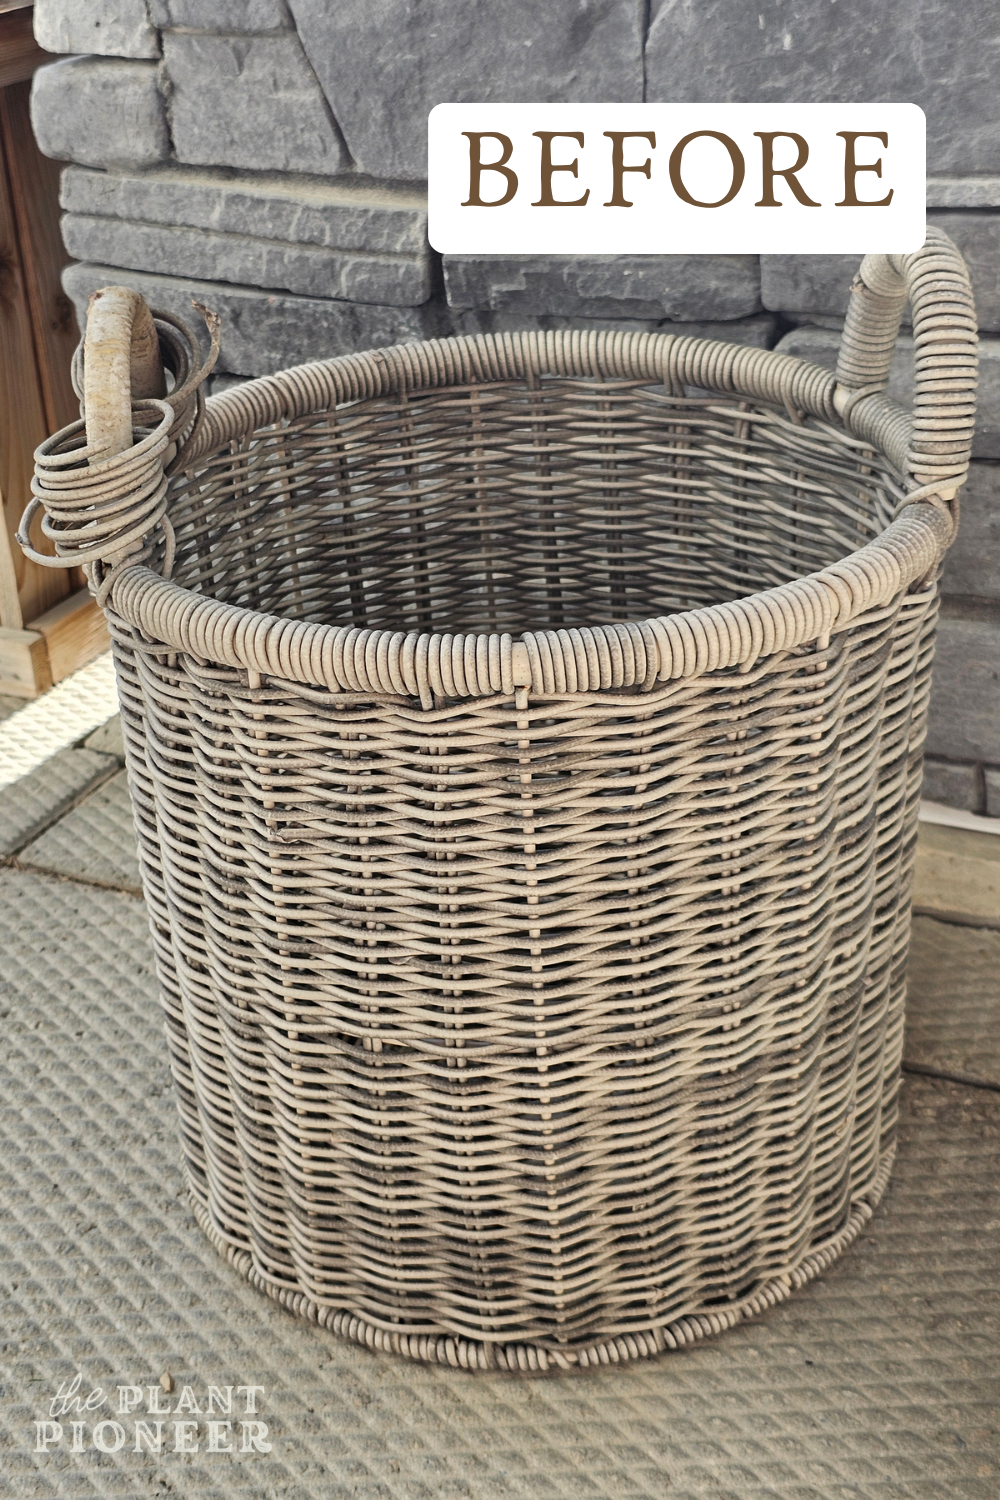
Here’s how my basket looked before…
Step-by-step process of this basket makeover
Step 1- clean basket & remove broken handle pieces
Clean the basket to remove any build-up of dirt and grime. This will help the paint adhere better. For this one, I simply ran it under our tub spout. Using an outdoor garden hose to hose it down would work well too. When I painted my tall square planters, I used this outdoor garden sprayer to hose them off (try this one, this one, or this one for similar available options). Let it fully dry before starting to paint.
I also removed the broken piece of resin weave from the handle on my basket. We originally tried gluing it back on, but it didn’t hold. After closer inspection, I discovered that the ends of the resin piece were not tied on or glued, they were just pushed down into the weave. All I had to do was unwind them and pull them out!
A few helpful tips for painting
Step 2- base coat of paint
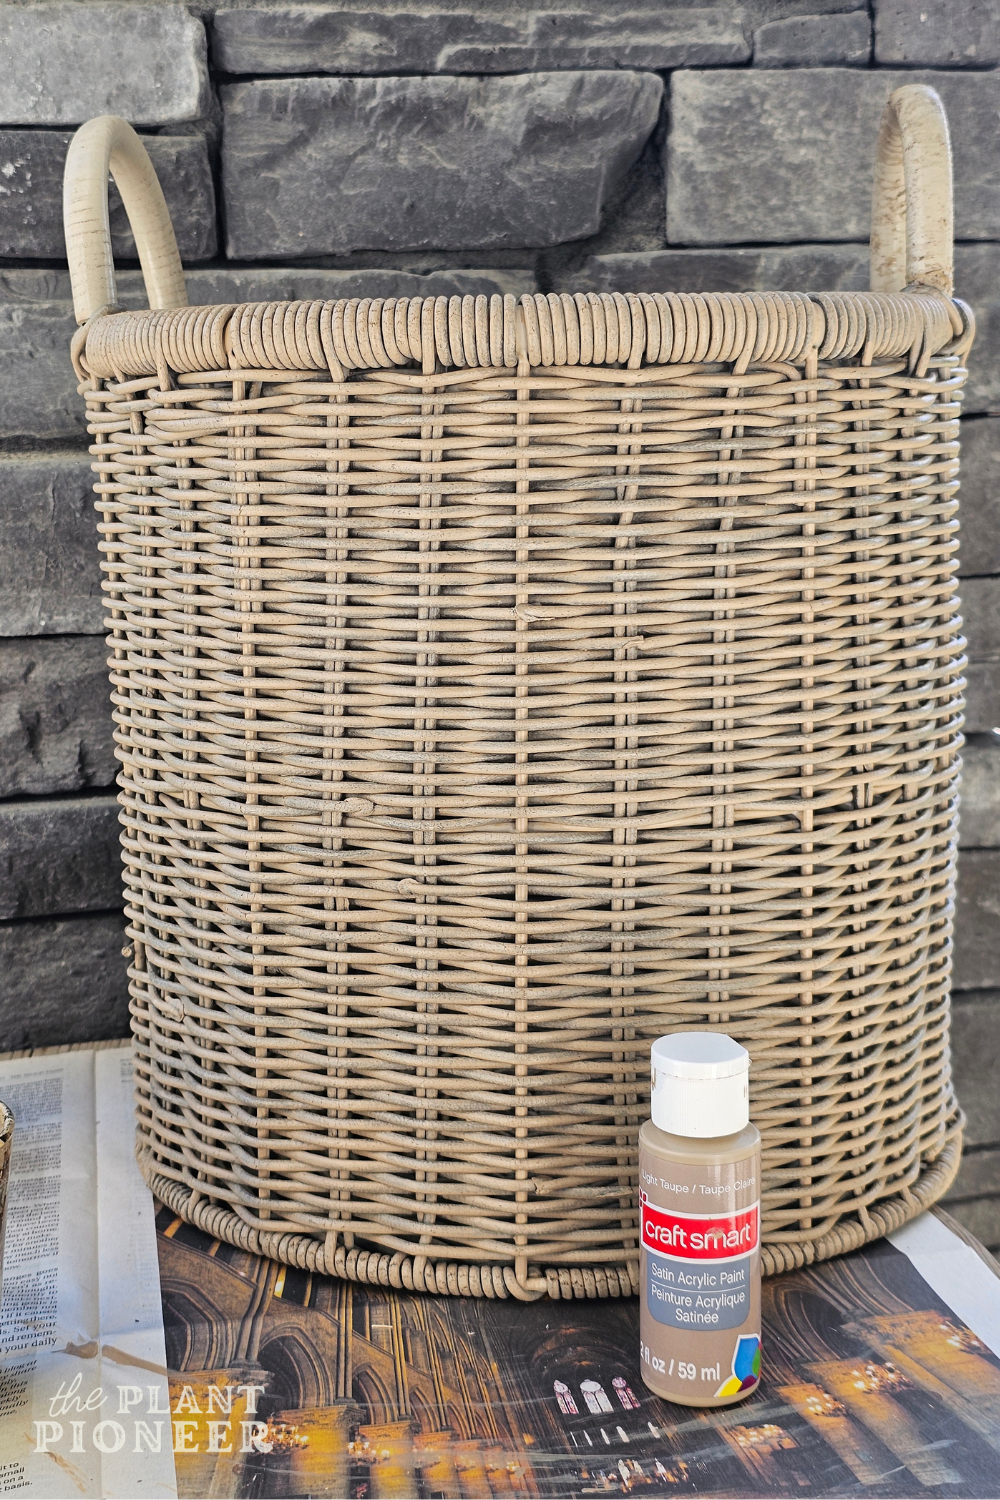
I did two light, thin coats of paint in the colour “Light Taupe” by Craft Smart (or this Warm Buff colour is similar), allowing each coat to dry. It’s ok to apply the paint lighter in some areas than in others- you don’t want the paint to get too gloppy by trying to add too much at once.
It’s also ok to have some variation in the tone and some of the original colour peaking through. Real wicker has different tones throughout the weave, so we want to mimic this.
Here’s how it looked after the base coat of paint:
Step 3- add some colour variation
After that, I decided it would be nice to add some additional colour tones to this basket and test out painting horizontal “stripes”, giving the look of natural wicker that was woven around with natural variation. A lot of the baskets I see that I love have this multi-tonal look to them.
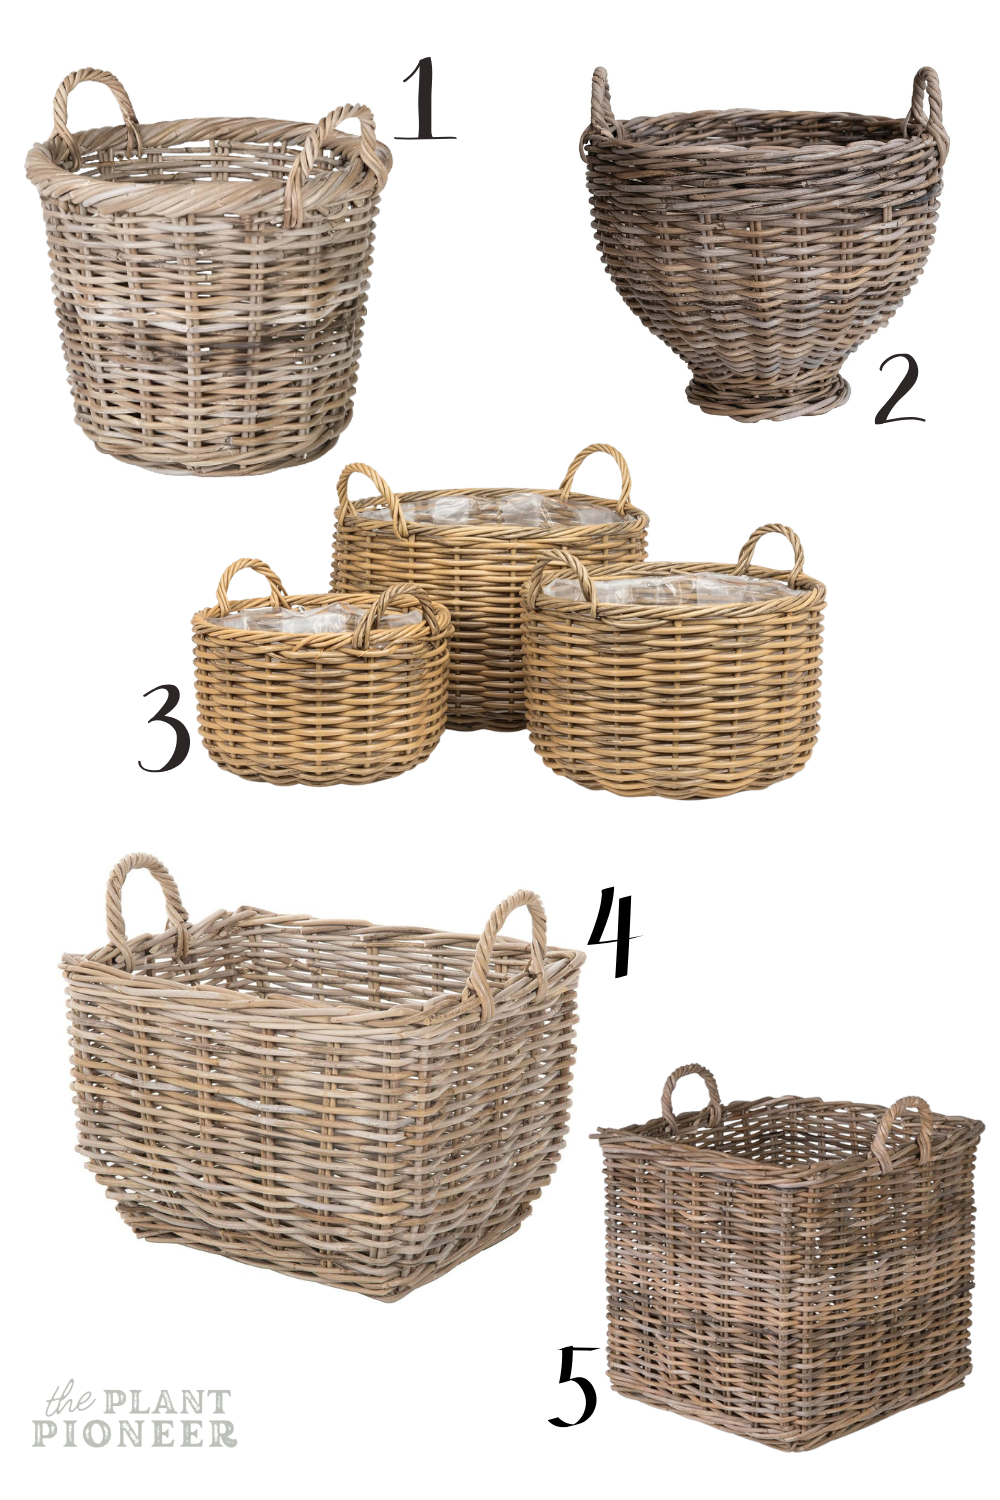
When looking at inspirational baskets for this DIY, here were some examples of ones I found. They have a wide variety of brown, beige, and grey-ish tones woven throughout them, so I decided to try to achieve a similar look! (Links included in the image caption if you’d like to shop any of these.):
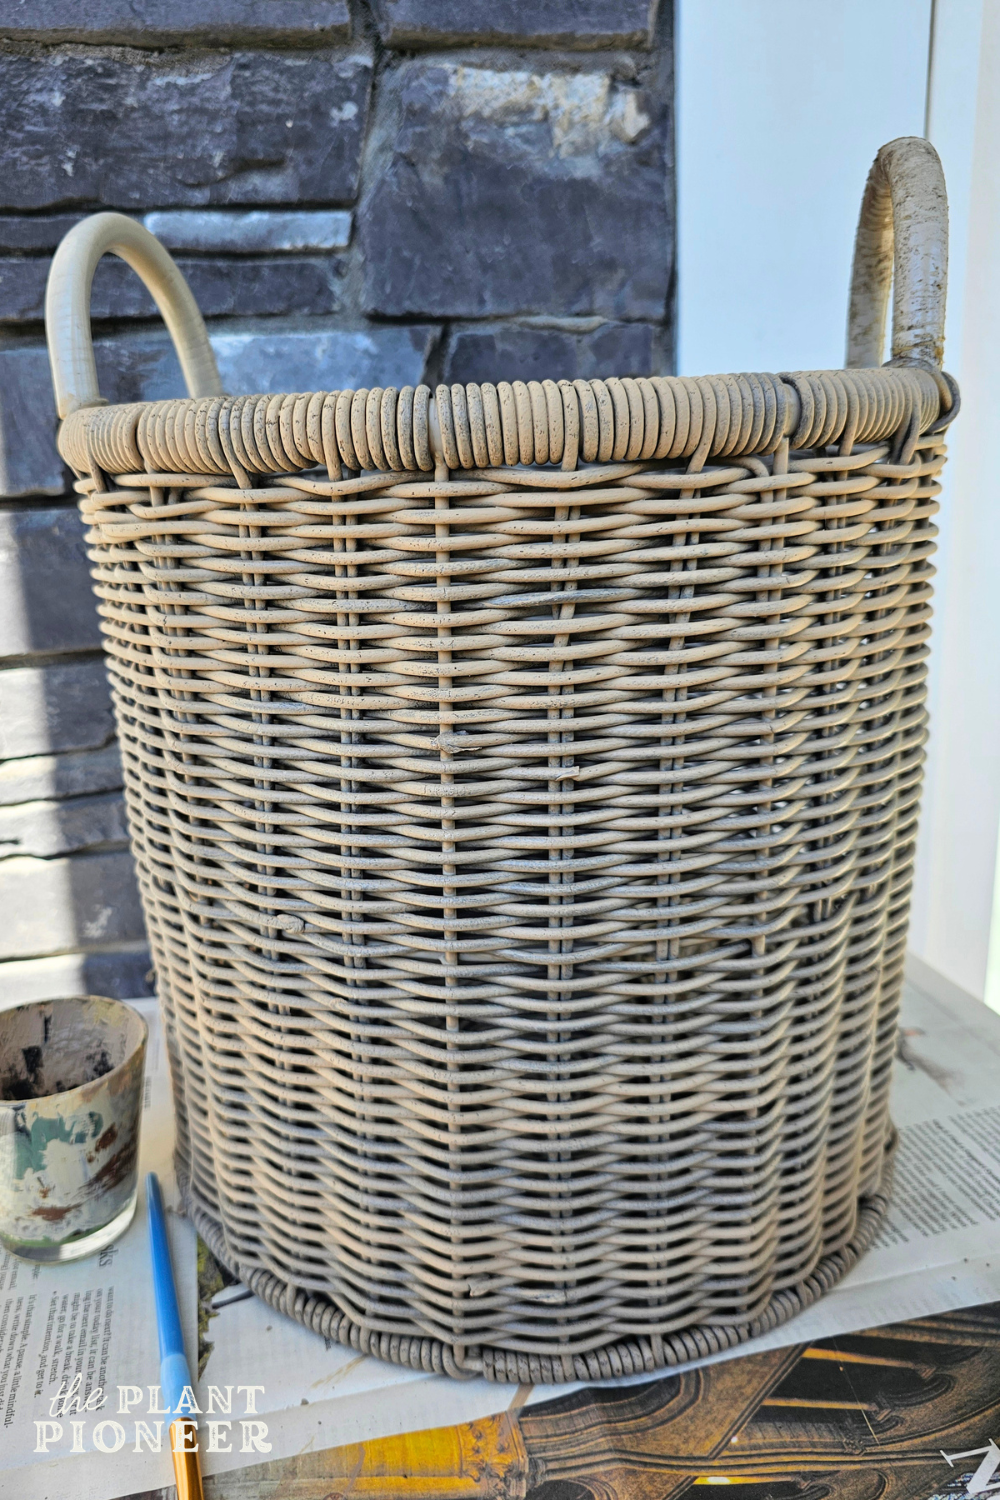
To start adding in more variation, I painted horizontal stripes in a lighter colour all around the basket. I used the colour Light Taupe, with some white added to make it a lighter tone. I also added a touch of Golden Brown to give the colour a bit more warmth. This Buff Beige colour would give a similar look.
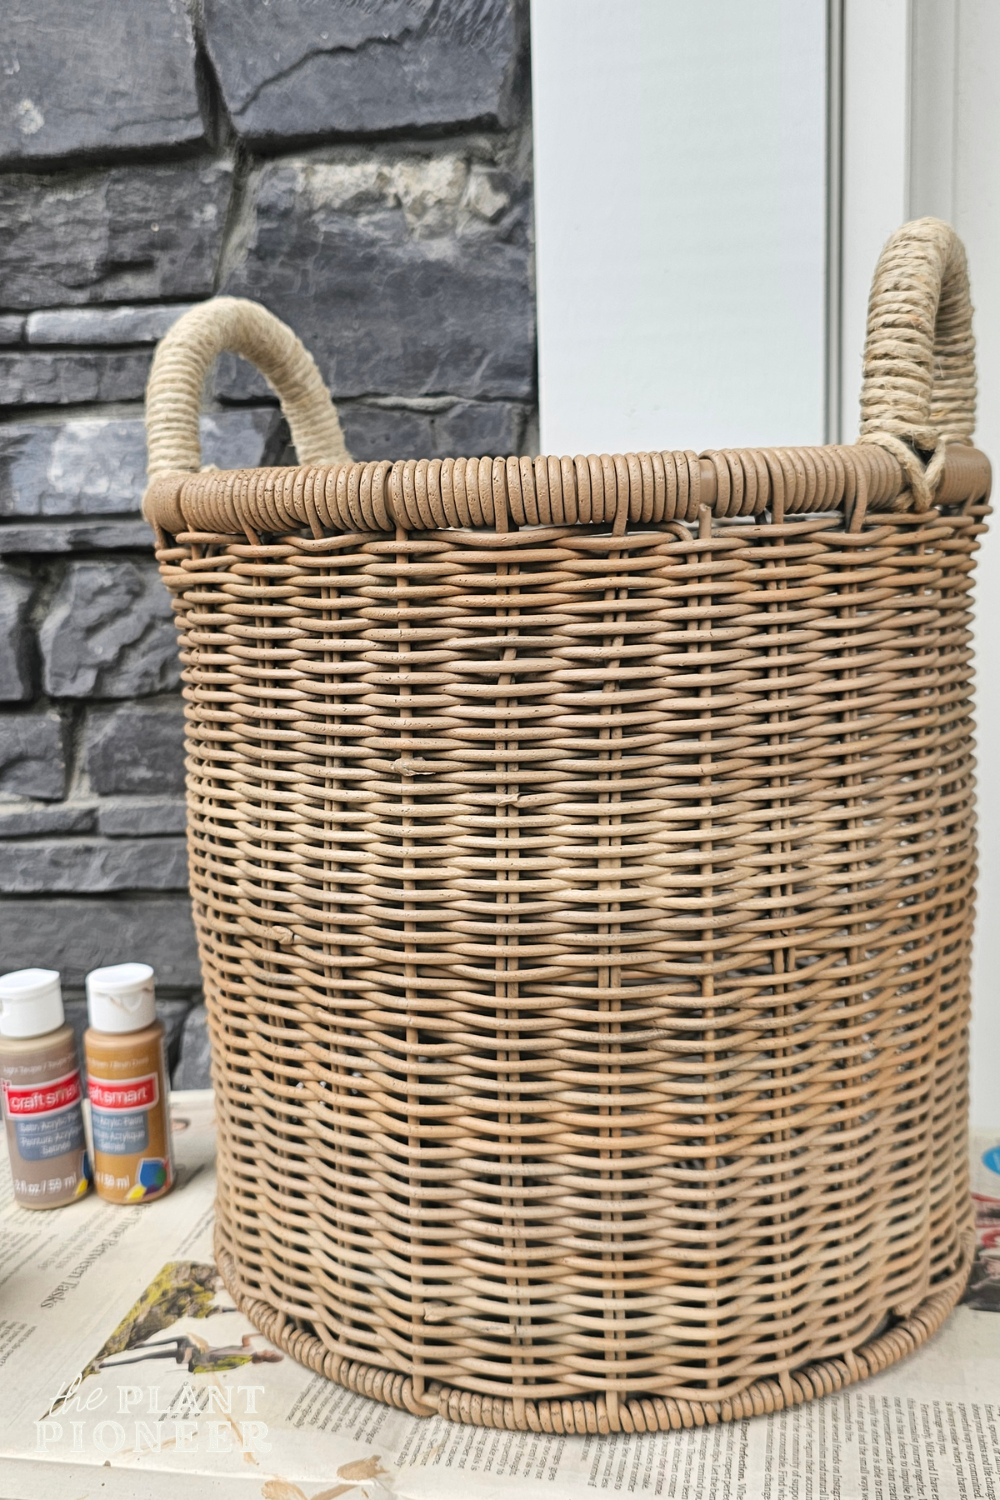
I then added some stripes in a slightly warmer tone to give it more variation. I added more Golden Brown to my Light Taupe + White paint mixture.
Here’s how it looked after those steps (you’ll also notice I repaired the handles… more details on that in the next step):
Step 4- add new handles with hemp twine
After painting the lighter stripes in step 3, I thought I might be finished painting and decided to repair the handles (but I ended up painting more after this). I used some thick hemp twine to wrap around the metal handles.
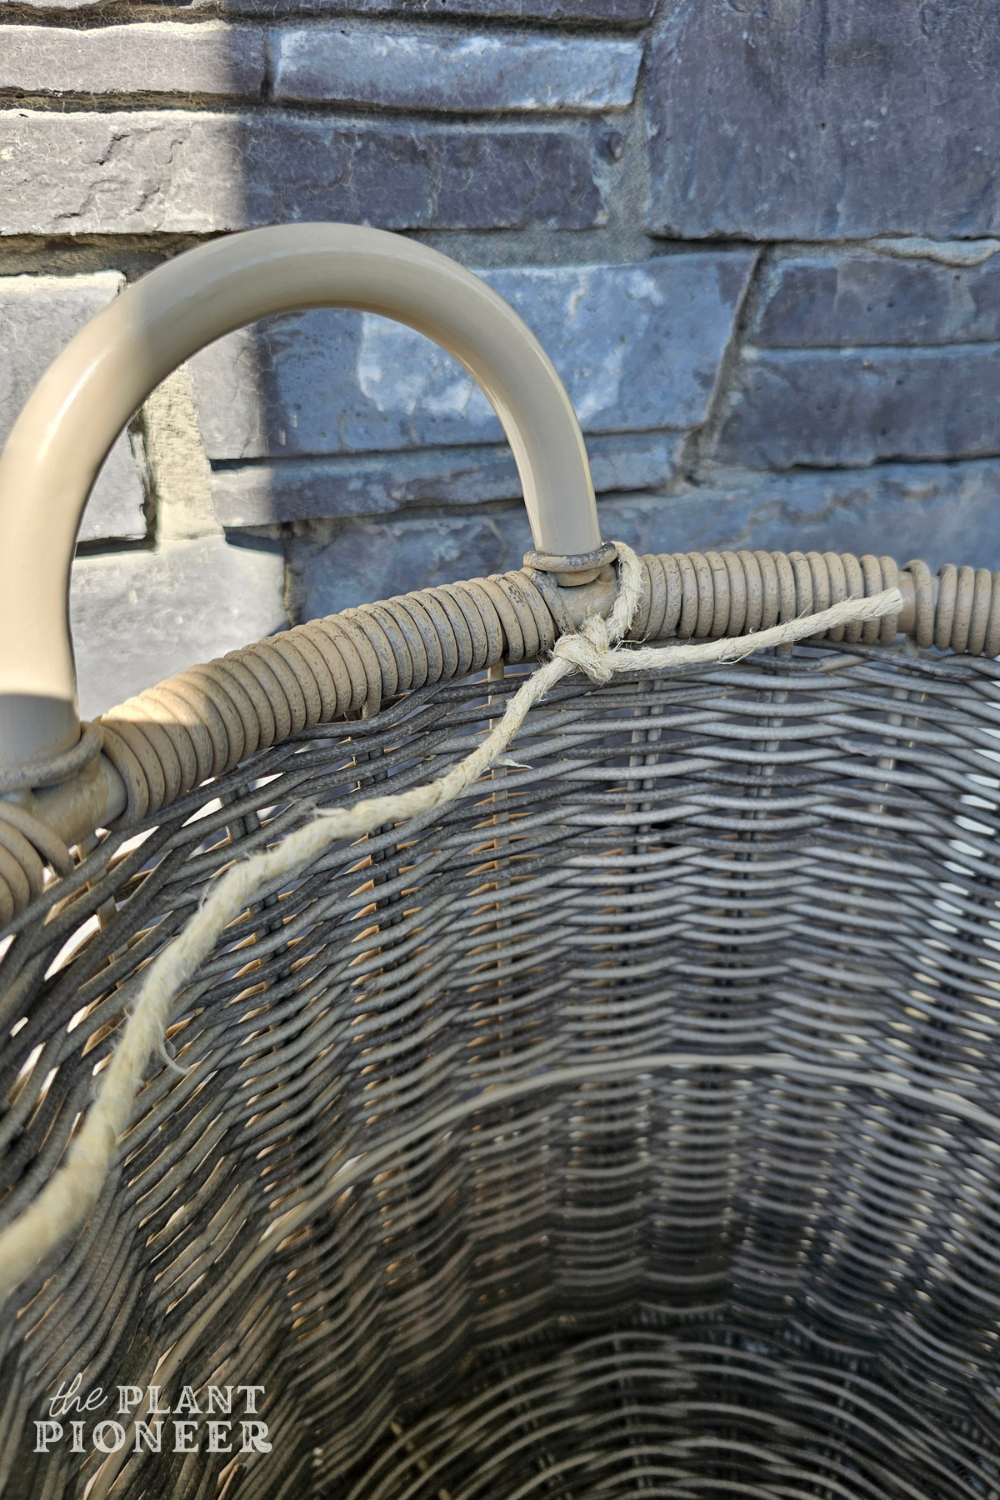
To get a neat, finished end at the bottom of each handle, I wrapped the twine around the start of each handle in a diagonal cross pattern, and tied a knot on the interior side of the basket to hold the end in place. Like this:
Then I simply wrapped the thick hemp twine tightly around the handles. This was very sturdy and didn’t even need to be glued! I just tied a firm knot on each end and it held in place perfectly.
Step 5- add some more depth with darker tones
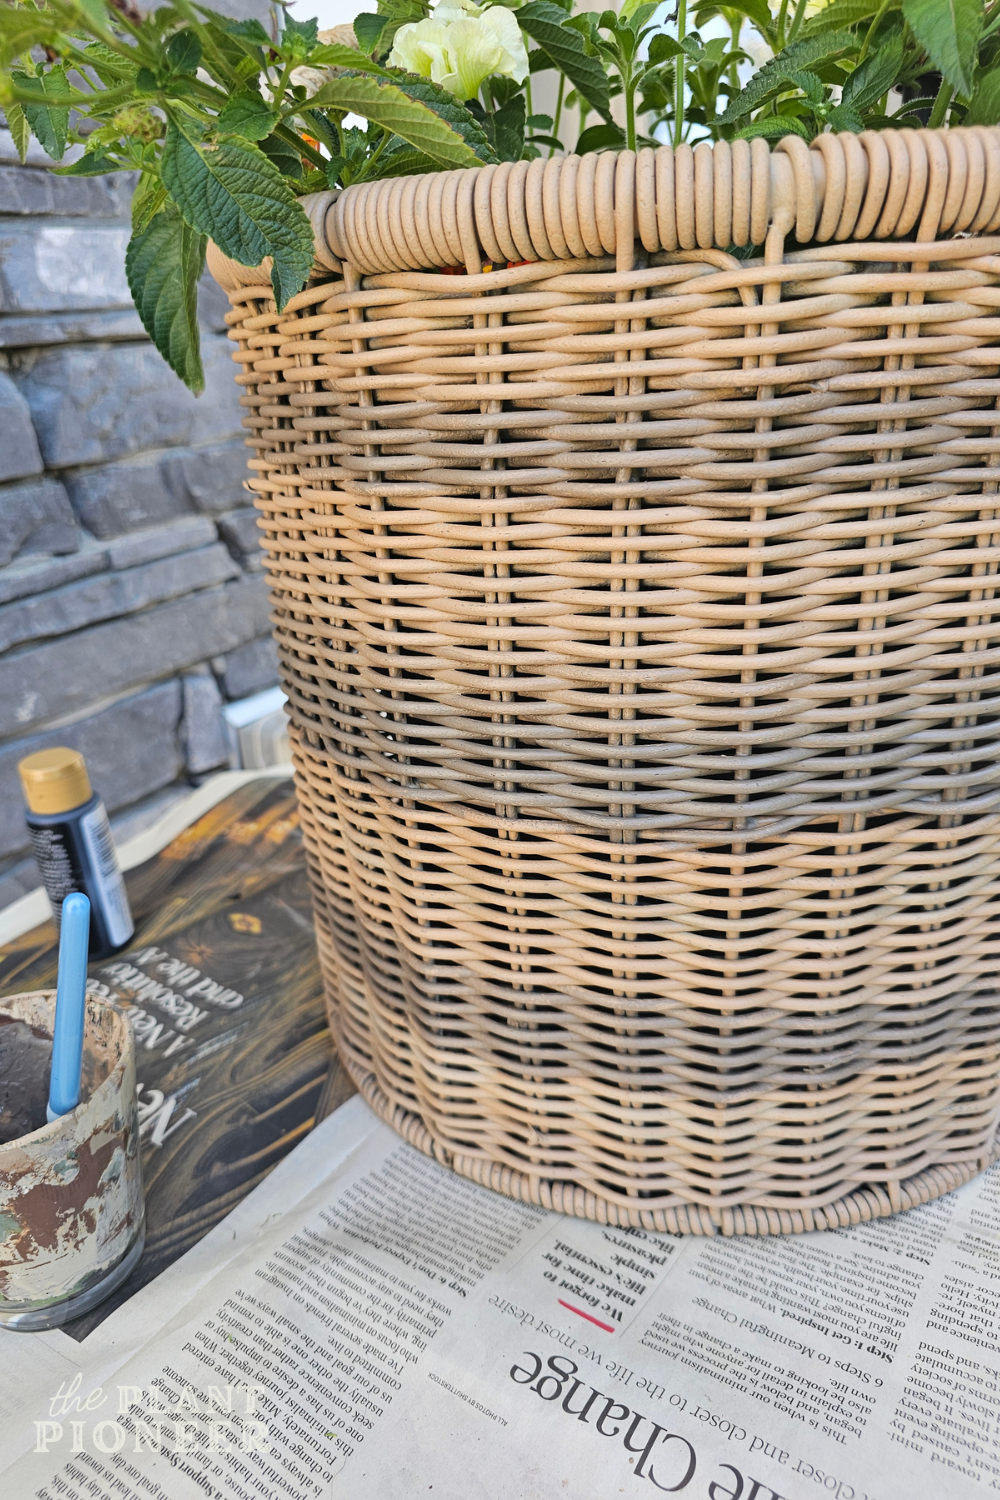
After that, I thought the colours of the basket looked a little “flat” compared to some of the inspirational images I looked at. It was needing a bit more contrast with some of the tones… but not in a way that looked too stripe-y. They needed to blend together seamlessly…
So then I decided to paint some stripes in a darker tone that would add more contrast. I mixed my own colour for this by adding a bit of black to the Light Taupe colour, and then adding in some Golden Brown to warm up the colour a bit so it wasn’t too grey/blueish.
Here’s how it looked after adding the darker stripes:
Step 6- add some more lighter stripes
Lastly, I wanted to tone down the darker “stripes” a bit and make them blend in more seamlessly. I simply took some of the previous colours (Light Taupe and Golden Brown) and added more horizontal stripes overlapping the edges of the dark stripes to make them thinner, and have the colours blend together. You don’t want it to look like actual stripes with defined edges.
I also wanted to tone down some of the orange-y tones and make them more beige/natural. So I added a bit of yellow paint with a touch of white to the Light Taupe.
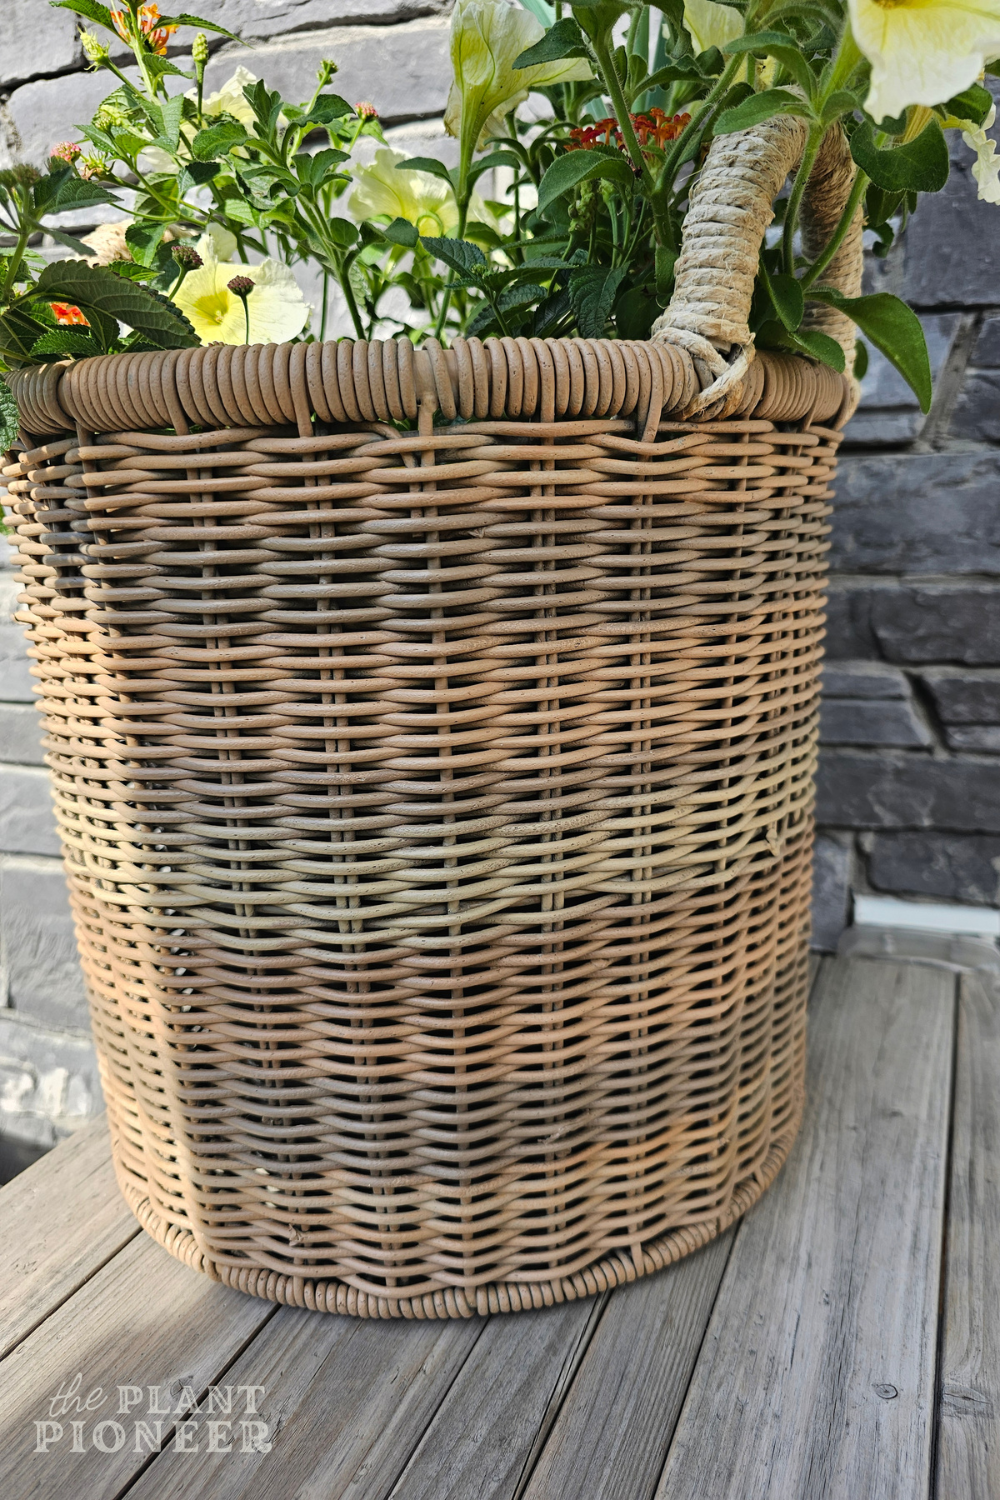
It was still looking a bit too “stripe-y”, so then I added a light dusting of Light Taupe paint over top of some of the darker stripes until it looked just right.
Here’s how it looked after all of that:
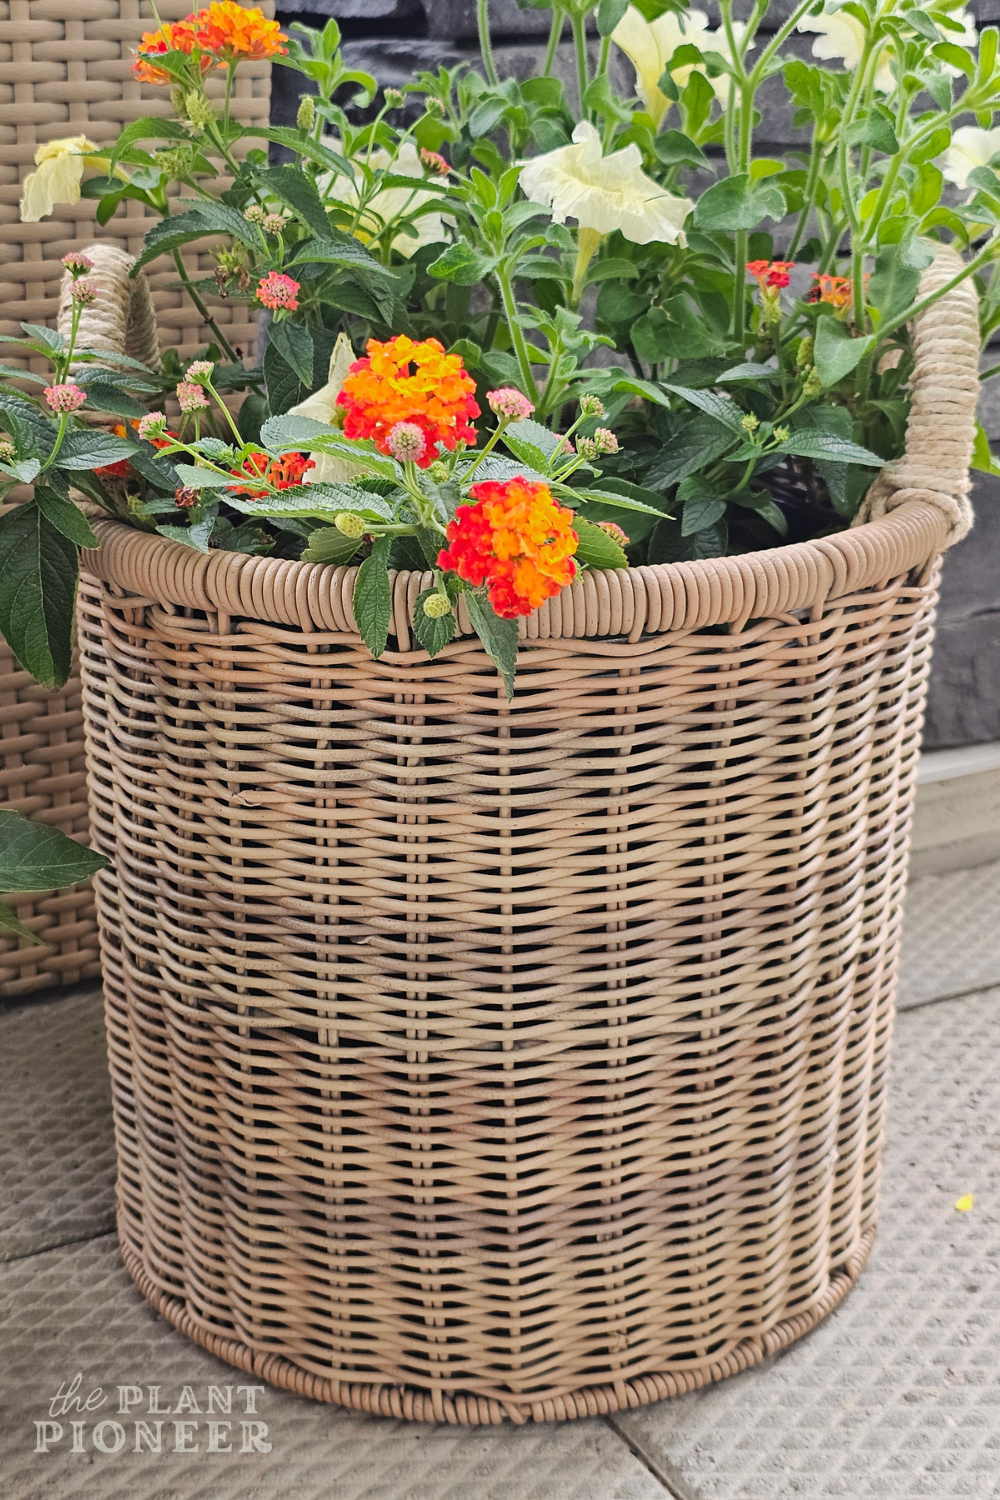
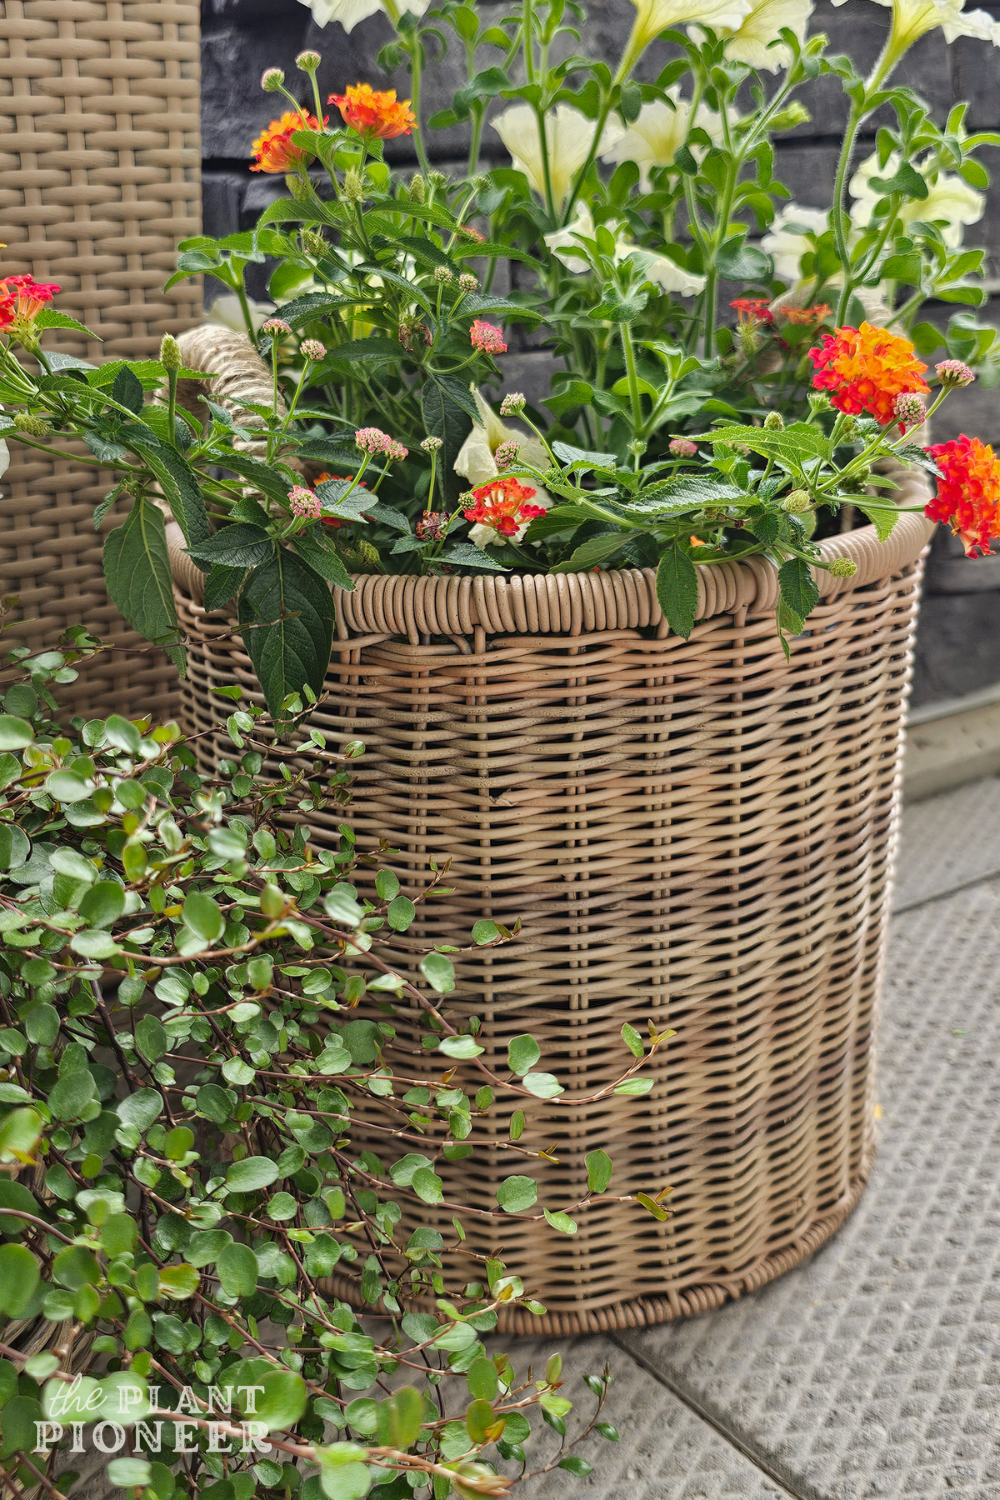
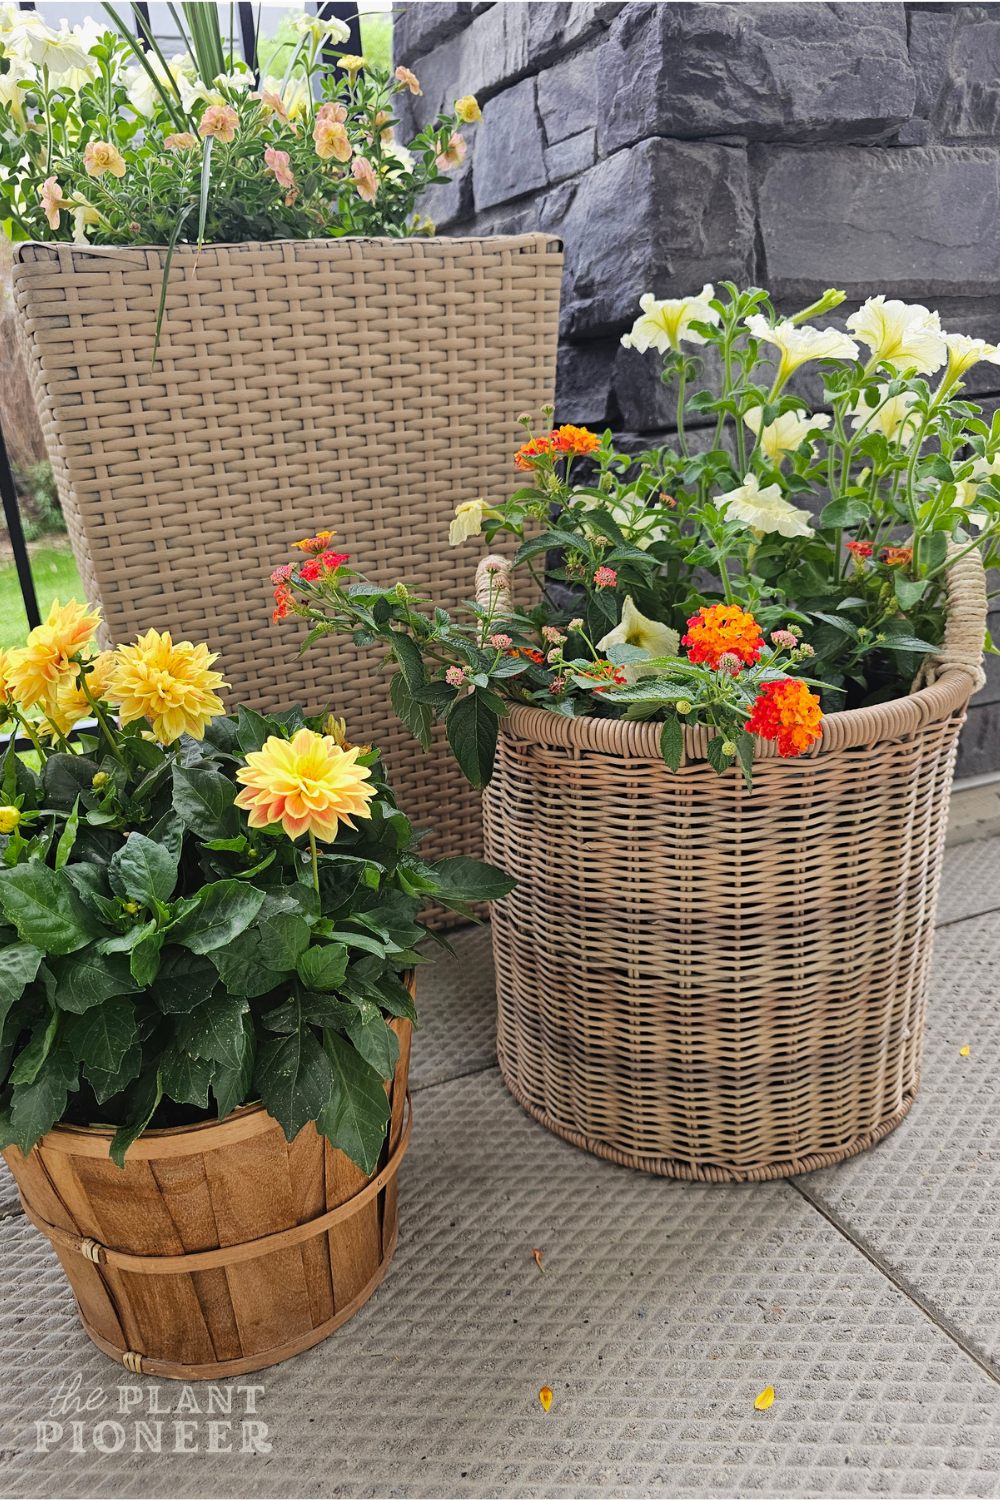
It turned out great! I am so glad I gave this basket another chance. It was completely free to do too since I already had all of the supplies on hand.
Here’s a quick summary of the steps I did to paint this basket:
Your steps may look a little different if you have more colours available to use!
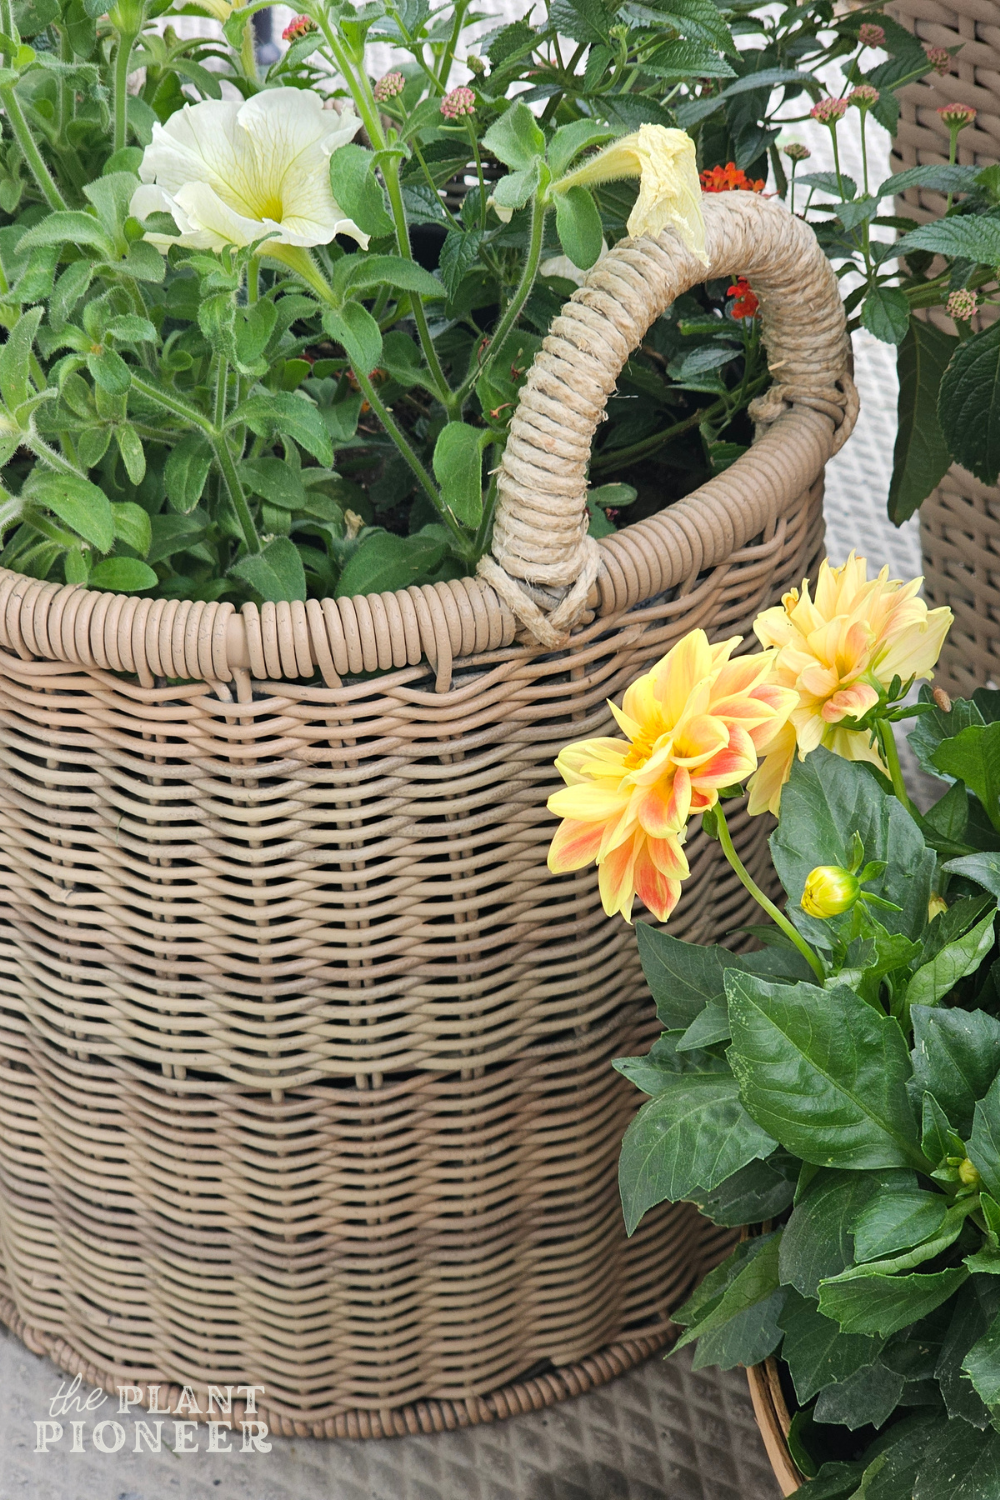
Check out the FAQ section below to learn more about this project!
Frequently Asked Questions
I hope this has you feeling inspired to see how you can makeover a resin wicker or real wicker item! Save this post to Pinterest!


Join the List
Stay informed & receive my latest healthy living tips to your inbox.