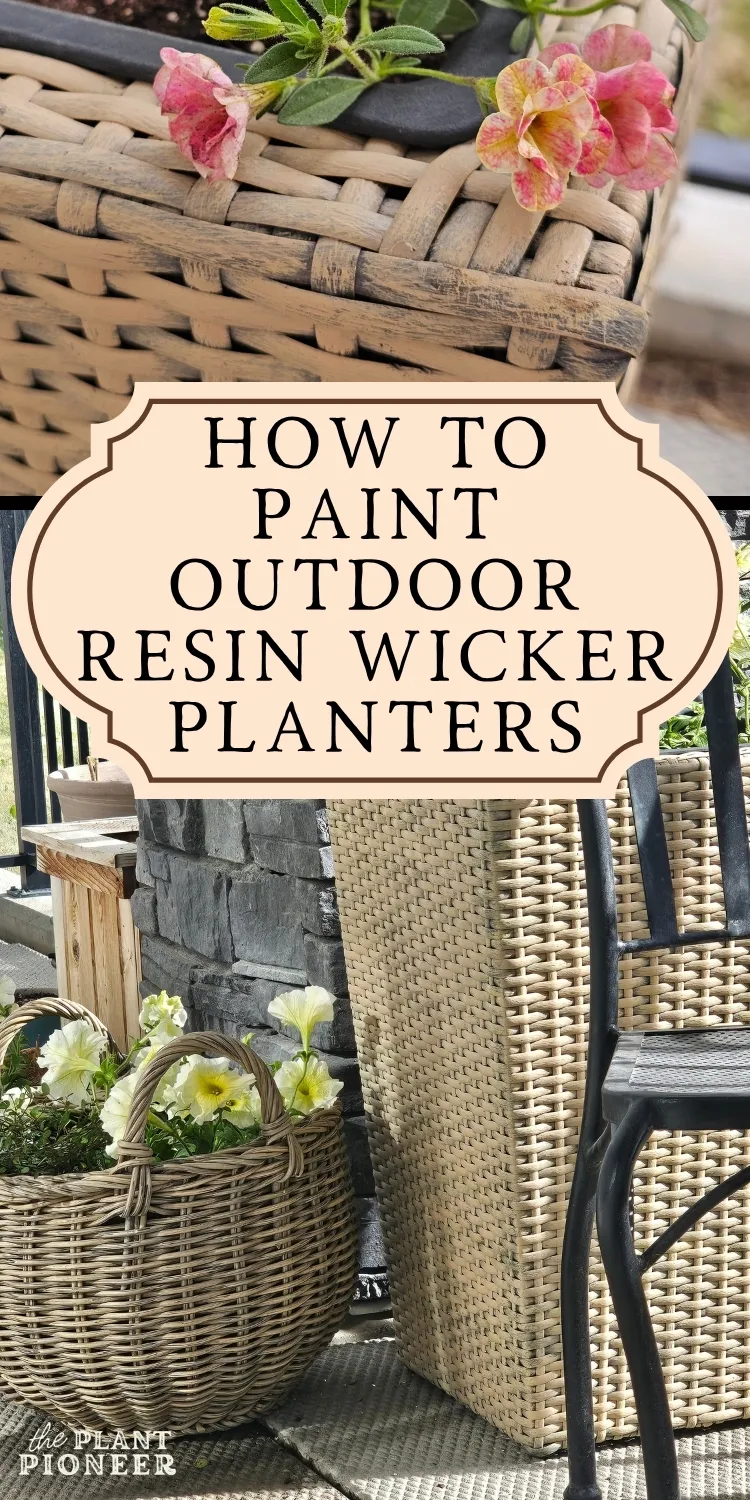
How to Paint Outdoor Resin Wicker Planters
Have you ever wondered if you could paint plastic outdoor plant pots? Here’s how I updated our outdoor resin wicker planters with just acrylic craft paint and changed them to a colour I love! This easy project can transform your outdoor space for only $5 in paint. Check out how I painted resin wicker, changing it from grey to a lovely warm driftwood taupe-y tone.
This page contains some affiliate links, which means I may receive a small commission, at no extra cost to you, if you purchase through these links. I only recommend products that I LOVE and personally use. Read more here.
For this project, I decided to throw caution to the wind! I wanted to see if I could paint resin wicker with simple acrylic craft paint… no spray paint, no primer, no sealant. Just $5 worth of acrylic paint purchased from Michaels and an old paint brush. Here’s how it went!
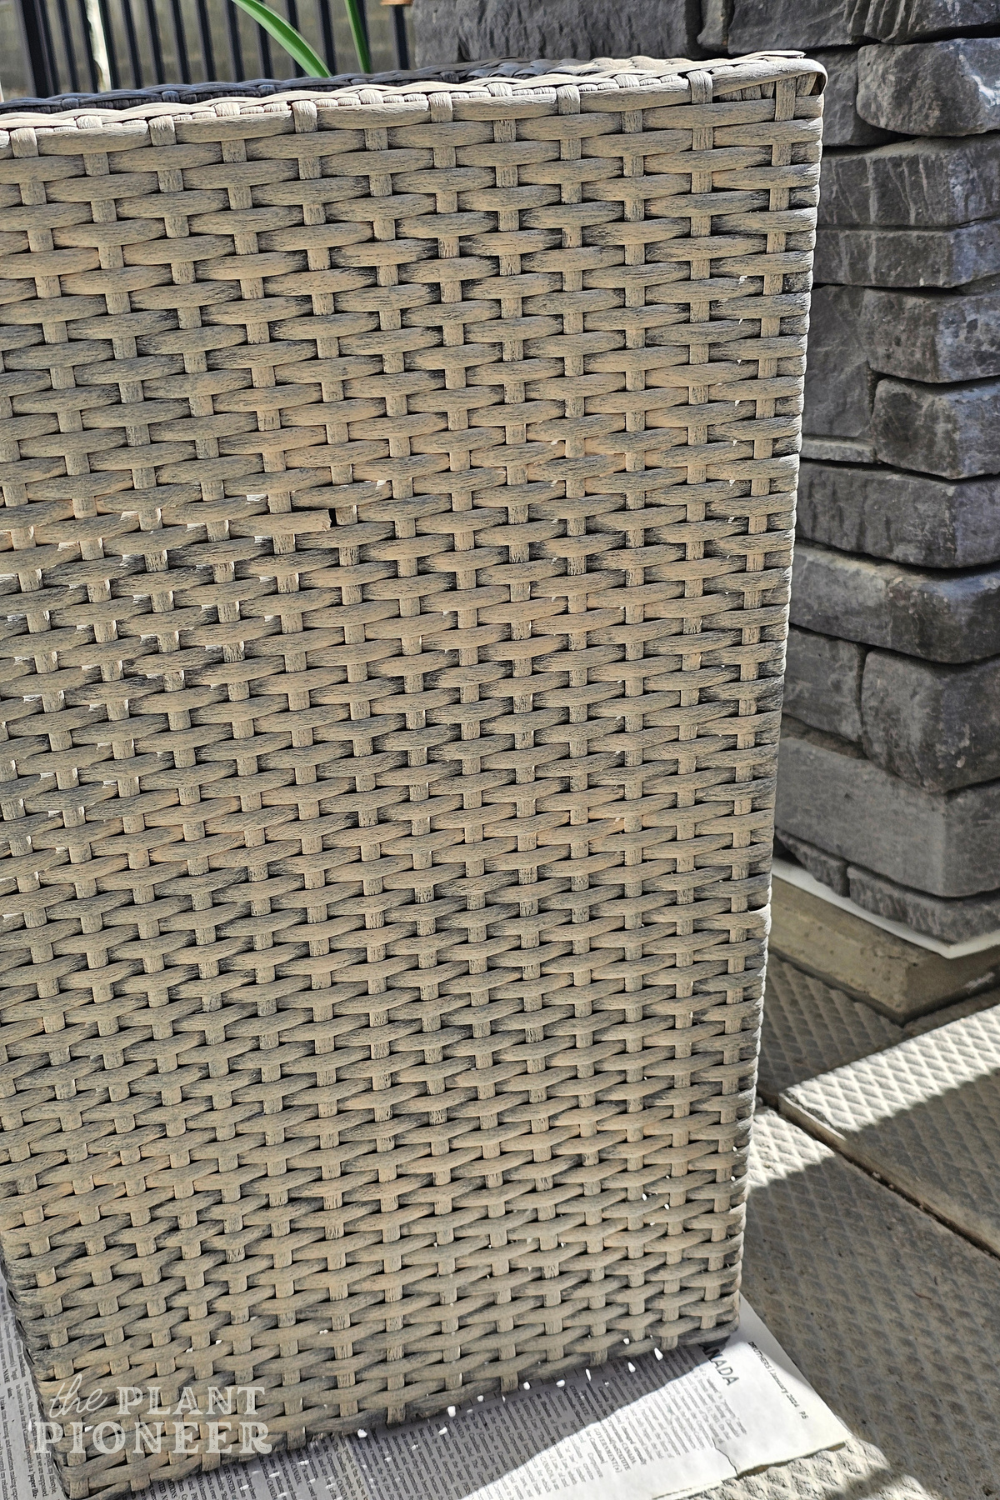
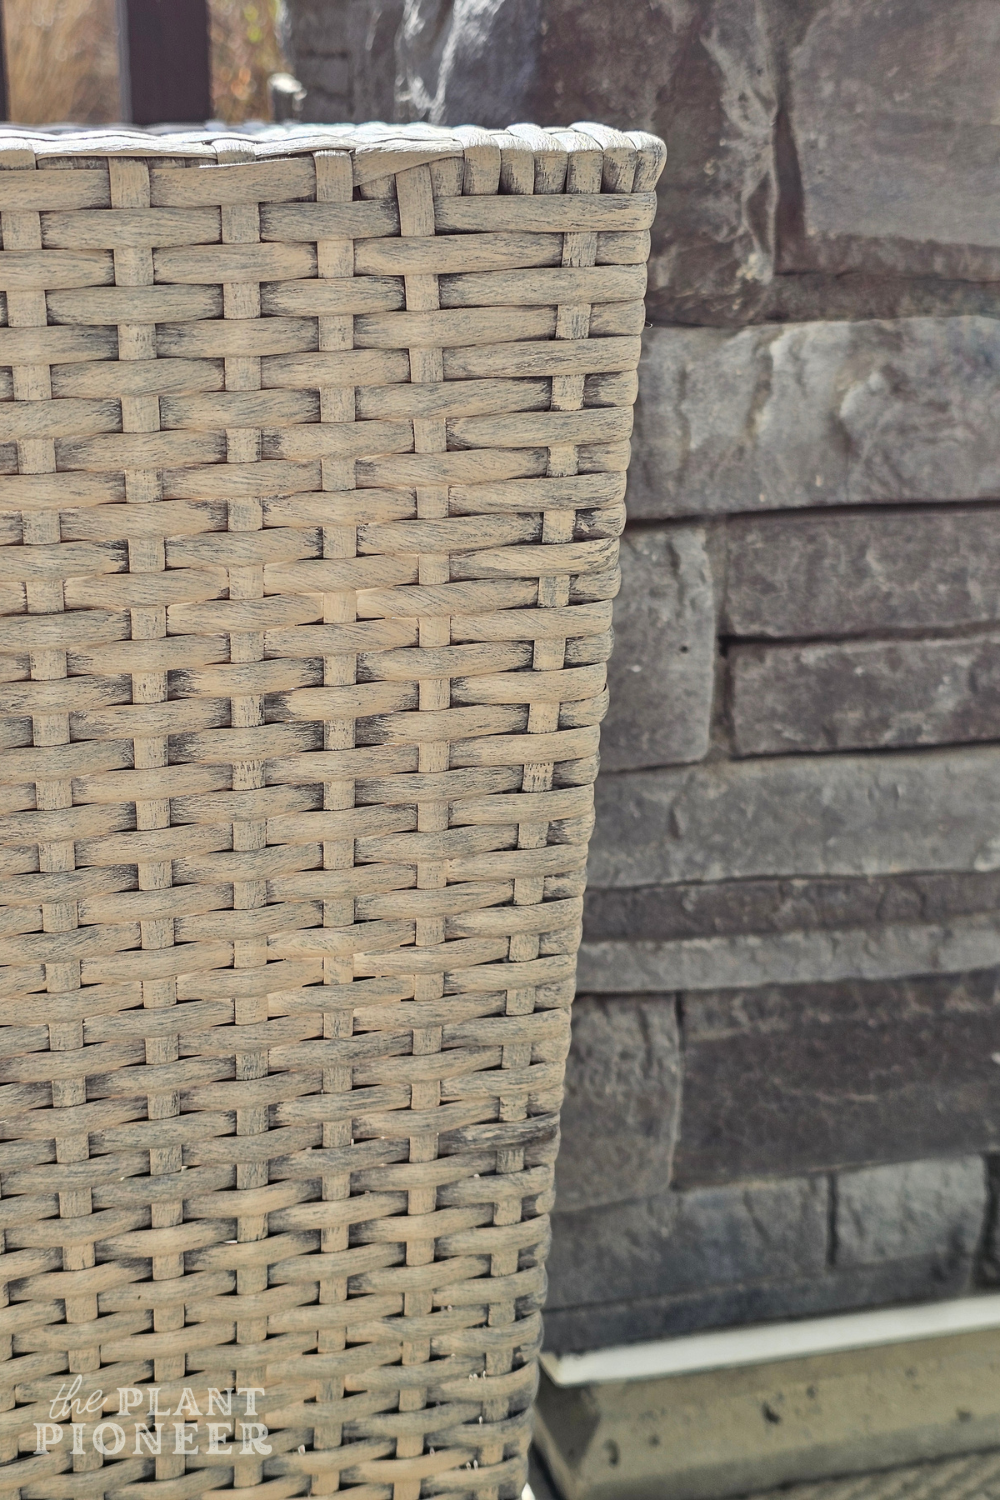
I was really tired of looking at these grey resin wicker planters out on our patio… it was just too much grey, especially with the grey stone pillars that they sit beside. These planters were the best option that I could find at the time, and even though I didn’t love the colour, they are great planters overall. They are super durable and can be left outside all year (which is important when you live in a condo and don’t have anywhere else to put them), so I wanted to keep them.
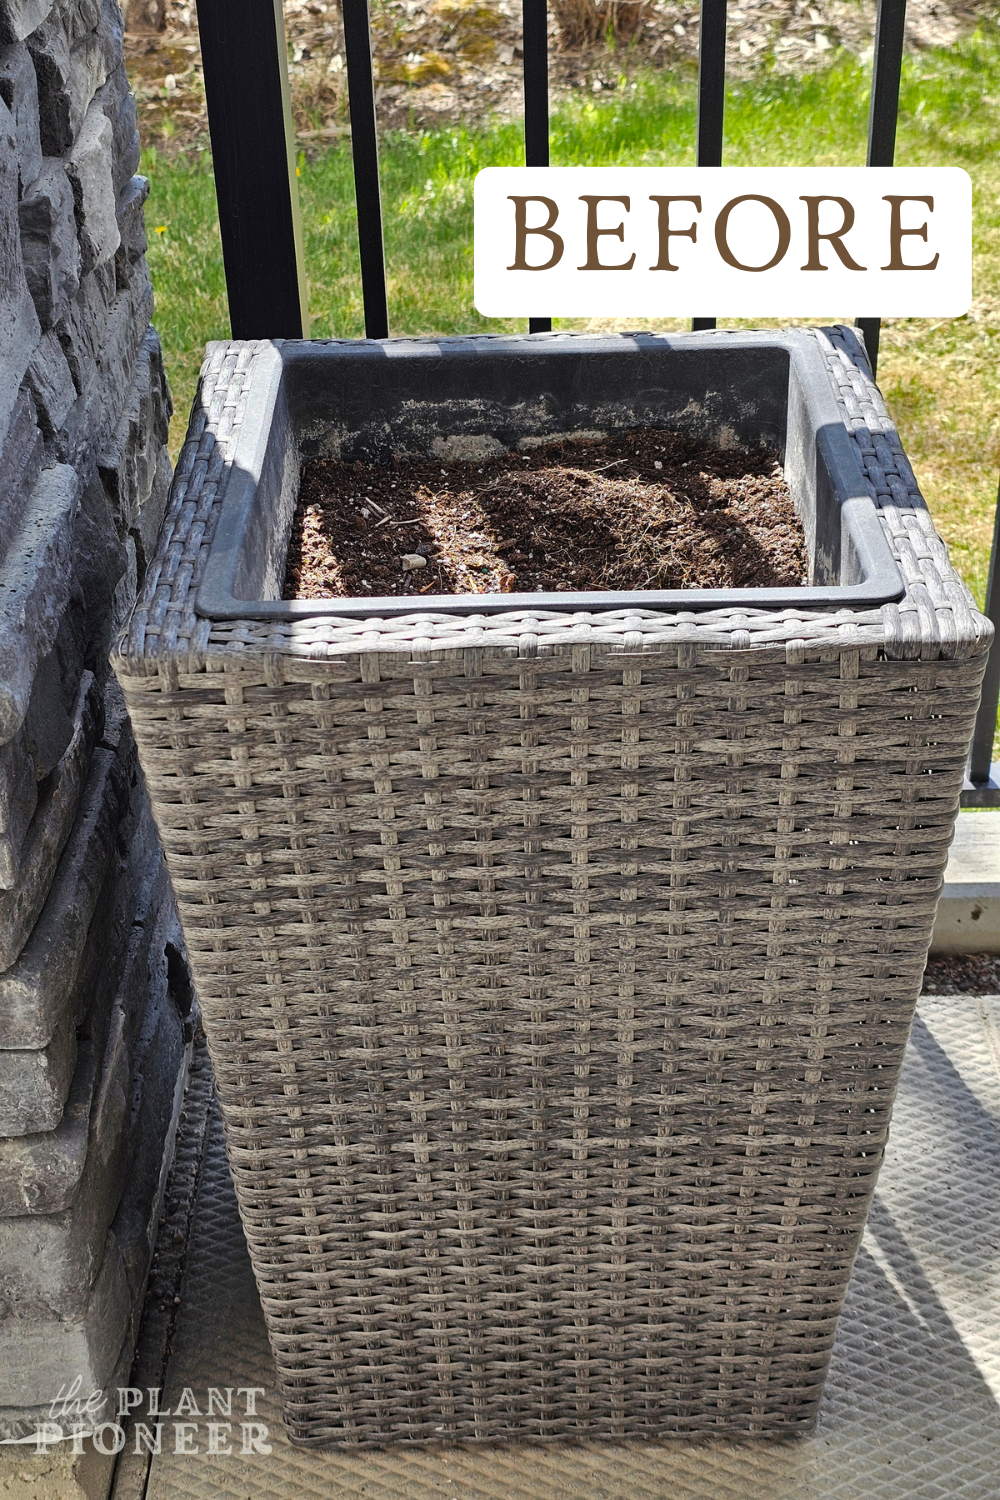
I decided it was finally time to change the colour of these planters! Cue my trusted acrylic craft paint… here’s what I did to transform these planters from a boring grey to this lovely warm driftwood colour with just paint!
Here’s a quick summary of the process:
Step 1
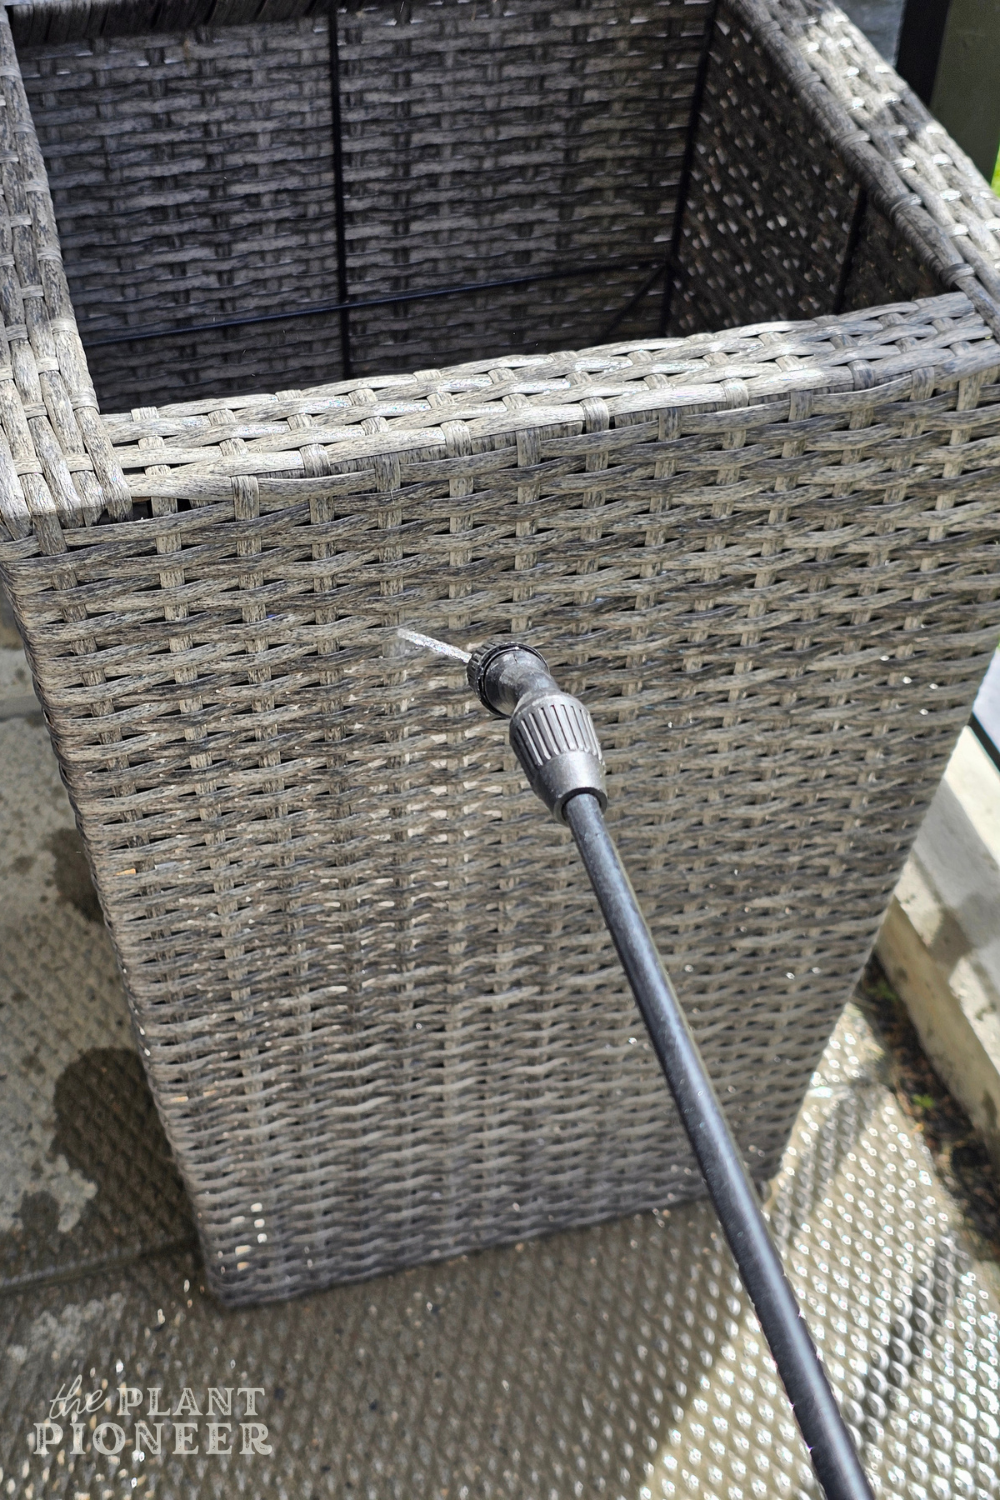
First clean the planters to remove any build-up of dirt and grime. This will help the paint adhere better. I used this outdoor garden sprayer to hose them off (try this one, this one, or this one for similar available options). Then let them fully dry before starting to paint.
Step 2
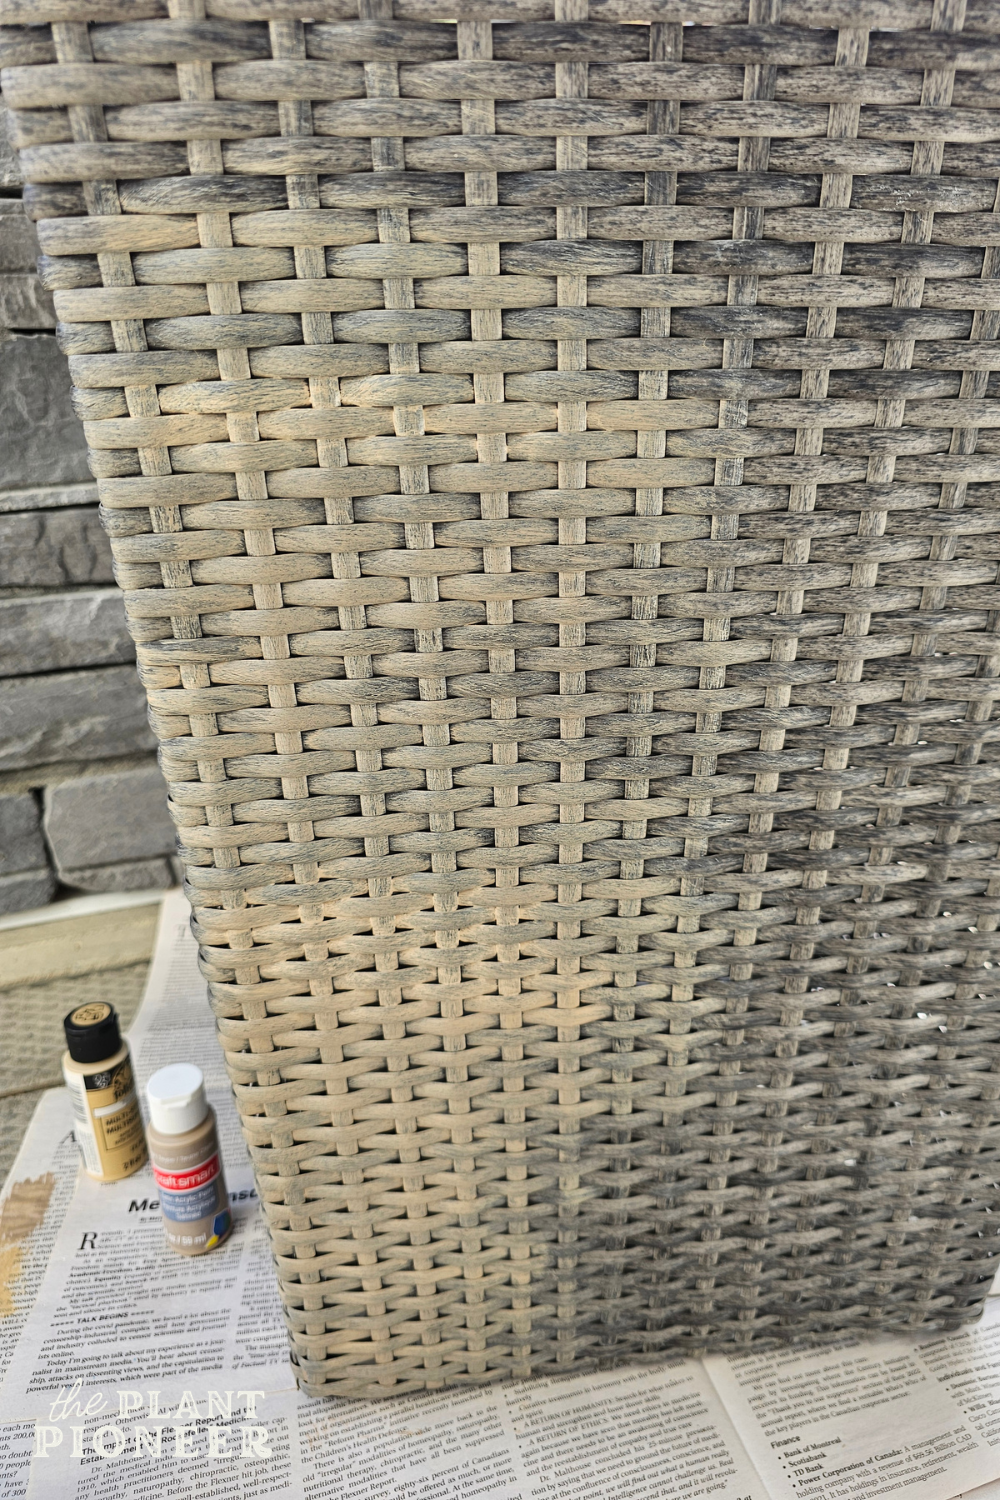
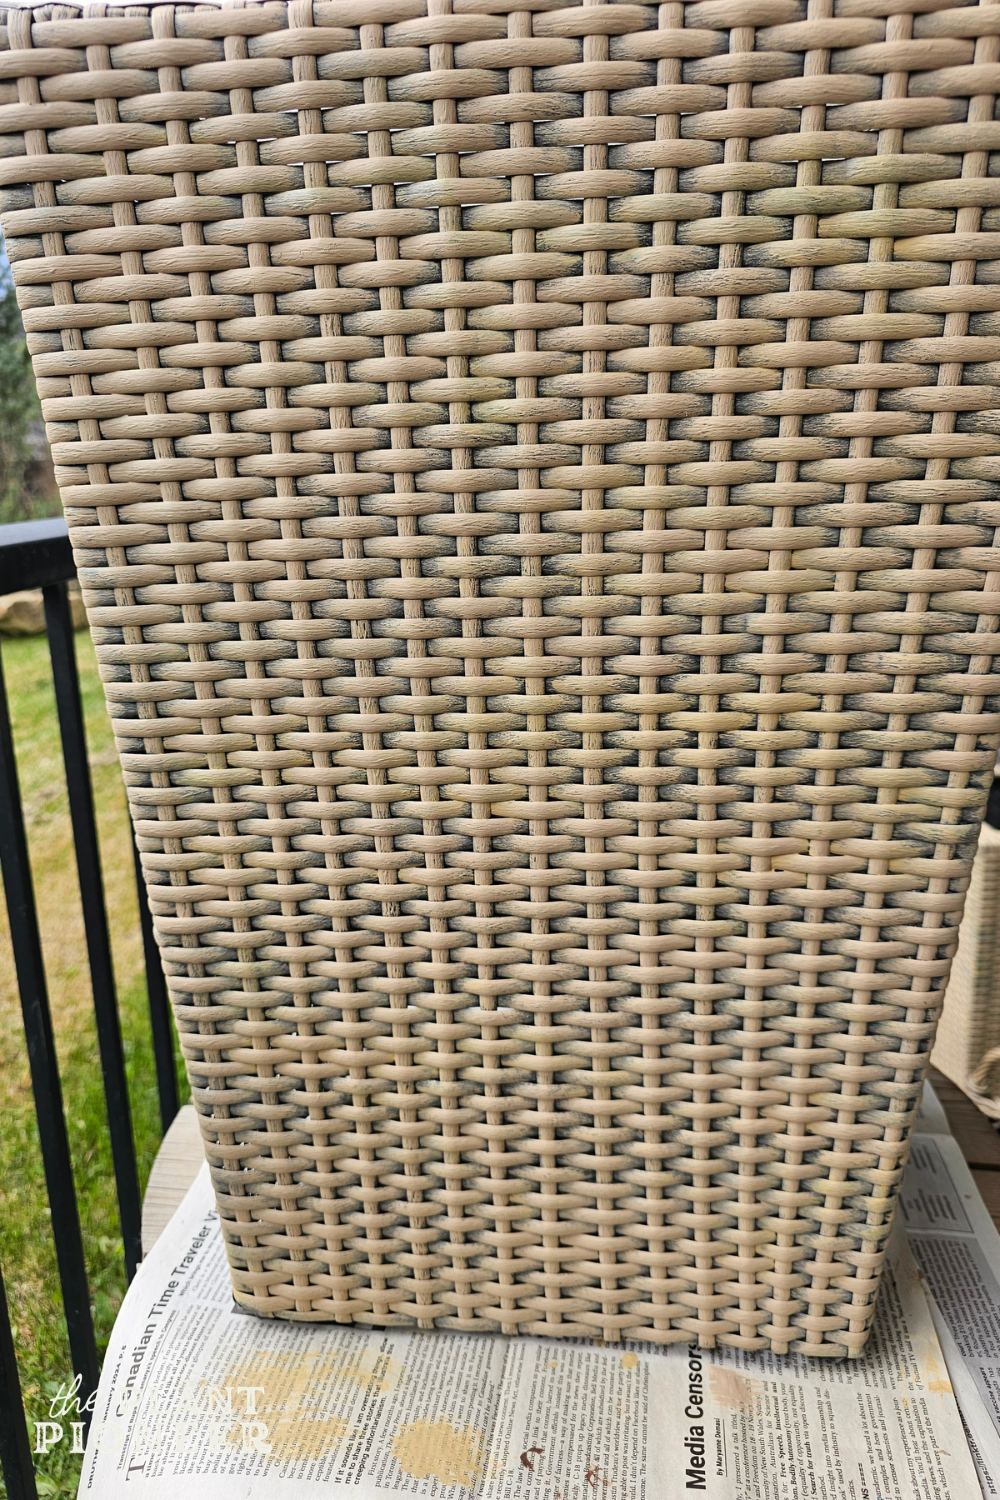
Add your first layer of paint and apply a light, thin coat, not worrying about making it perfectly even. I used the colour “Light Taupe” by Craft Smart (or this Warm Buff colour is similar). You want to intentionally apply it lighter in some areas than in others in order to get variation in the tone. Real wicker has different tones throughout the weave and we want to mimic this.
You can use a dry-brushing technique in some areas to help with getting this variation in tones (sweep your brush over the planter with your brush almost dry- this just adds a light dusting of paint).
I find it helpful to use an old brush where the bristles are a bit sparse. This helps get a more rustic texture with the paint. Be careful not to apply the paint too thick in any areas; you don’t want any thick blobs of paint to get caught in the weave of the wicker.
If you look at the original grey colour in the picture above (the unpainted side on the right), you can see that there are different shades of grey woven throughout it… we want to try and keep some of that tonal variation. Here’s how it looked after the first coat of paint:
Step 3
Add a second light coat of paint. After the first coat, I could tell that the colour was looking a bit too “cool” and a bit too grey. I decided to add another layer of paint on top of the first layer, but this time in a colour that was a bit warmer with a slightly yellow undertone. This colour is called “Camel” by FolkArt.
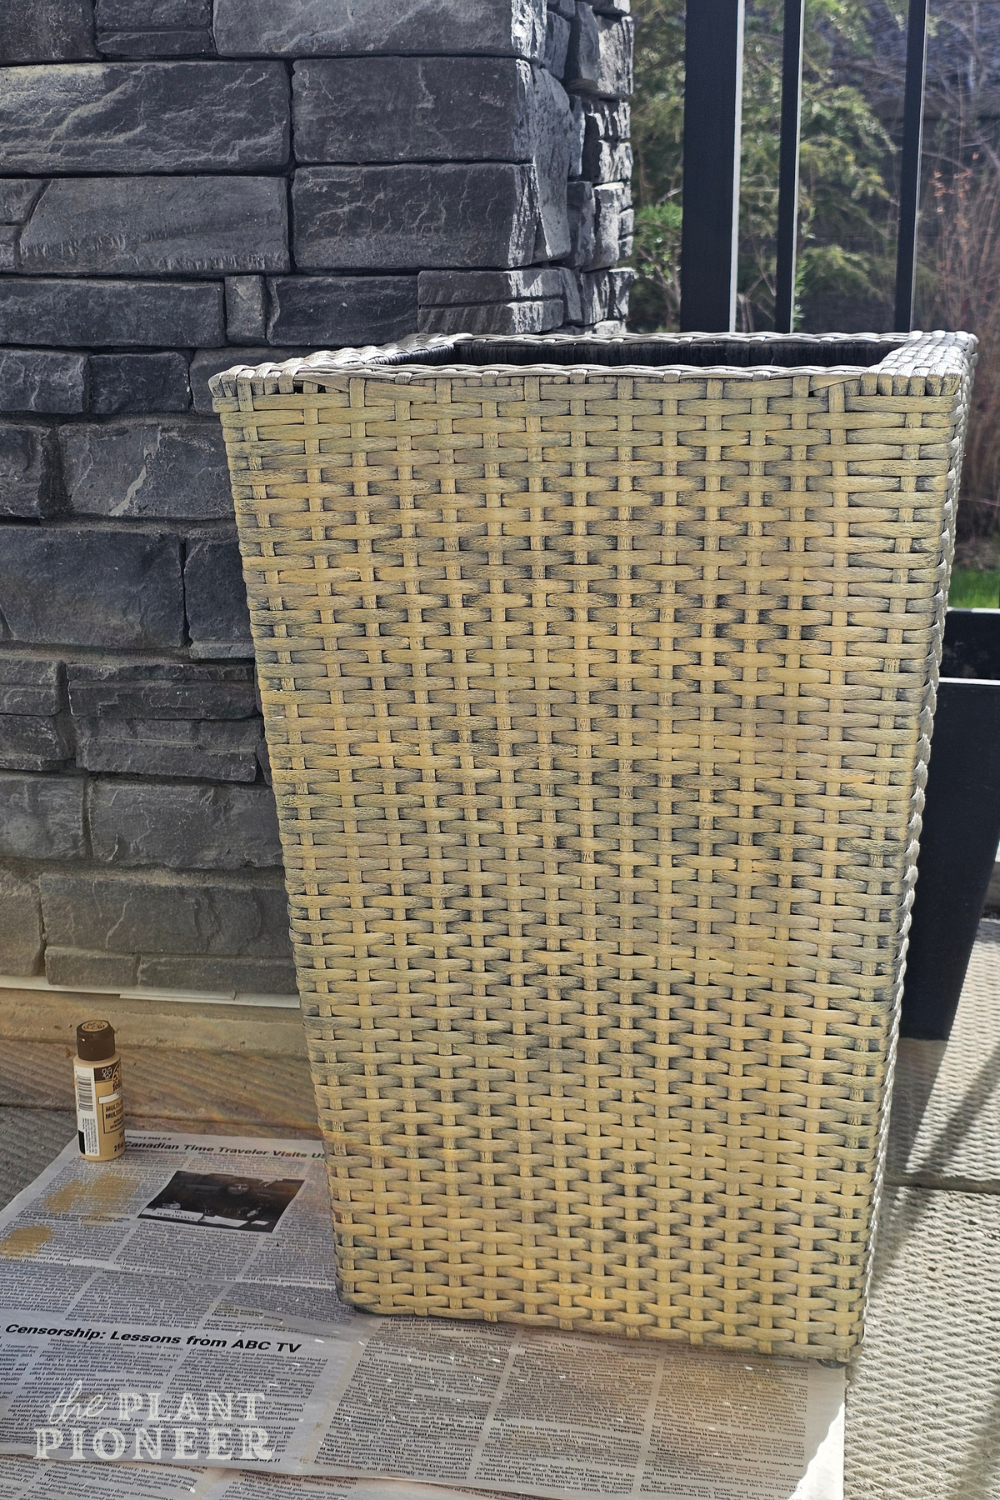
I painted it the same way as I did the first layer- a thin coat, with some areas having more coverage than others. Depending on the overall look you’re going for and what the original colour of your planter is, you may not need this layer.
Step 4
Add one more light coat in another colour. After the second coat, they were looking way too yellow. So I added one more layer of paint to tone down the yellow undertone, this time in a taupe-y colour that was a touch darker and warmer than the first colour. This one is called “Fawn” by Americana– again, applying it lighter in some areas and a little more concentrated in others.
This colour was very close to the Light Taupe I used for the first coat, but I liked that it was a touch more beige. I was trying to add as much dimension as possible by layering of slightly different colours.
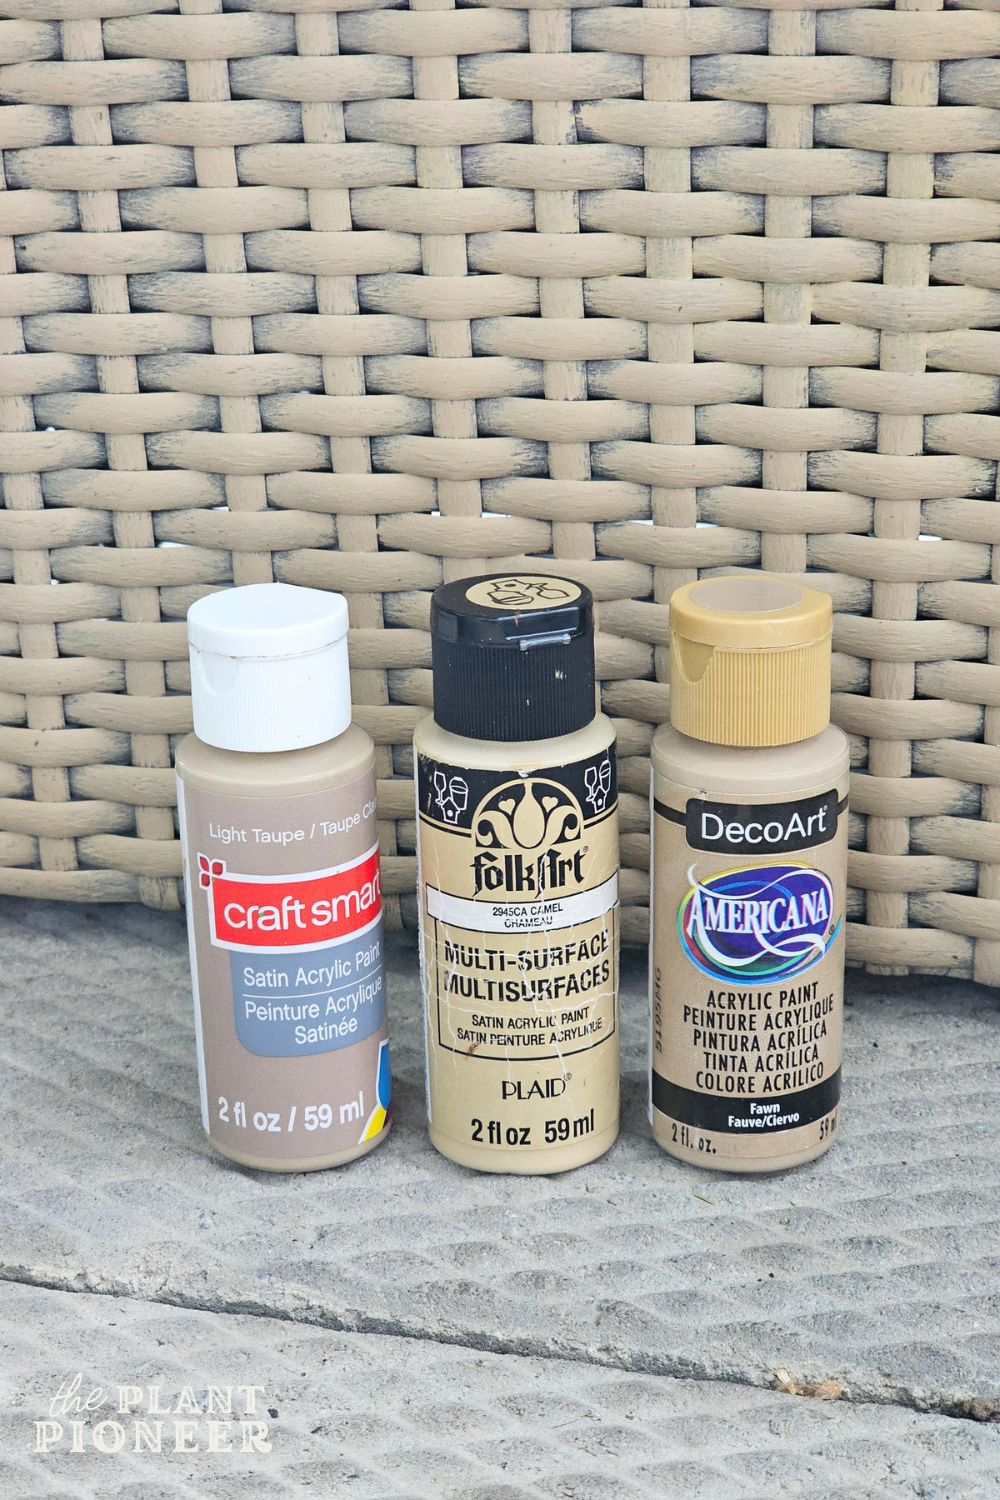
The Craft Smart paint and the FolkArt paint both state on the bottle that they can be used on plastic and resin, while the DecoArt Americana one doesn’t specifically state this, although I decided to give it a try anyway. DecorArt Americana does make options in multi-purpose paint that can be used for plastic and outdoors, like this one.
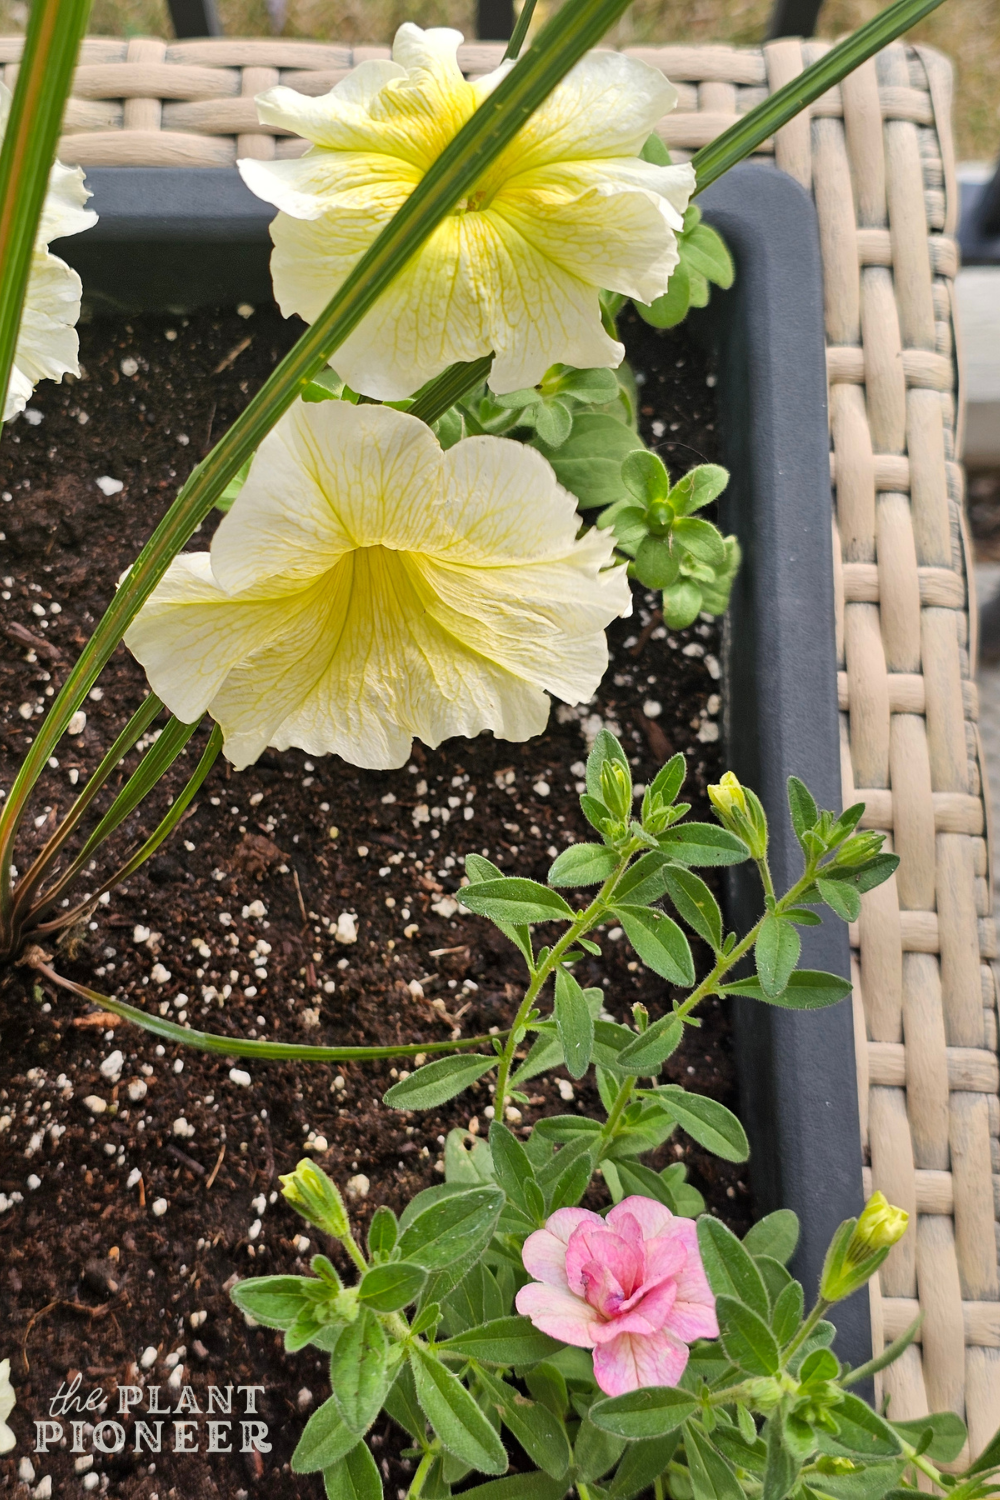
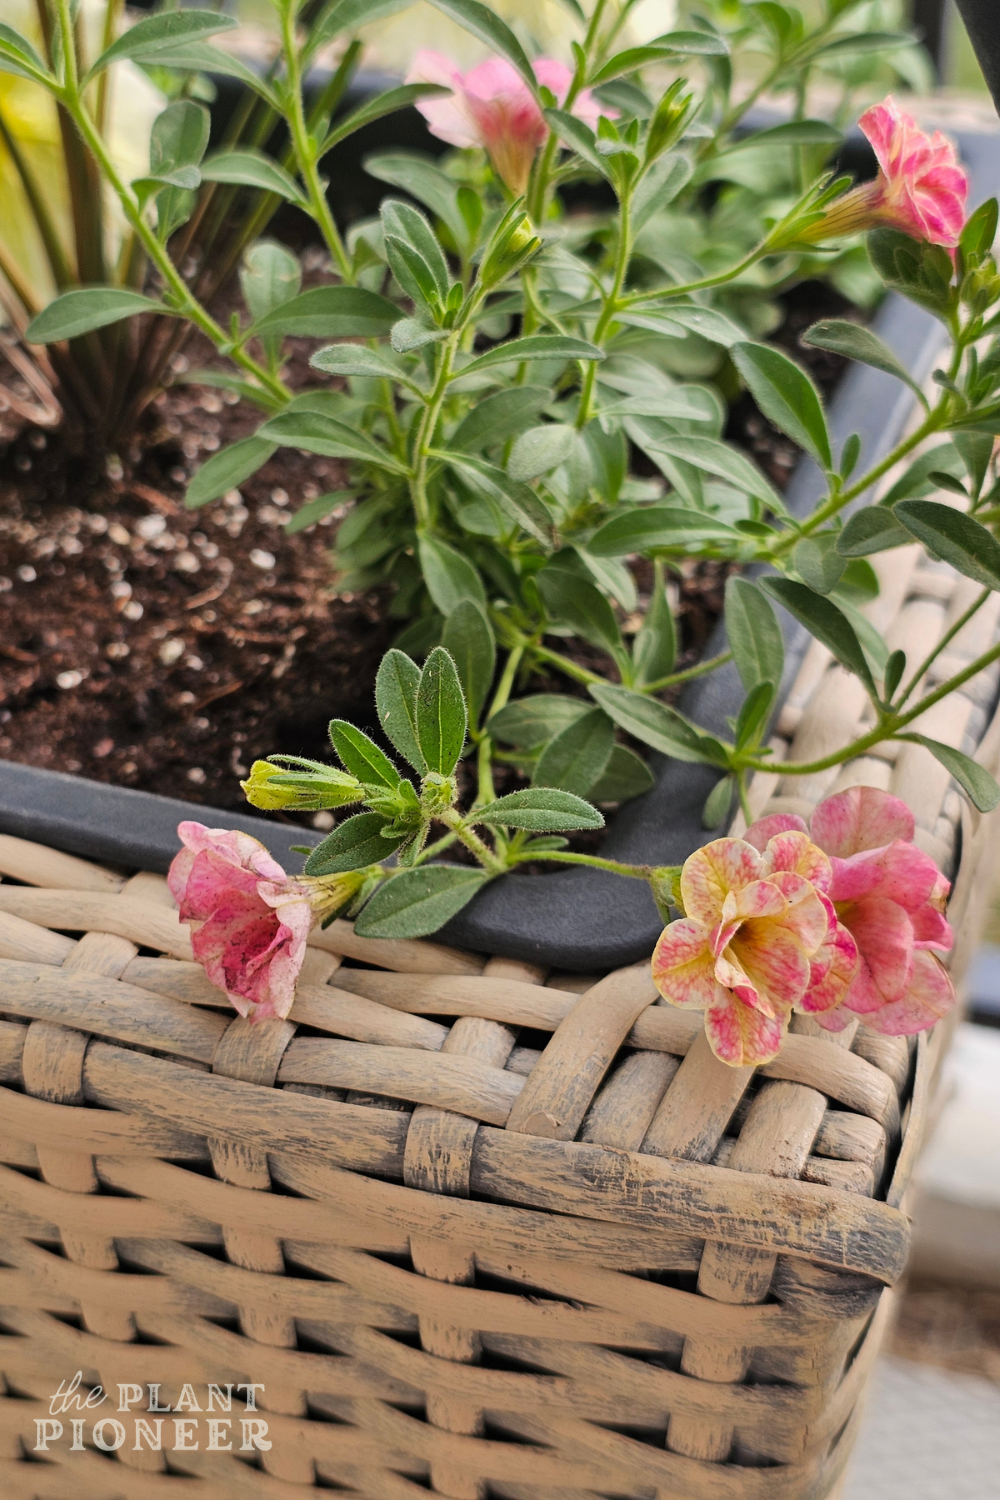
And here’s how they looked after the final coat of paint!
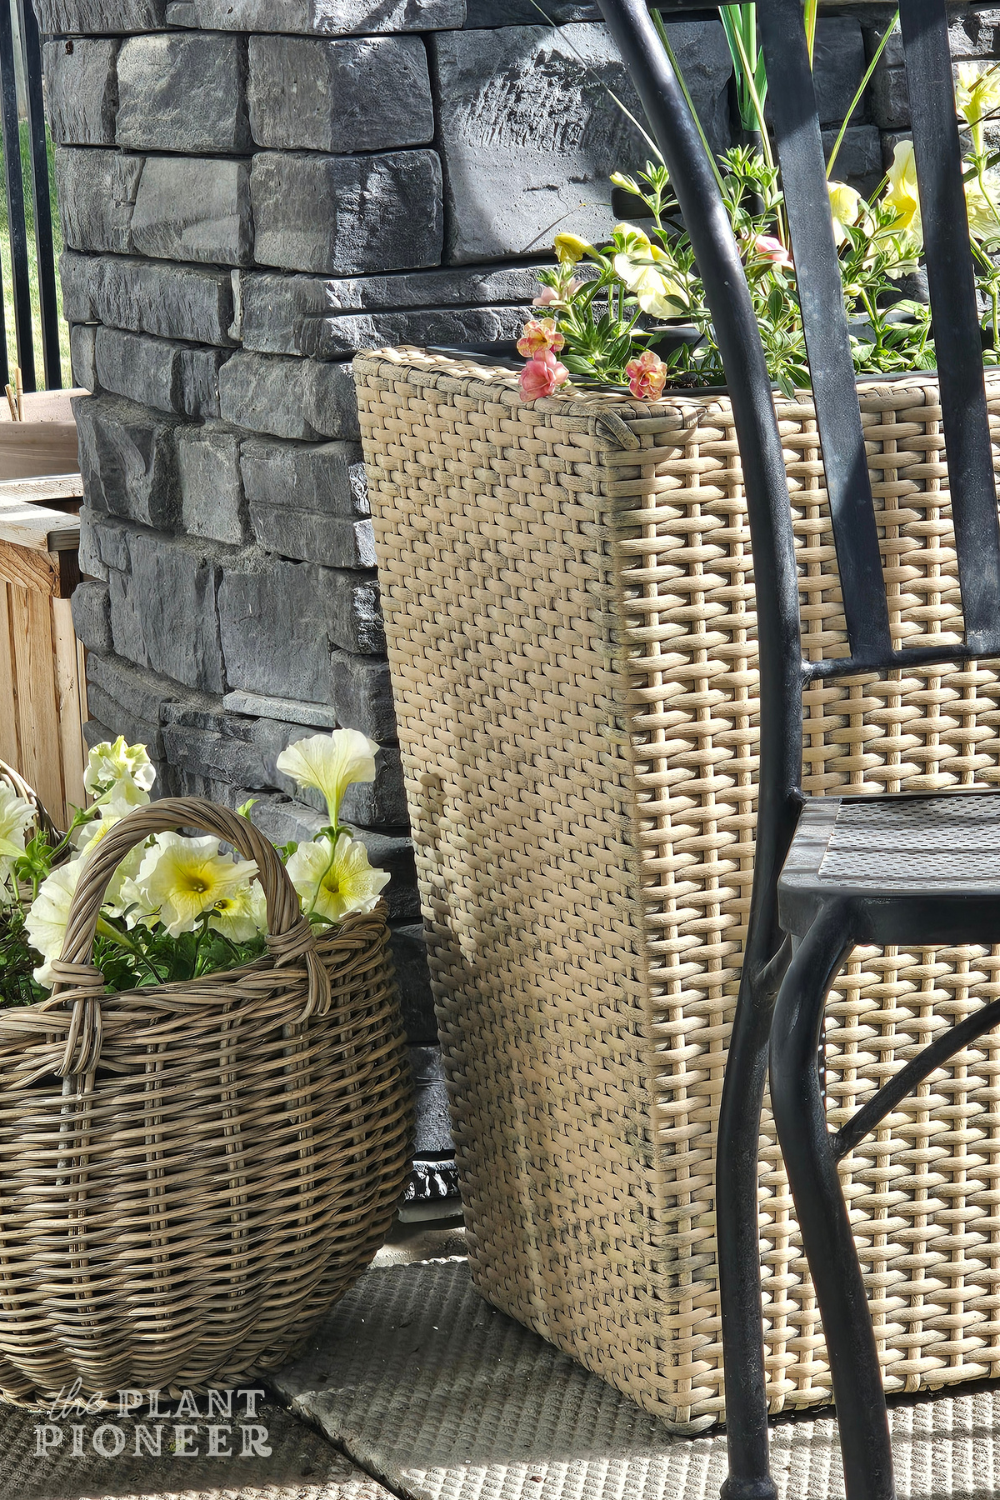
And that’s it! I am really happy with these and am loving the new colour! This is exactly what I was hoping for, and now our patio is one step closer to being that dreamy cottage-y vibe I’m hoping for.
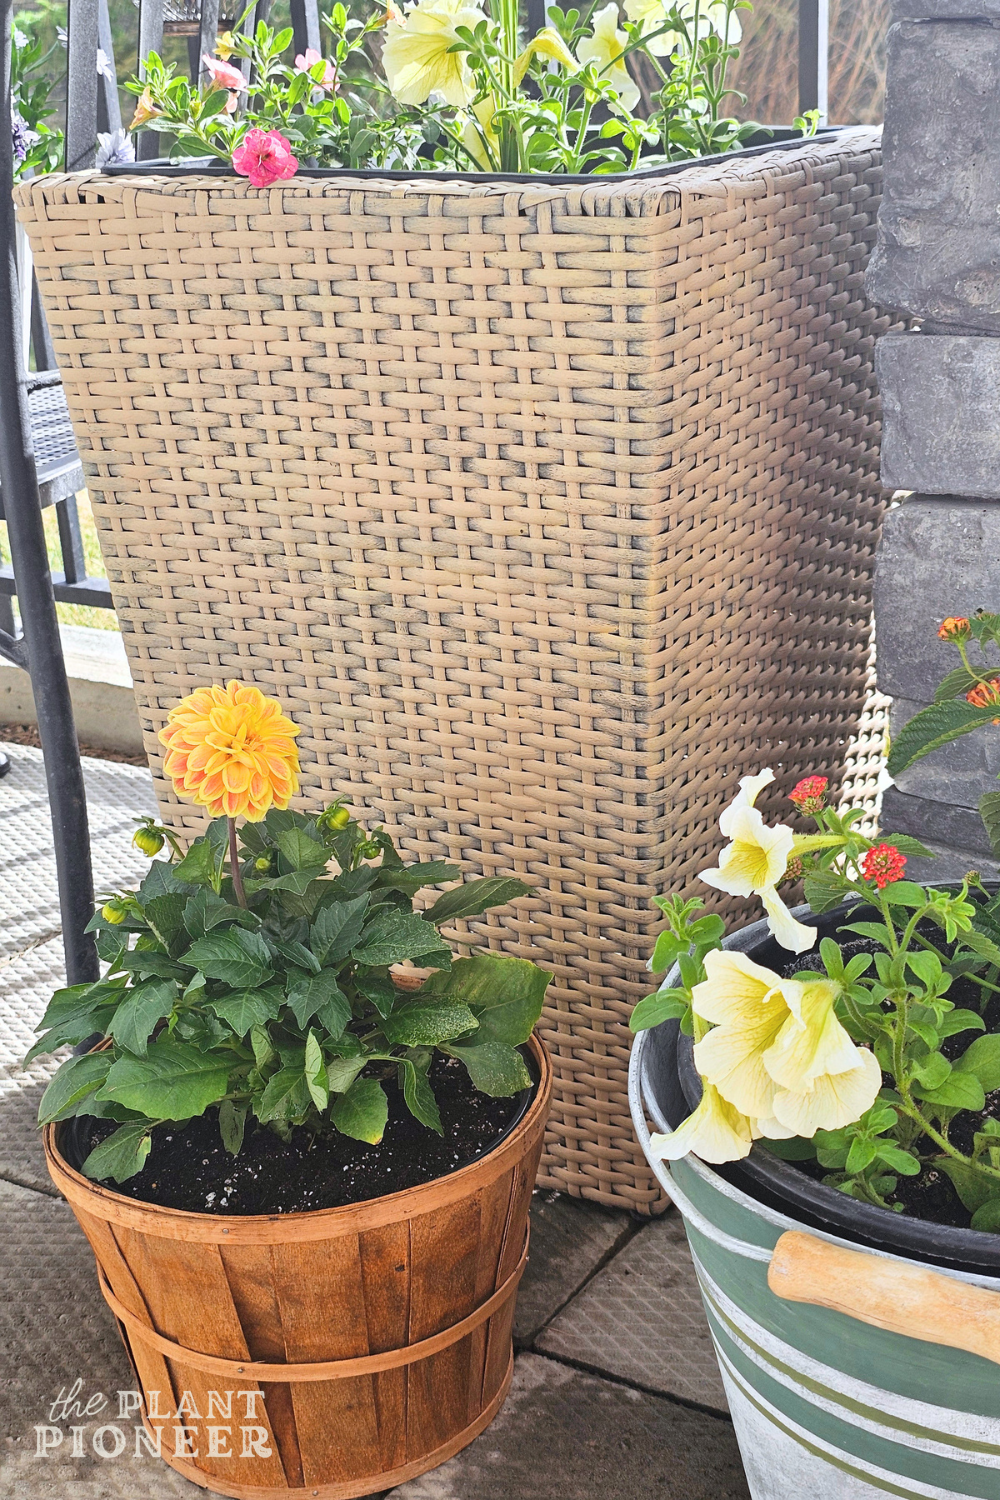
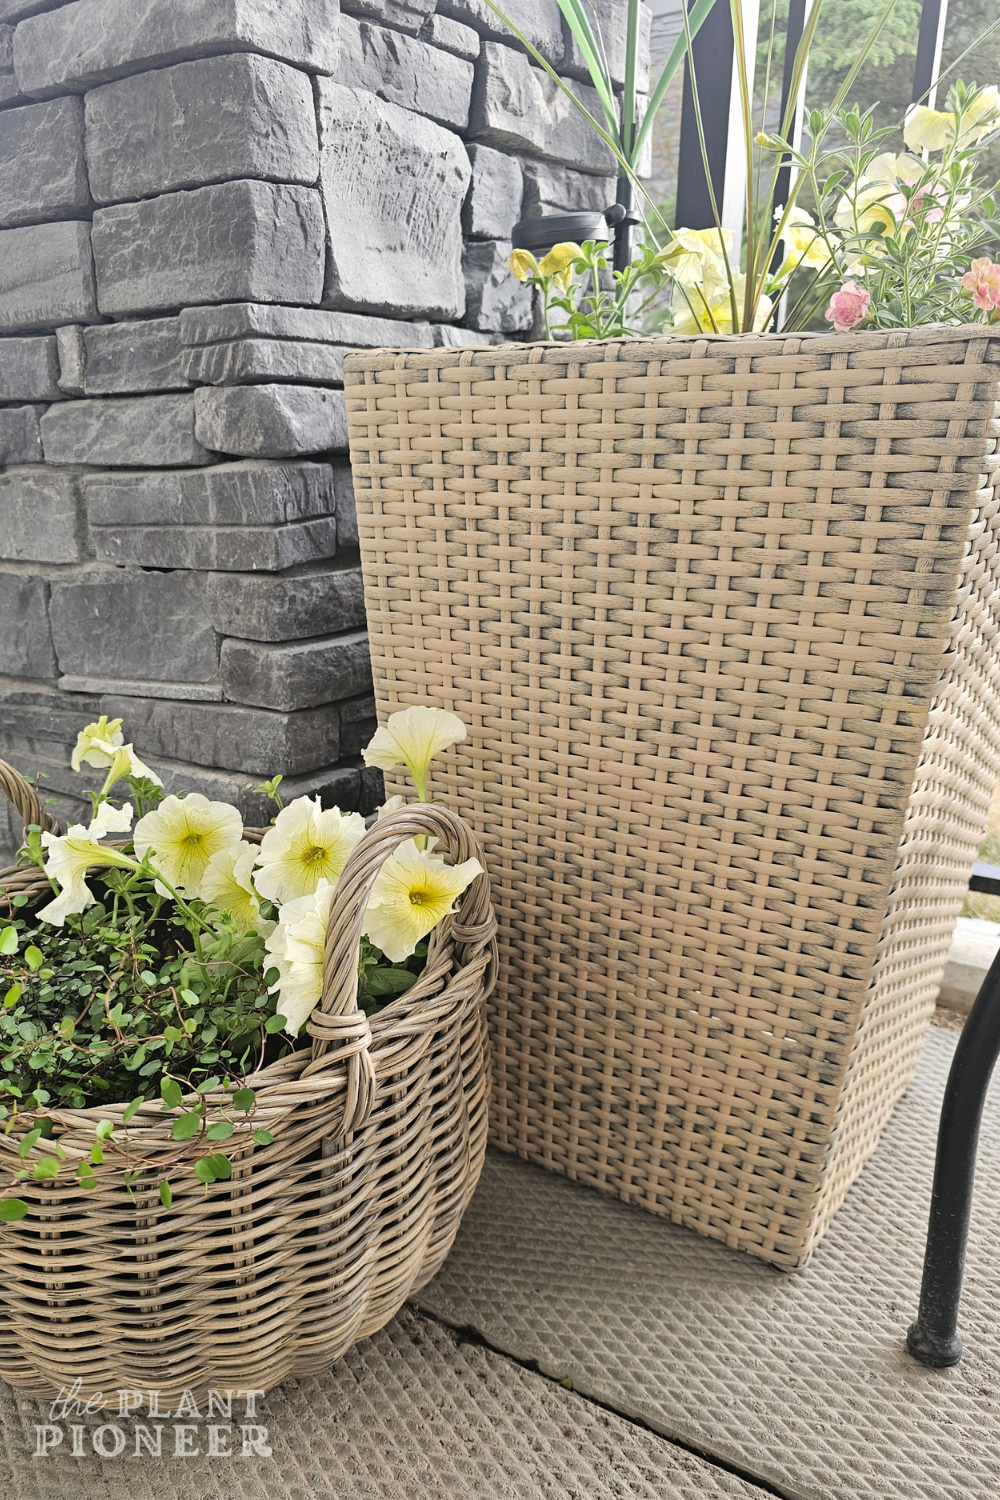
In the future, I may add another coat of paint. But for now, these are a huge improvement. I wanted the colour of these to be similar to the round woven basket planter shown in the above right photo. The colour is so similar… yay!
Check out the FAQ section below to learn more about this project!
Frequently Asked Questions
I hope this has given you some inspiration! Save this post to Pinterest:


Join the List
Stay informed & receive my latest healthy living tips to your inbox.