DIY Wood Bead Christmas Garland
Making your own wood bead garland is a super simple and non-toxic Christmas craft that you can make to add a little whimsy to your Christmas décor. This a great craft to do with kids, plus you can customize it to be whatever style you like, and save a bit of money too!

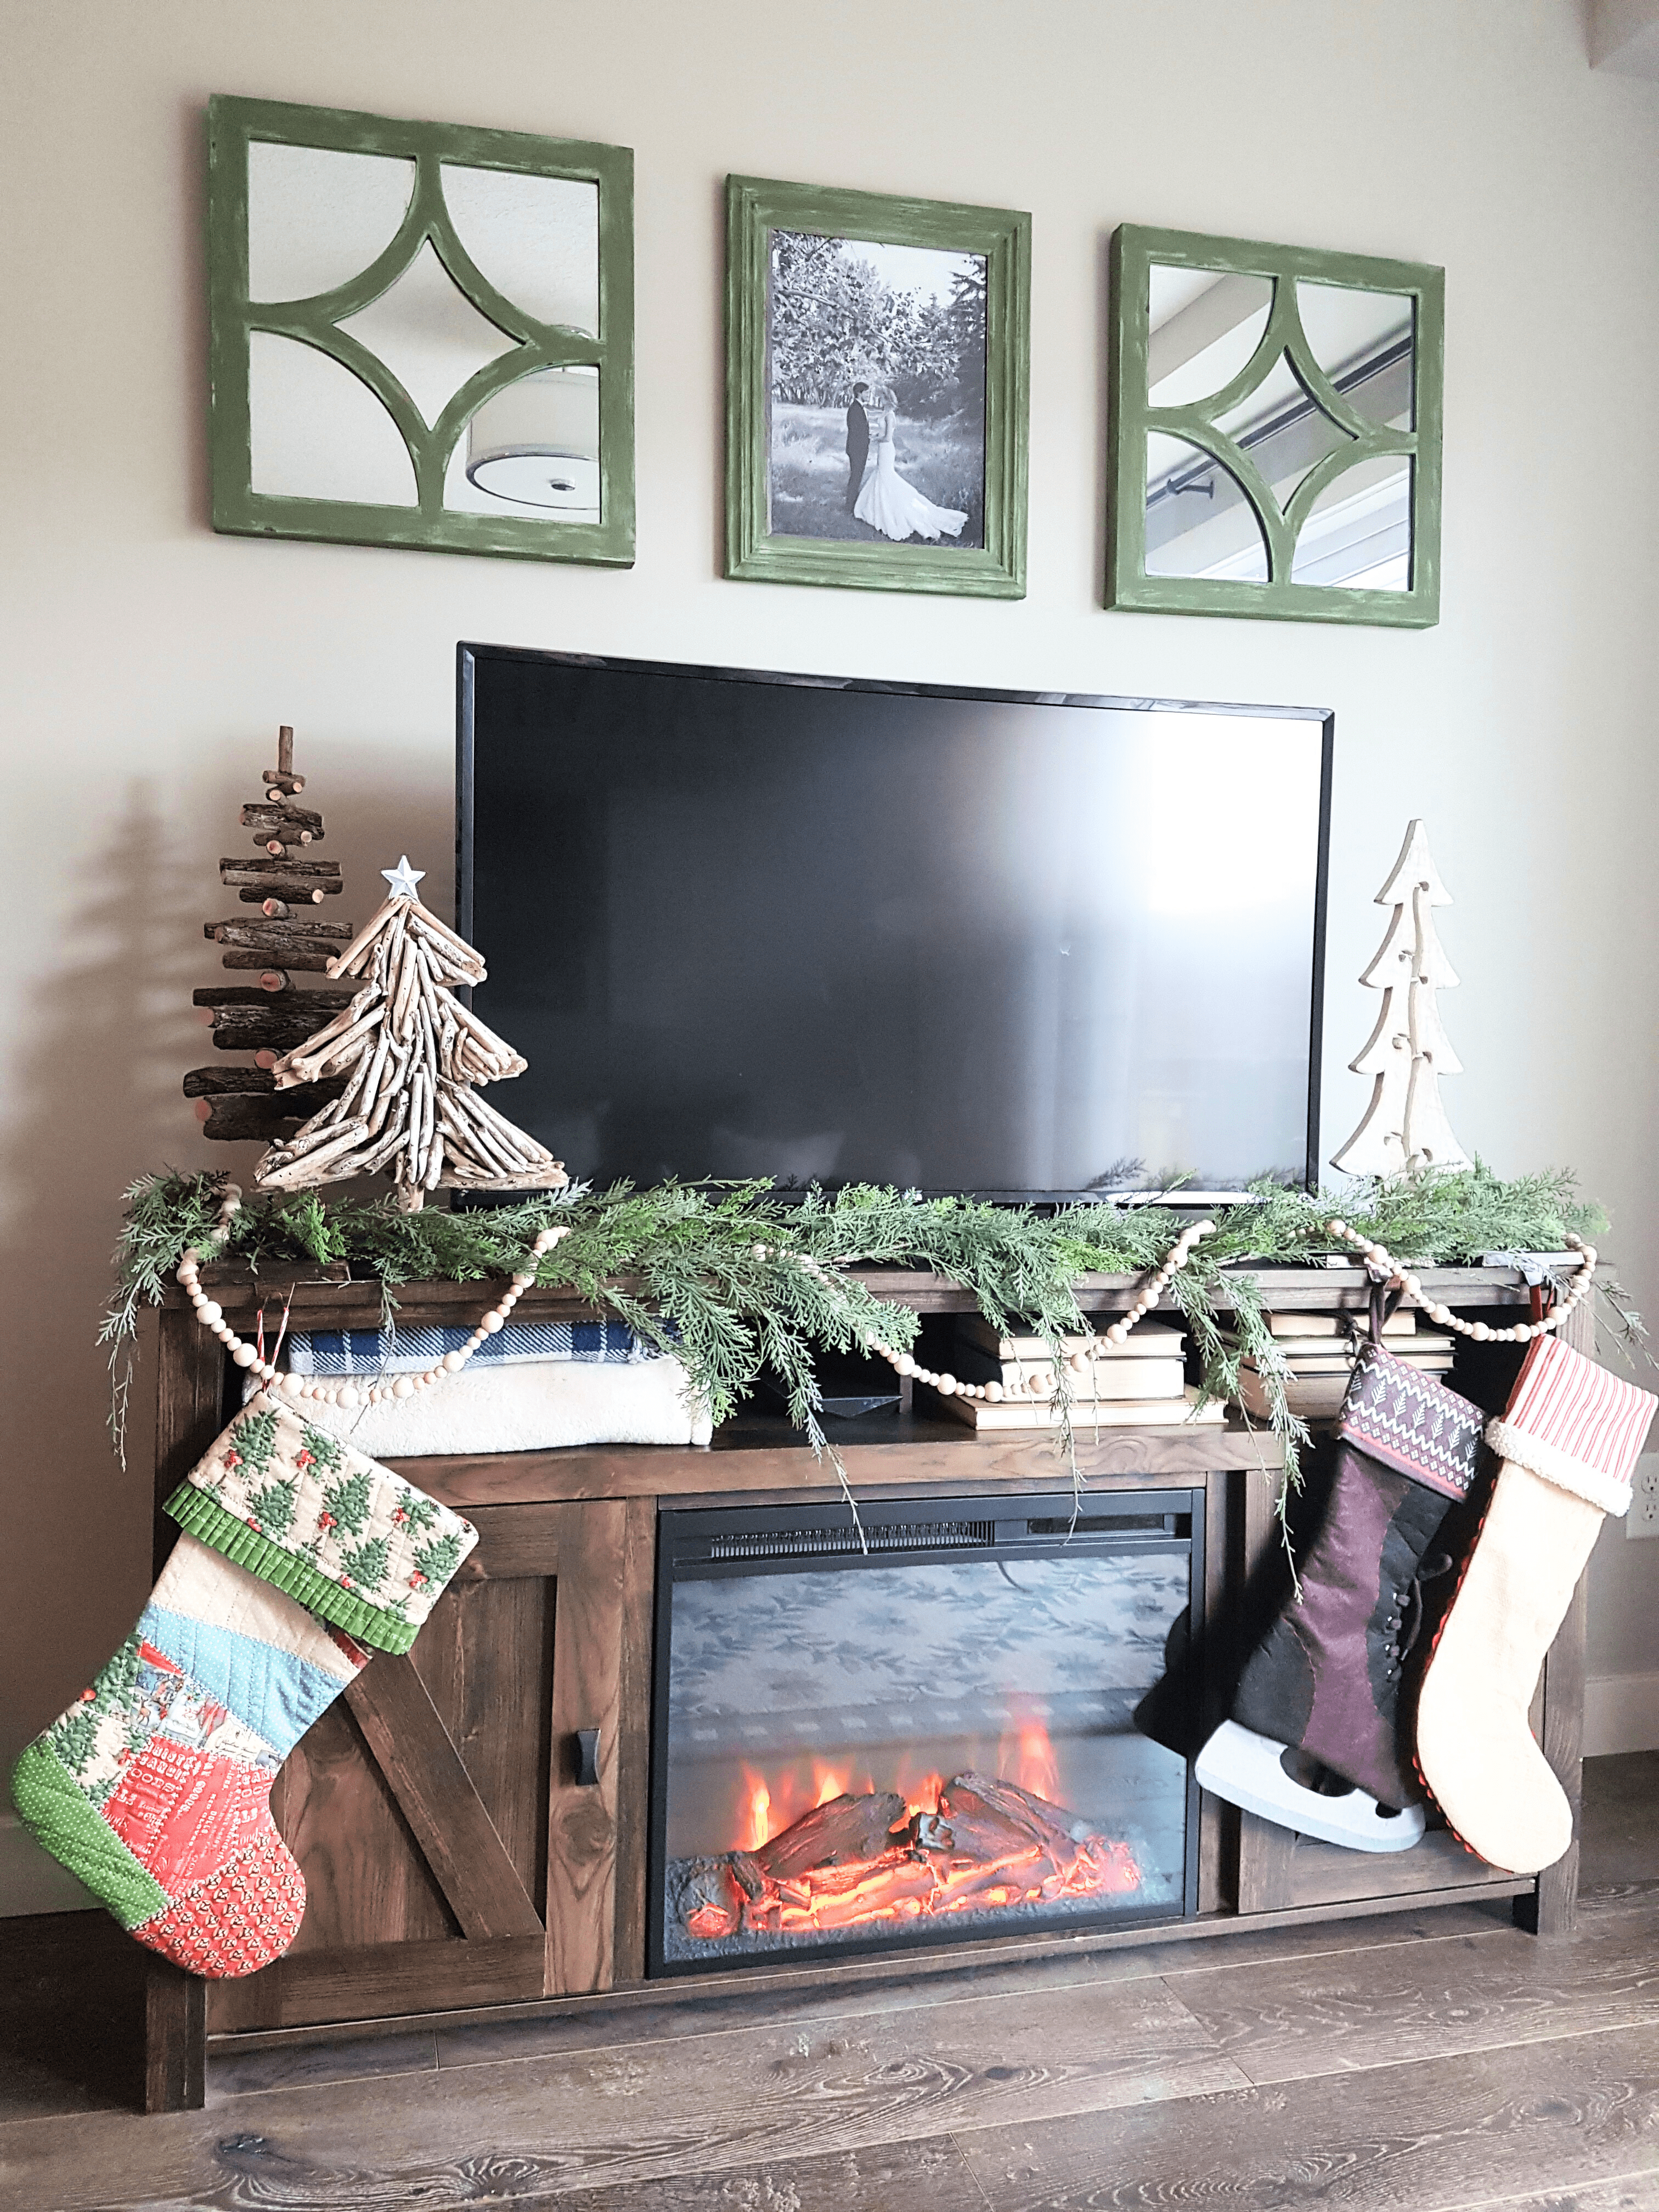
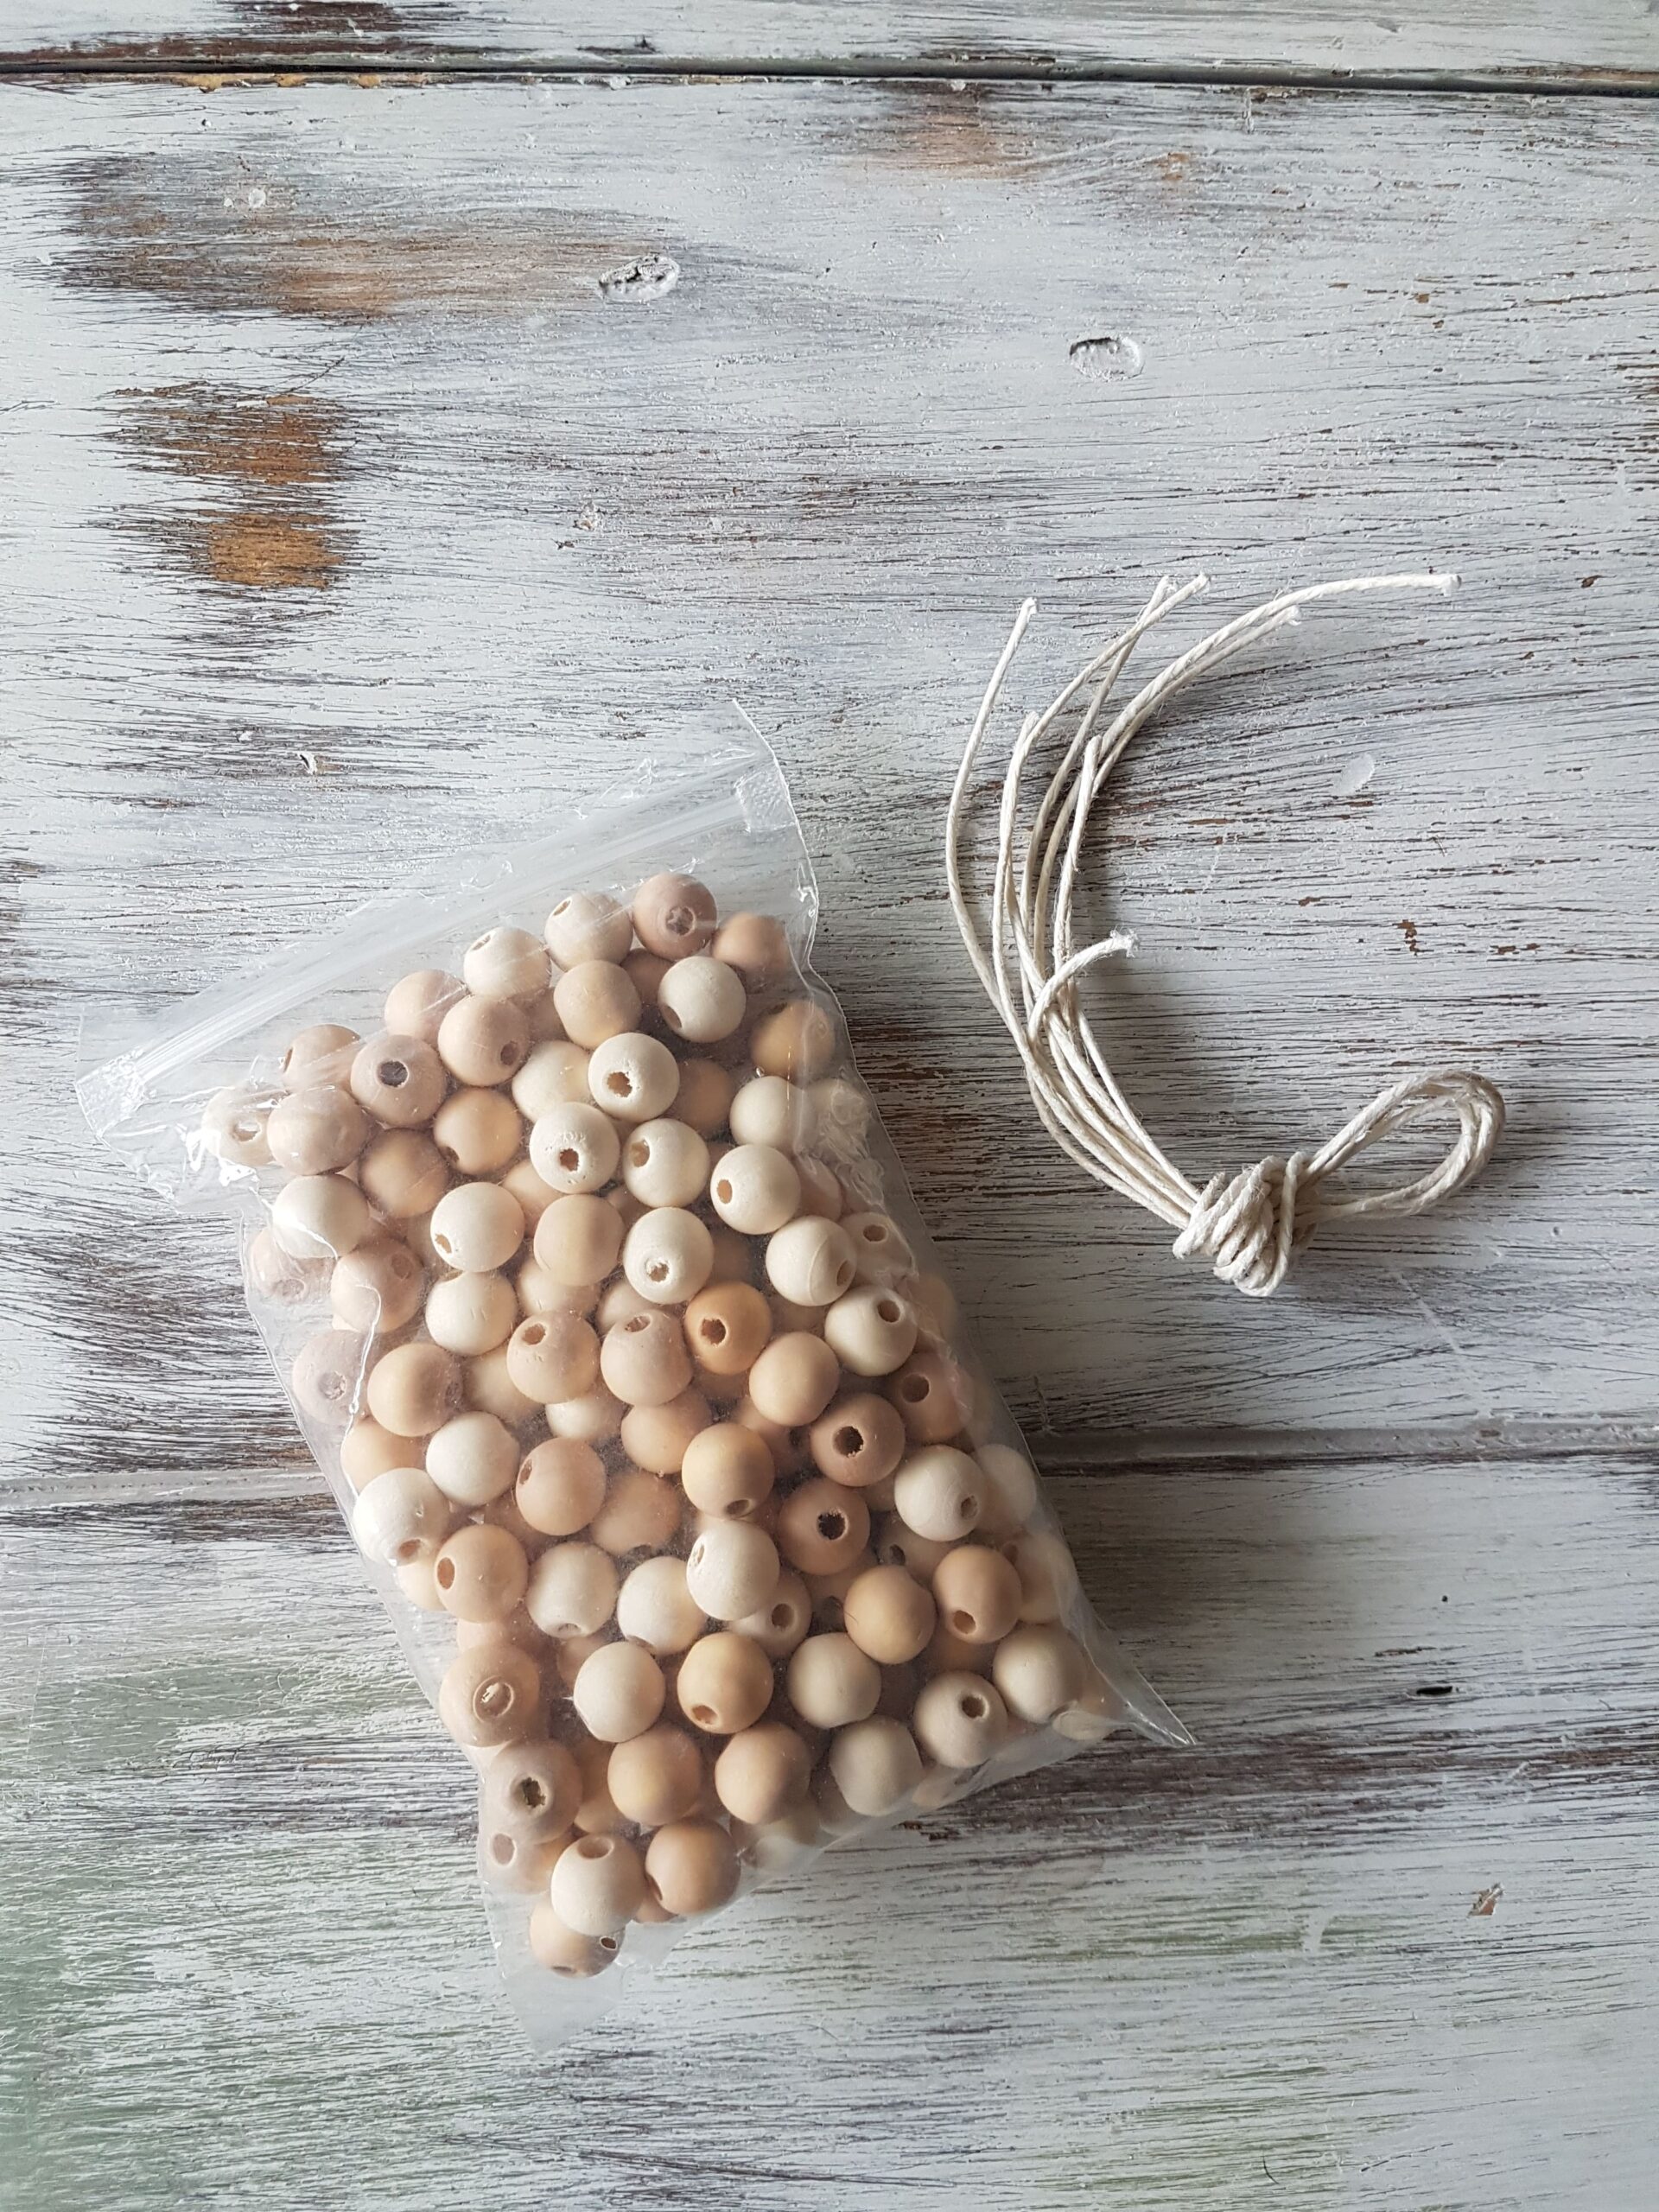
Last year, I decided to make my own wood bead garland when I couldn’t find one in stores and saw that they were actually going to be quite expensive to order online with the shipping cost. I knew this would be such a quick and easy project to do myself, and already had some hemp twine to use, so all I needed were the wood beads. I purchased 10 mm beads and 16 mm beads from Michael’s. In total, I used 54 large beads and 159 smaller beads to make a garland about 8′ long. I purchased the 10 mm beads in two slightly different colours and mixed them together to string the colours together randomly. Both are just a natural variation in the wood, but this extra detail gives the garland more depth and dimension.
I recommend measuring where you want to put the garland to see how long to make it. If you need it to be longer than 8′, or will be using beads that are larger (and thus heavier), then it’s best to make a few separate garlands rather than one very long one, as they get heavier than you’d think!
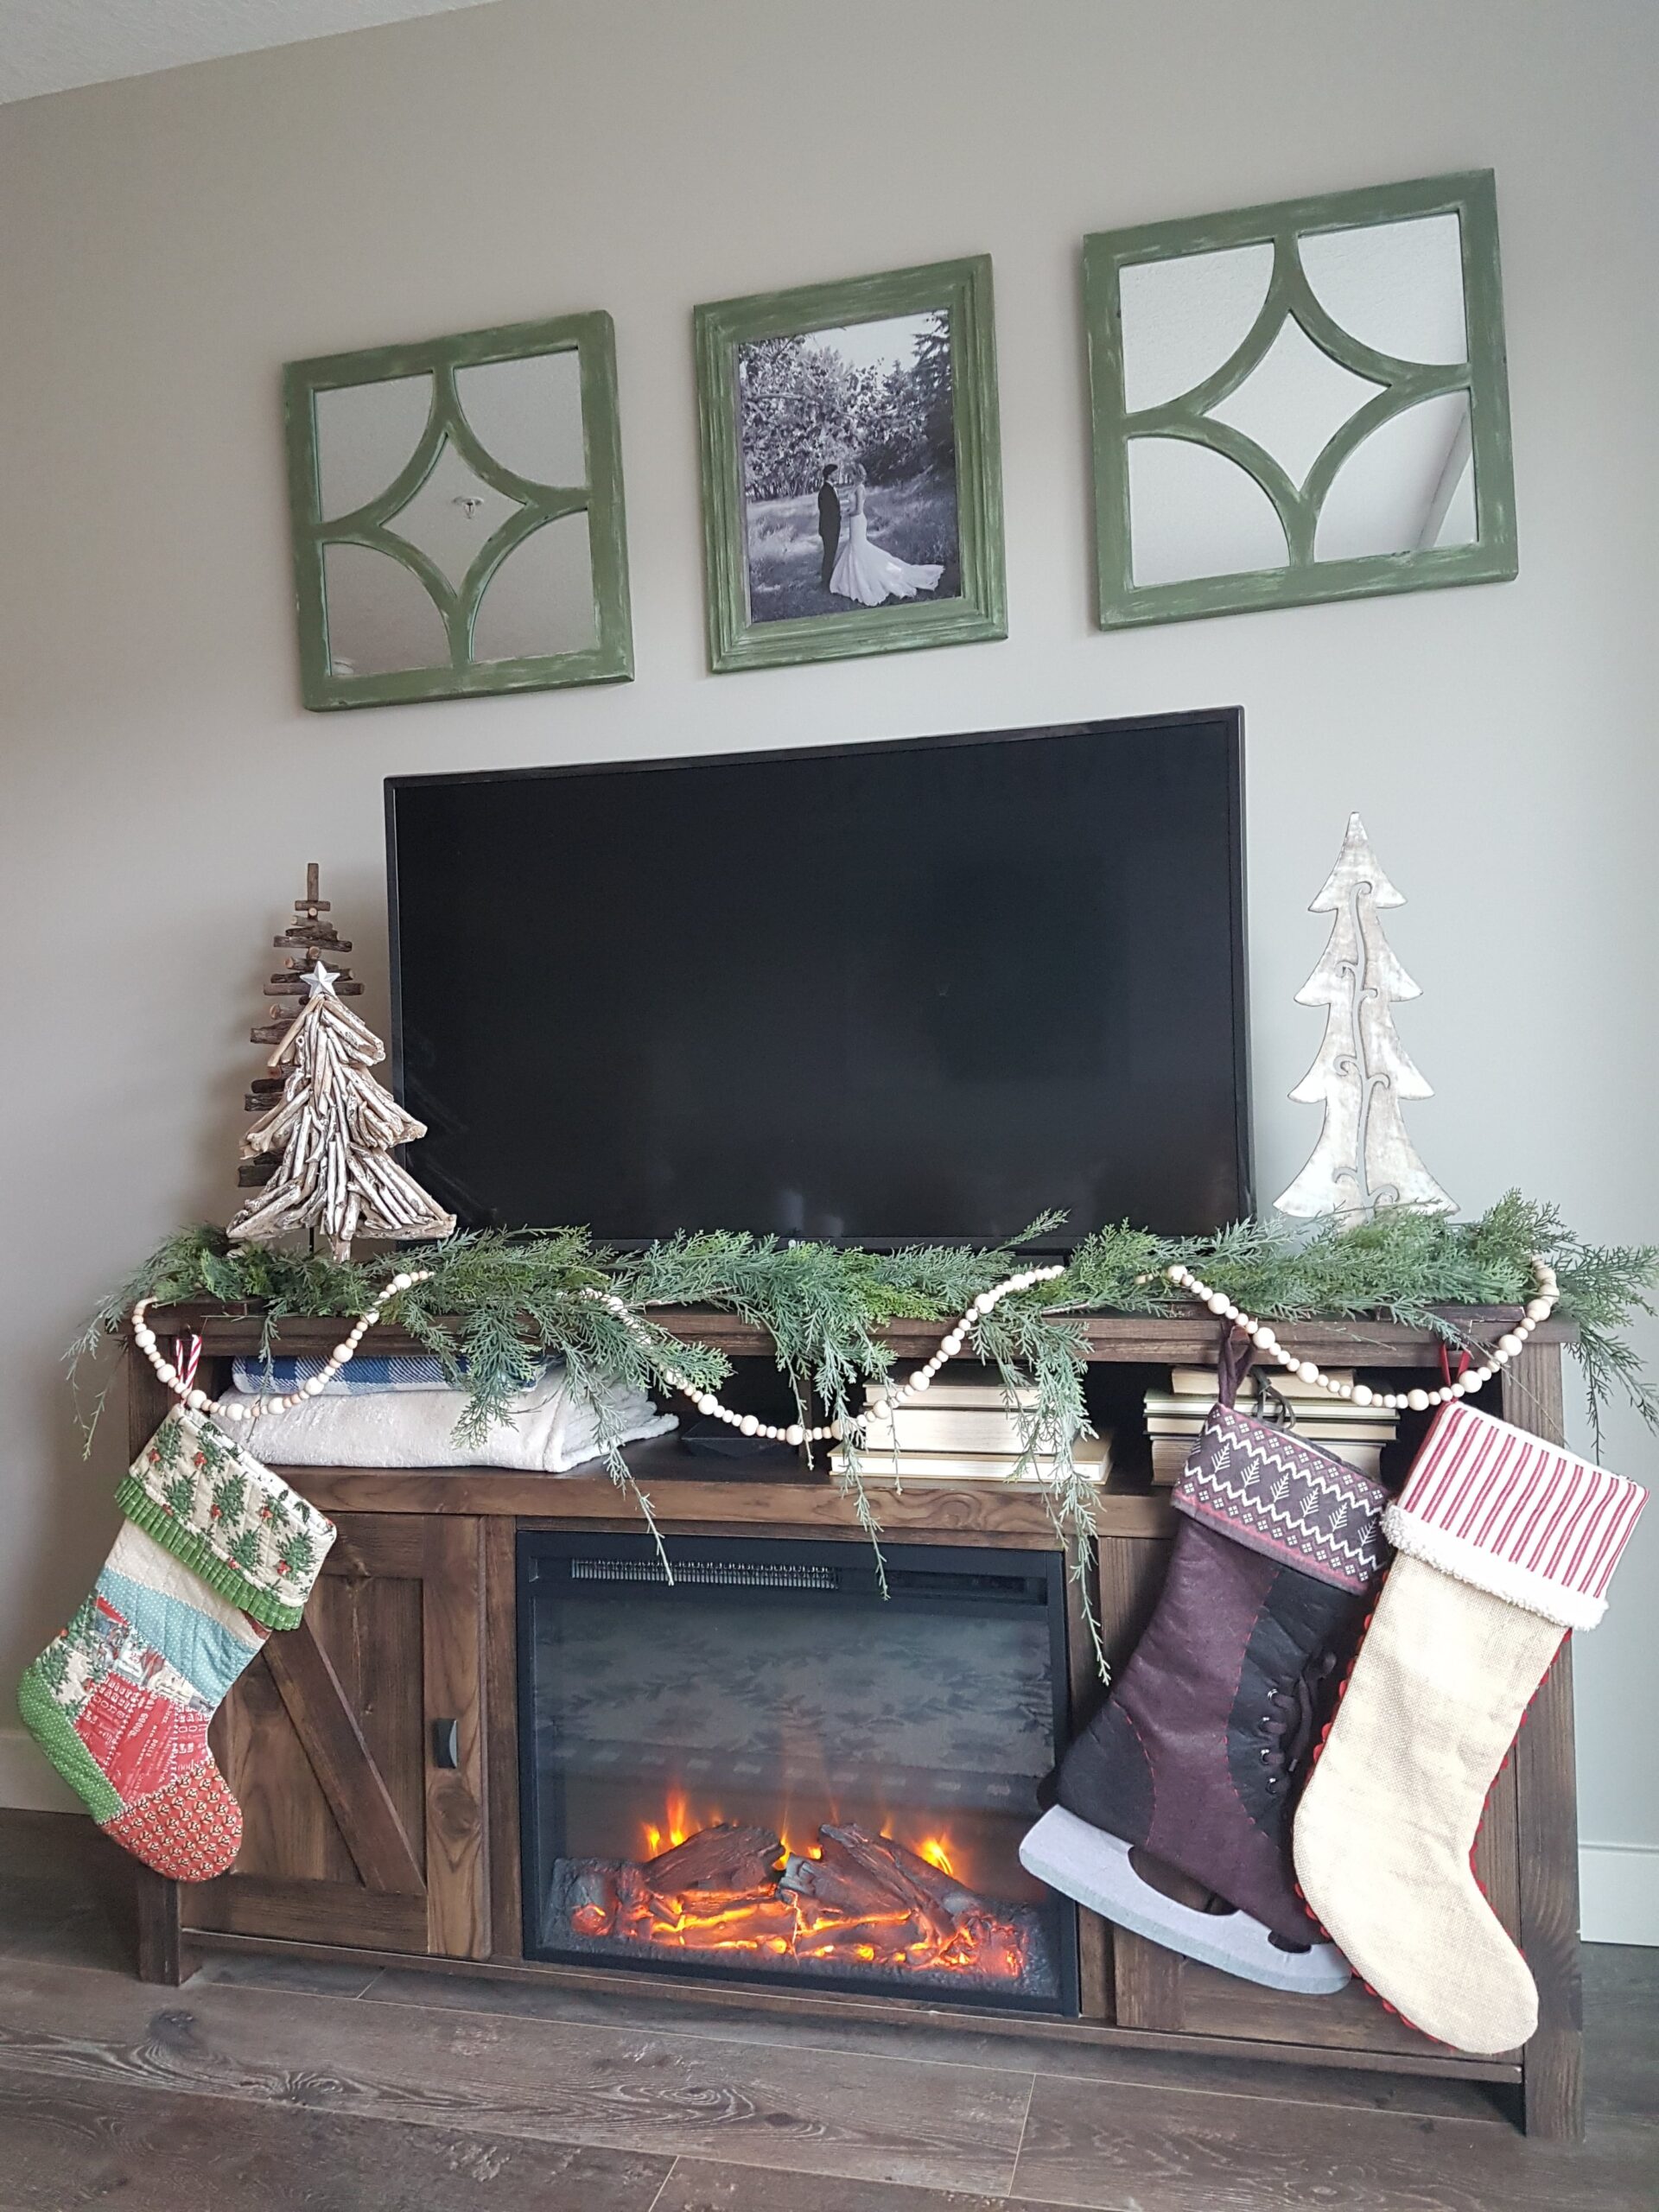
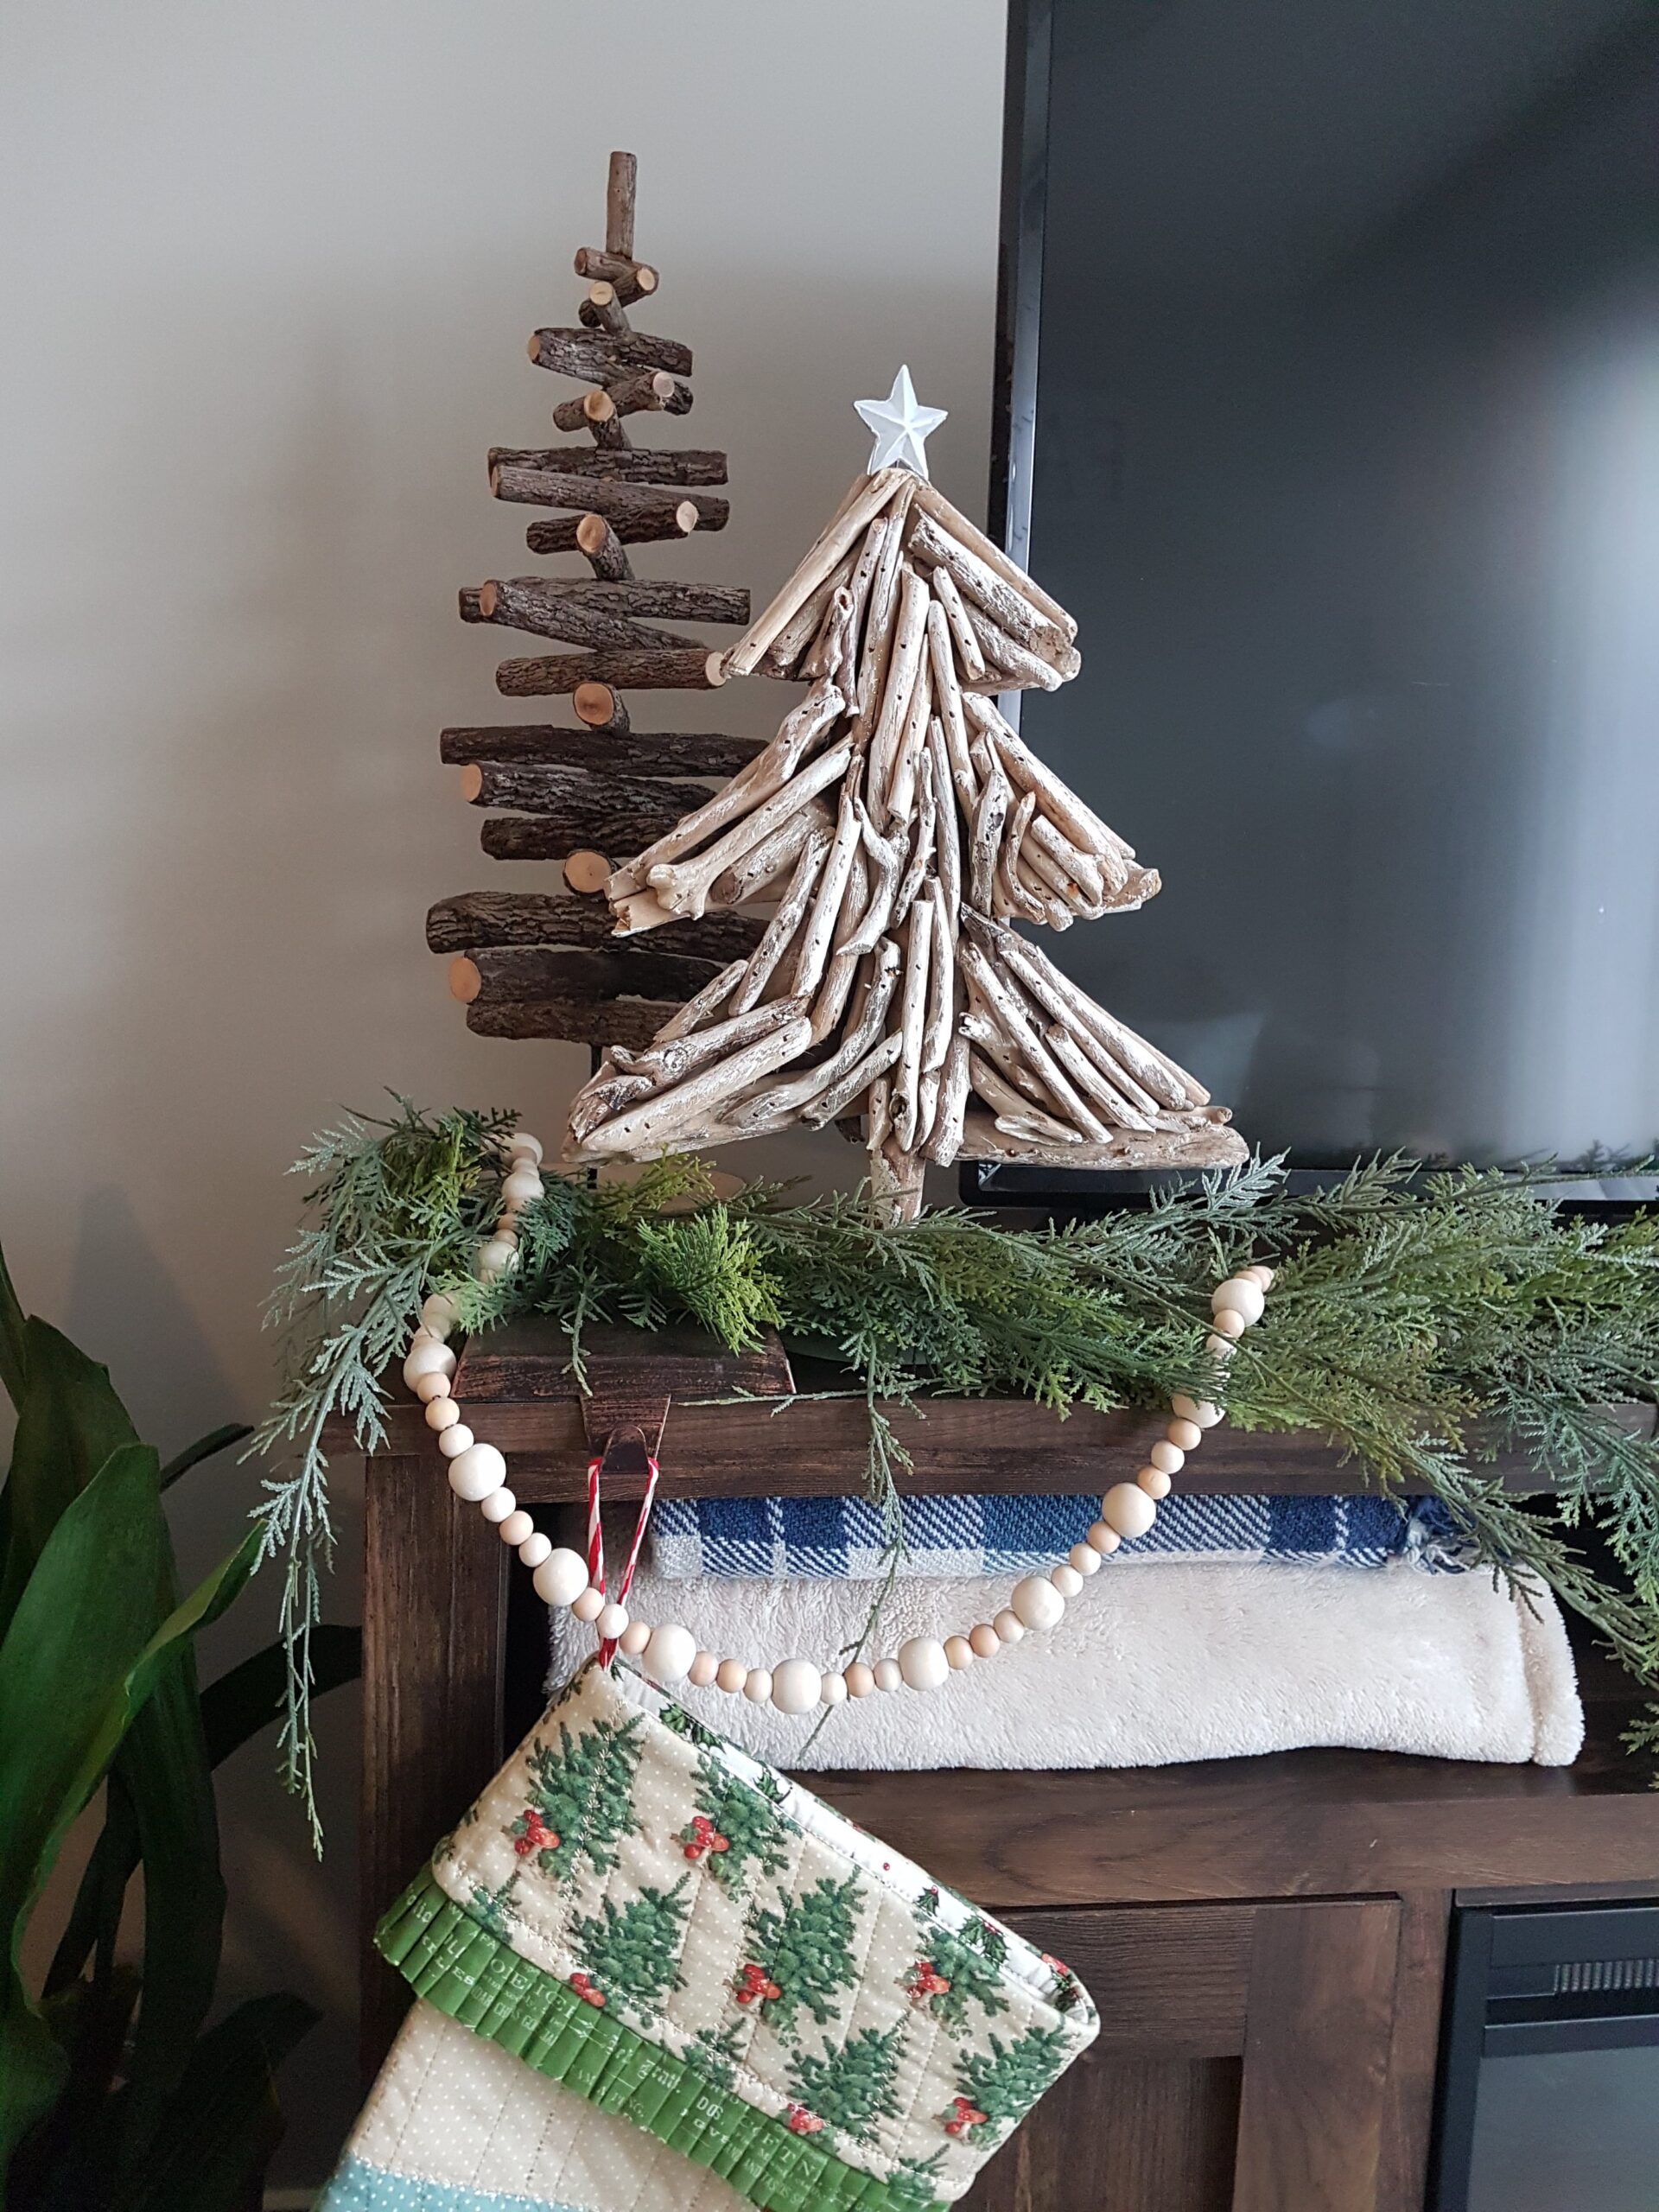
Here’s how to make it:
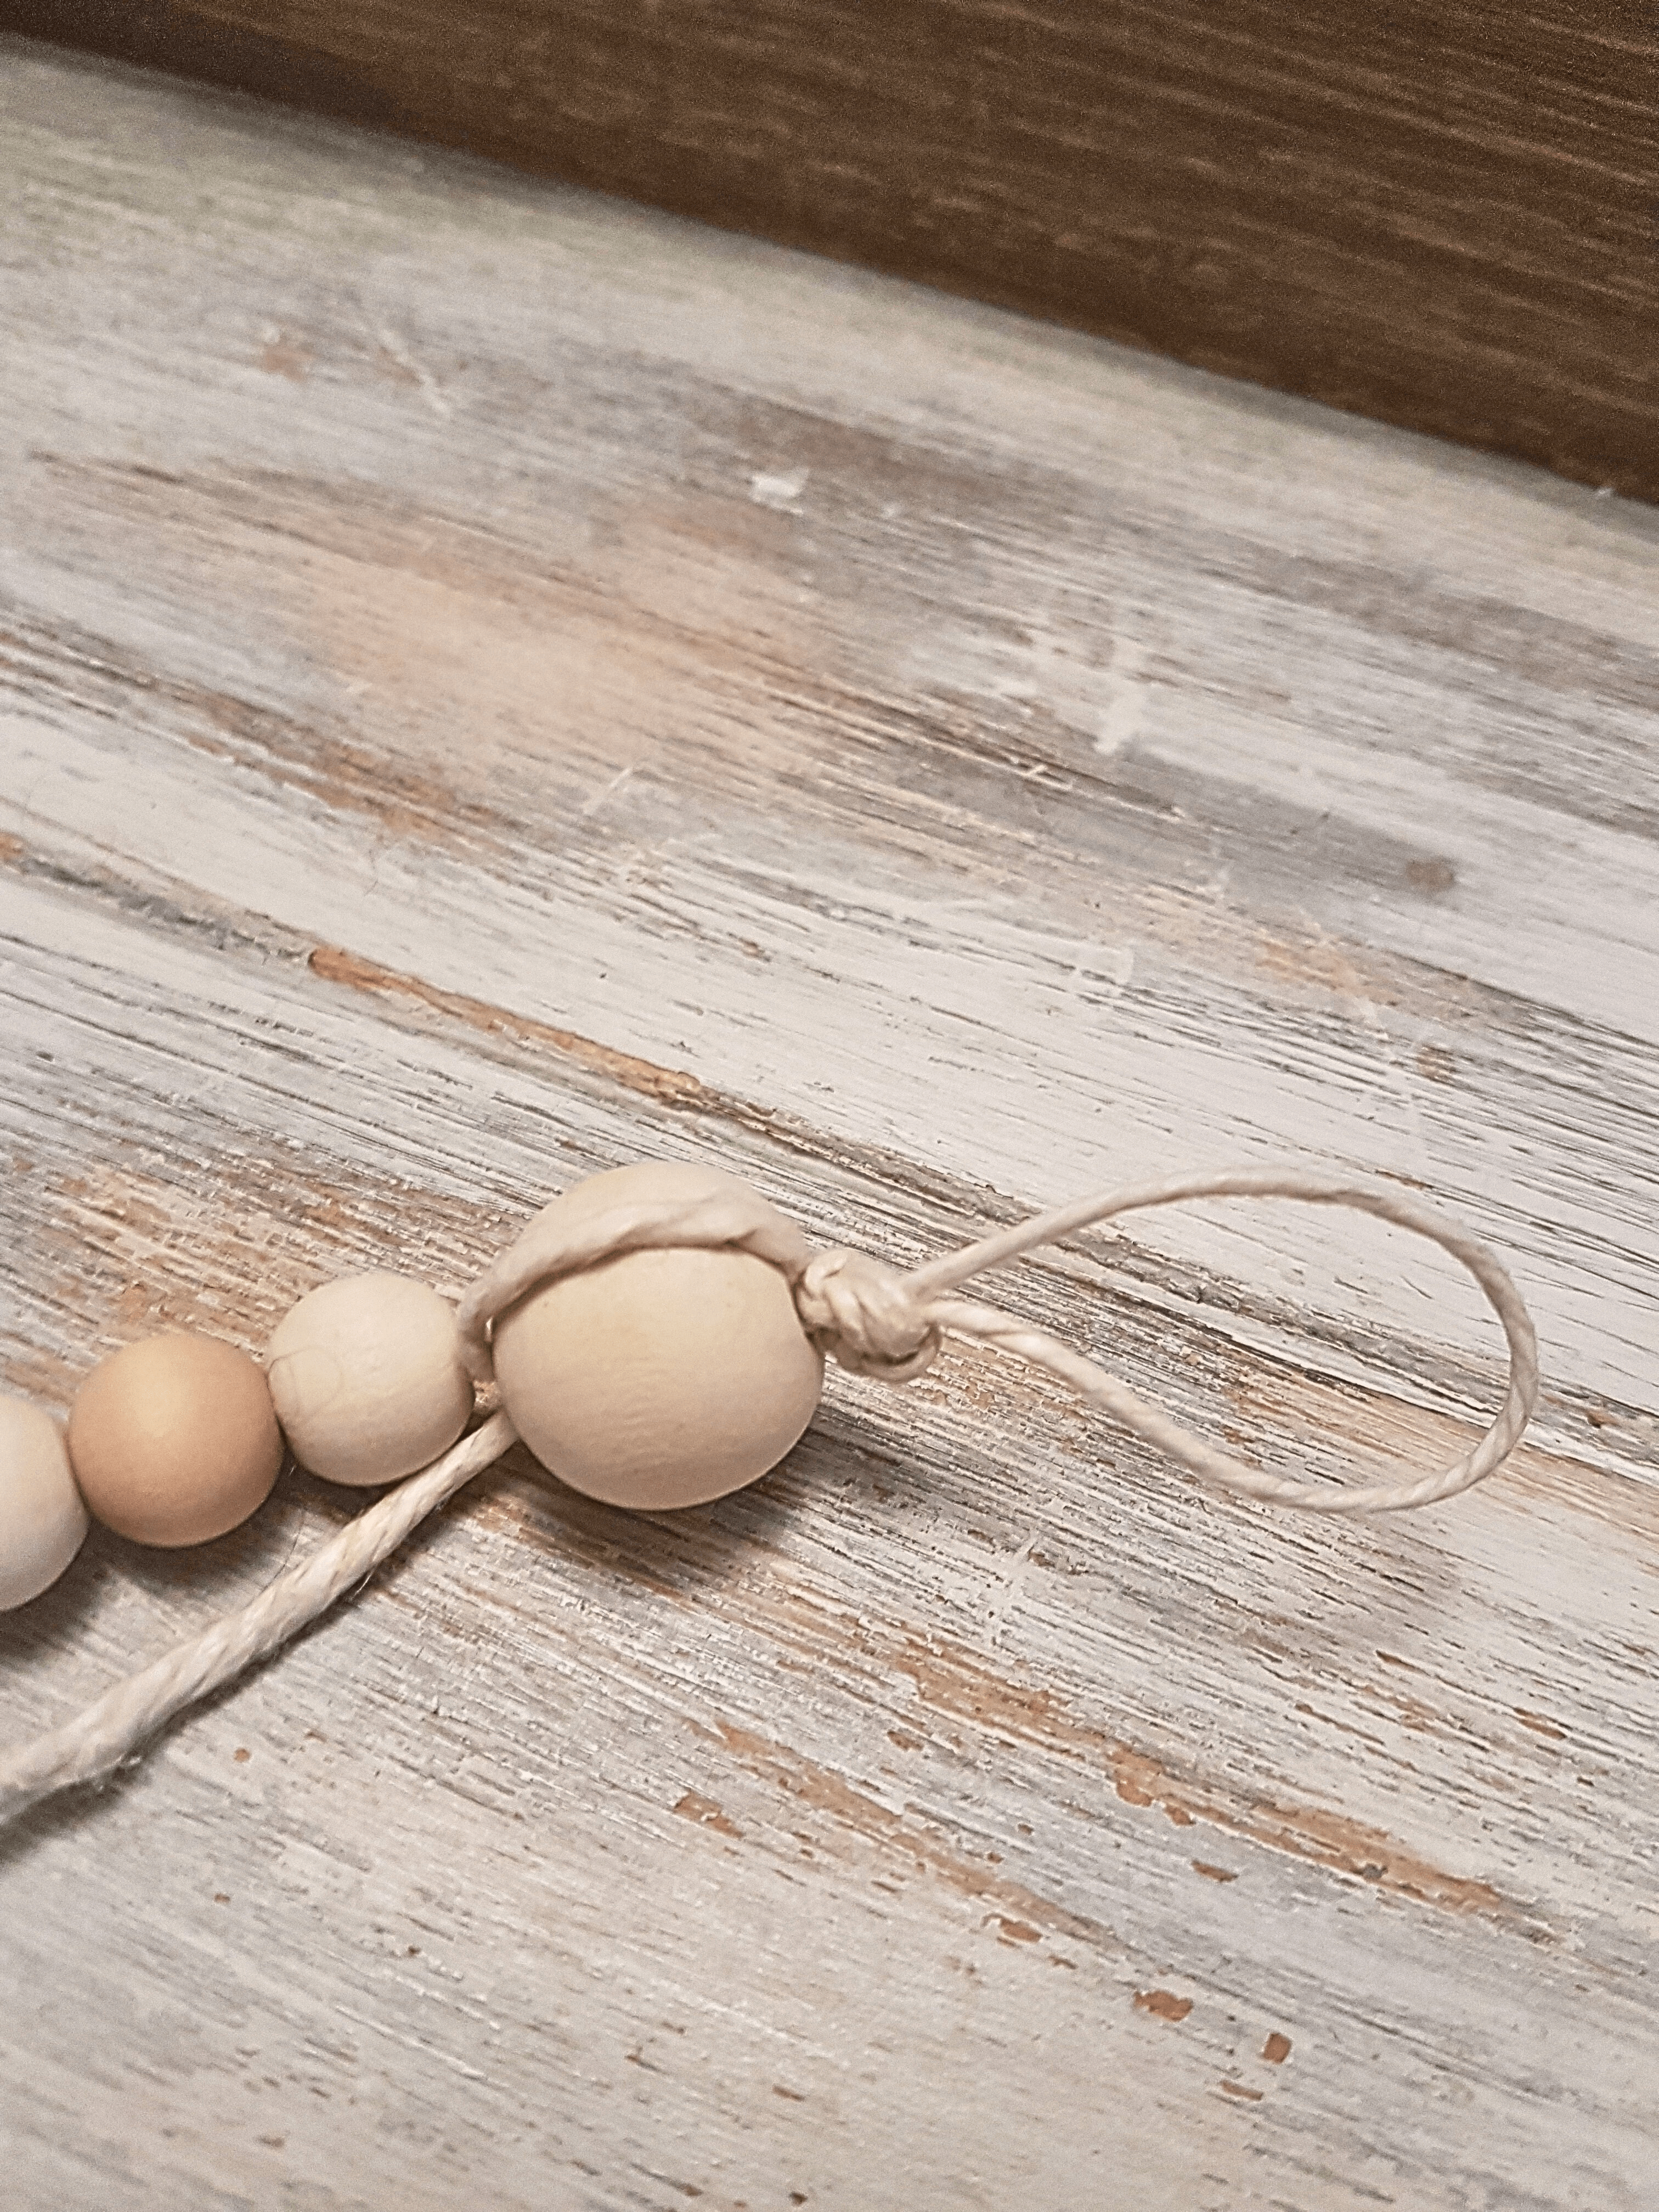
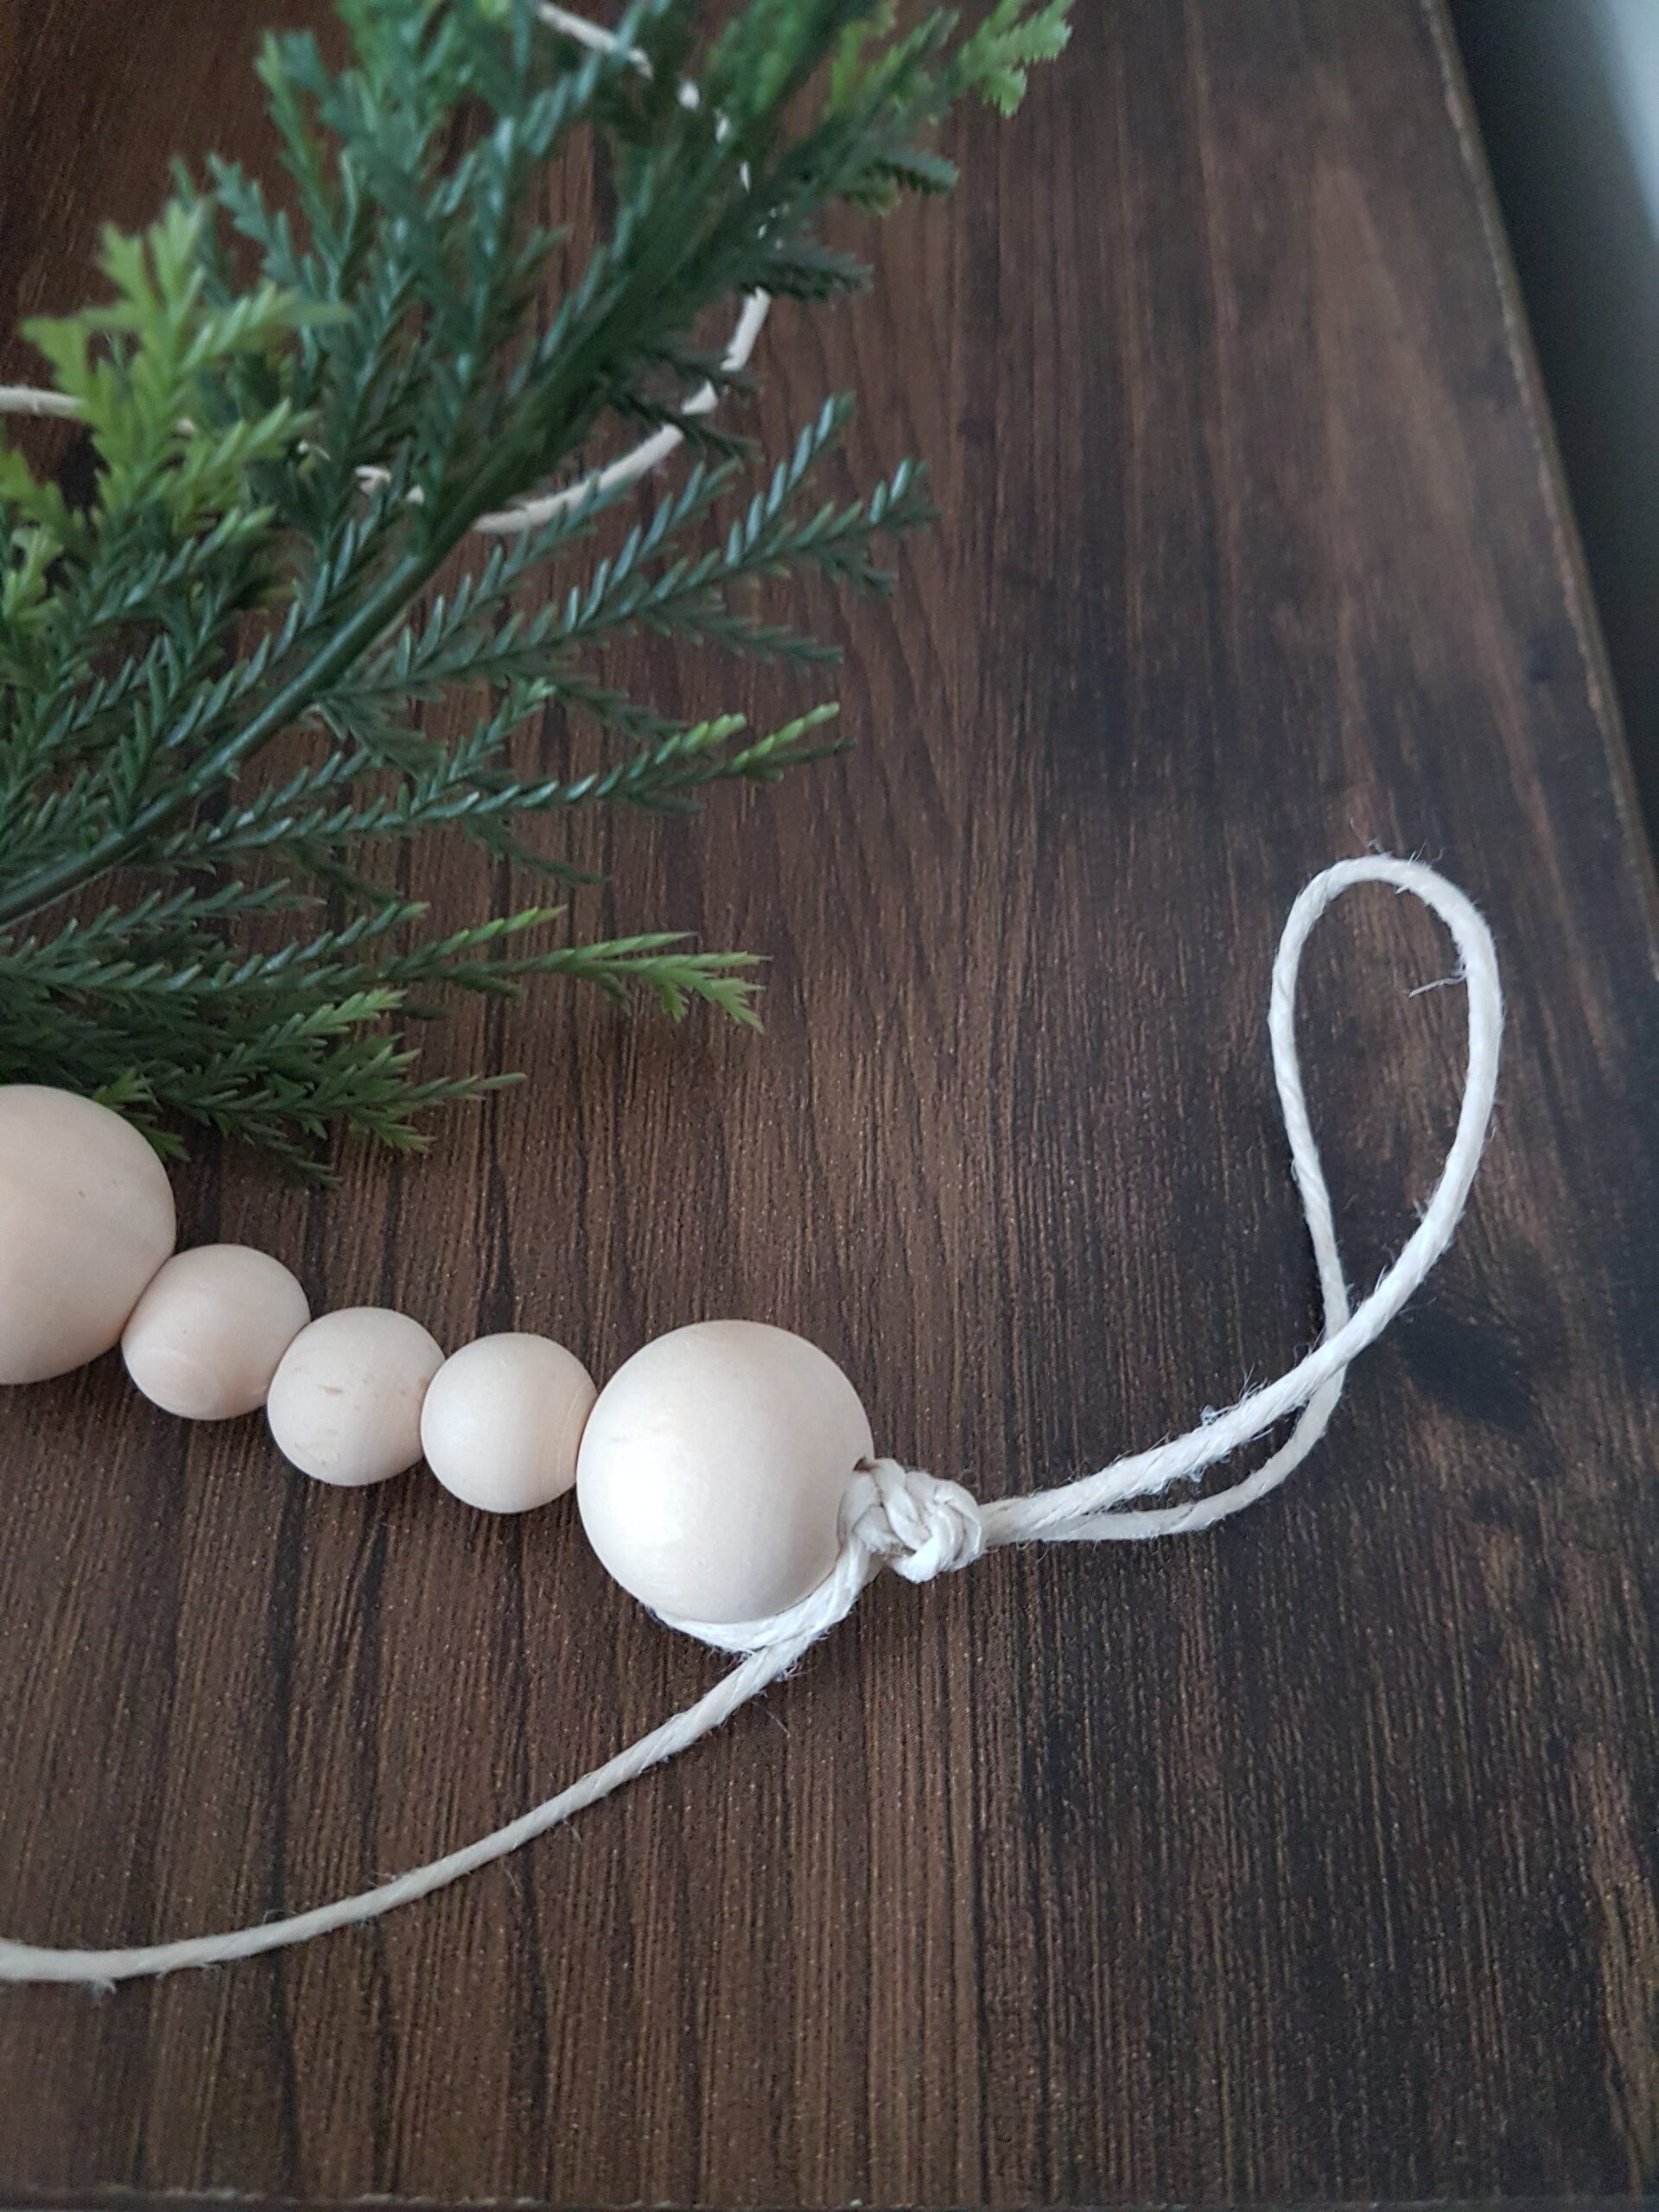
- Measure your length of twine needed & cut it to the right length with a bit of extra length for tying knots at the end. Create a small loop on one end and tie a double-knot to secure the loop (this loop is optional but allows you to hang the garland more easily). Then add a large bead after your loop, and loop your twine through this large bead (this creates a secure end to your garland, preventing it from coming un-done and beads falling off).
2. Determine the pattern that you want your garland to be. For mine, I did 3 smaller beads on either side of a large bead. This was partly because the smaller beads are less expensive than the large ones. So my pattern went like 1 large bead, 3 smaller beads, 1 larger bead, 3 smaller beads, etc. I also intentionally purchased the smaller beads in two slightly different colours (this was a natural variation in the wood), and randomly varied these two different wood tones. This is a subtle detail that gives the garland a bit more dimension and character.
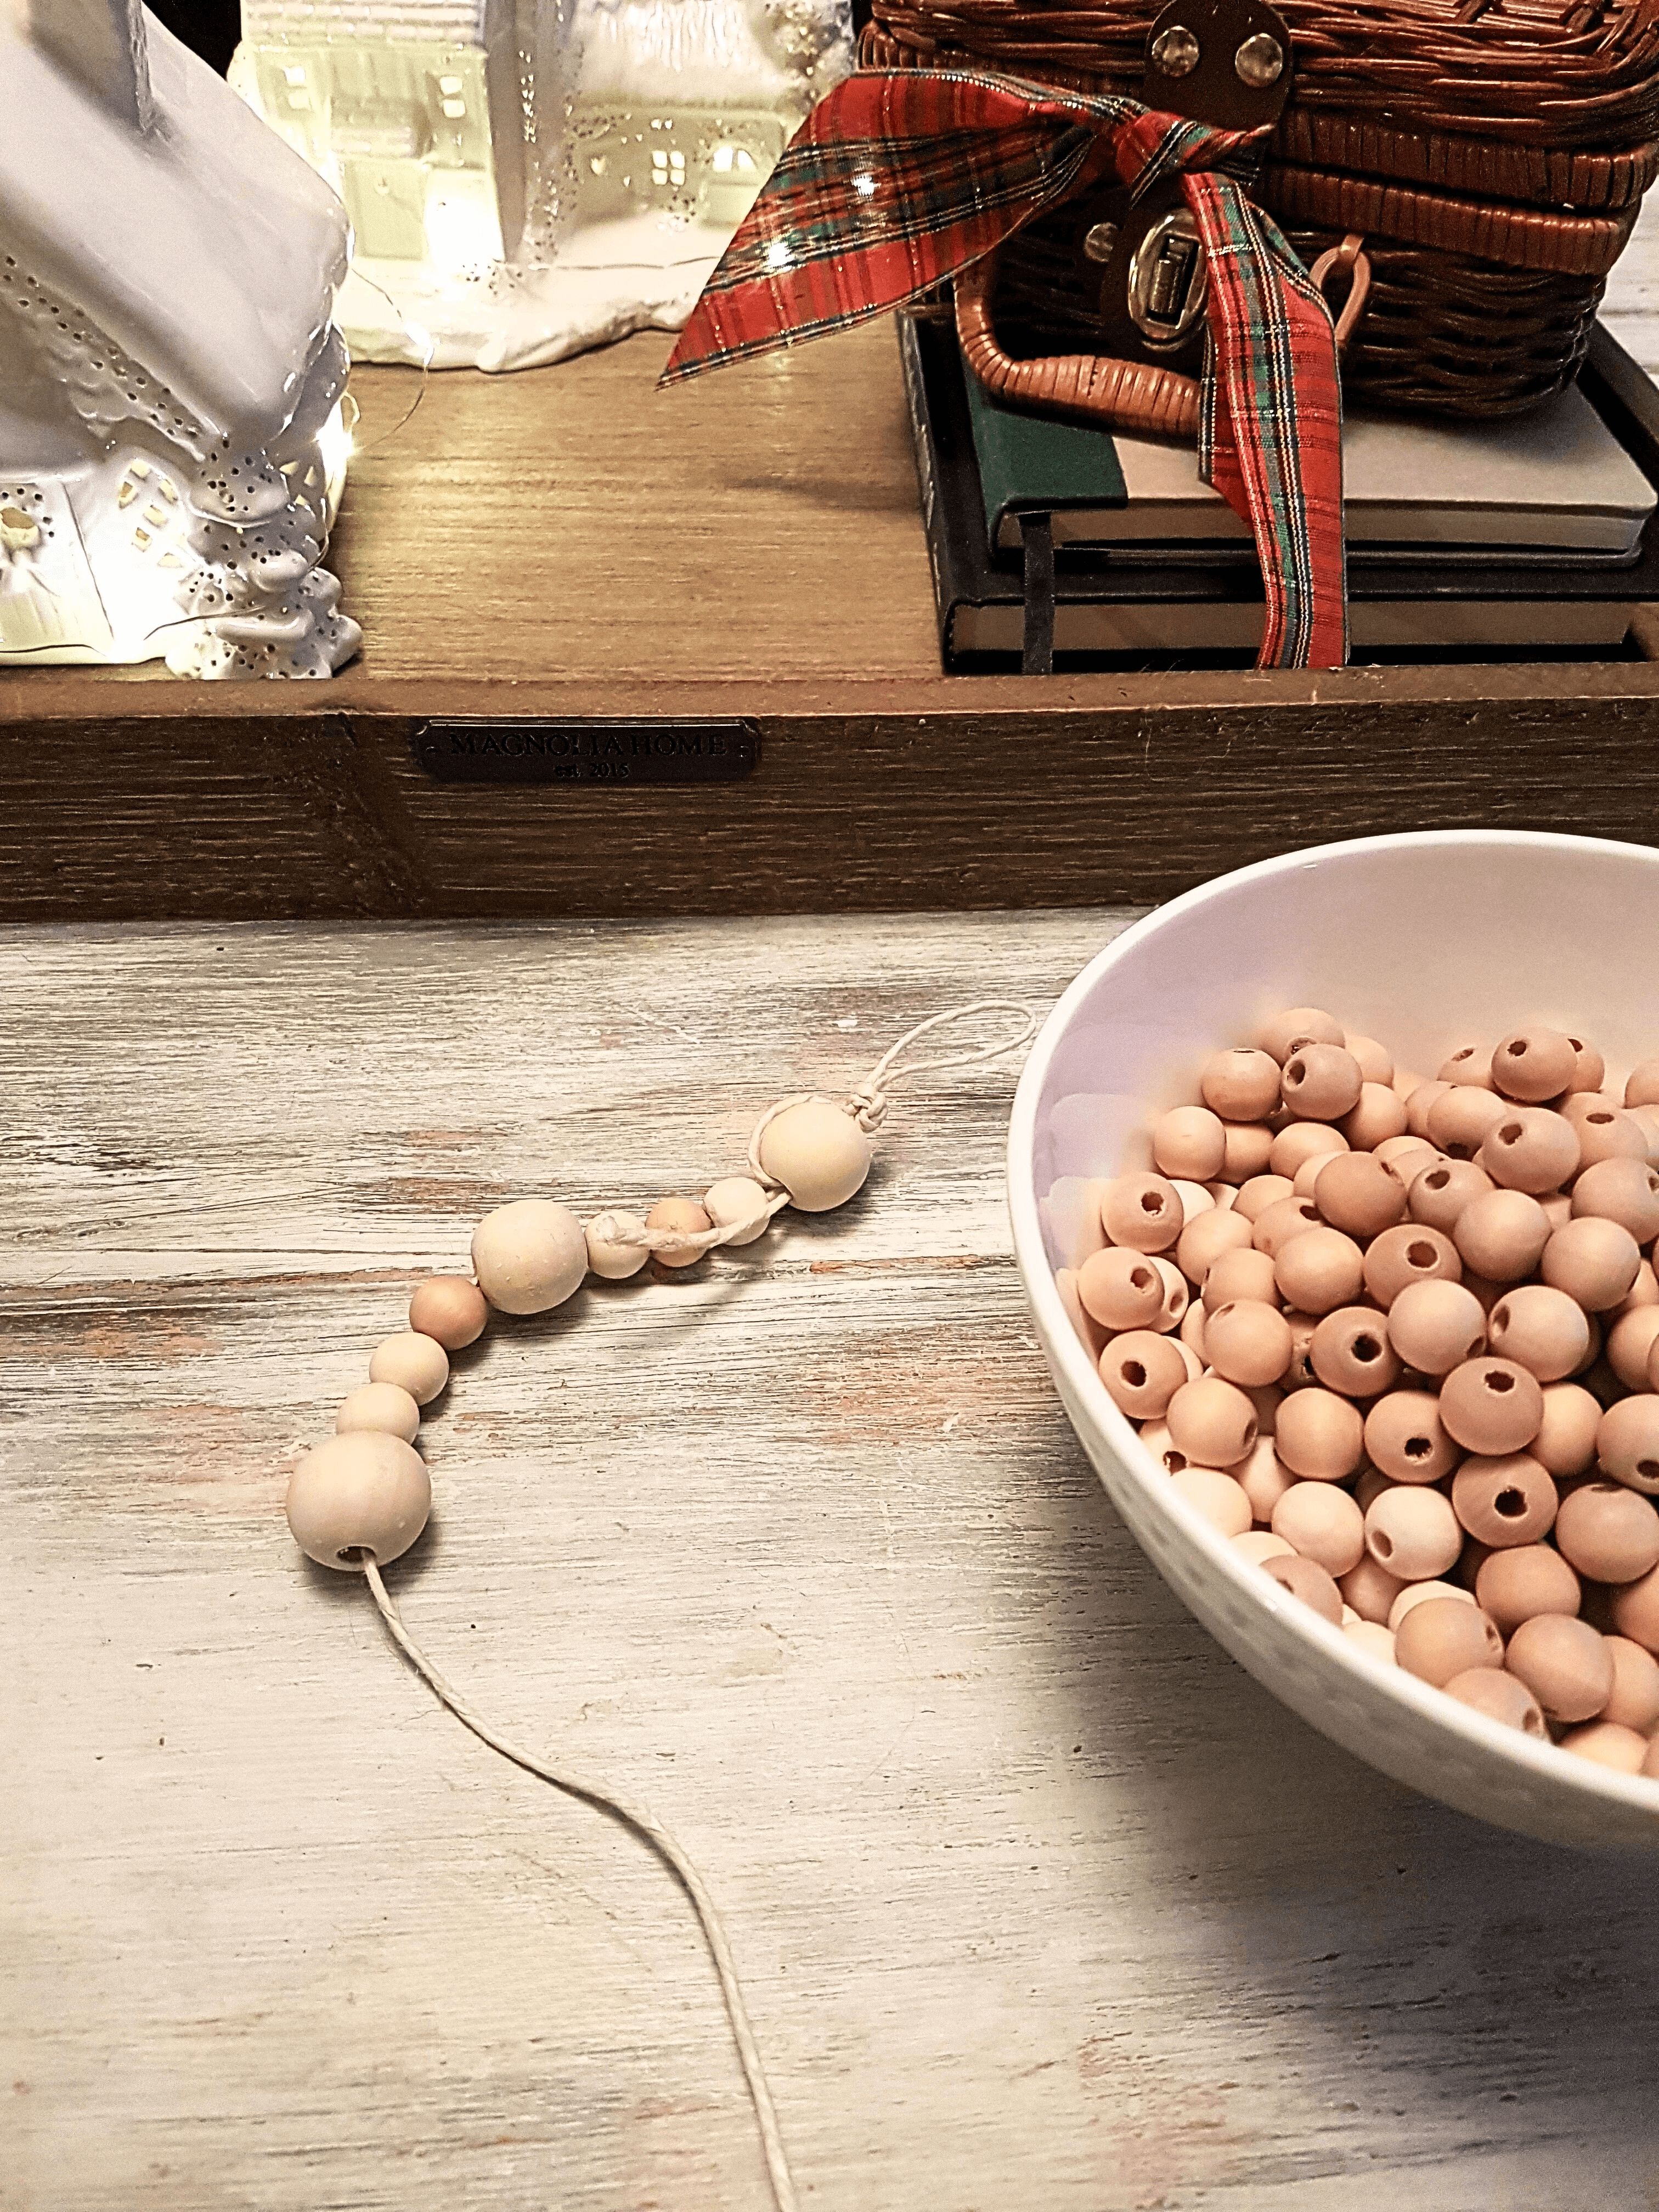
3. String your beads until you’ve reached your desired length.
4. At the end, use a large bead and loop the string through the bead again to create a secure end (like the picture below). Then create a loop with the twine and knot it again (optional).
And that’s it! Such an easy project. The hardest part is figuring out how long of a garland to make and how many beads to buy. I ended up with a full bag of extra beads, haha!
Enjoy your garland!




Join the List
Stay informed & receive my latest healthy living tips to your inbox.