DIY Wicker Planters
Create your own wicker-style planters with durable and natural materials. This budget-friendly project couldn’t be easier and will help you create a gorgeous and customizable container garden!
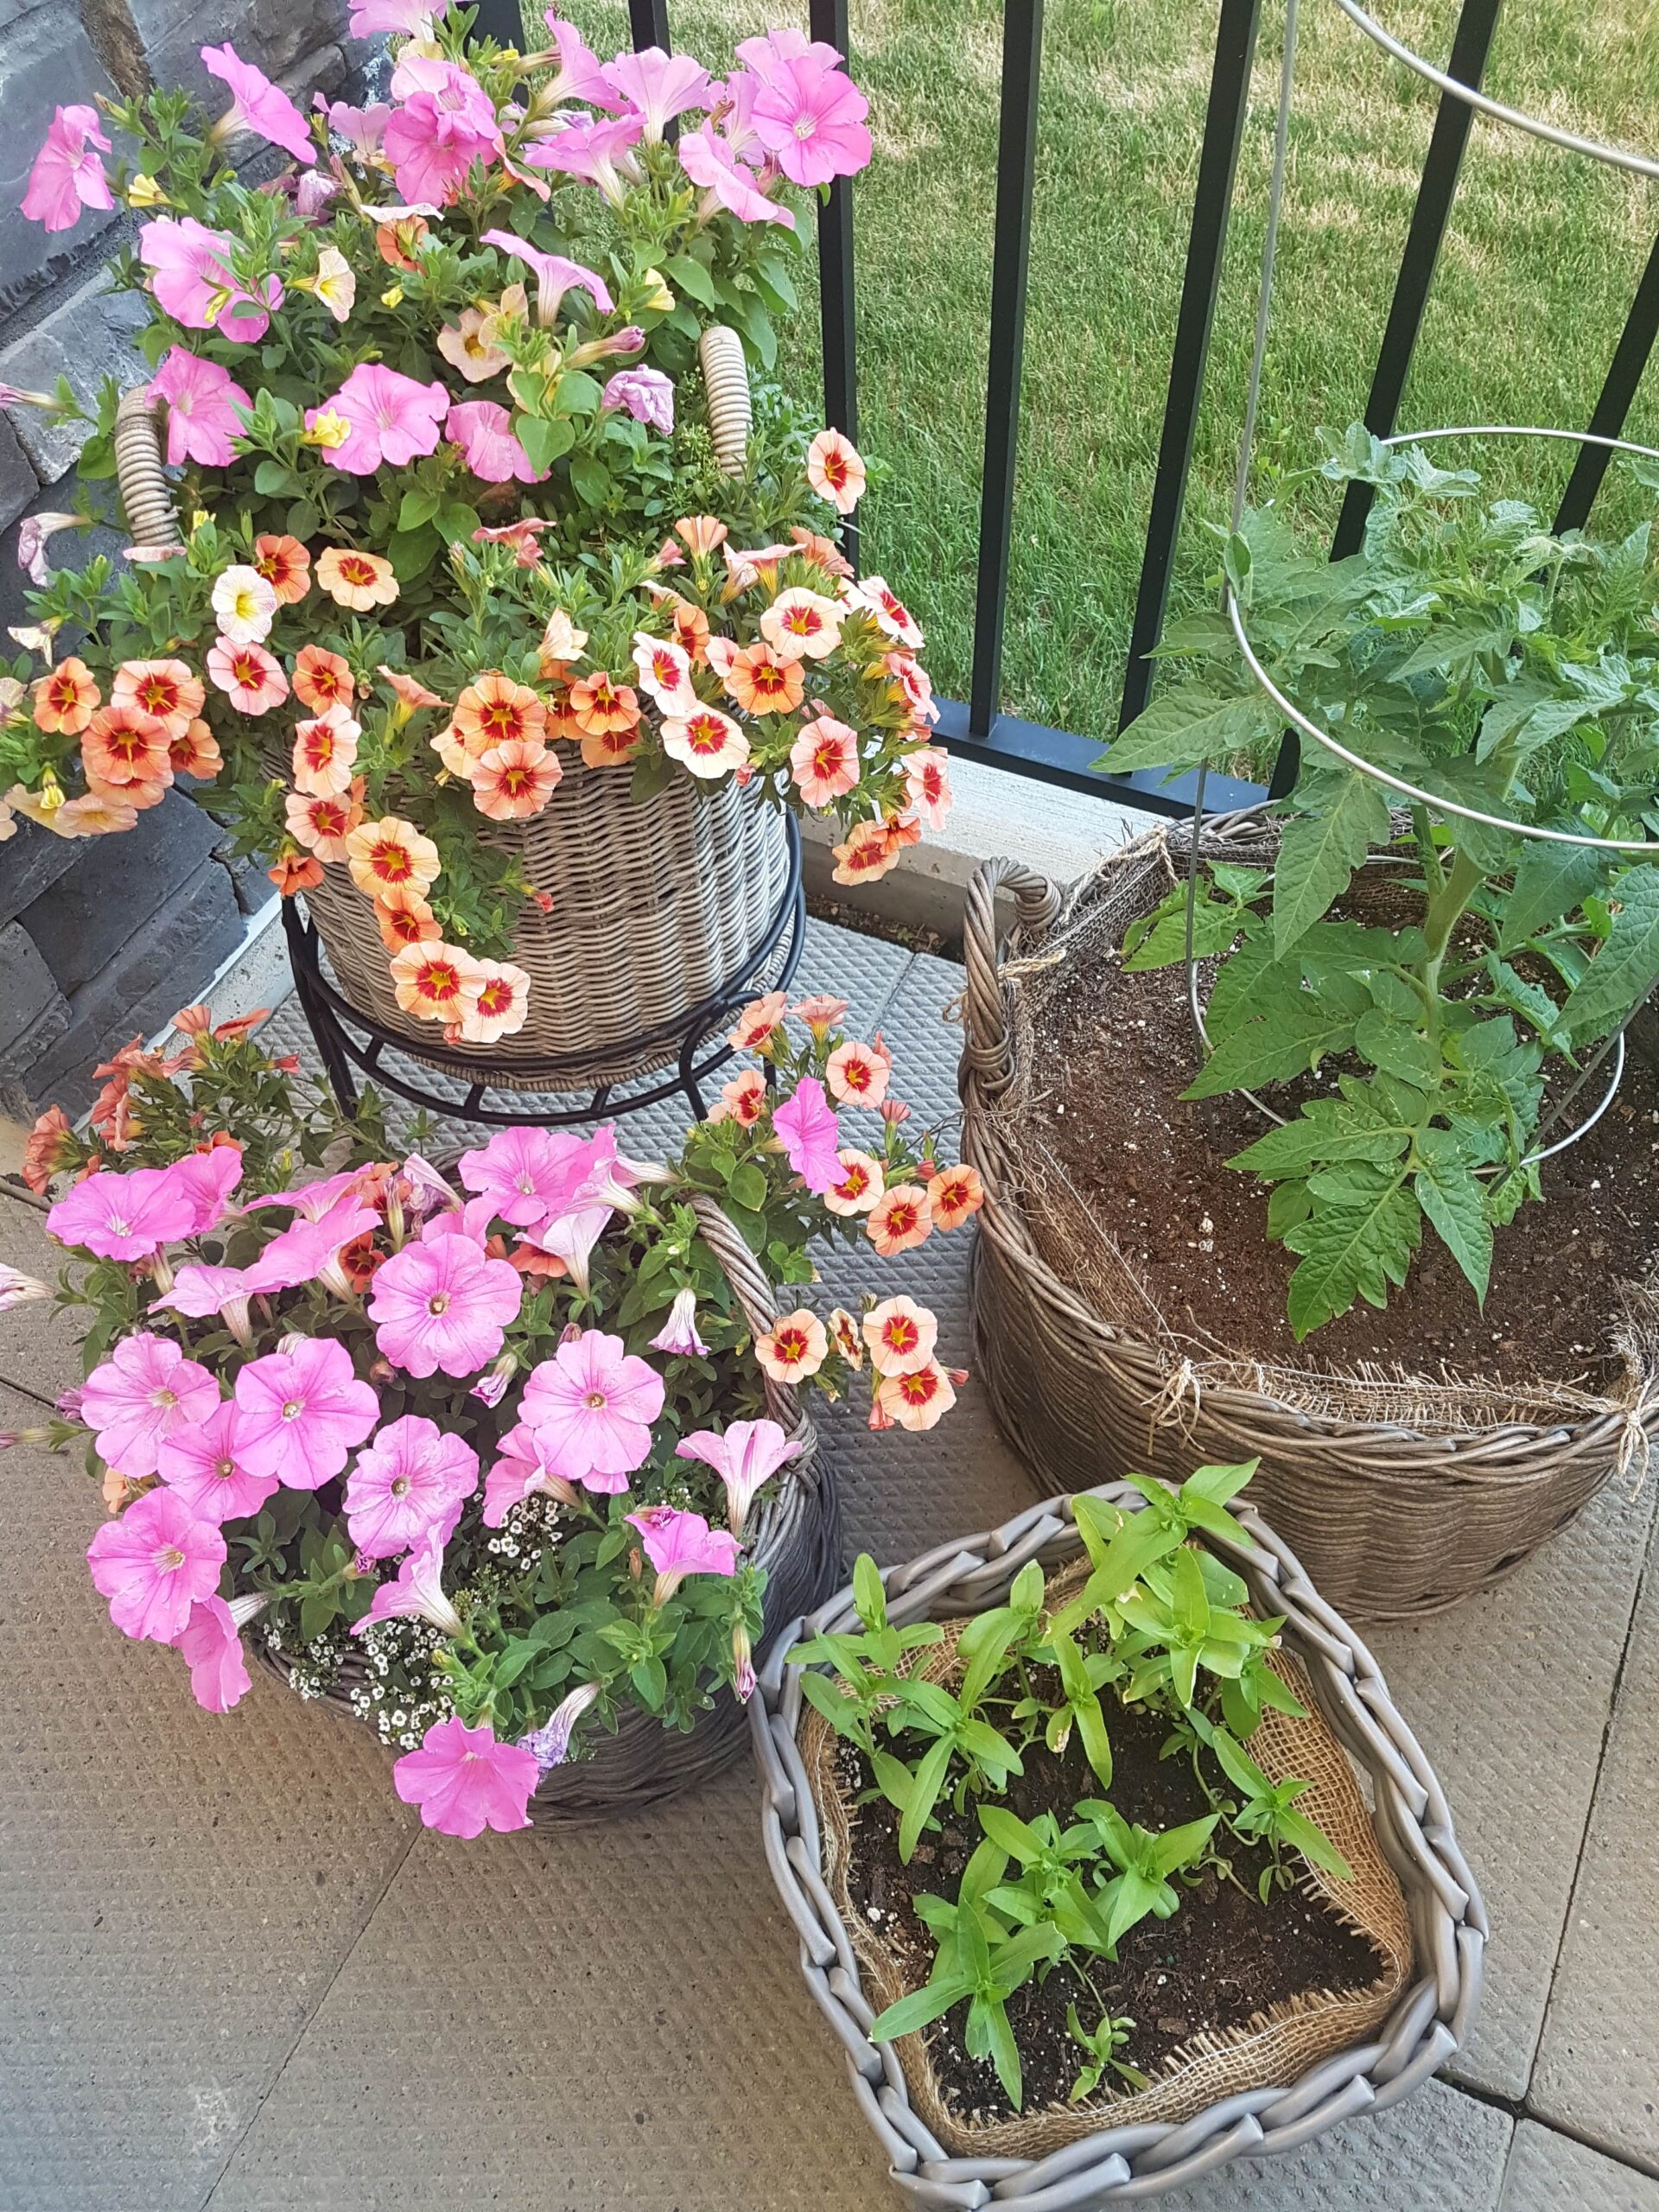
A few years ago, I wanted to expand my patio container garden, and of course was feeling picky about what containers or pots to use. I wanted to achieve a country or cottage look, and realized that I was really drawn to the wicker-style planters that I had seen a lot on Pinterest. As I scoured the stores nearby and all of the online stores I could think of, I really couldn’t find ANY that were the style I wanted and that were also available. The only options I did find that were available were super expensive!
I was inspired by the look of ones like these:

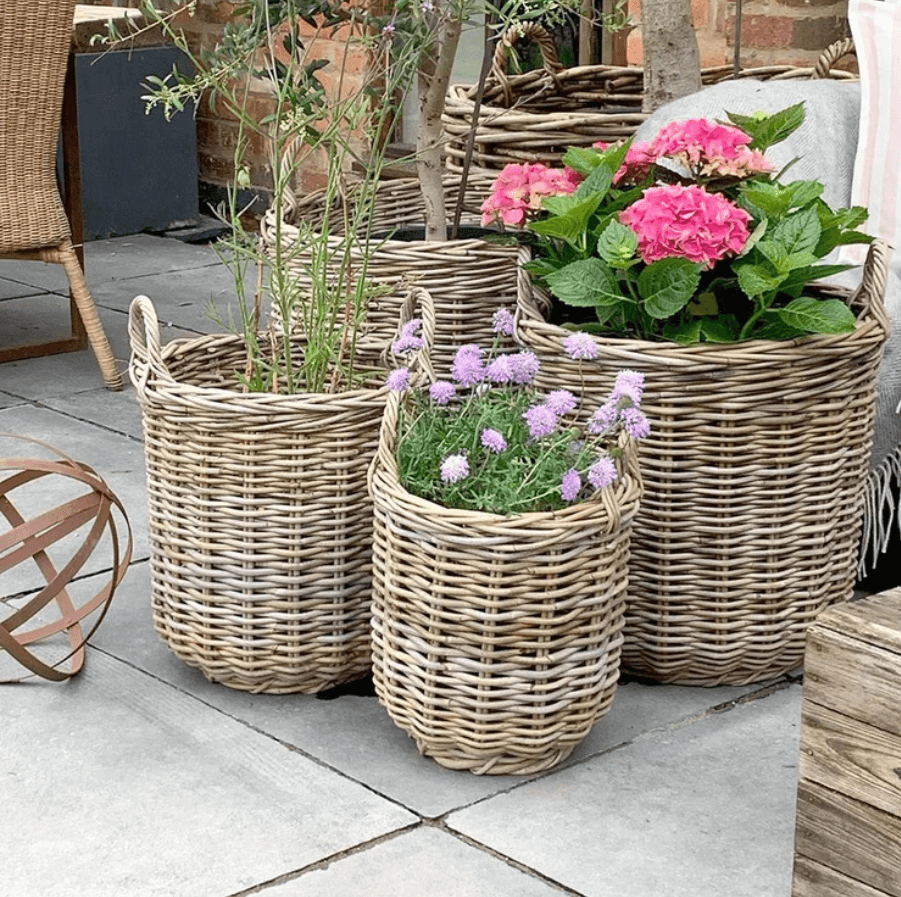
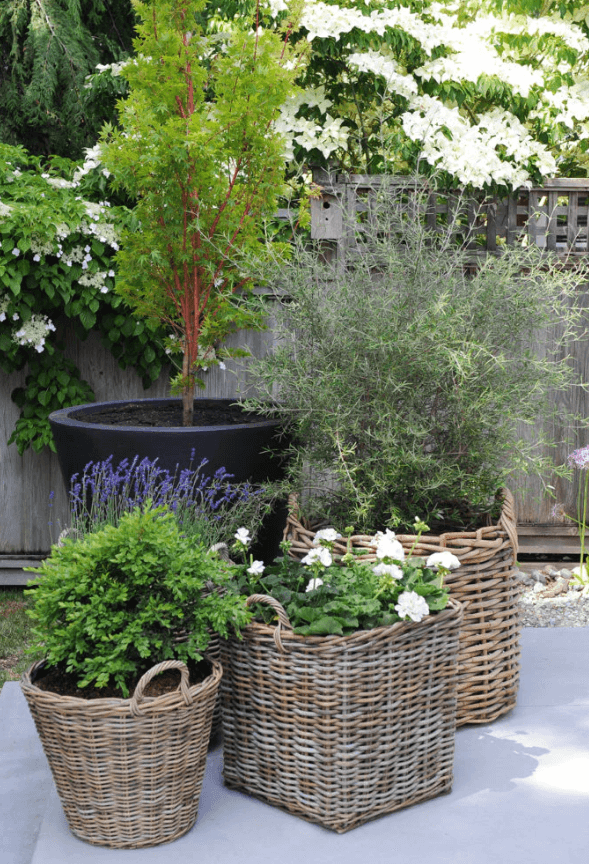
That was when I decided I needed to figure out a way to create my own! I thought that if I could at least find some suitable baskets, I could figure out a way to line them. So here’s what I did! I found some water-resistant baskets at HomeSense, and then purchased a large roll of burlap from Canadian Tire to use as a lining. You can also use a thick garbage bag instead of burlap, but I wanted to use a natural, biodegradable product for my planters to help protect the quality of the soil as well as to be more environmentally friendly. Also, if you’re lucky, you may find a plastic pot that fits perfectly inside the basket, which just makes the whole process easier.
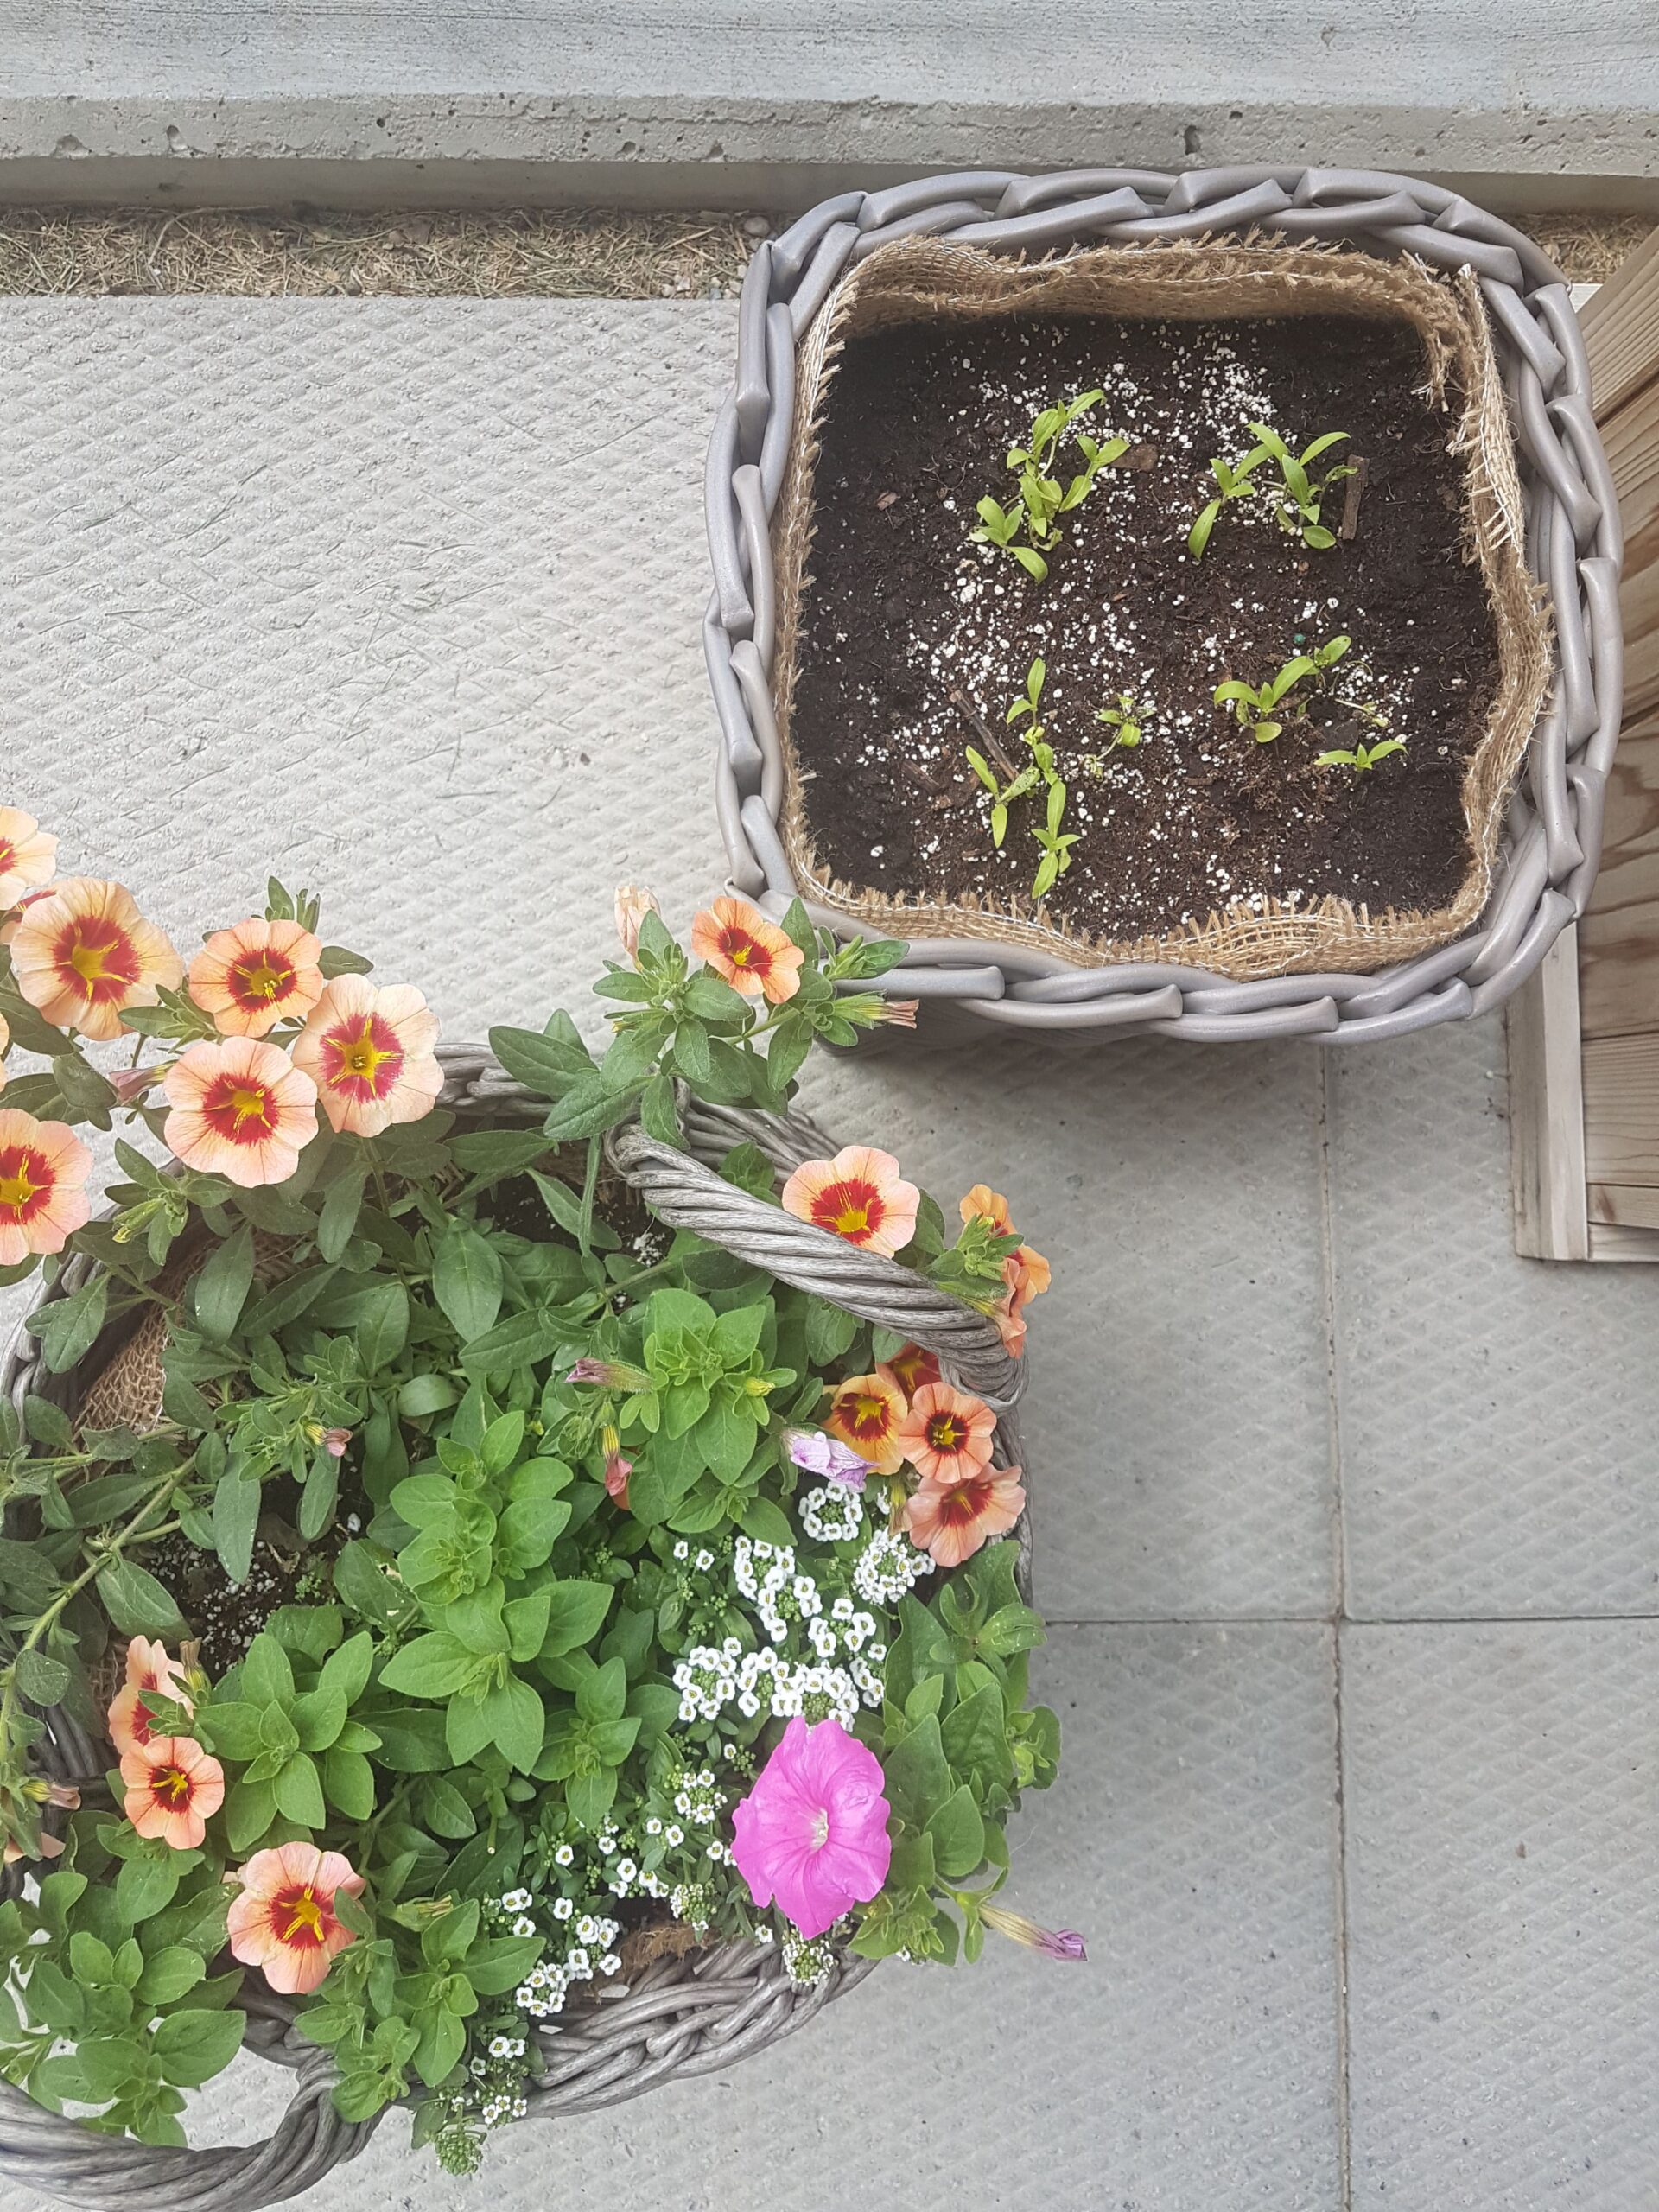
In my image below, the top planter shows a plastic pot that fit perfectly inside this basket, and the bottom planter shows how the burlap looked after 3 years of use. They are holding up well! Because heat can cause the chemicals in plastic to leech into their “environment” over time, I prefer to only use plastic pots for planting flowers, rather than my edible plants. But any garden is better than no garden, so use what you can!
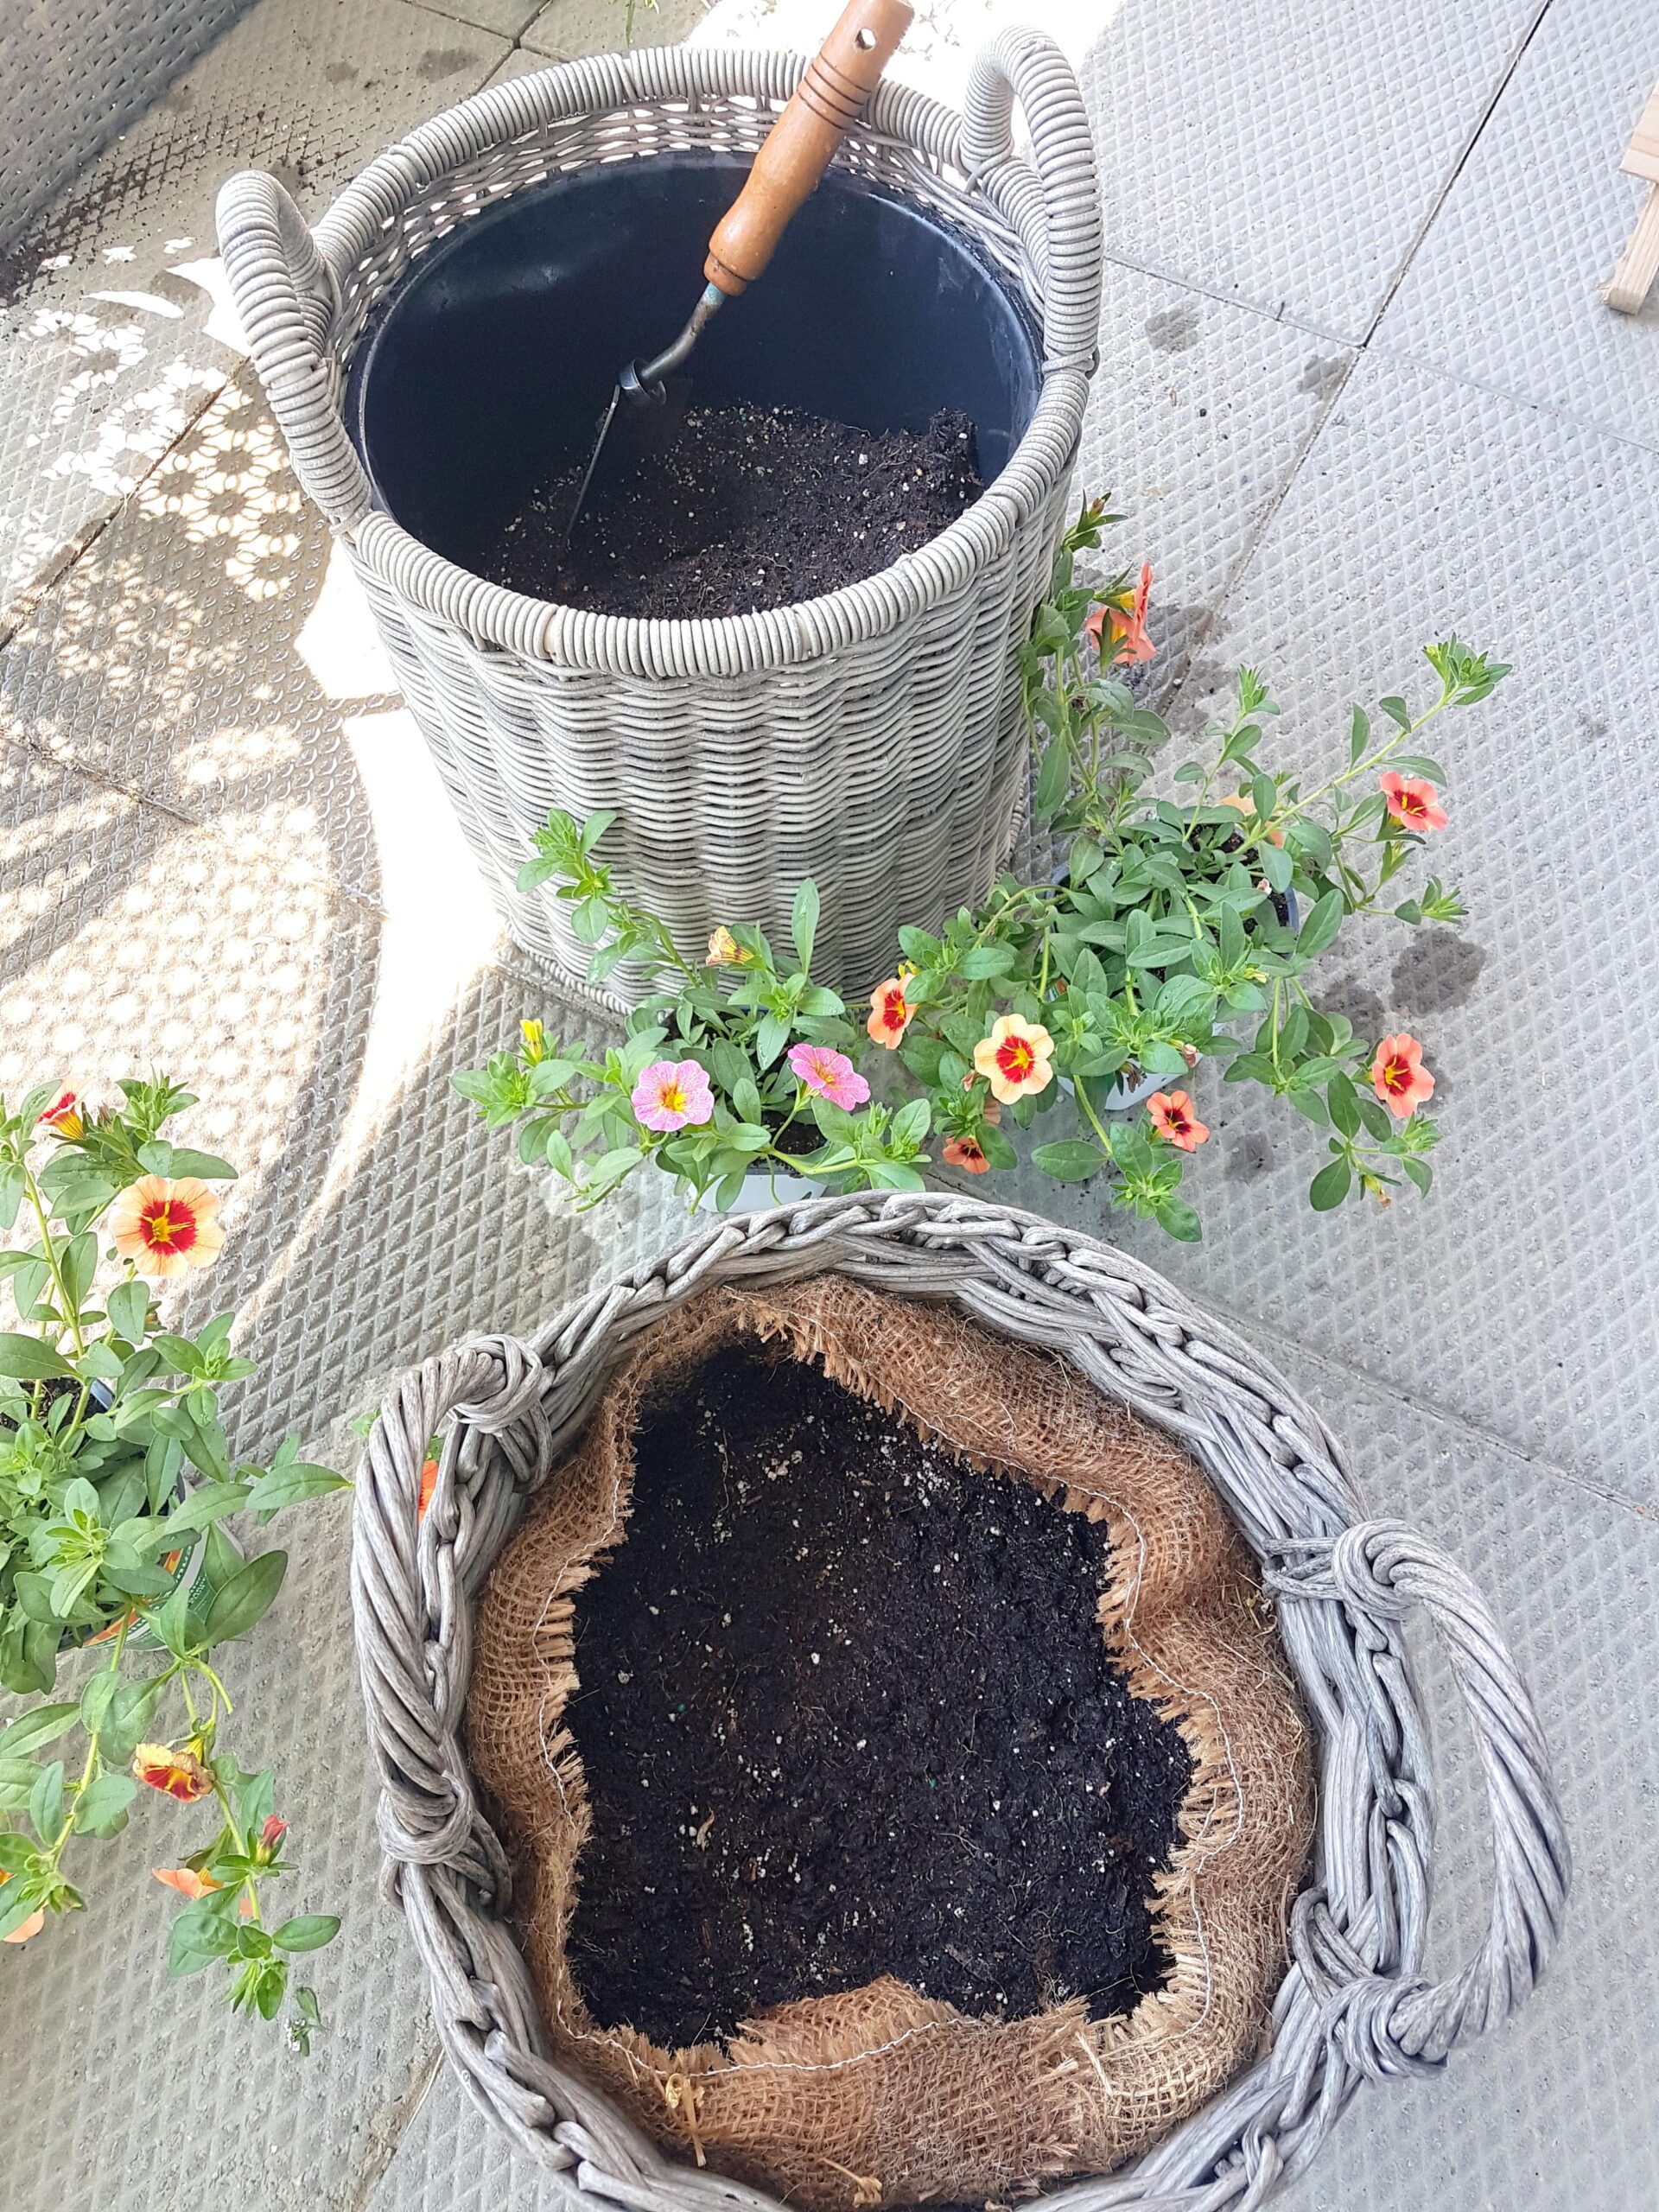
Because both the burlap and the baskets have “holes” in the bottom (areas where water could escape), there was no need to add more holes to the bottom for drainage. In fact, because the burlap has such a loose weave, I added an extra layer of it to the bottoms of my baskets to help better contain the soil.
I’ve used these same planters with the same burlap lining for three summers now, and they are doing great! The burlap is holding up nicely. In total, I did 3 basket planters with burlap lining, and 1 basket planter with a plastic pot inside. What I’ve found is that the burlap starts to shrink a little over time (it becomes a bit more stiff), so I ended up replacing the lining on one of them this year just to make it a little easier to fill with soil.
Directions:
- Find your baskets and burlap*. I recommend using baskets that are specified for indoor and outdoor use. If the ones you decide to use are not water-resistant, keep them in a sheltered location to protect them from the elements and extend their life. When choosing your baskets, keep in mind what you want to grow in them because different plants will require a different amount of space. Also make sure that water will be able to drain out the bottom. The burlap roll I used was 20″ wide by 50′ long and costed $16.99 from Canadian Tire (I have PLENTY of burlap left on this roll).
- Add a couple of layers of burlap to the bottom of your baskets. I added a third layer to help keep the soil in place. Whatever you use, make sure water can drain through it.
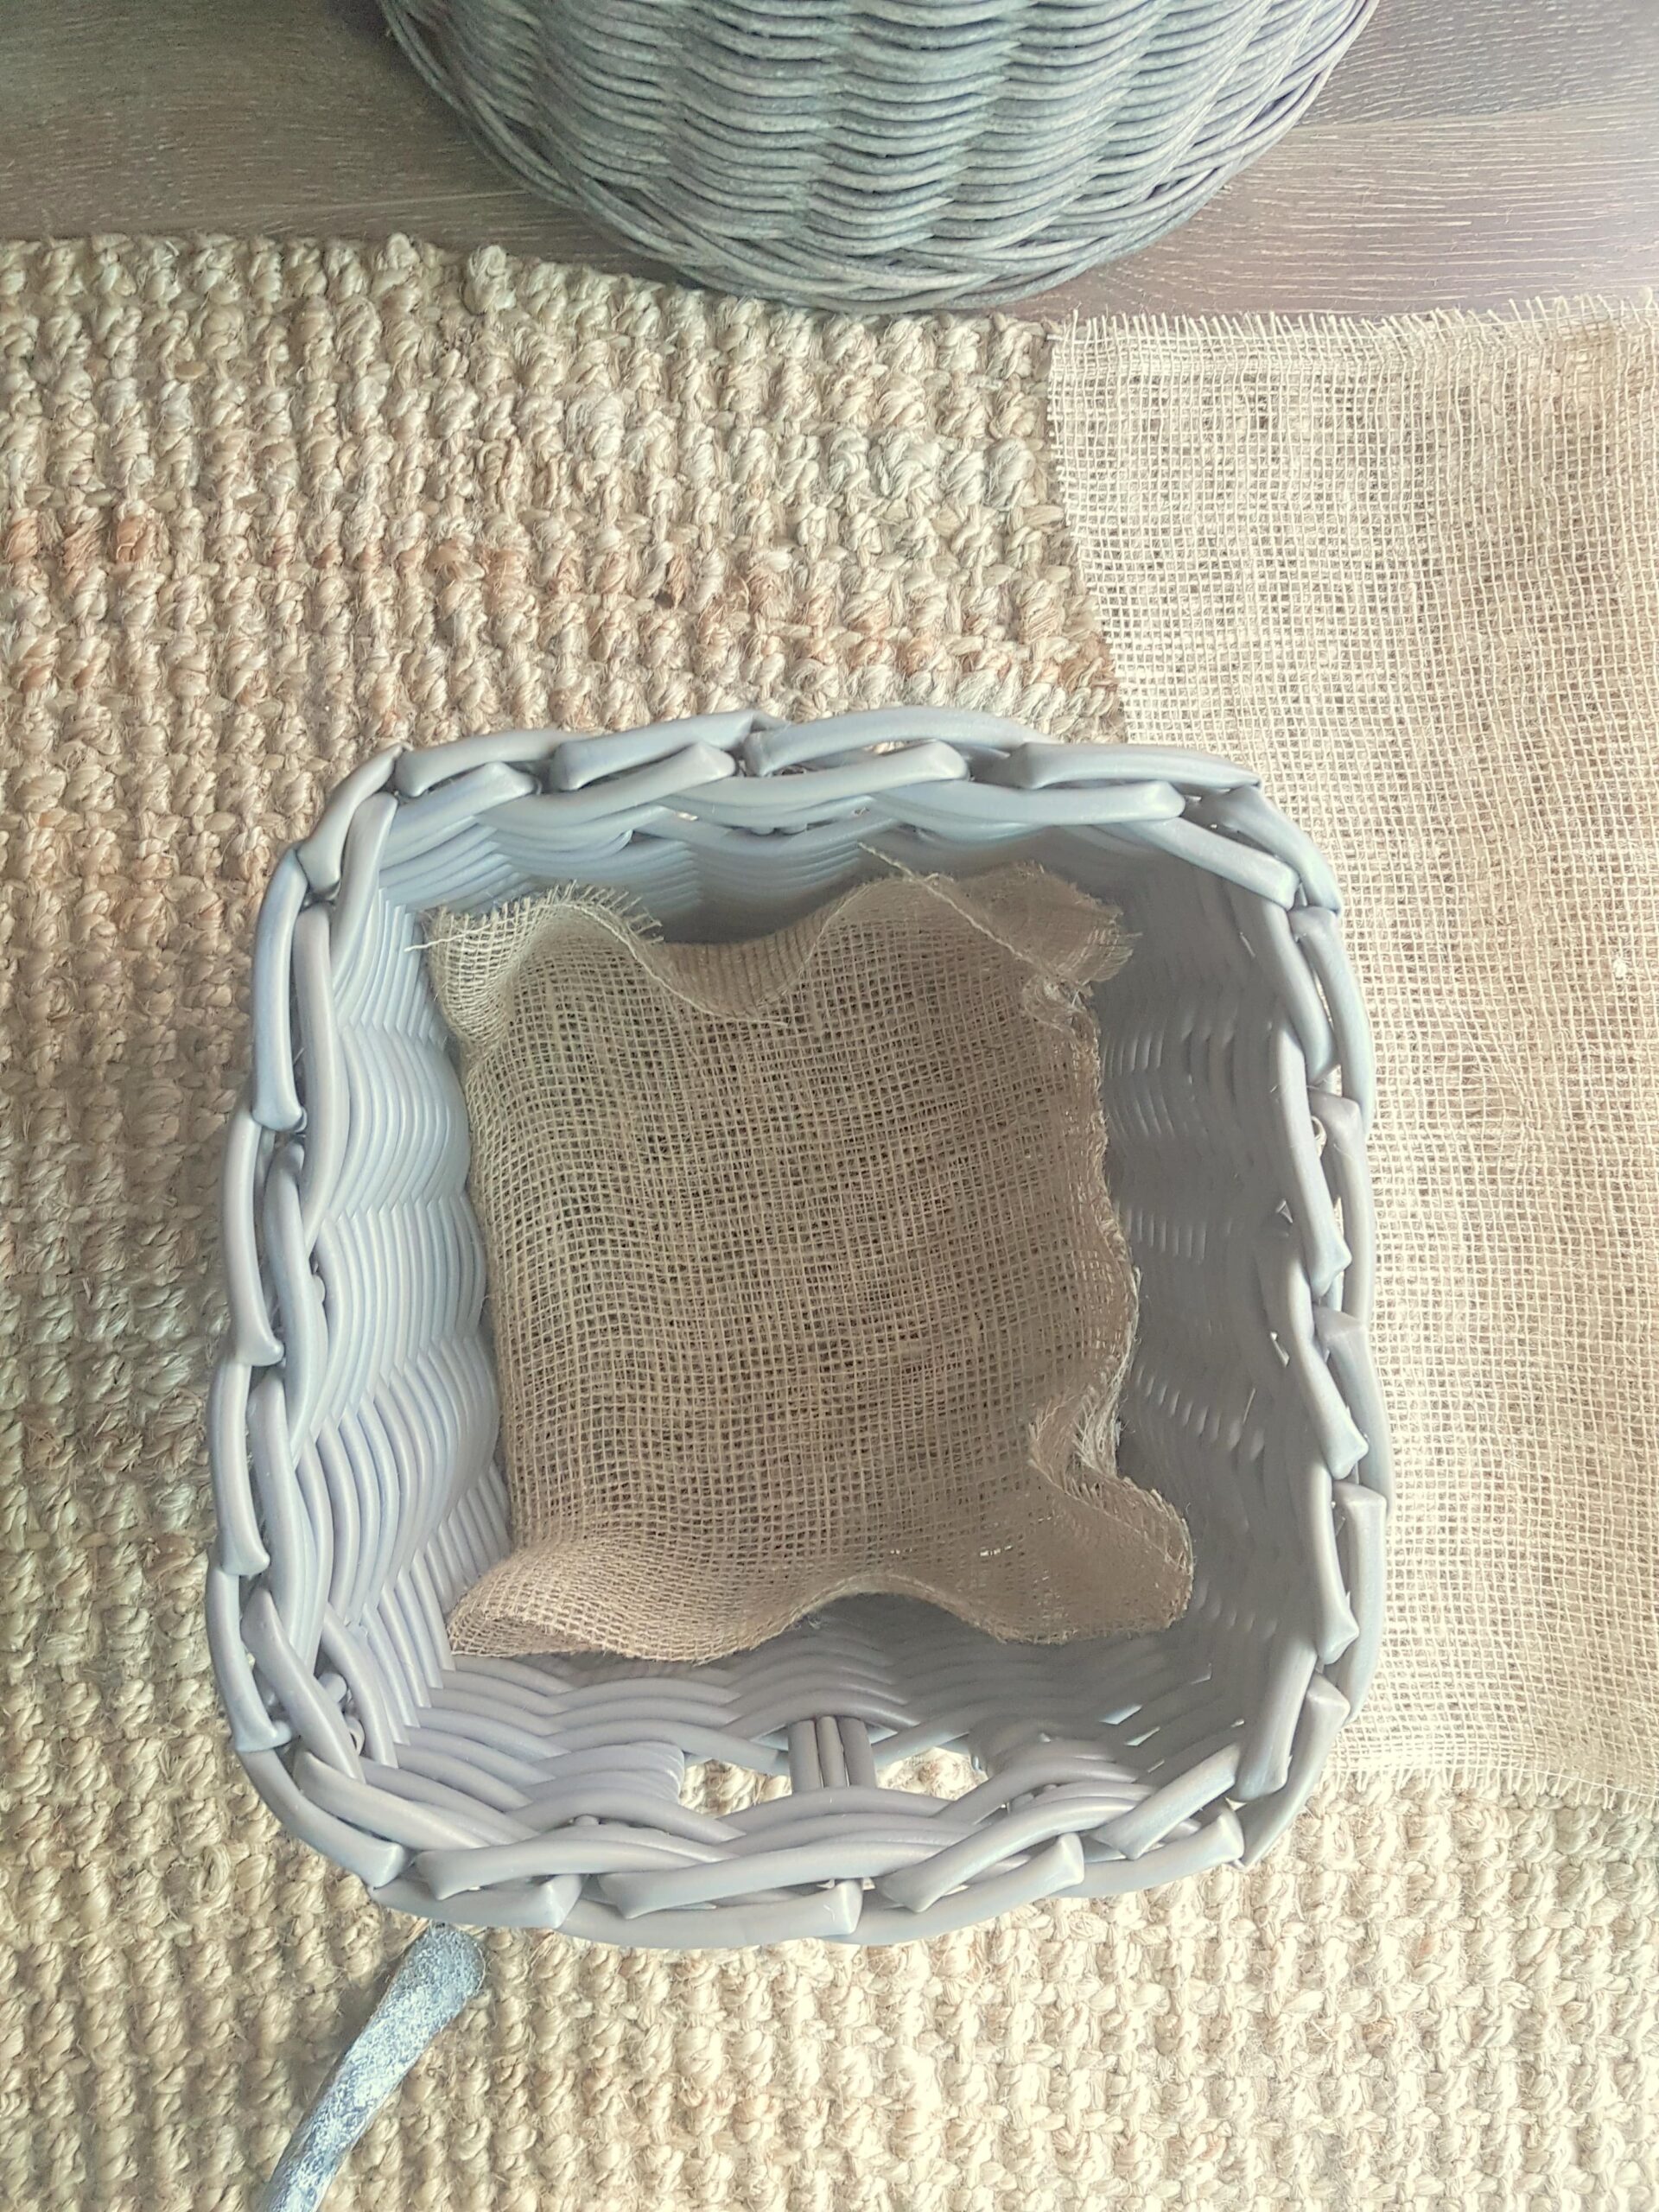
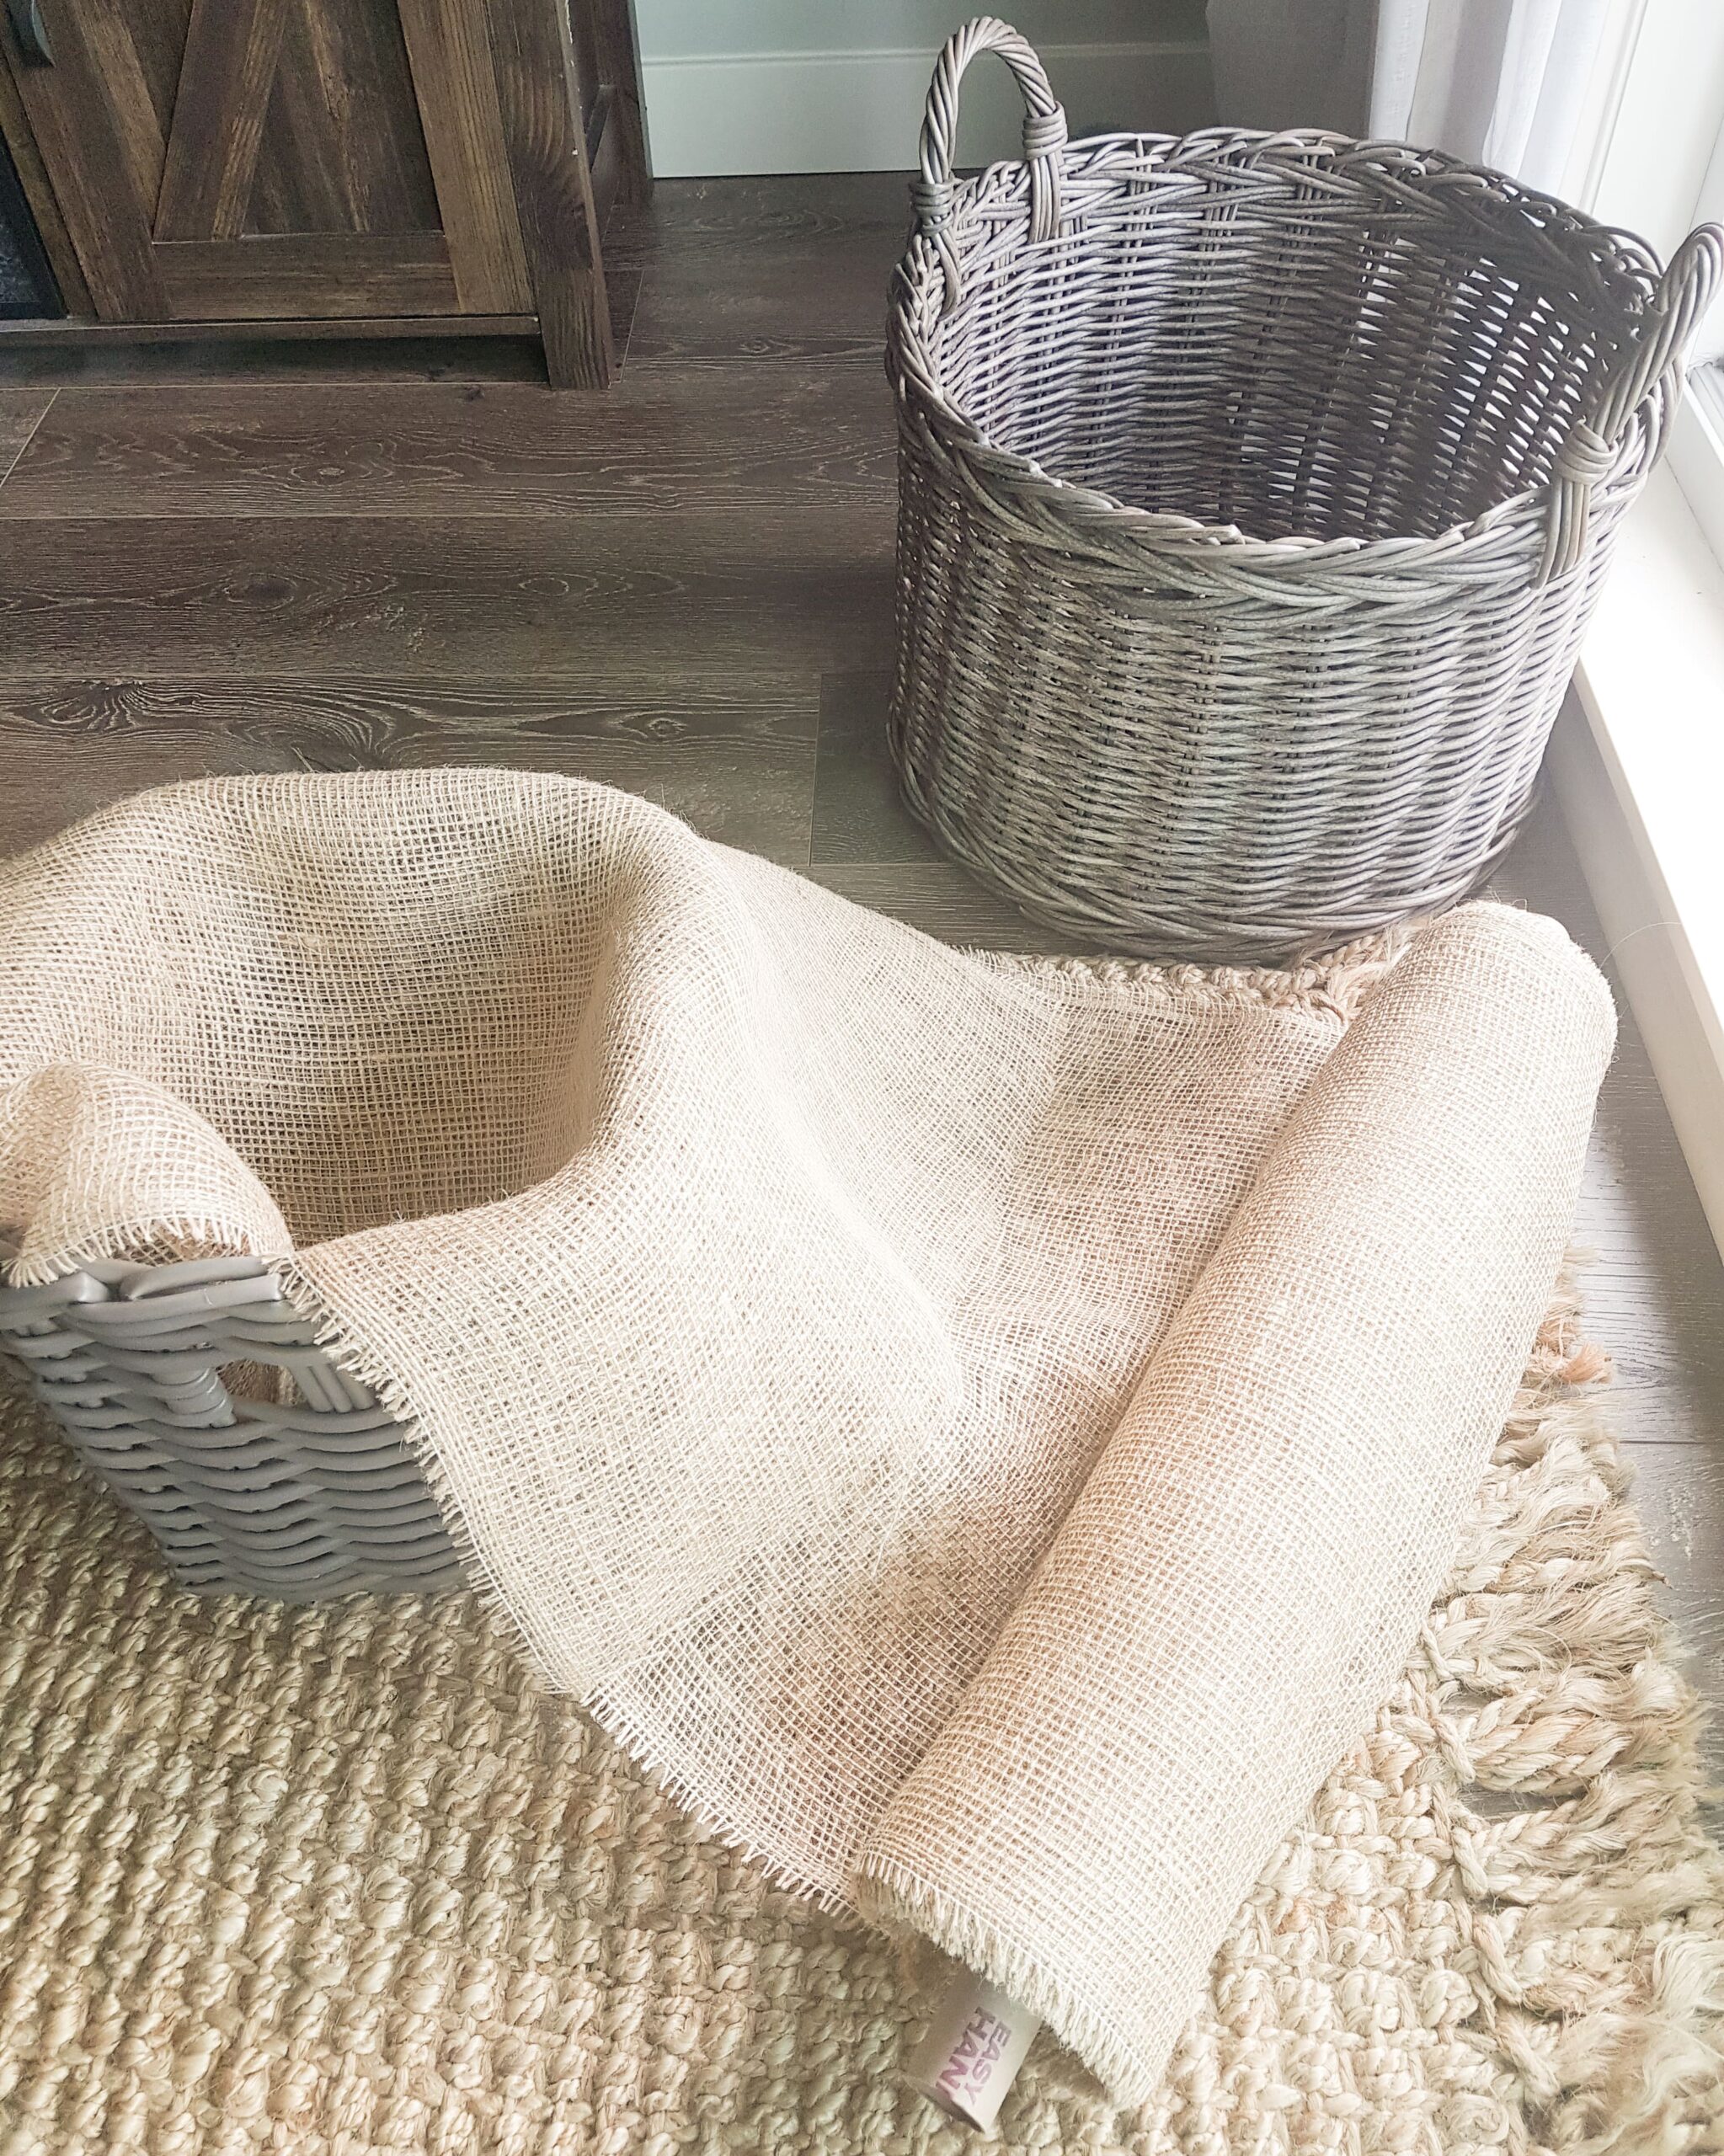
- Wrap your burlap around the inside to line the basket. Use at least two layers (I simply folded my roll of burlap in half to create two layers). Use painter’s tape to hold the burlap in place as you move around the basket.
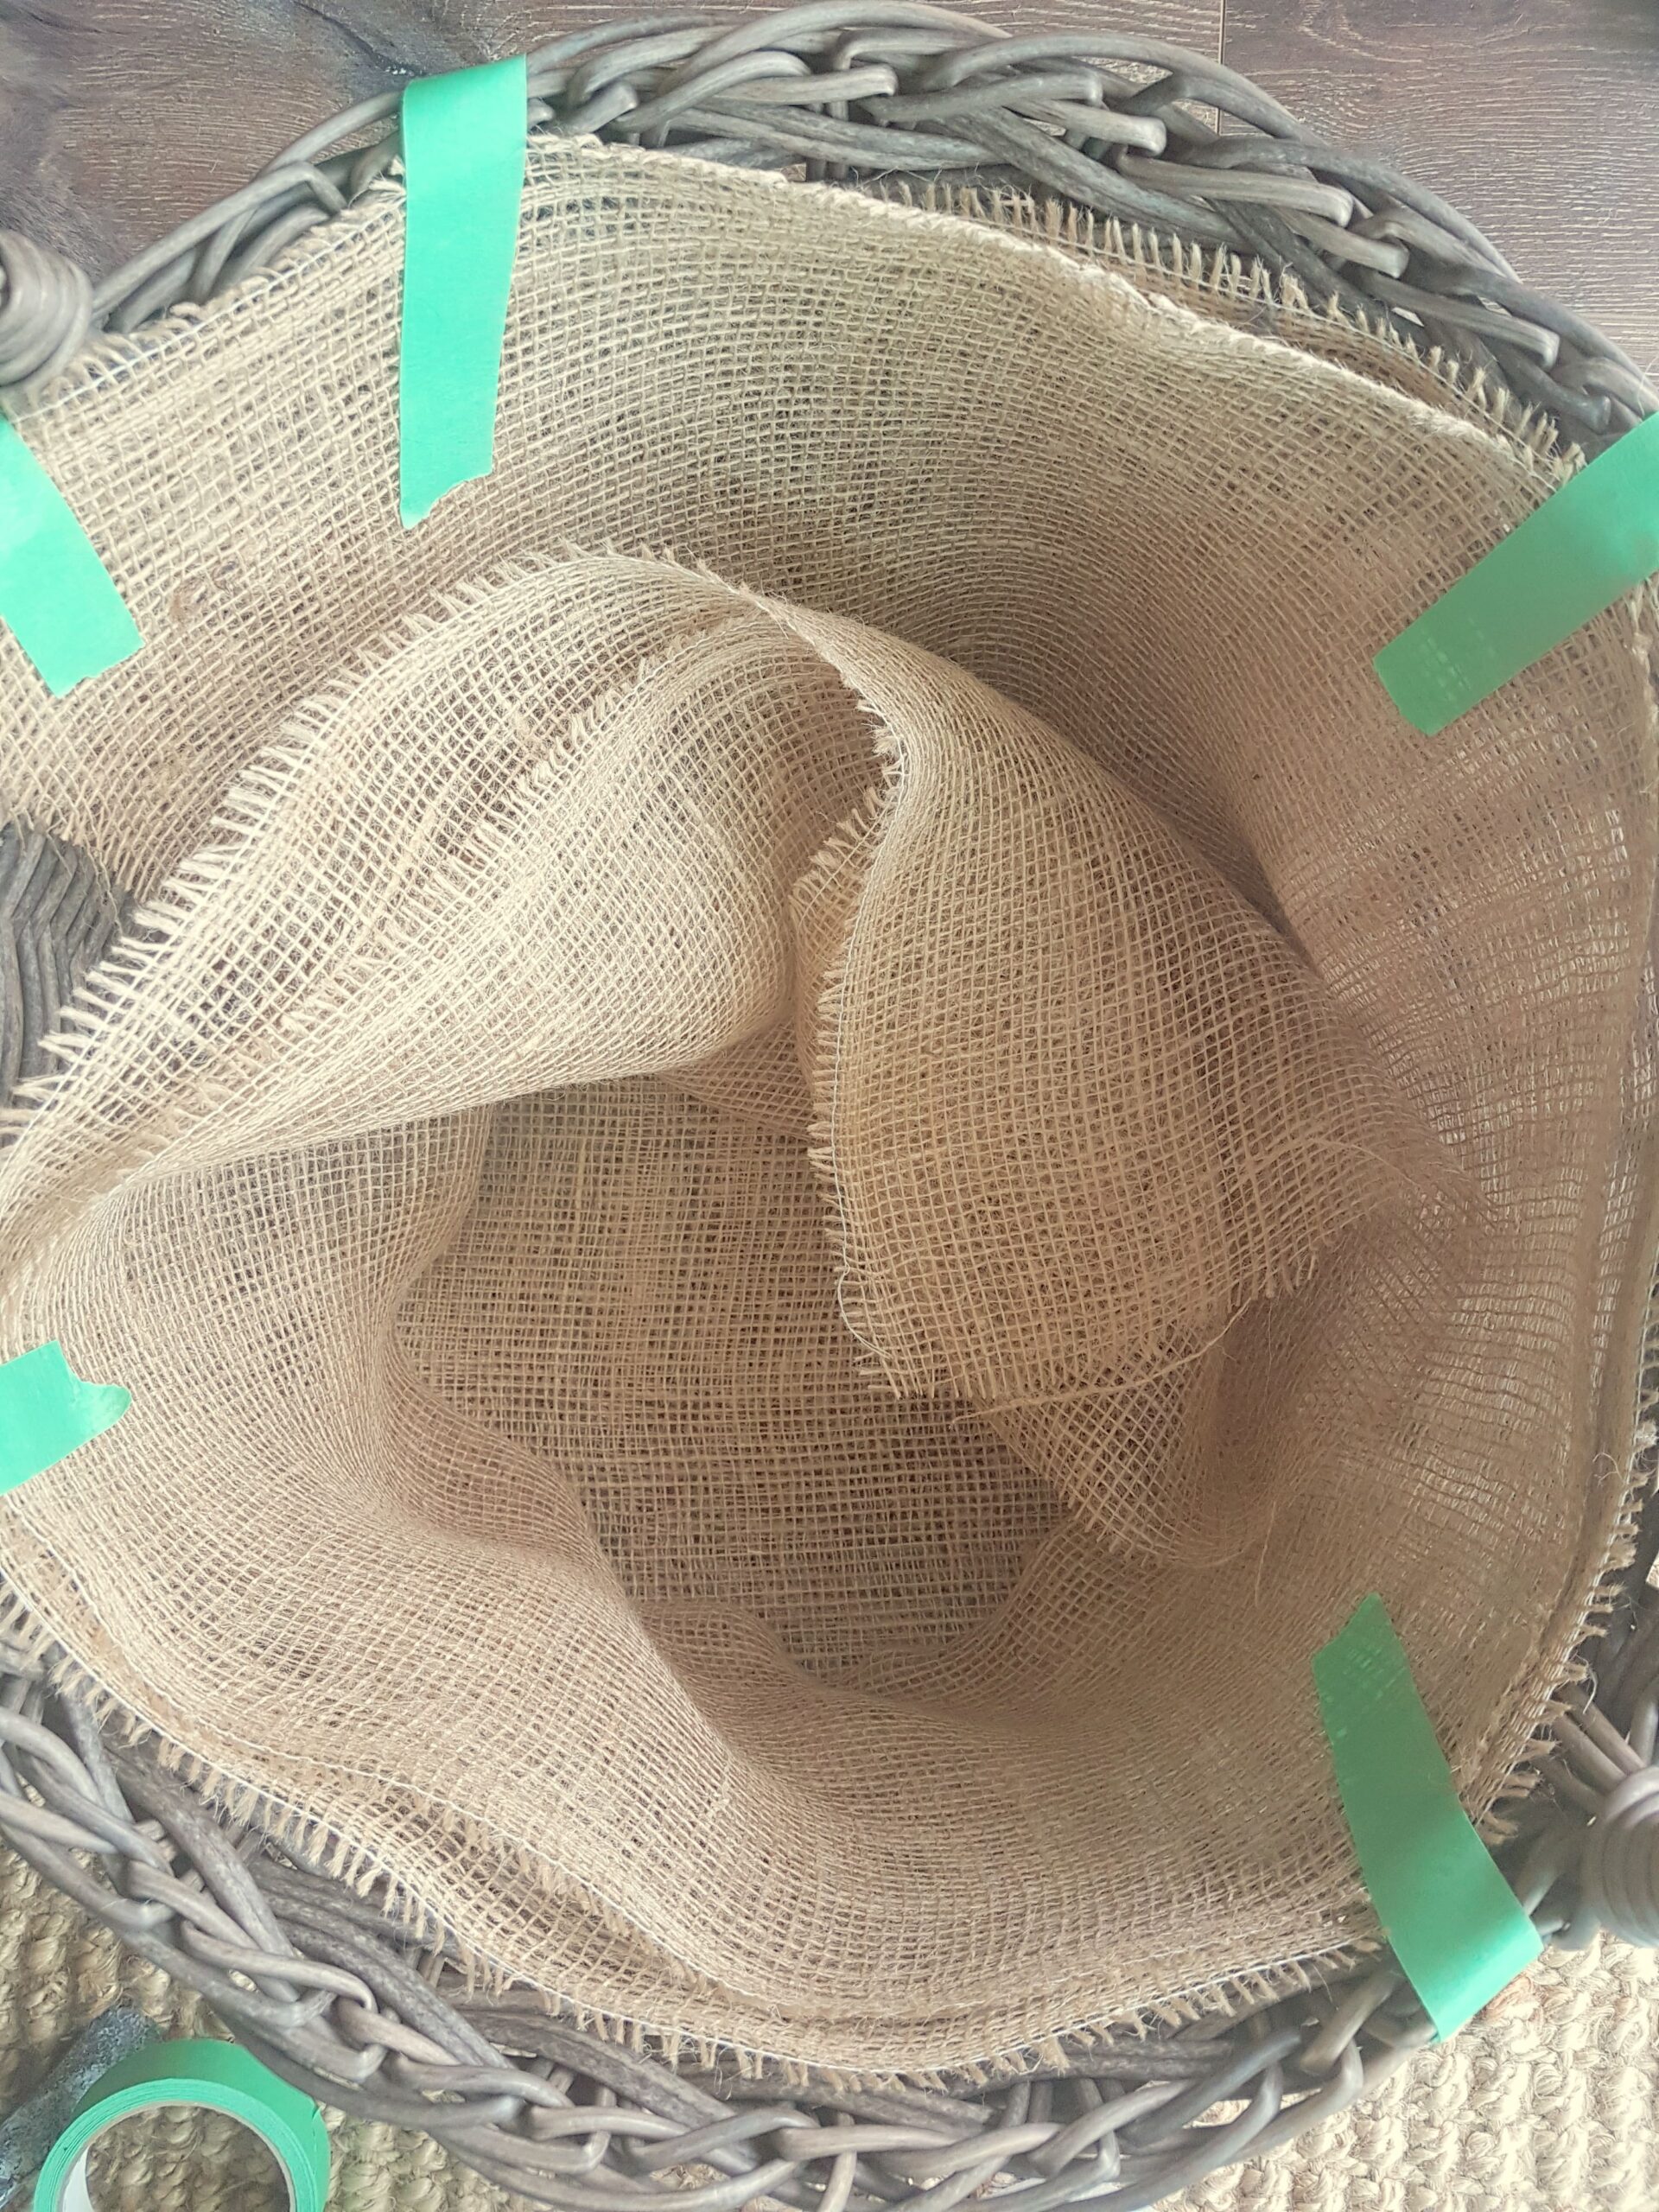
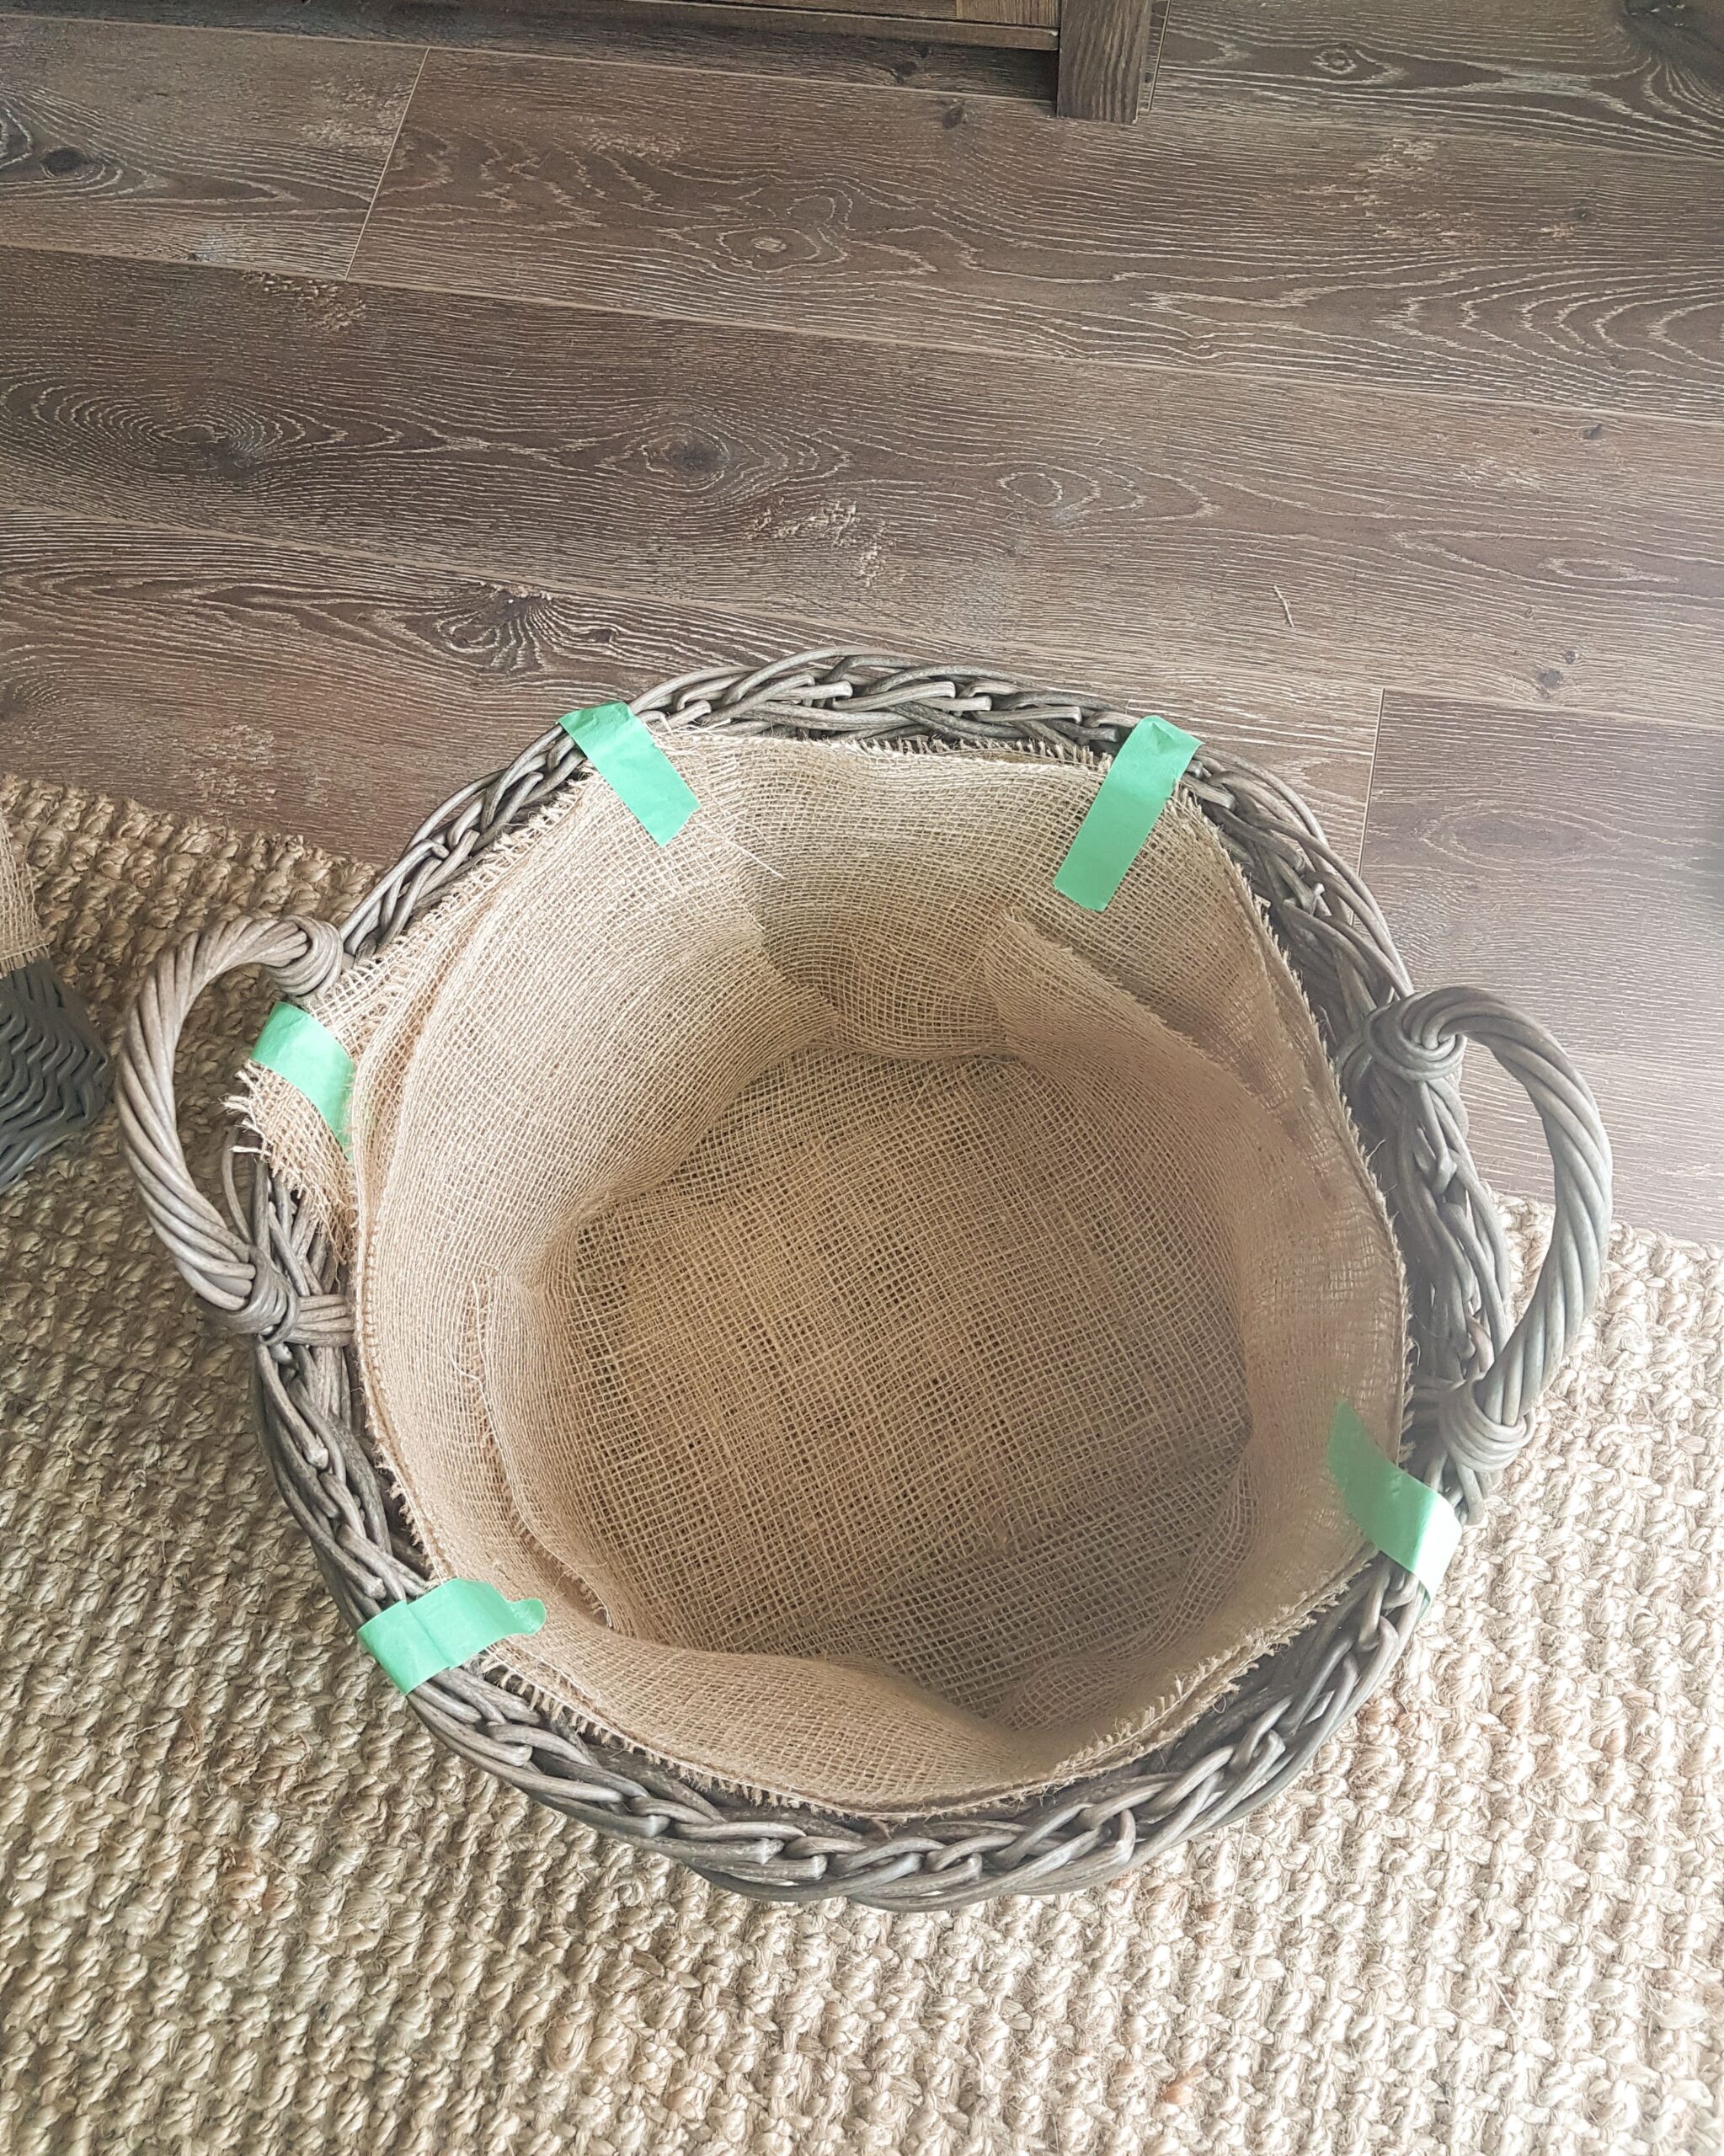
- Fill your basket about 2/3 full of soil, and remove the tape if it is staying in place. Then you can begin to add your plants, and finish adding in your soil!
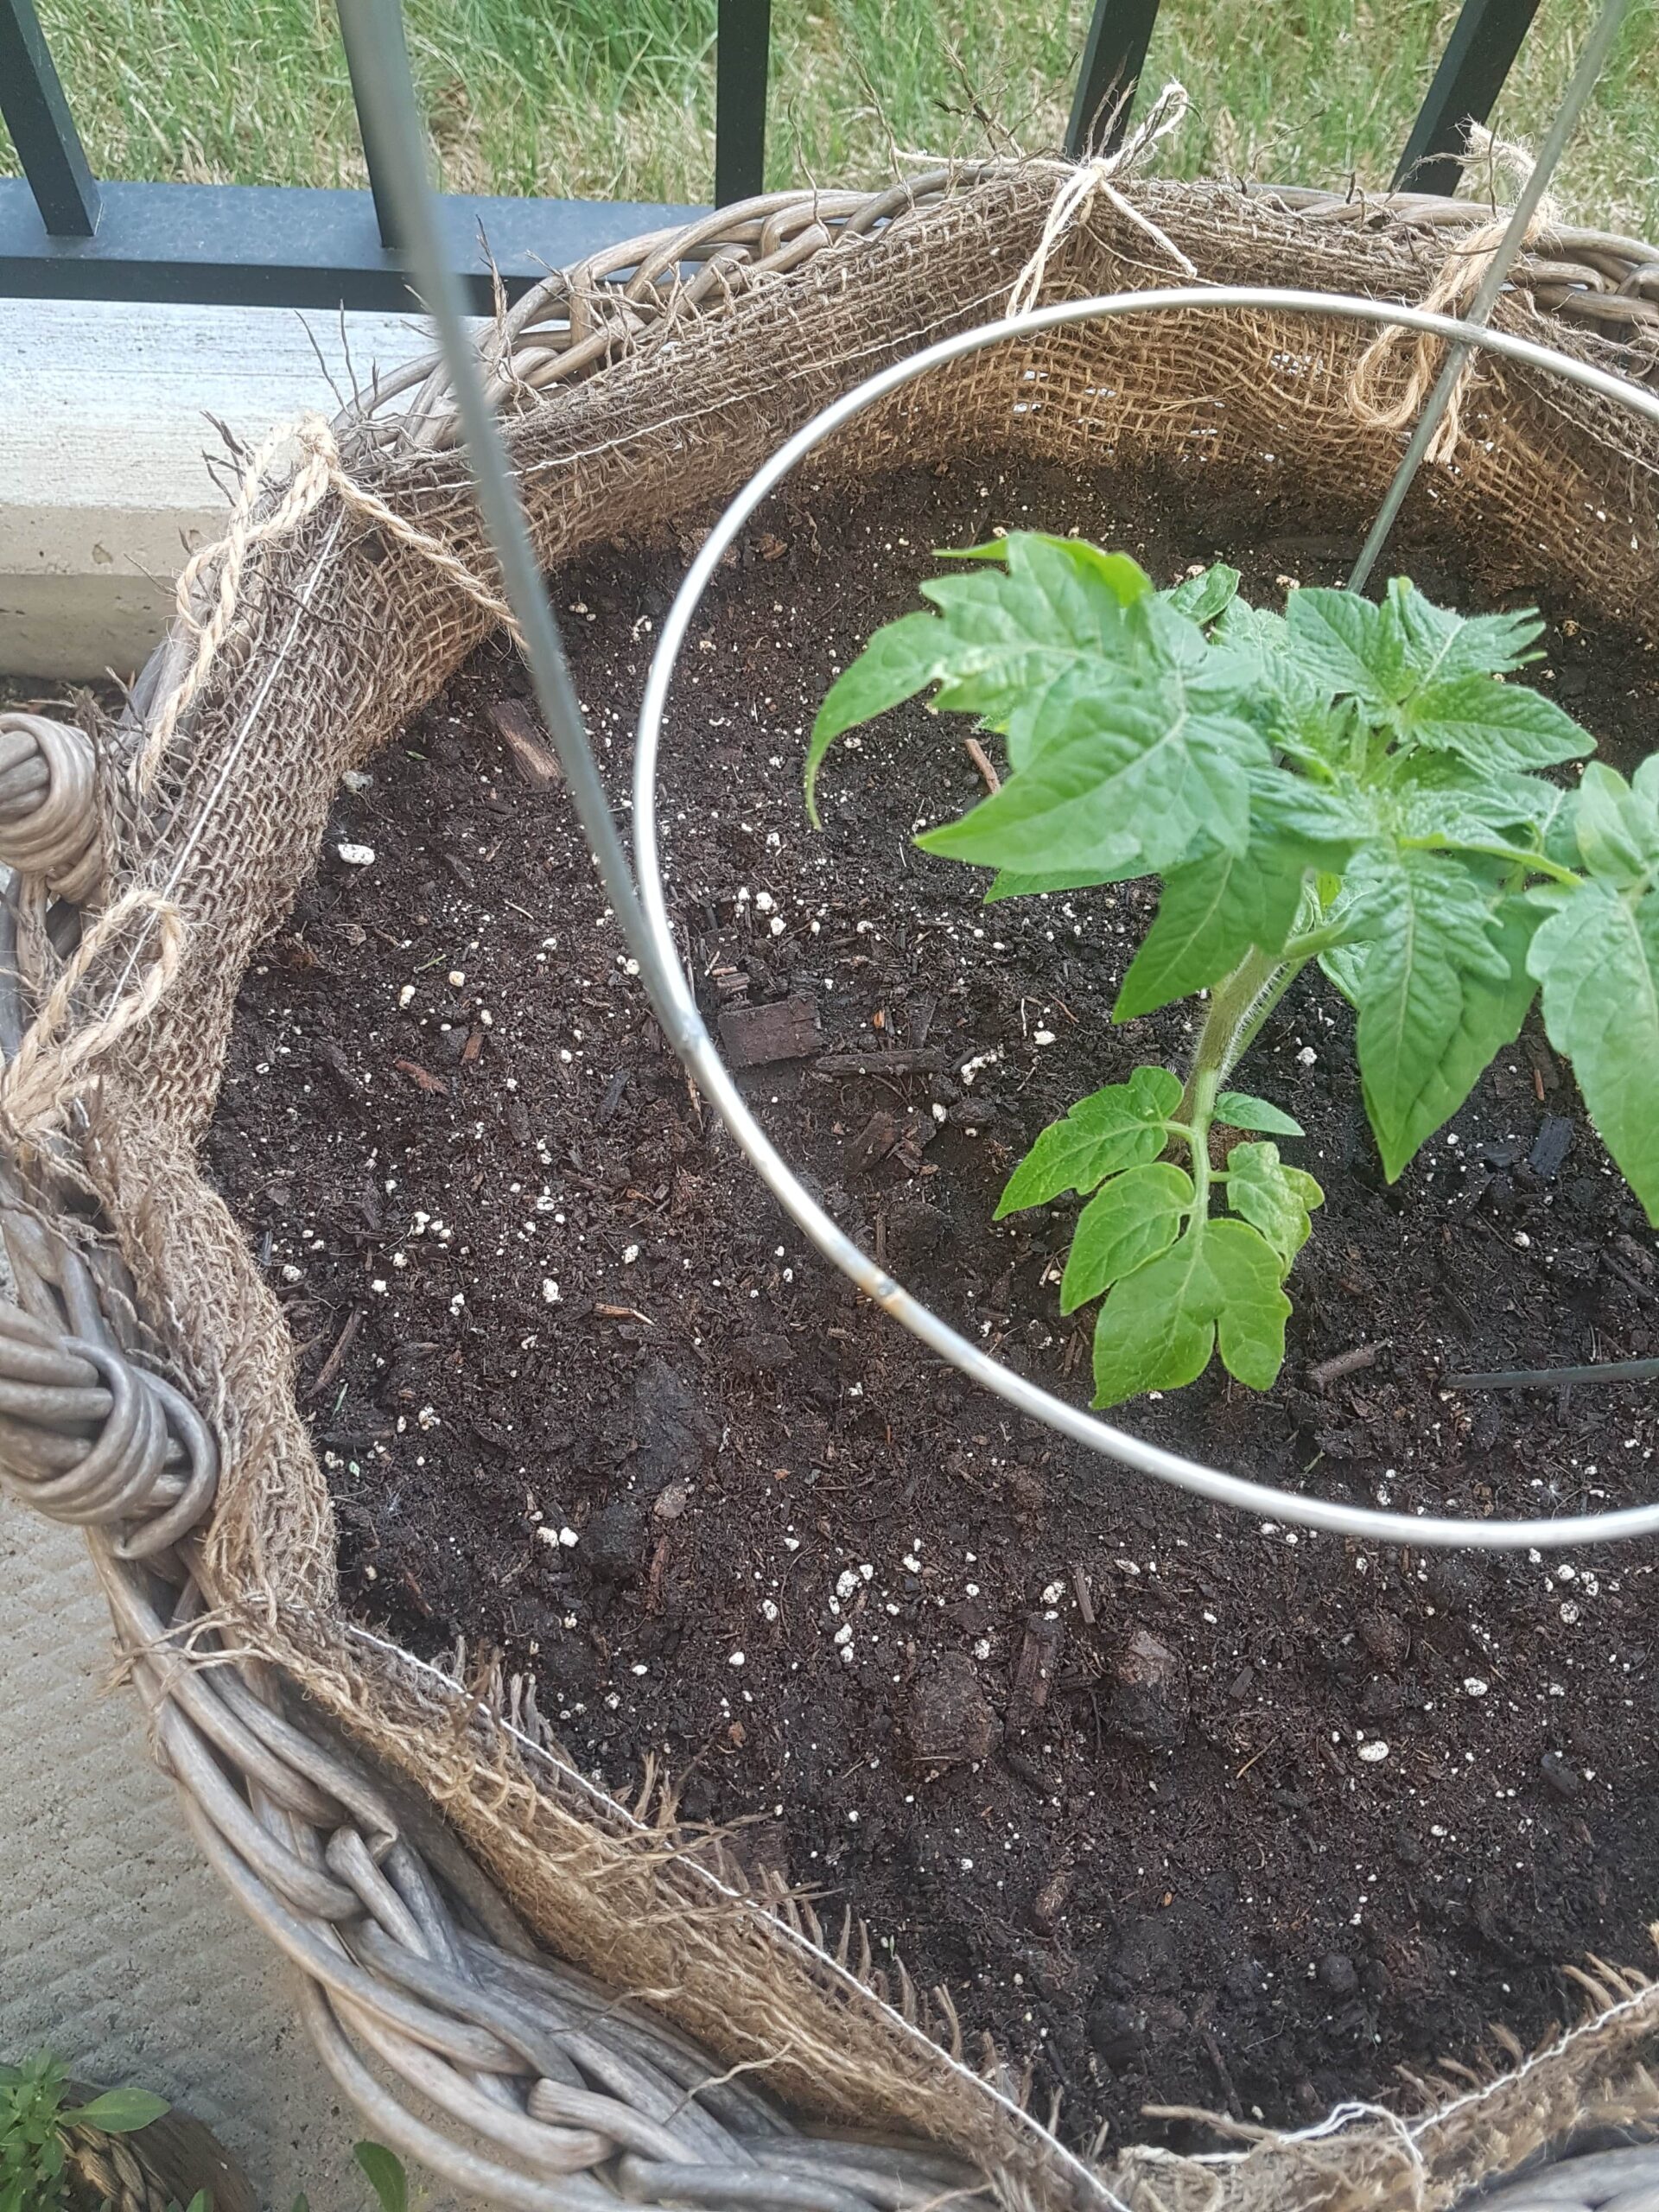
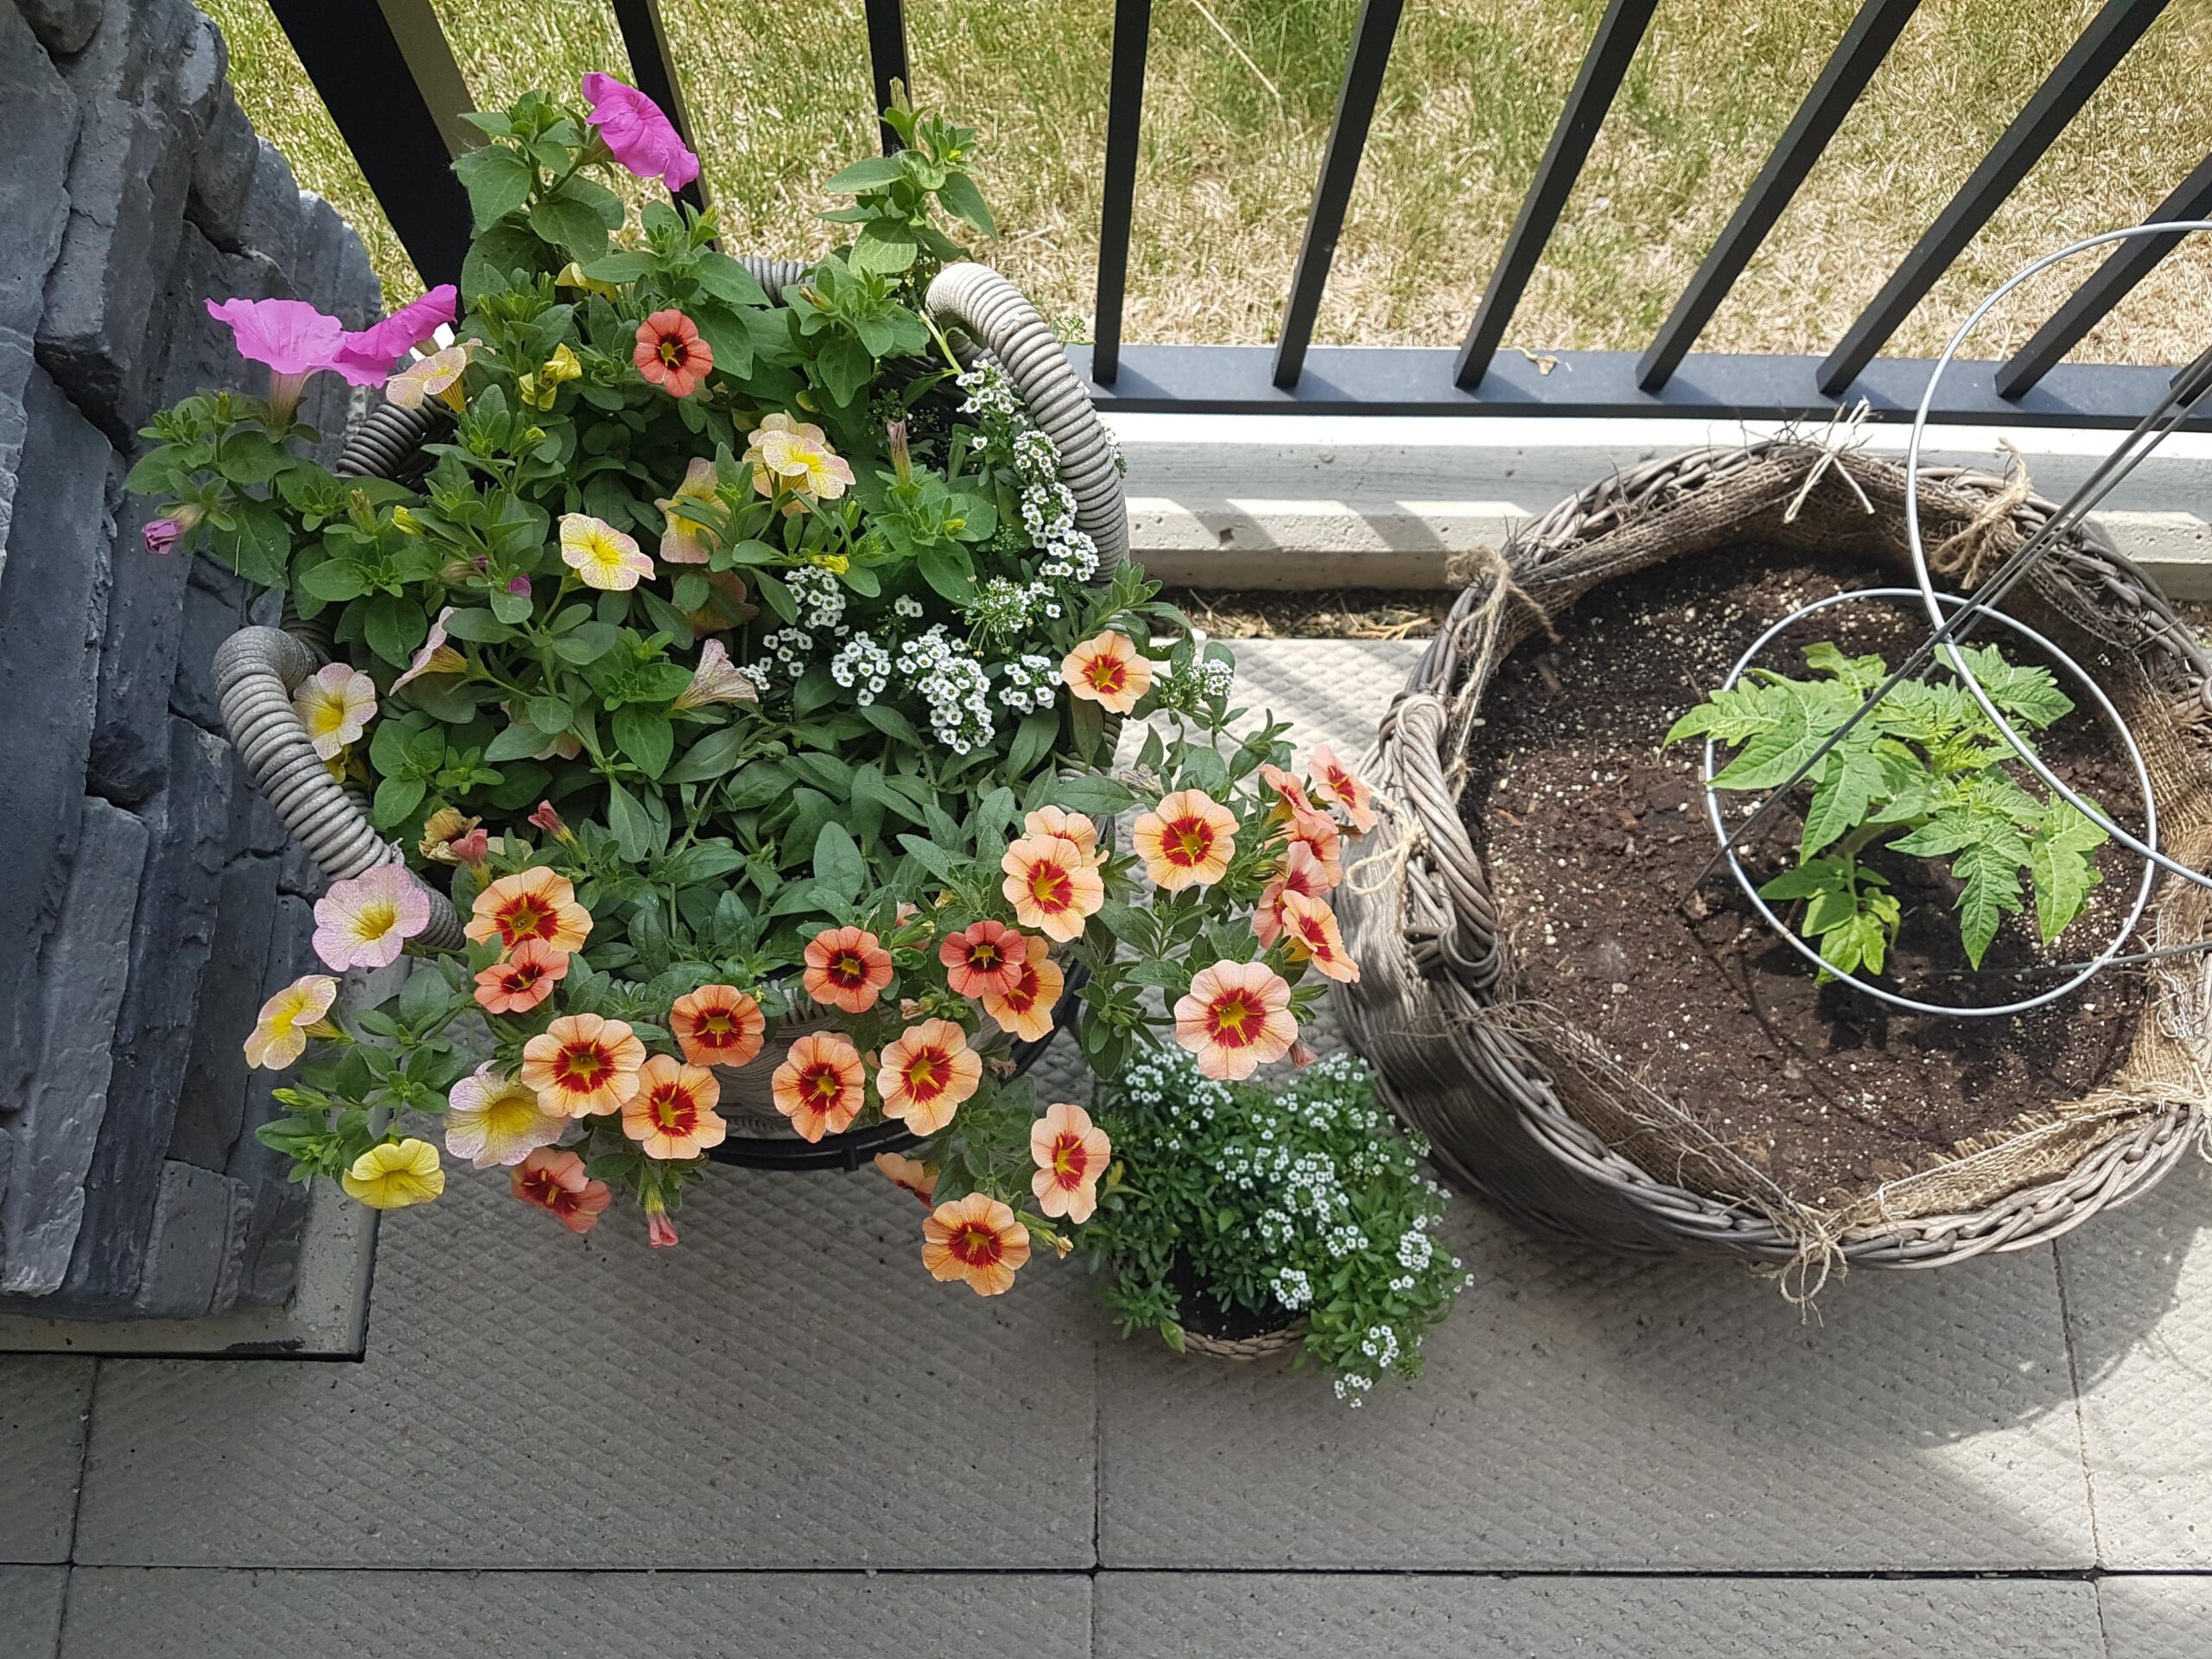
- If you find that your burlap lining starts to “curl over” as shown in the left image below (this shouldn’t happen right away, but only after a season of use), you can use twine to hold the edges back! Simply cut pieces of twine long enough to tie a bow or a knot, and weave it through the holes of the burlap and the weave of your basket to hold them together. I thought the bows of twine looked charming, so I left mine like this!
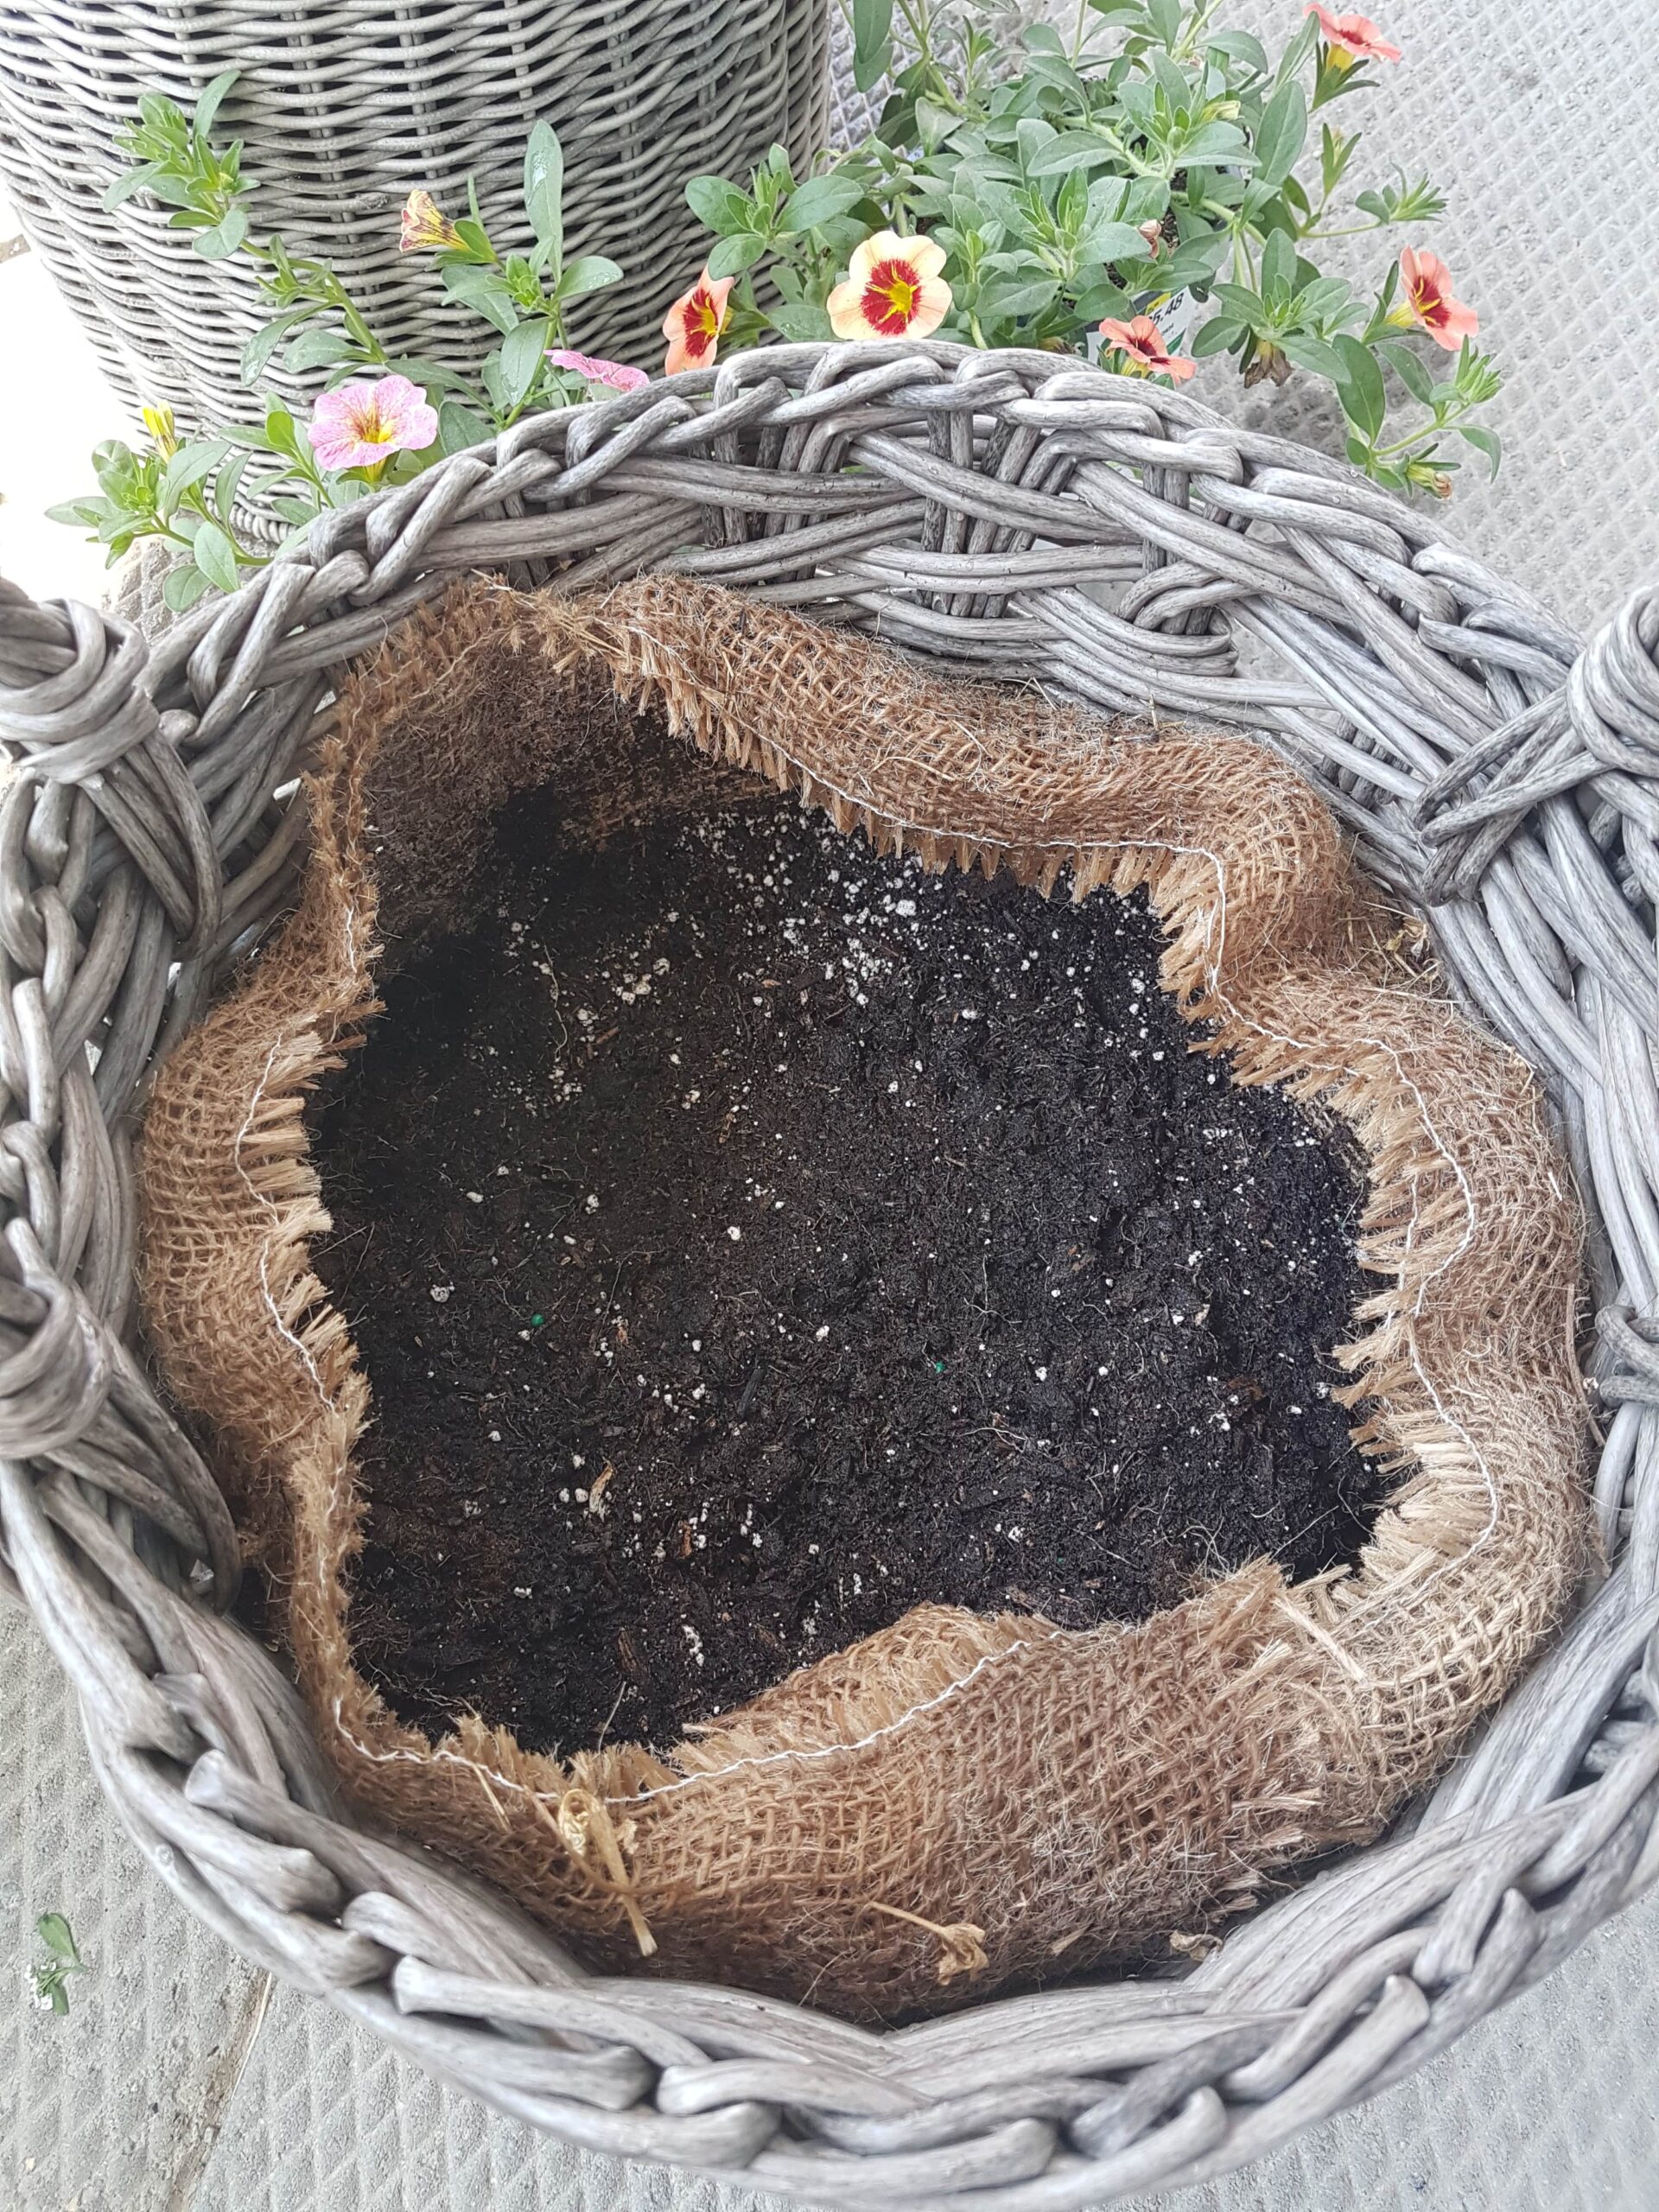
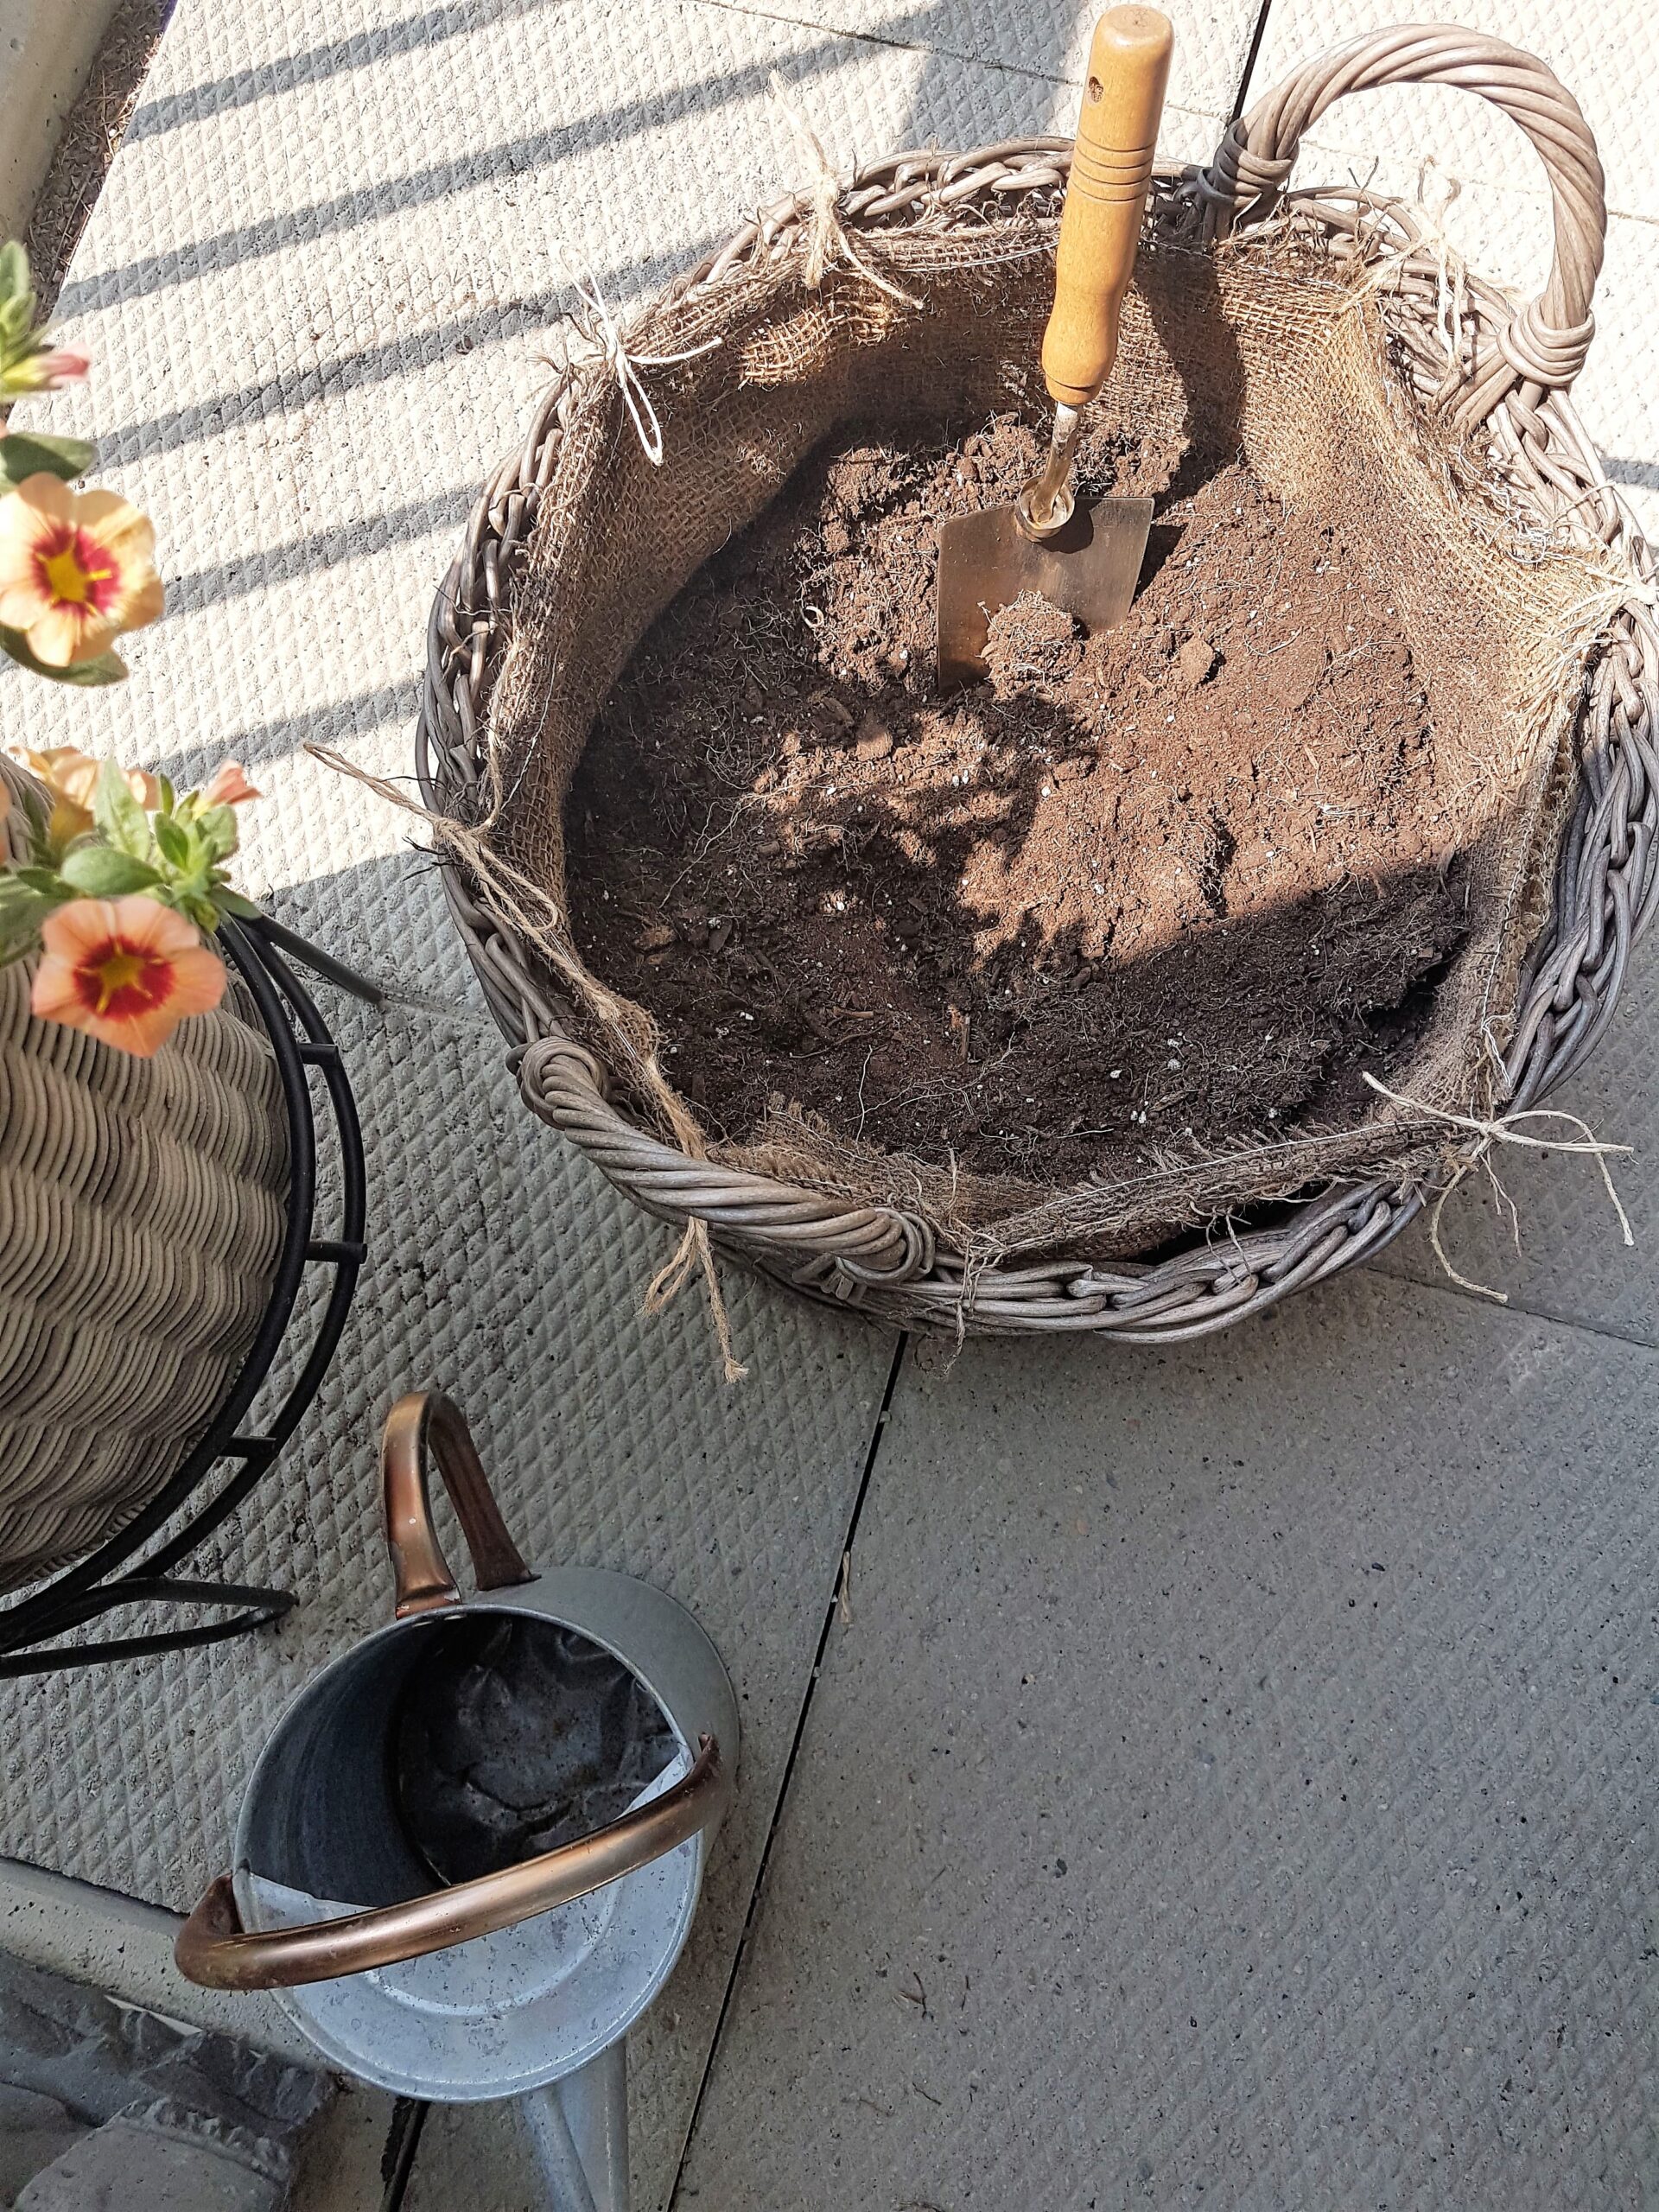
*If you don’t want to use burlap, you can also use any kind of natural, biodegradable fabric or cloth such as organic cotton muslin, cheesecloth, or coco coir. Keep in mind that burlap naturally has lots of drainage holes and is very breathable, so it makes a great growing medium!
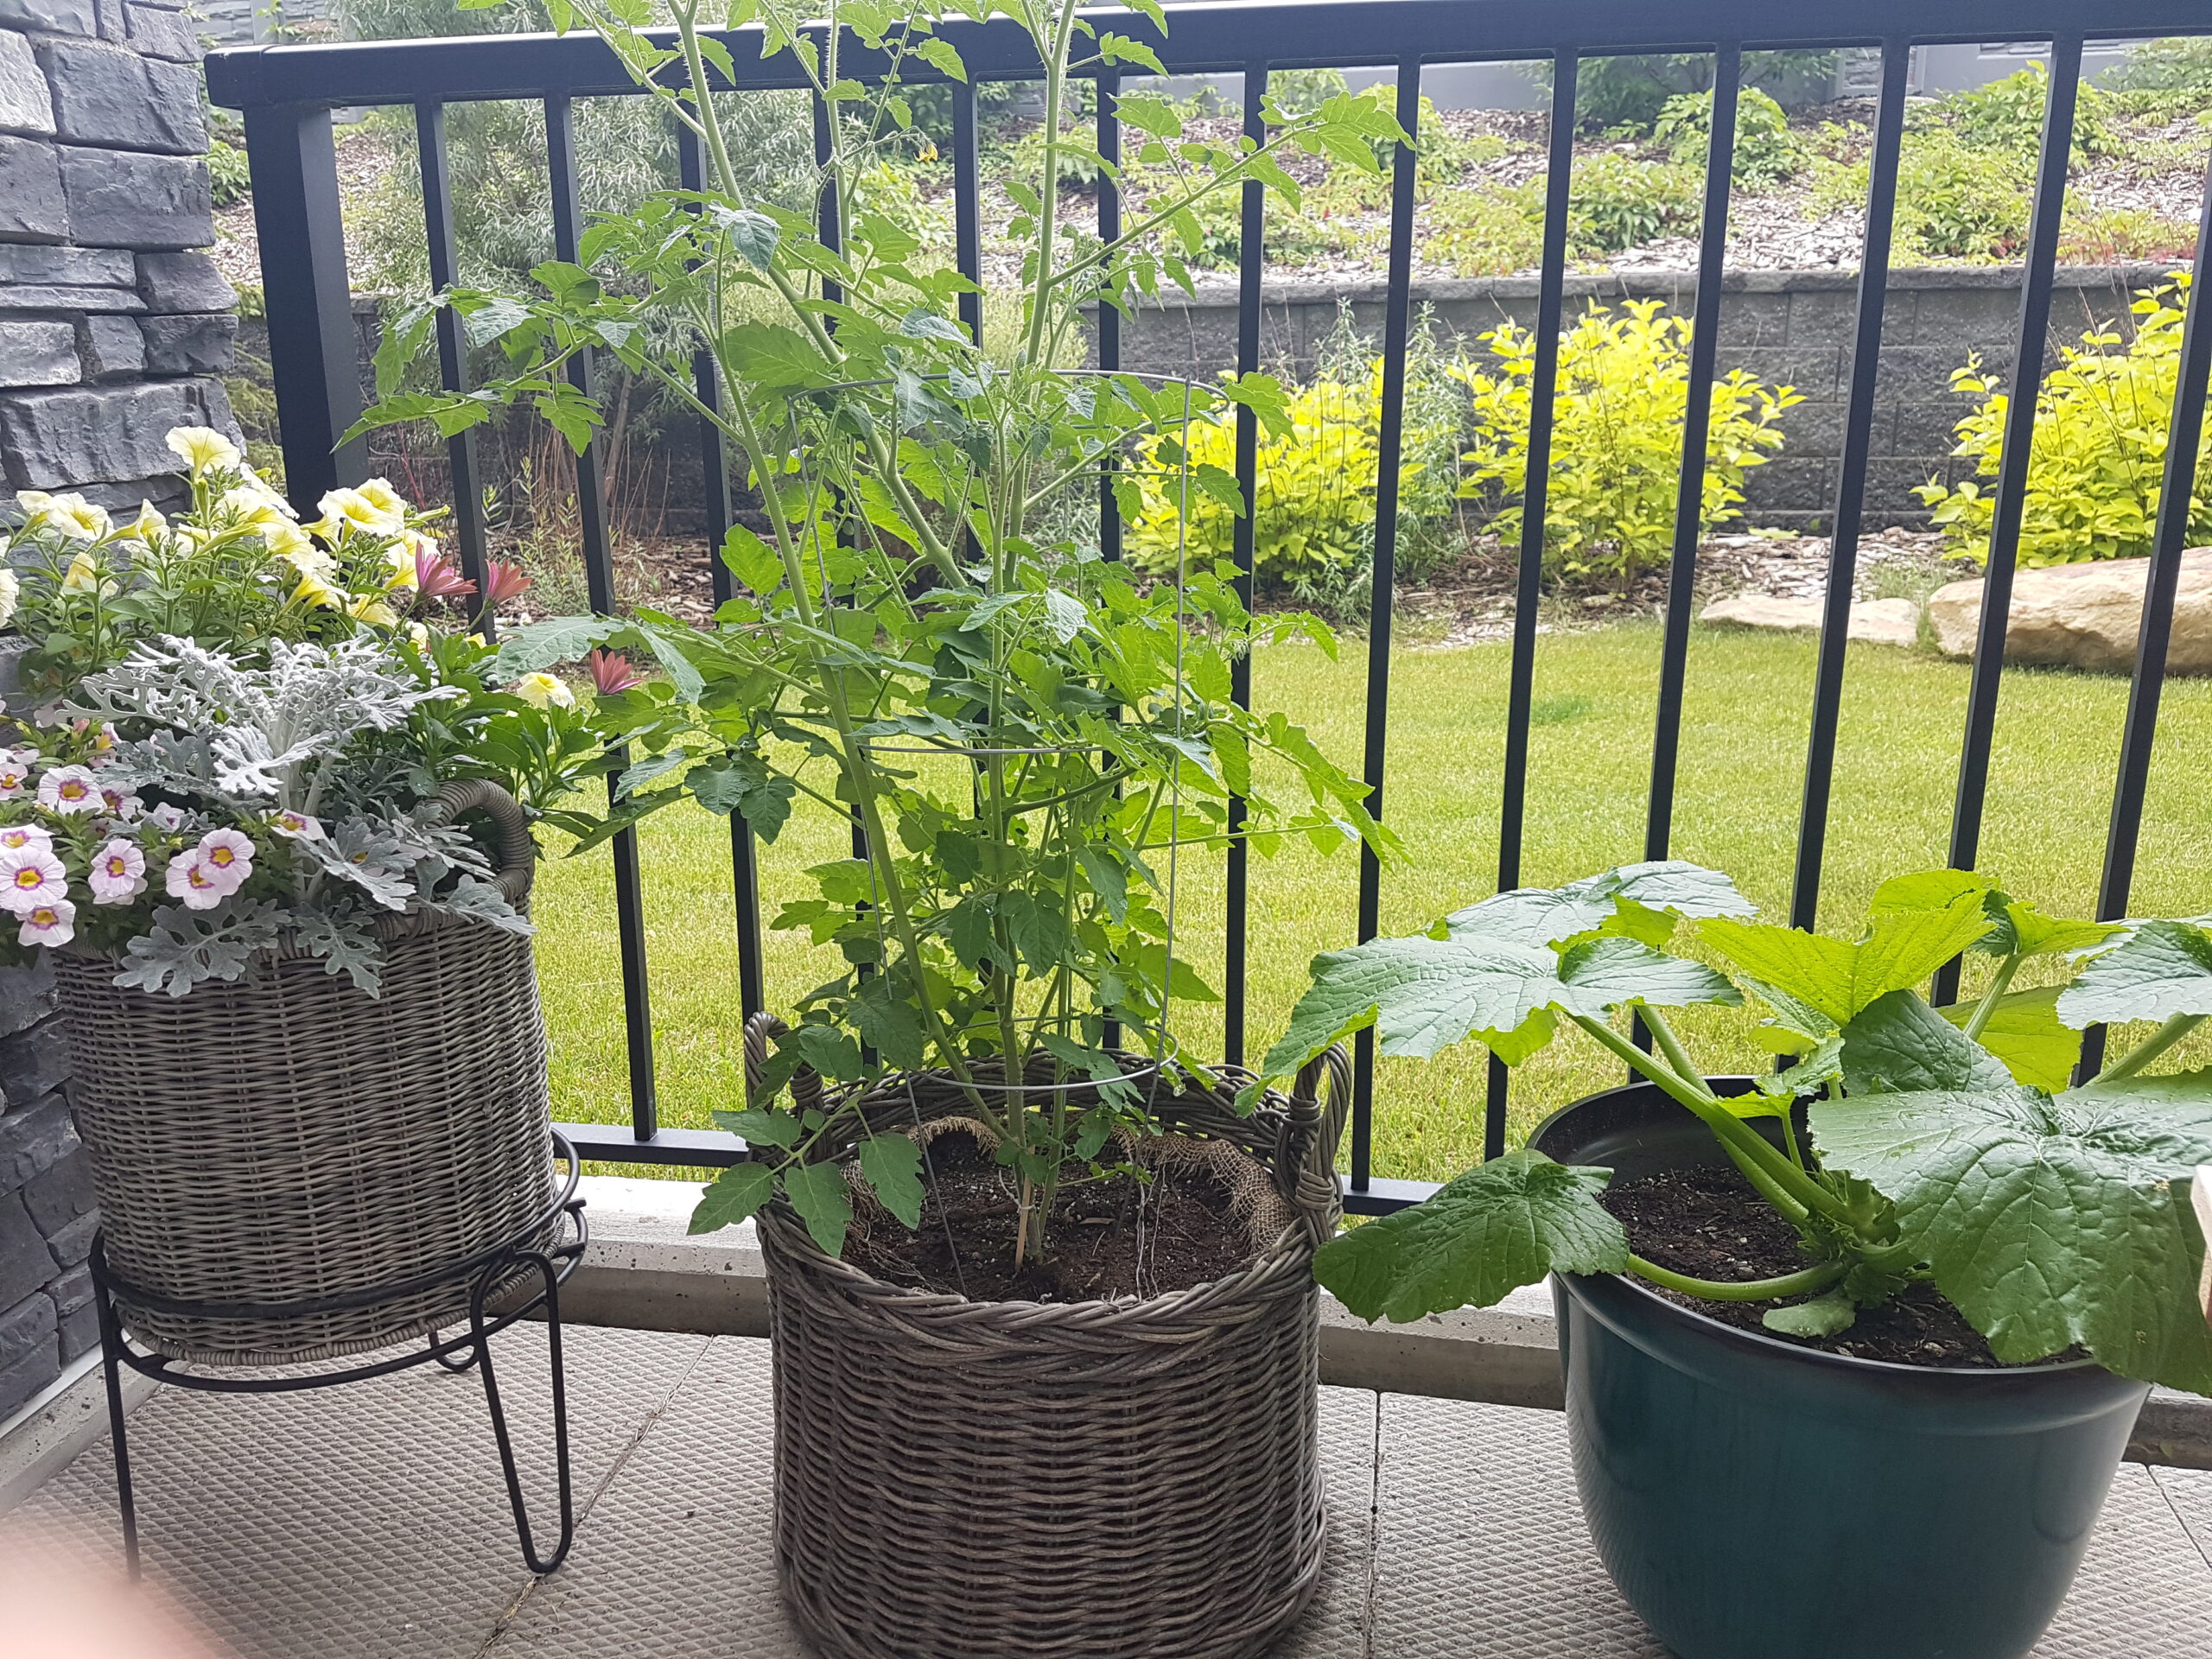
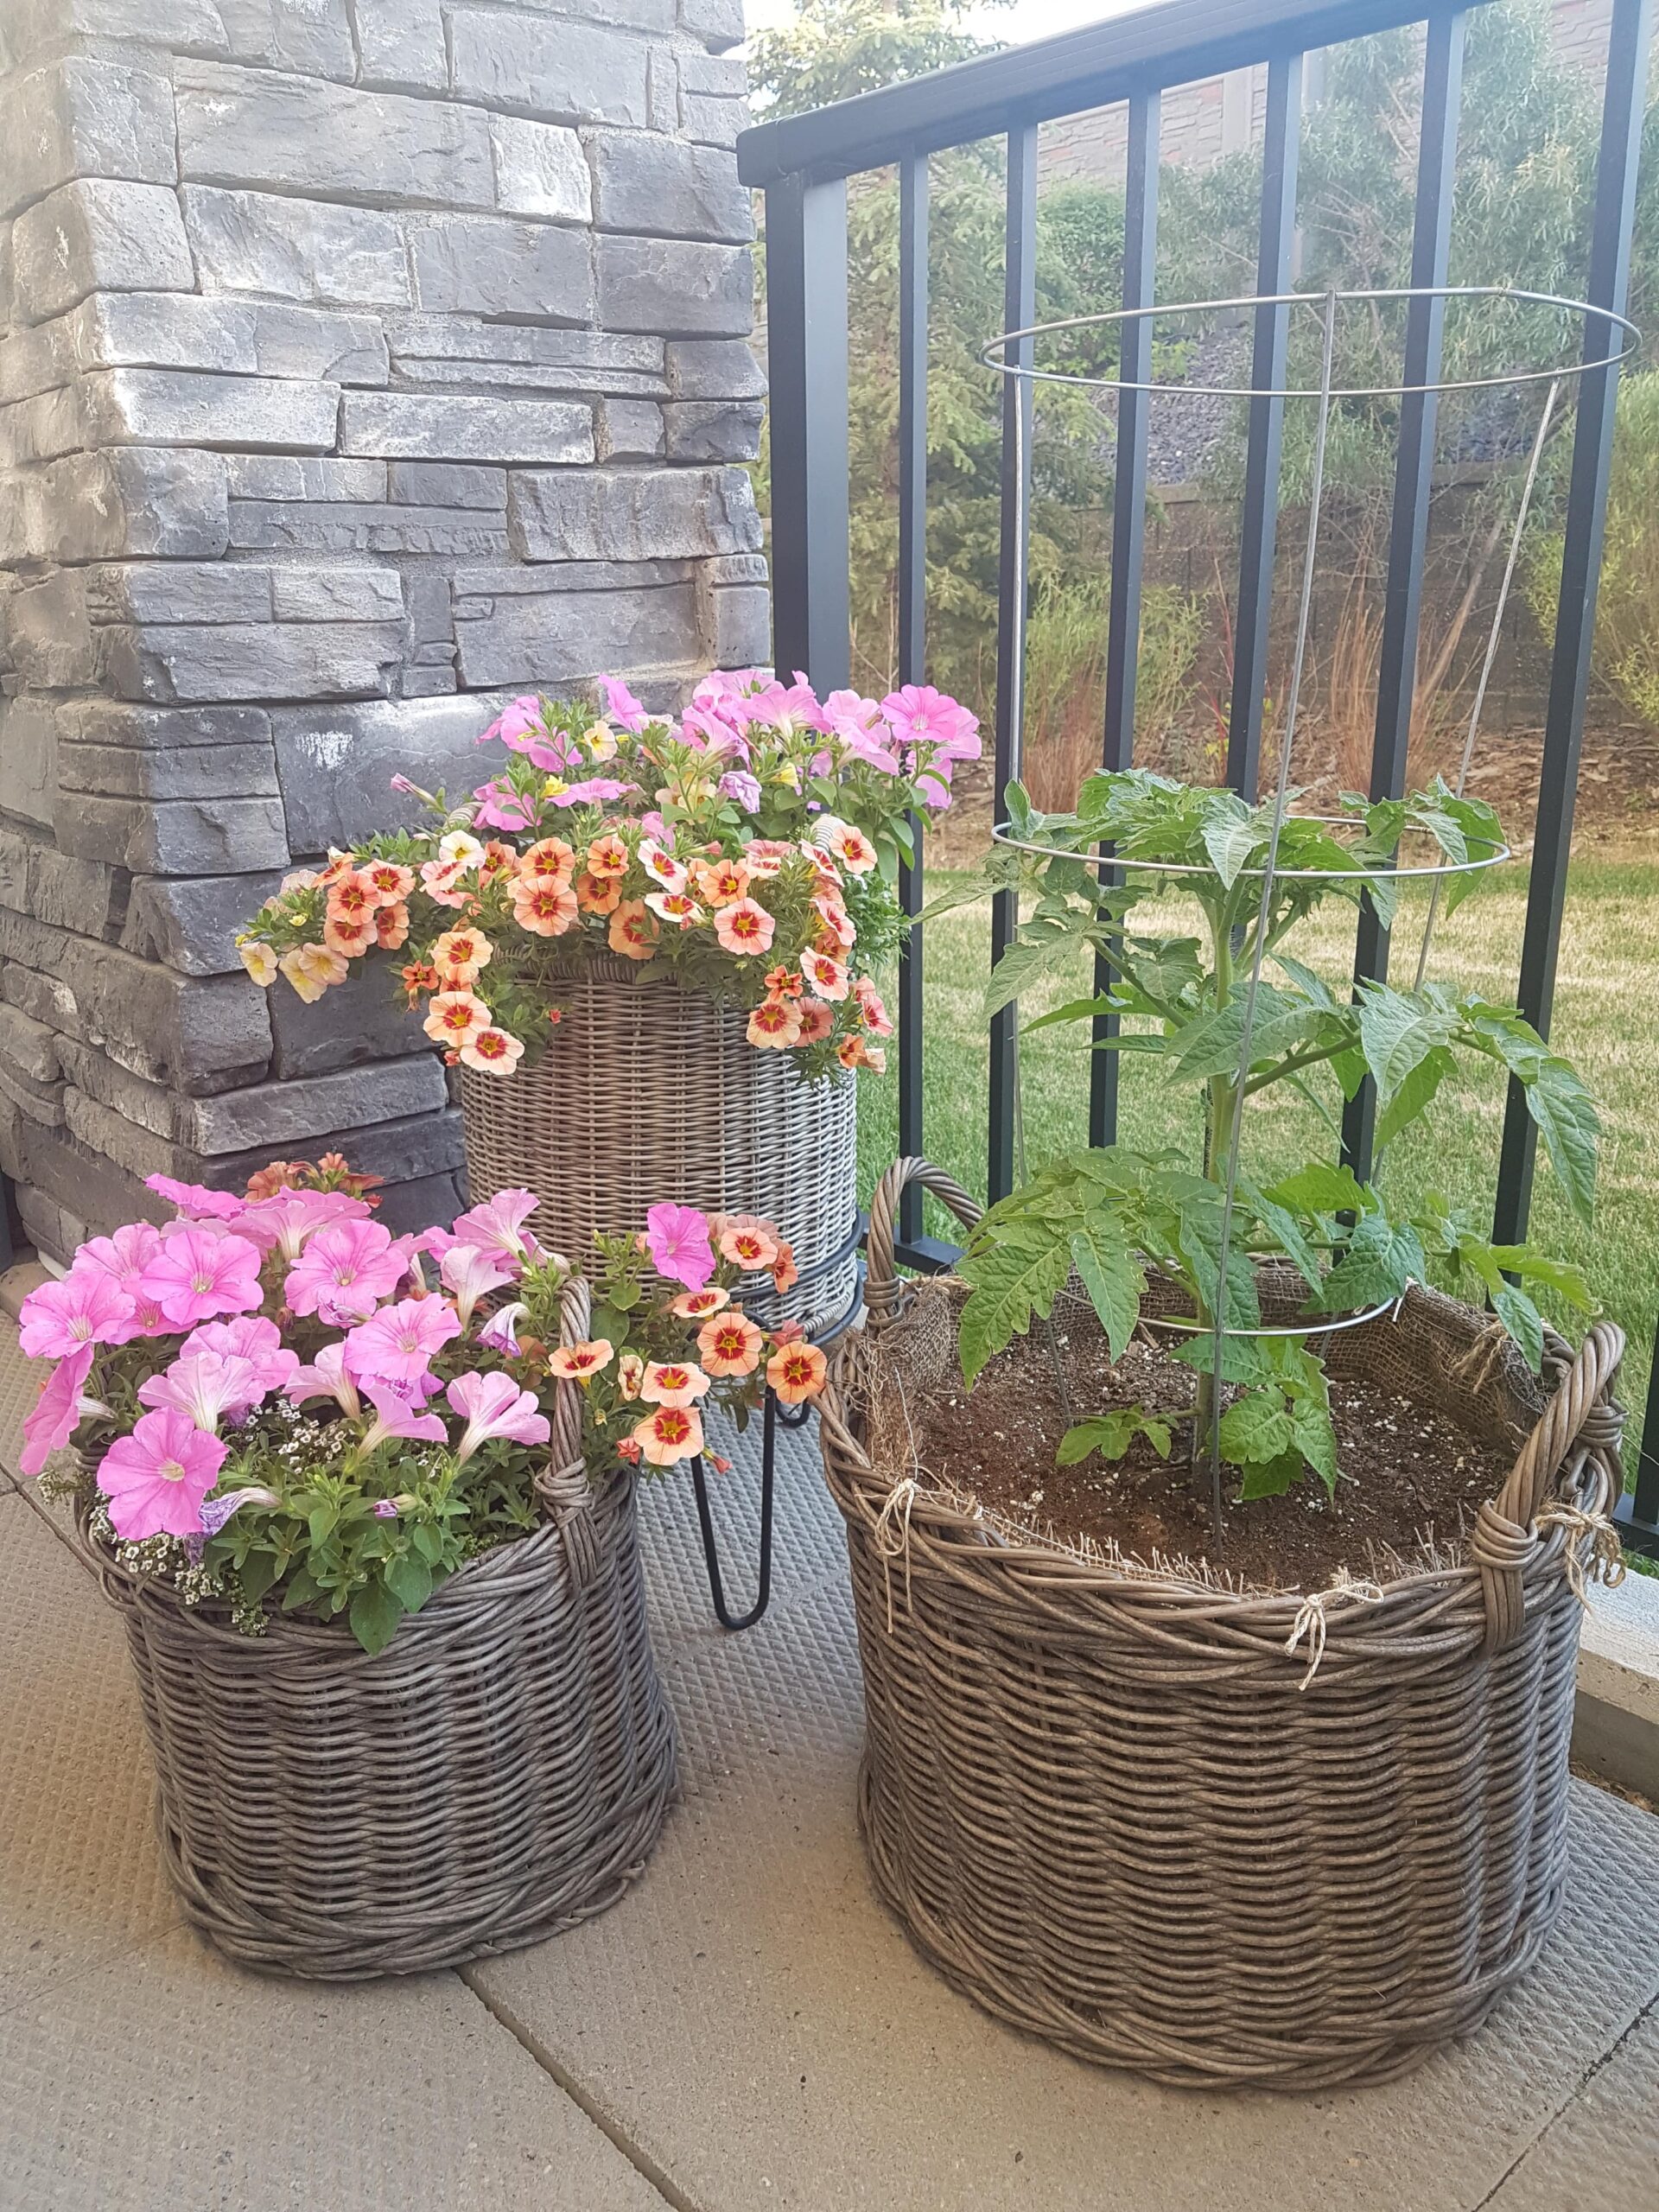
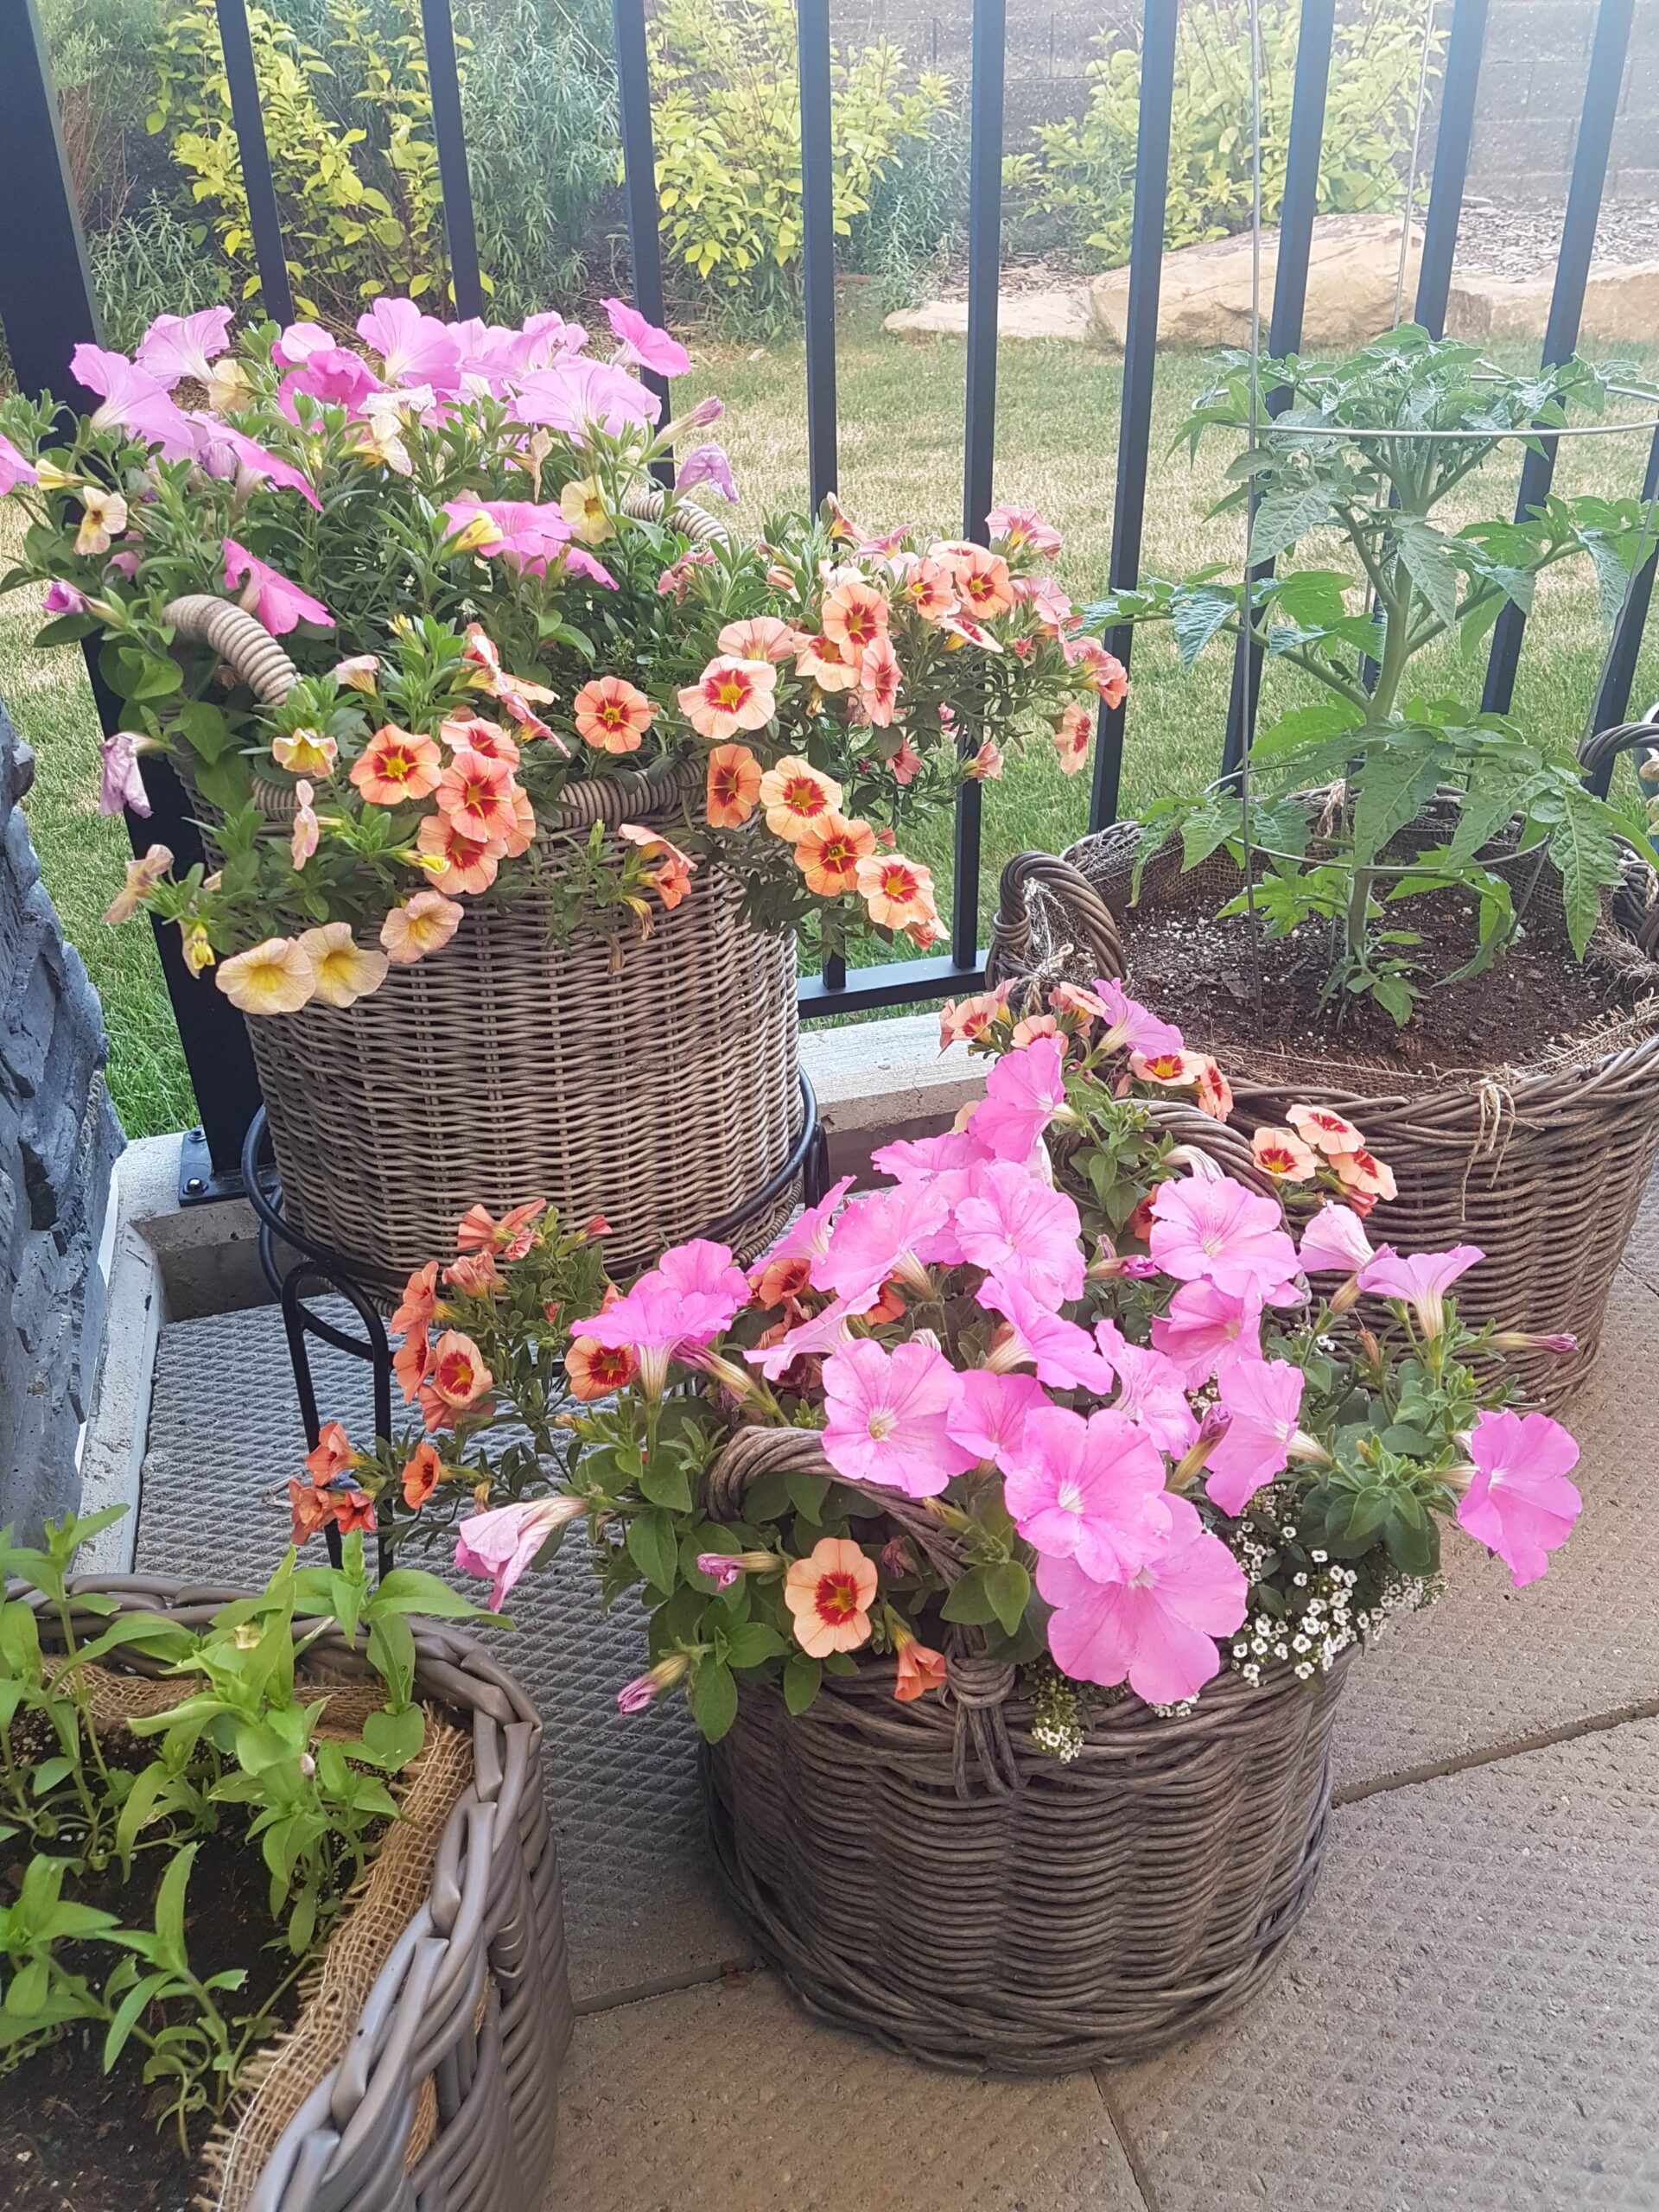
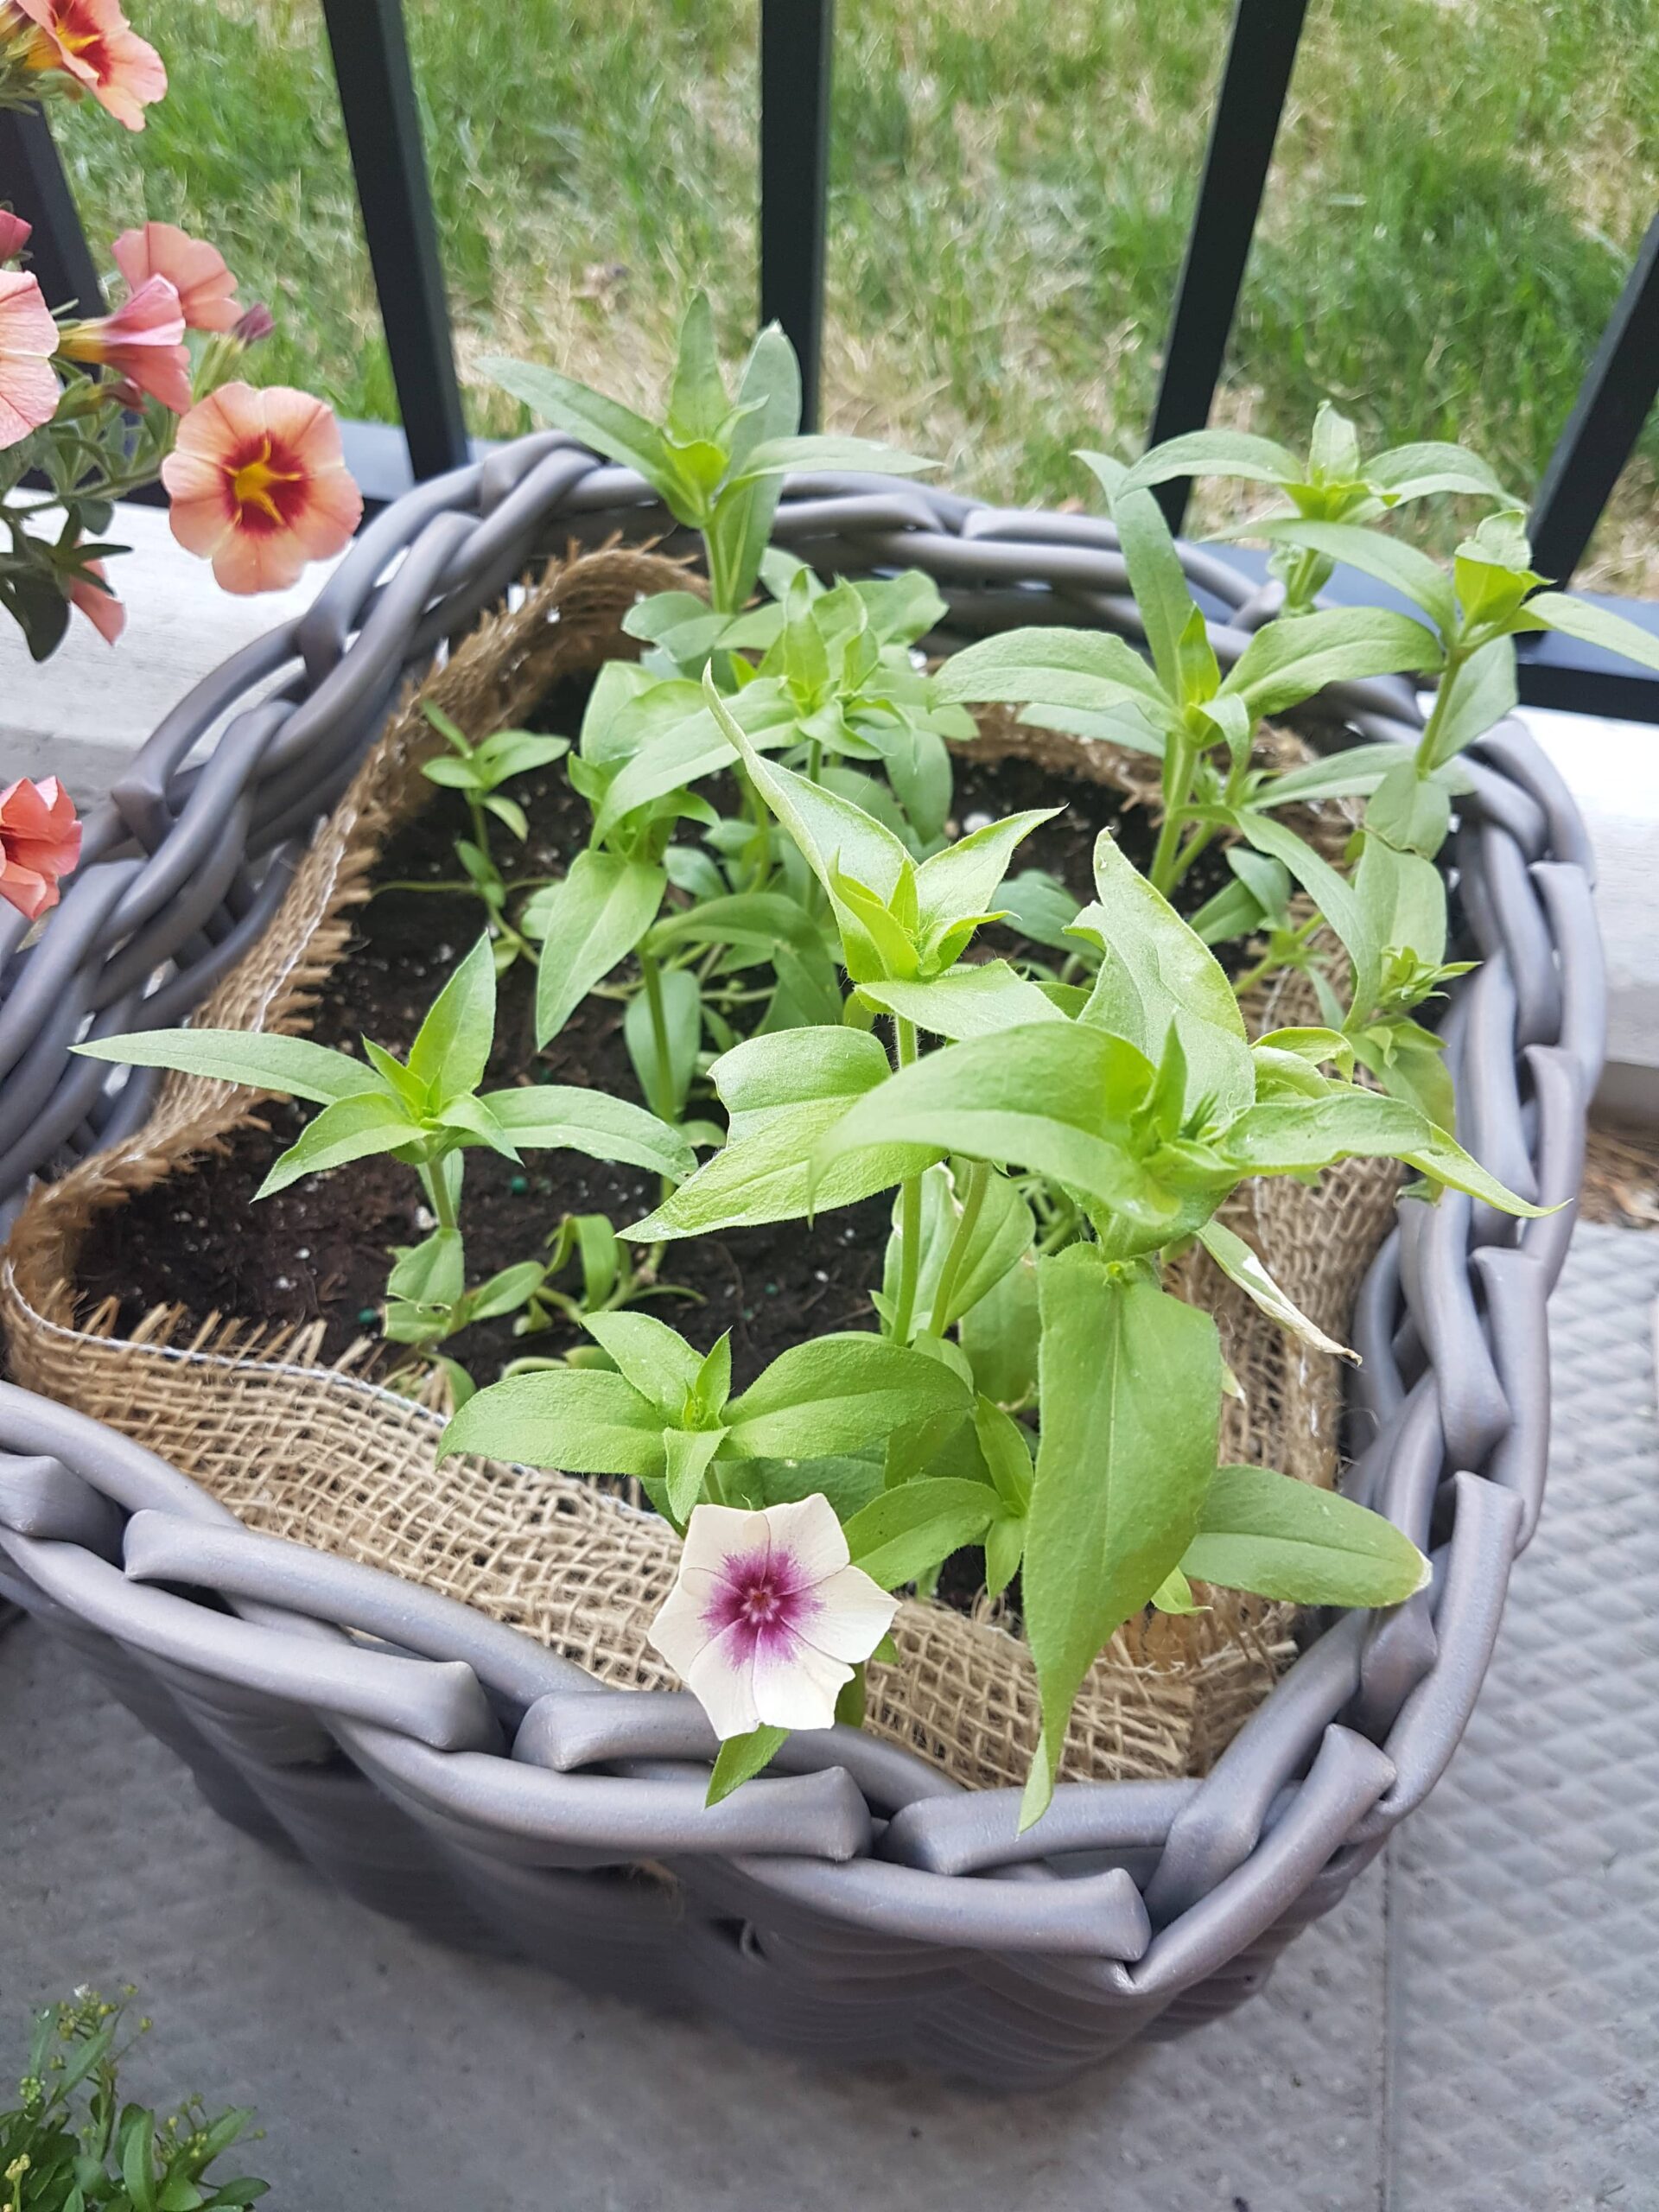
See below for photos of my planters in summer 2023! Happy planting!
Join the List
Stay informed & receive my latest healthy living tips to your inbox.