DIY Painted Scalloped Lamps- Thrifted Makeover
I’ve been loving all things “scalloped” these days, and I’ve also noticed that they are really trending right now in home decor items. I love the whimsy that this design detail adds to a piece, and the cozy cottage vibes that they evoke. In this post I share how to create these cute scalloped lamps!
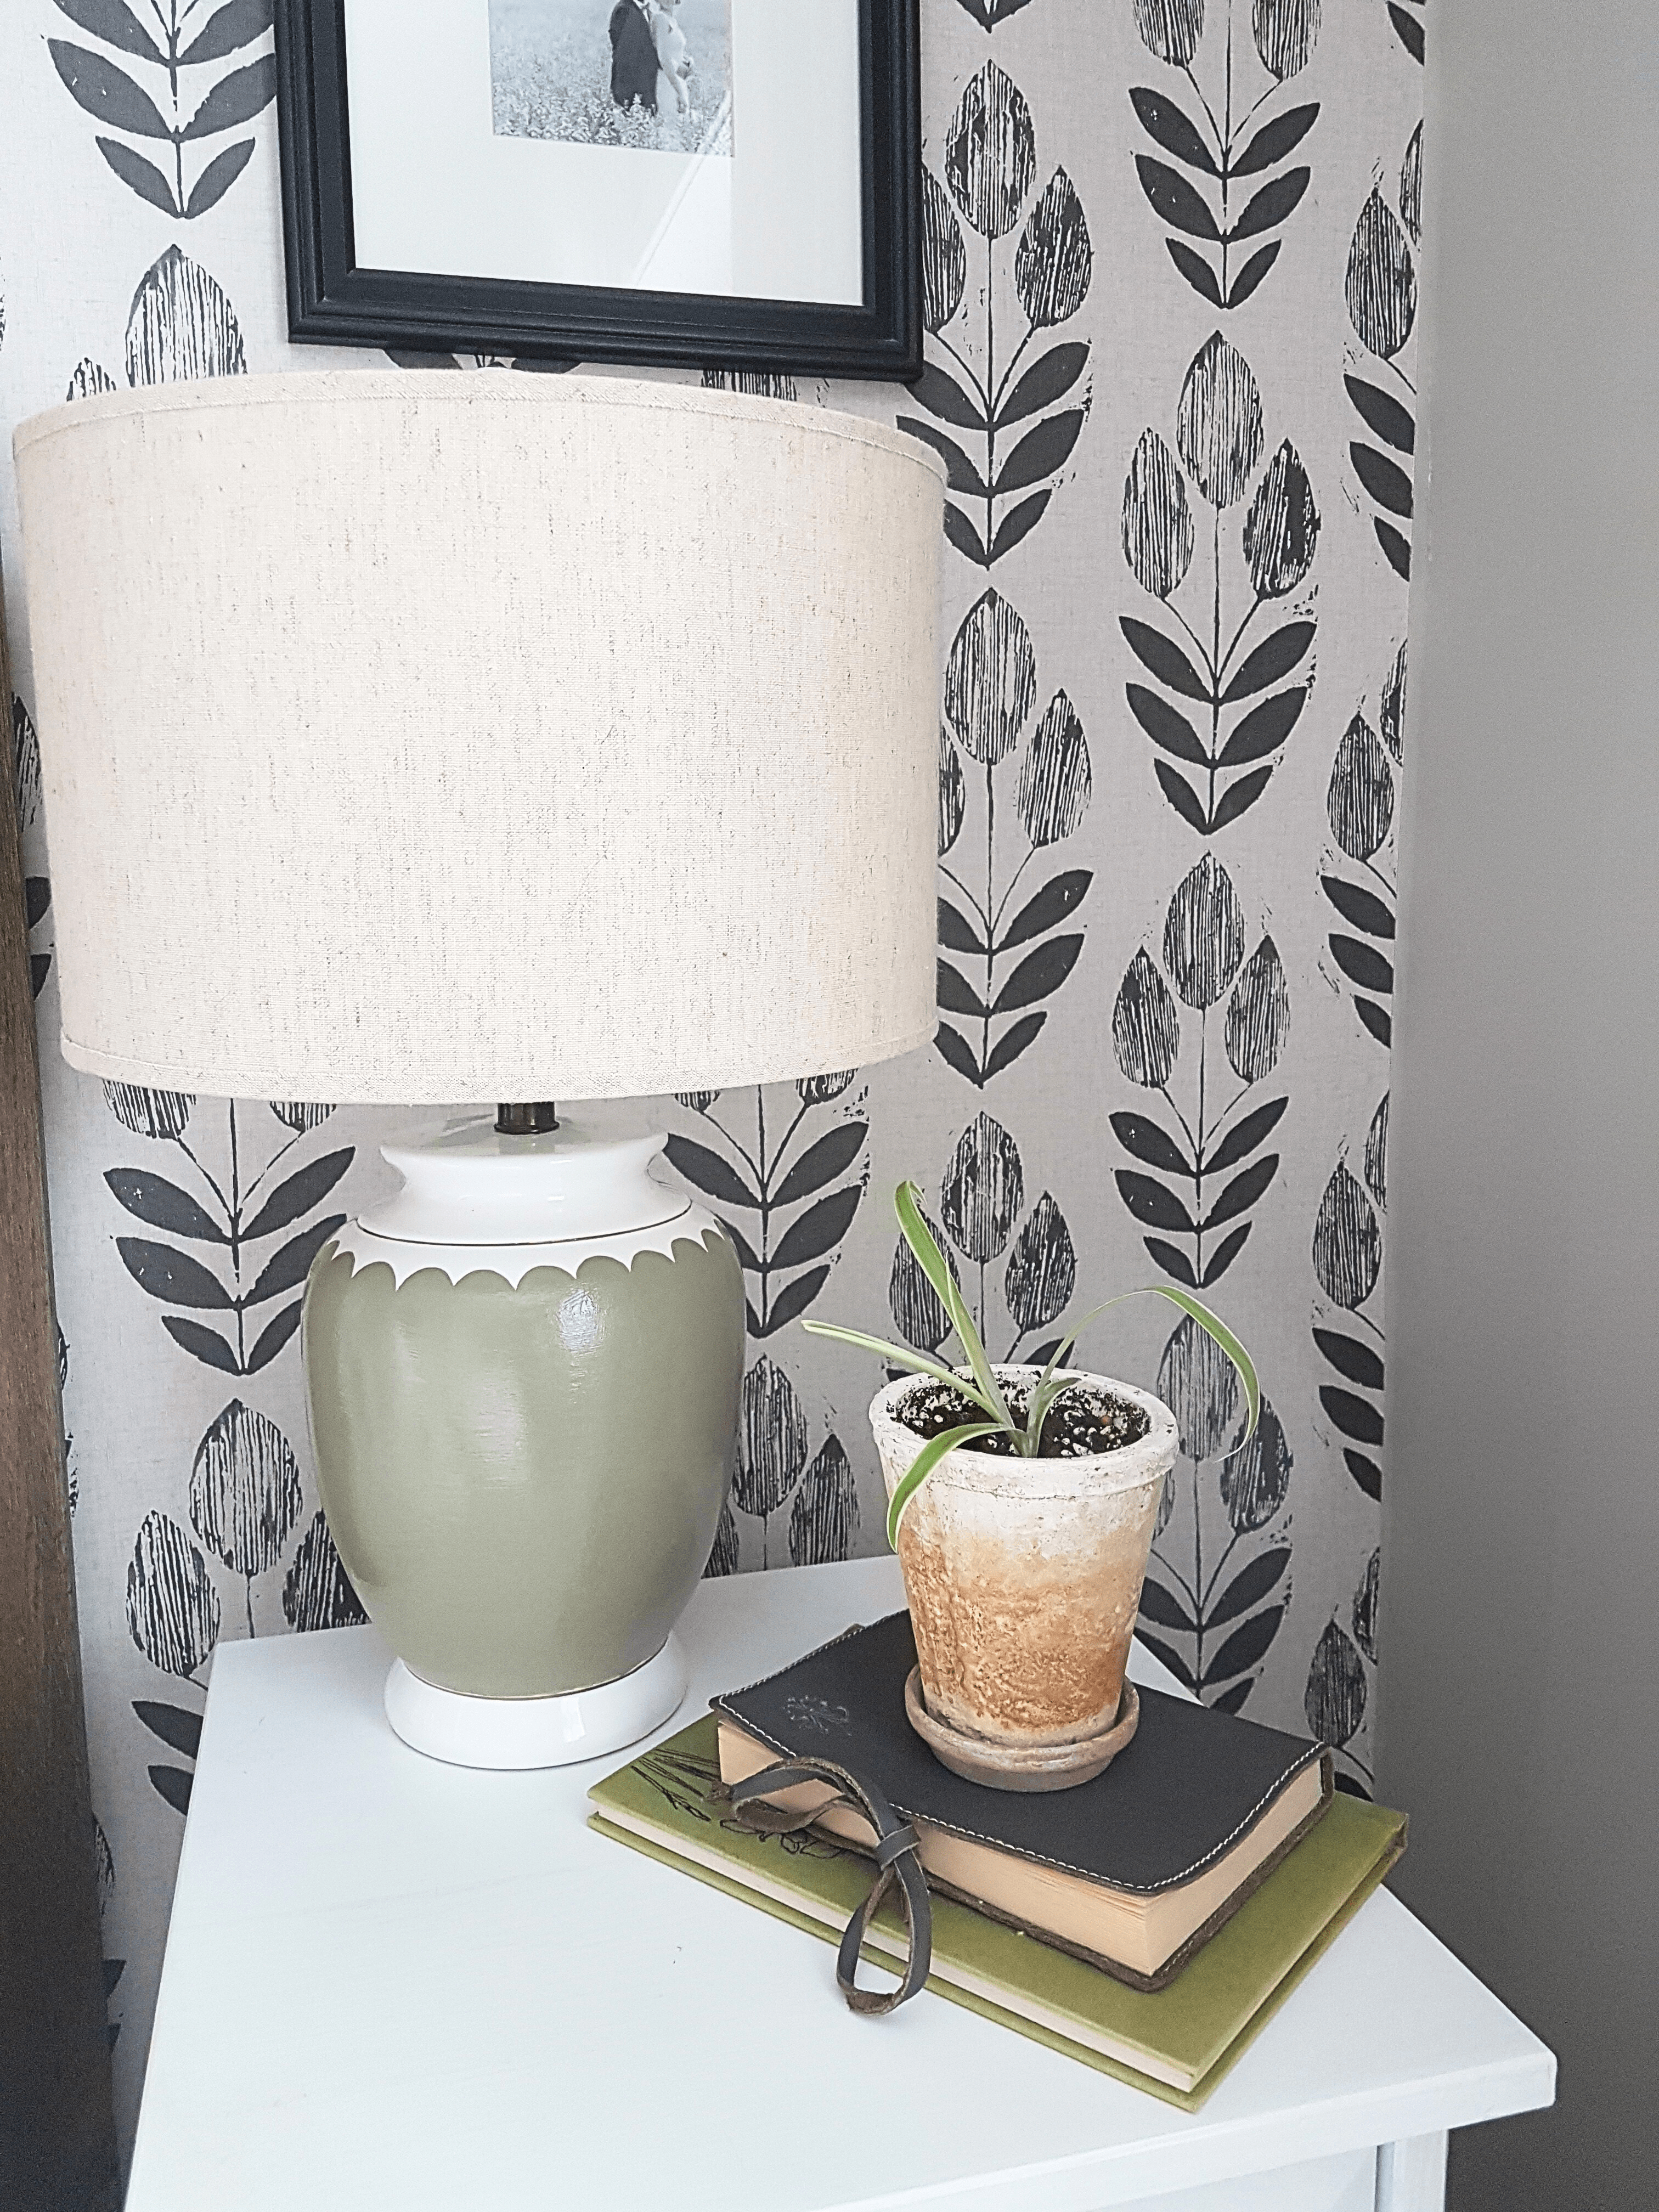
When I decided it was time to update our bedroom nightstand lamps to something that I actually love and that works better with the room, I couldn’t find anything that was a reasonable price in my mind. I liked our lamp shades and only wanted to replace the bases. These are not easy to find! I decided then that I would make-over some thrift store lamps, which would allow me to make them exactly the colour and style I wanted.
At first, I wanted to make my lamps an old-world textured pottery look, just like my DIY old-world pottery vase, but then decided it wouldn’t be quite the right look for this room. So that’s when I decided I would incorporate a design detail I LOVE- the scalloped pattern- and paint this on the lamps!
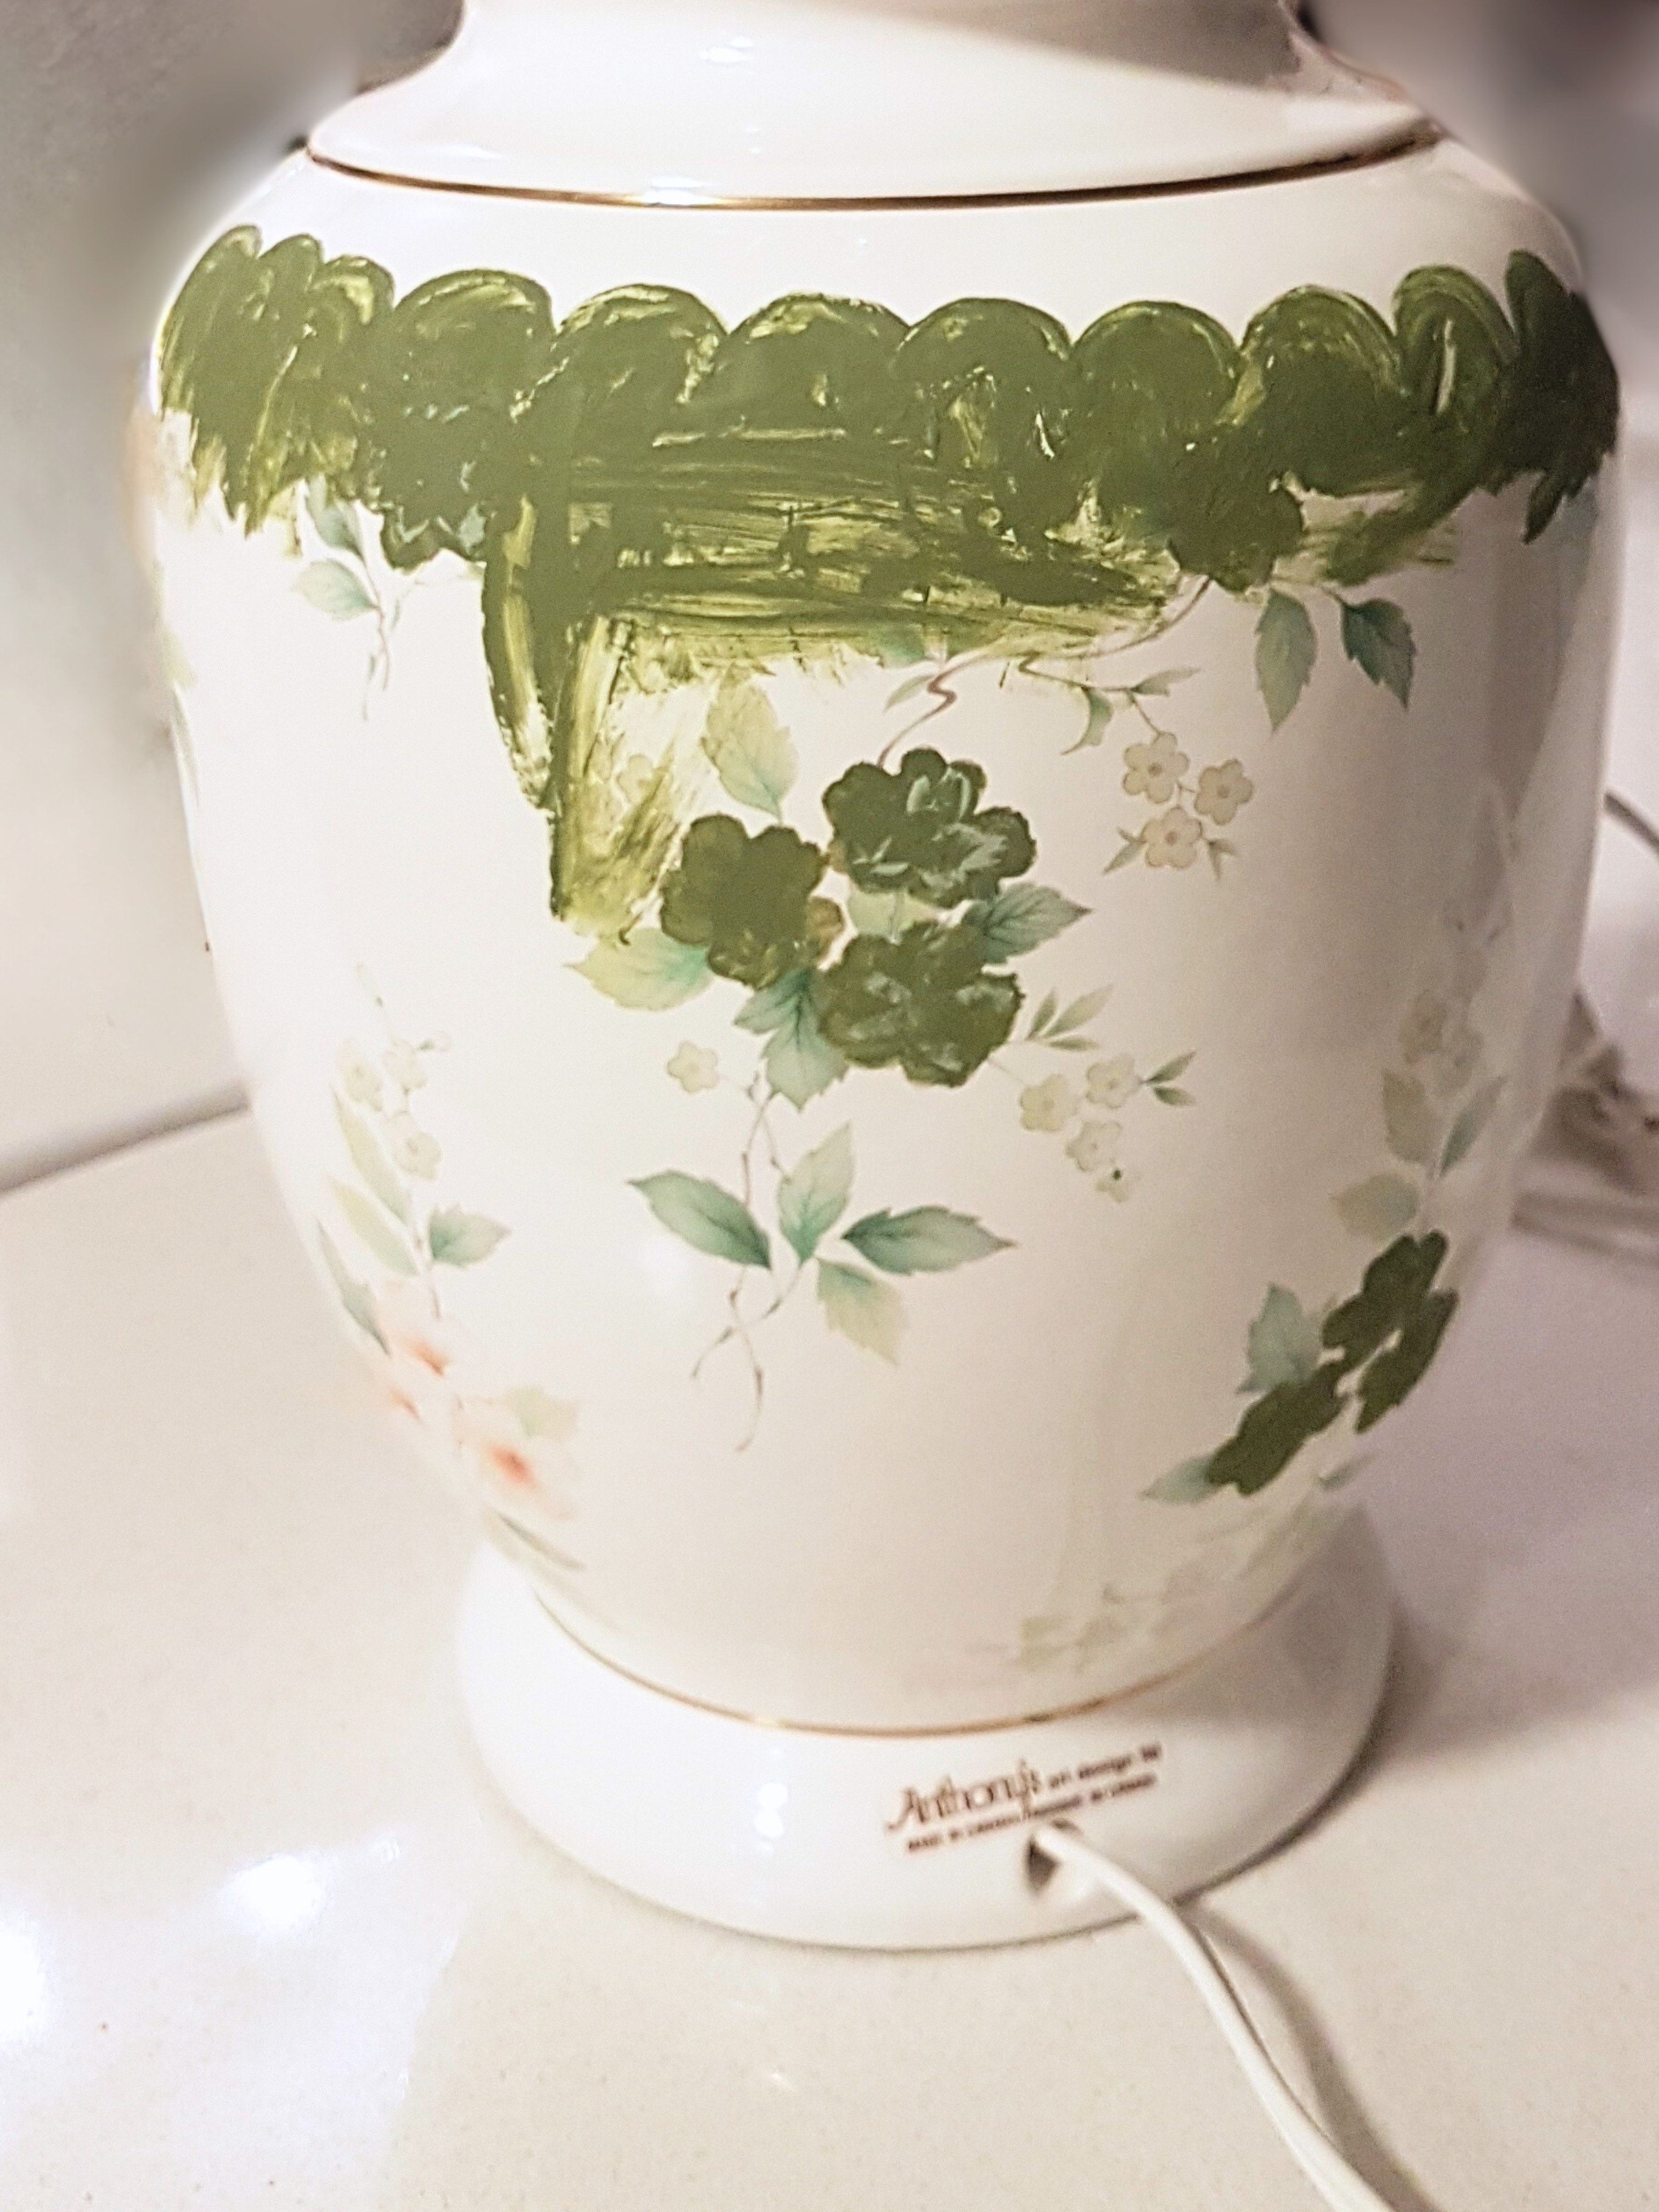
After several trips to the thrift store looking for ones that were the right shape and size, I finally found a pair of these:
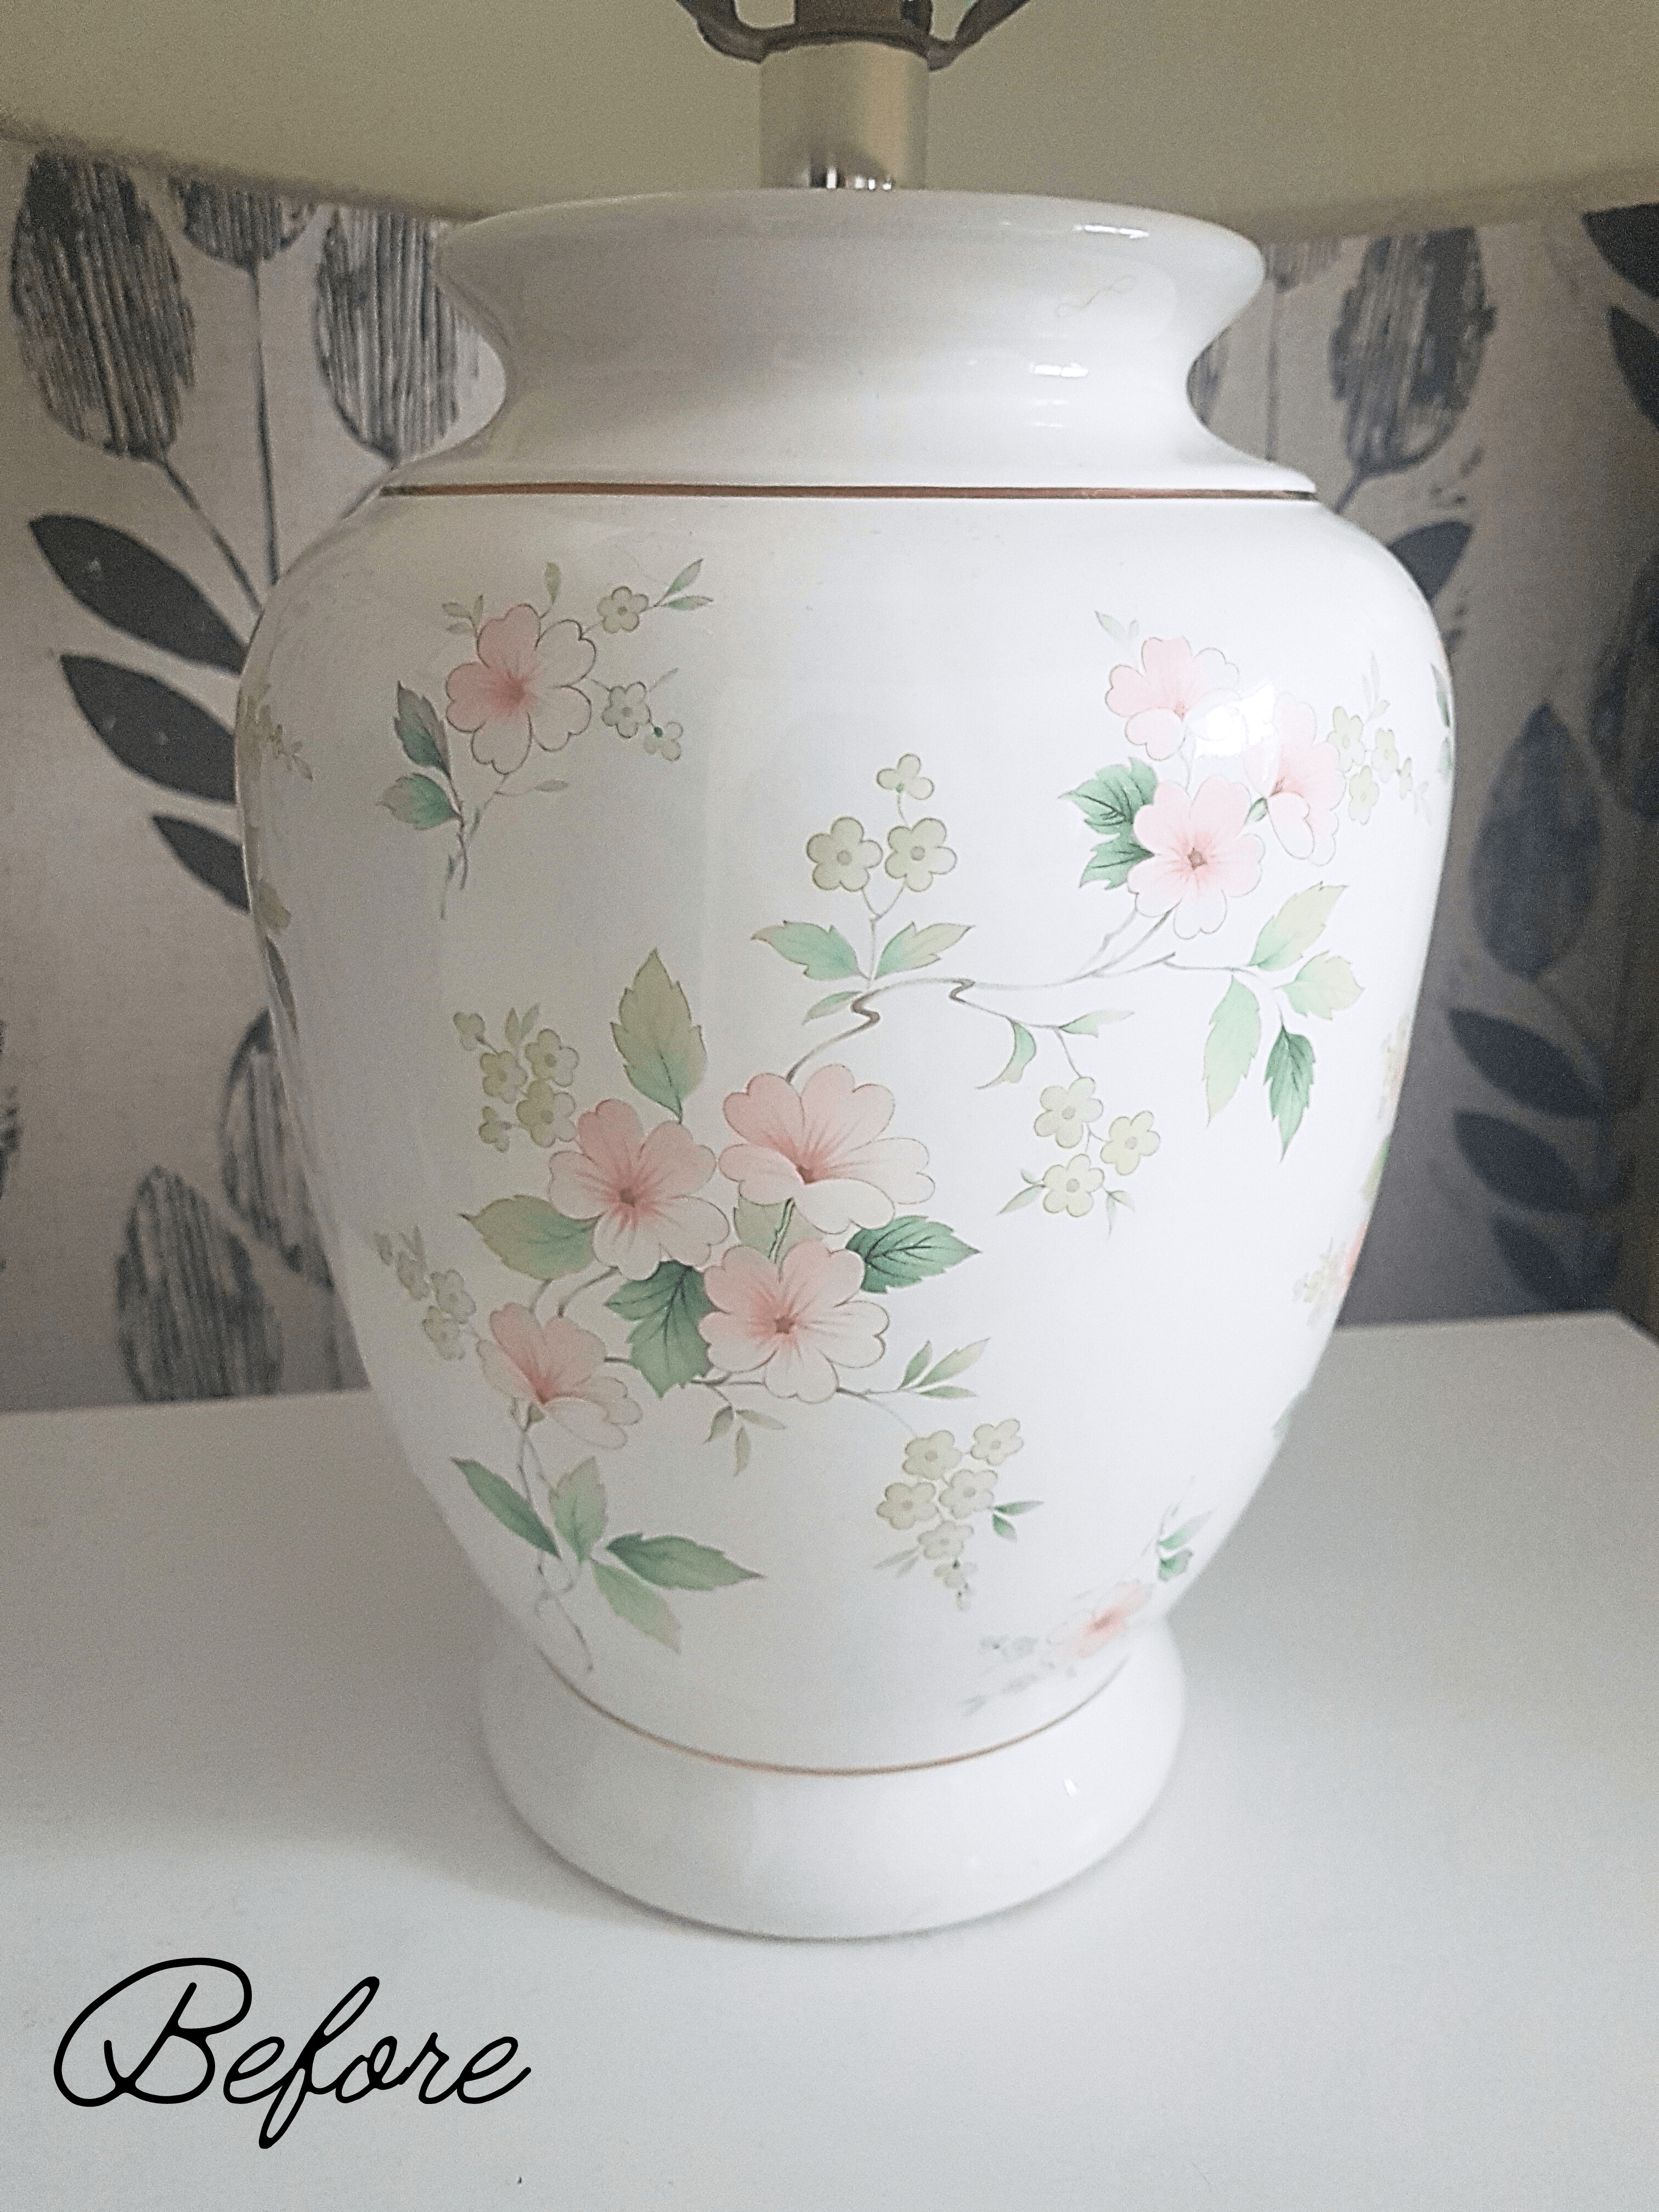
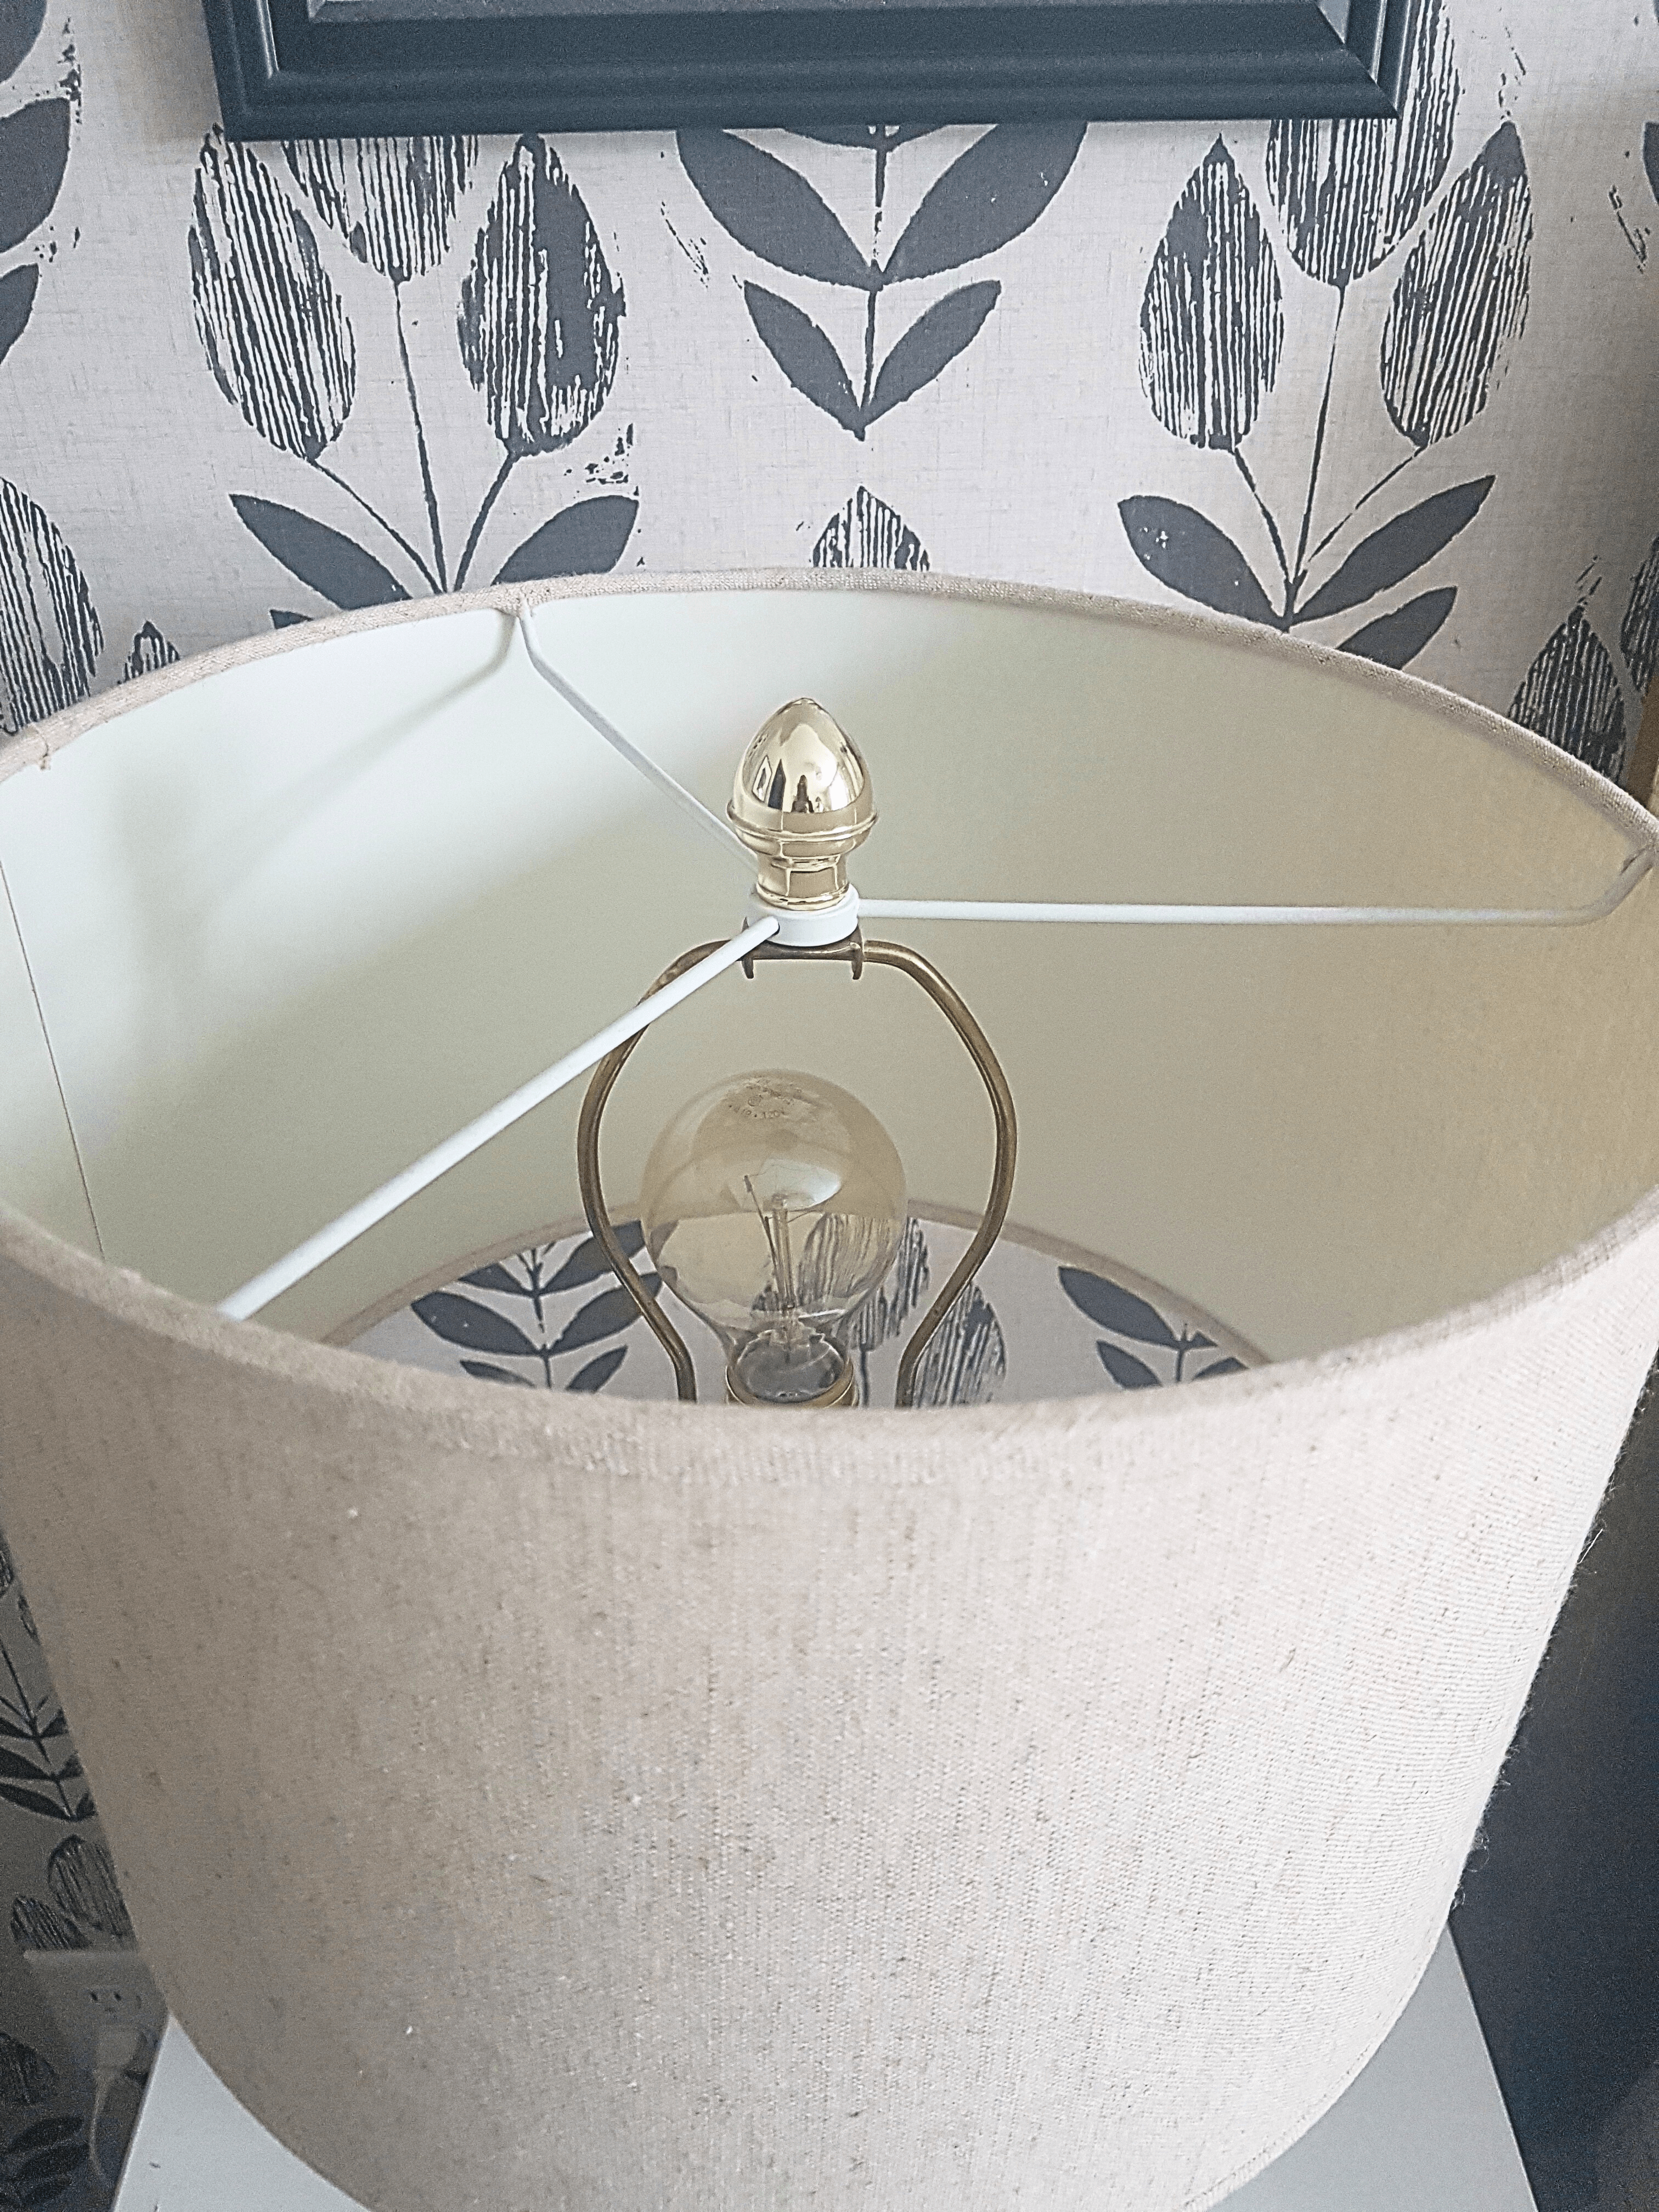
I loved the shape of them and knew I could do something with it. The gold finials at the top were plastic and I decided I would replace them with something more fun and with more interesting detail. Part of me wondered if I should leave them as is… but no, they were definitely dated. I did, however, decide not to paint over the two gold strips; painting over them just felt wrong haha!
These lamps had a glossy coating on them, and I really wasn’t sure if the paint would adhere to it. This was going to be an experiment…
Here’s how to do it:
1. Sand & Clean the Lamps
The first thing I did was give the bases a light sanding all over with a medium grit. This was to help rough up the finish to help paint better adhere to it. The finish didn’t seem all that different after the sanding, so I wasn’t sure if it was “working”, but I felt this was a “better safe than sorry” kind of situation. After sanding, I wiped them down with damp cloth to remove any sanding dust.
2. Practice Painting the Scallops
The next step was to practice painting the scallops before doing it directly on the lamps. Originally, when I first had the idea for this project, I thought I’d be able to find some kind of scalloped stencil that would make painting this really easy. Unfortunately, I couldn’t find anything that would have worked, and I also realized that a stencil wouldn’t lay flat anyway because of the curve of the lamp. Thus I realized, I would have to free-hand it.
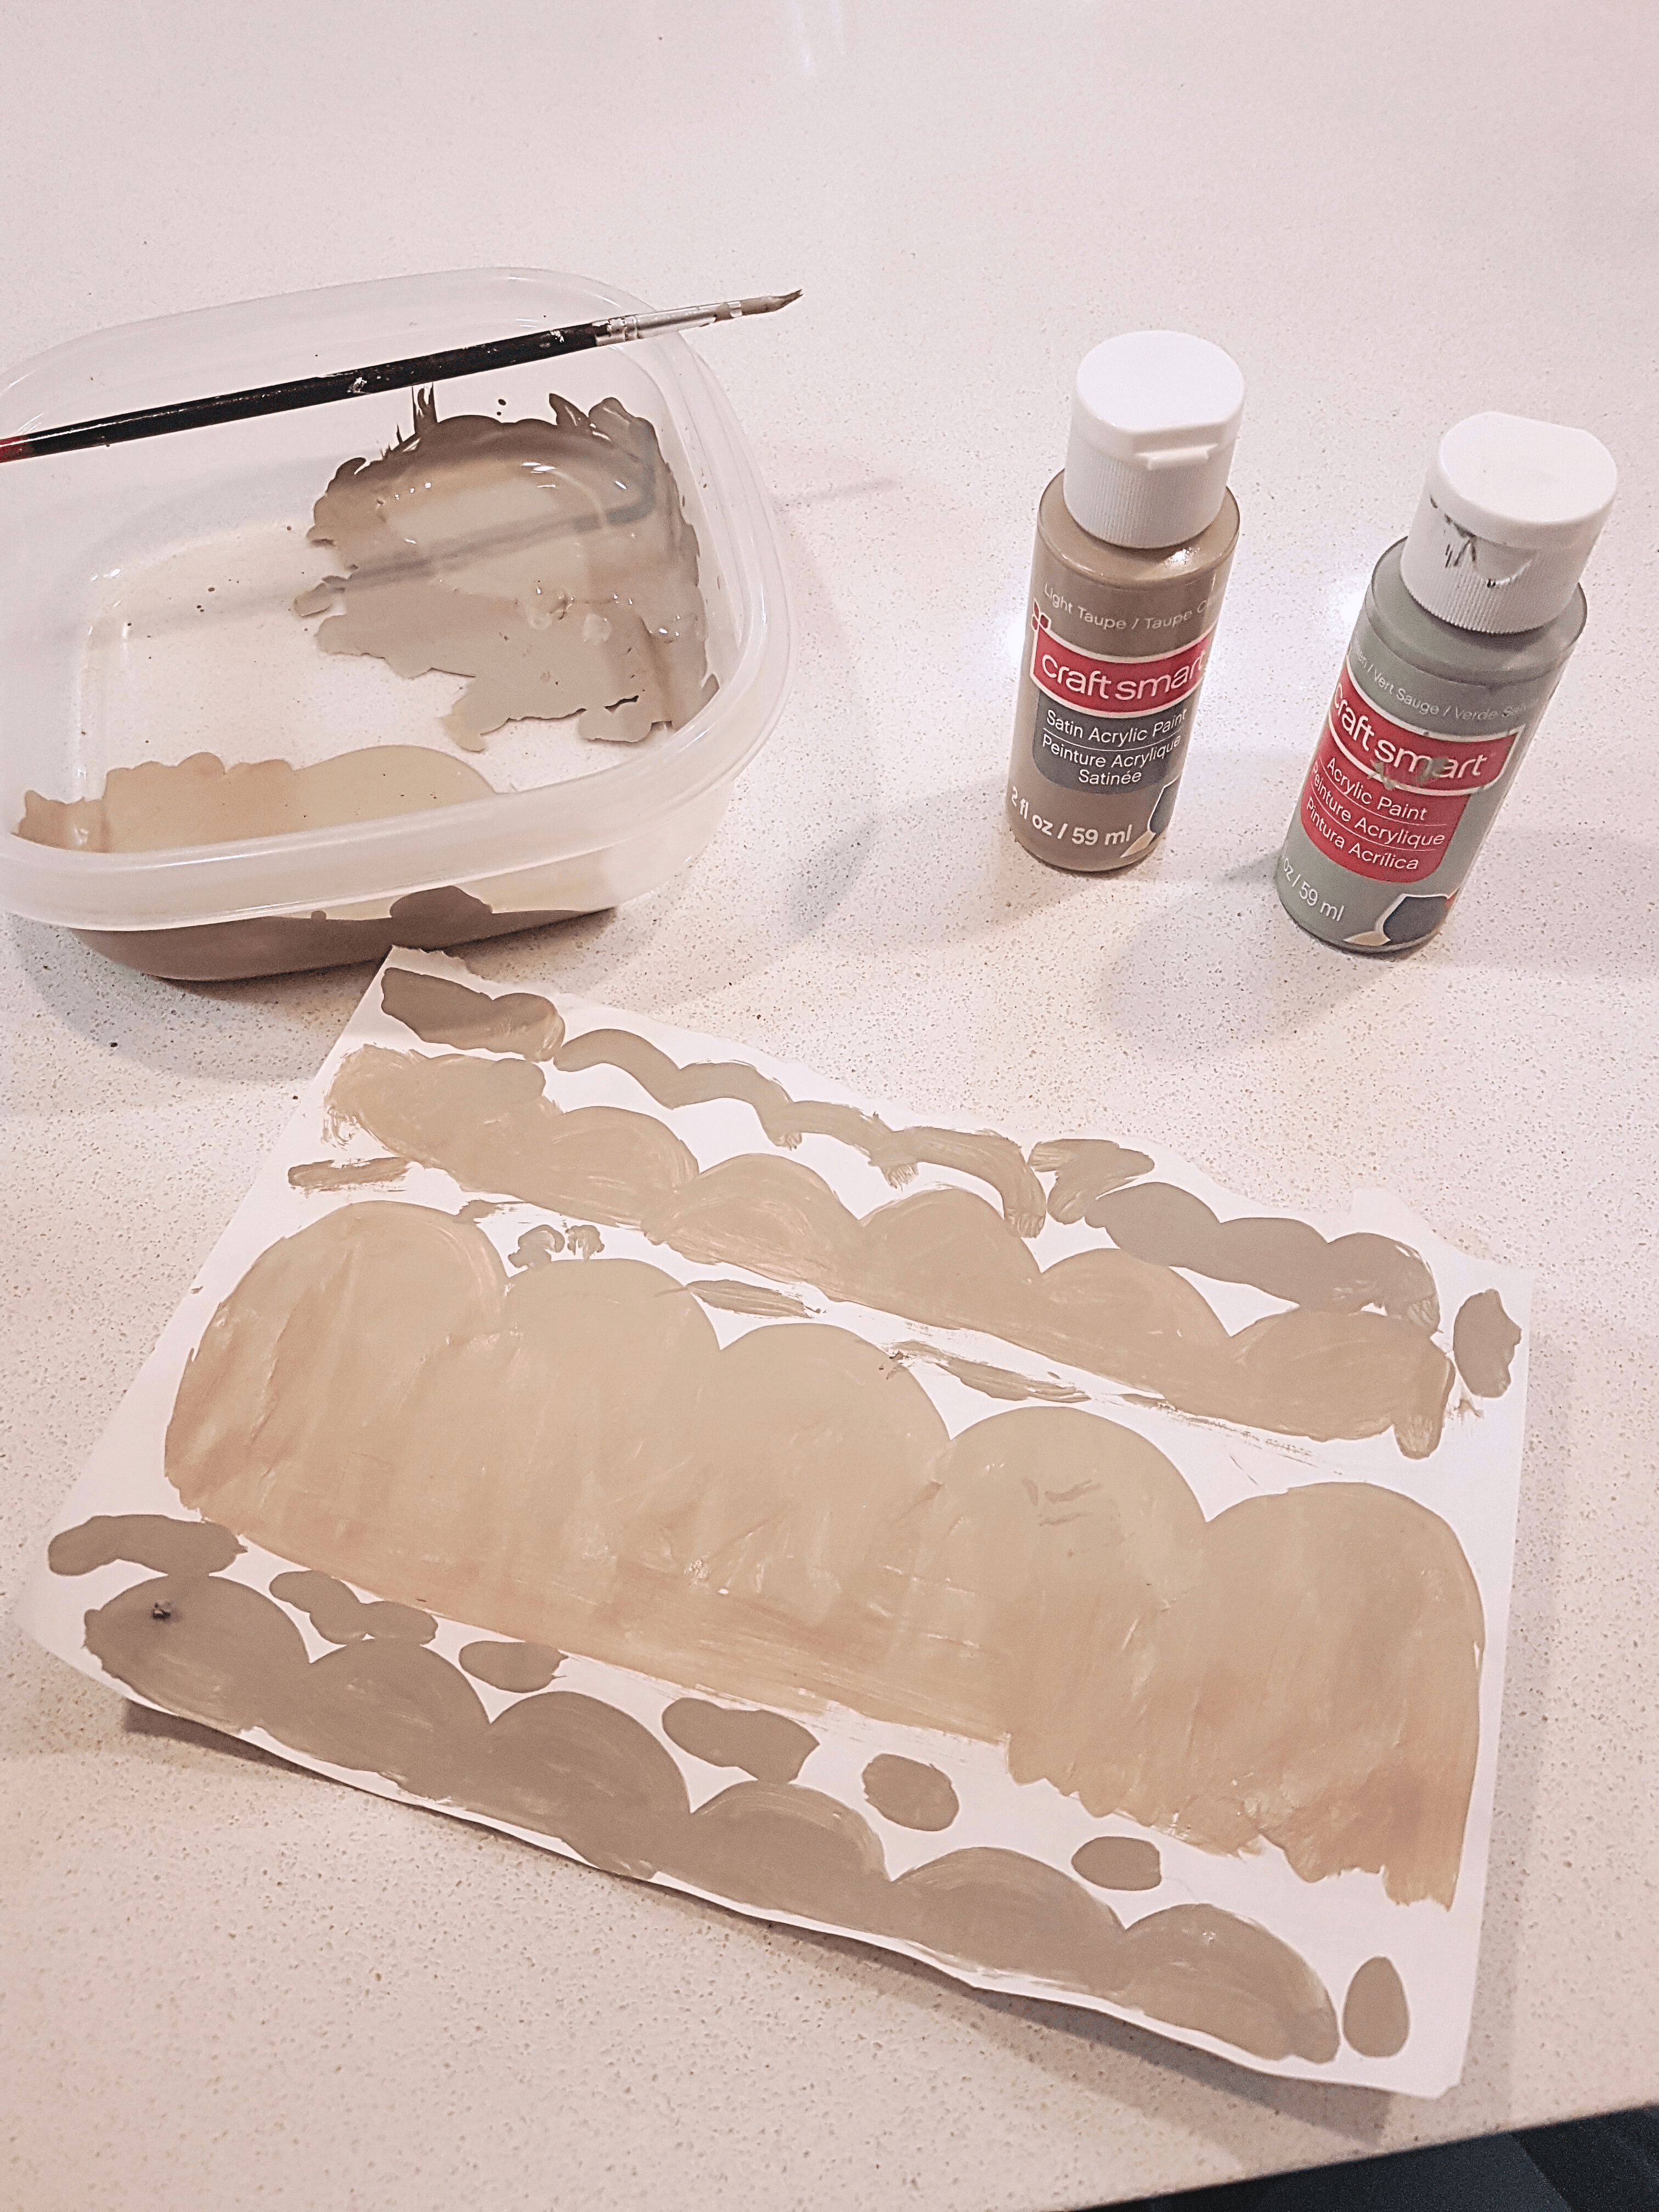
I started mixing up a paint colour to use (mixing beige and green to get some sort of olive green… I wasn’t quite sure what colour I wanted), and then started practicing painting a scallop shape on a scrap piece of paper. This not only helped me to get a feel for the movement of the brush, but it help me determine what size to make the scallops. I highly recommend doing this!
3. Paint The Scallops & Do Your First Coat
I was so nervous to start painting, but knew I just had to go for it! The goal with the first coat was just to cover the whole surface with a layer of paint, as well as define the outline of the scallops. I knew that the paint wouldn’t cover the lamp fully with just one coat.
I used a small brush (shown above) to paint the outline of the scallops, and then a larger brush to fill them in and paint the rest of the lamp base.
You can adjust your painting as you go. In my first attempt at the scallops, I realized that I wanted them to be larger and “deeper” or “taller”. So for the next layer, I brought the top of the scallop up higher, and had to combine some of the smaller scallops into one larger one. I also adjusted the colour as well and added a bit more beige to the green.
Don’t worry about the scallops all being the exact same size and shaped perfectly. Just try to make them approximately the same size, and it will turn out great! When I look at other home decor items with a scallop shape, the scallops are often not all the exact same size. This handmade look is part of the cottage charm!
I noticed that I could scratch off the paint with my finger nail (a sign that the paint isn’t fully adhering), but I knew I could seal in the paint with a clear top coat.
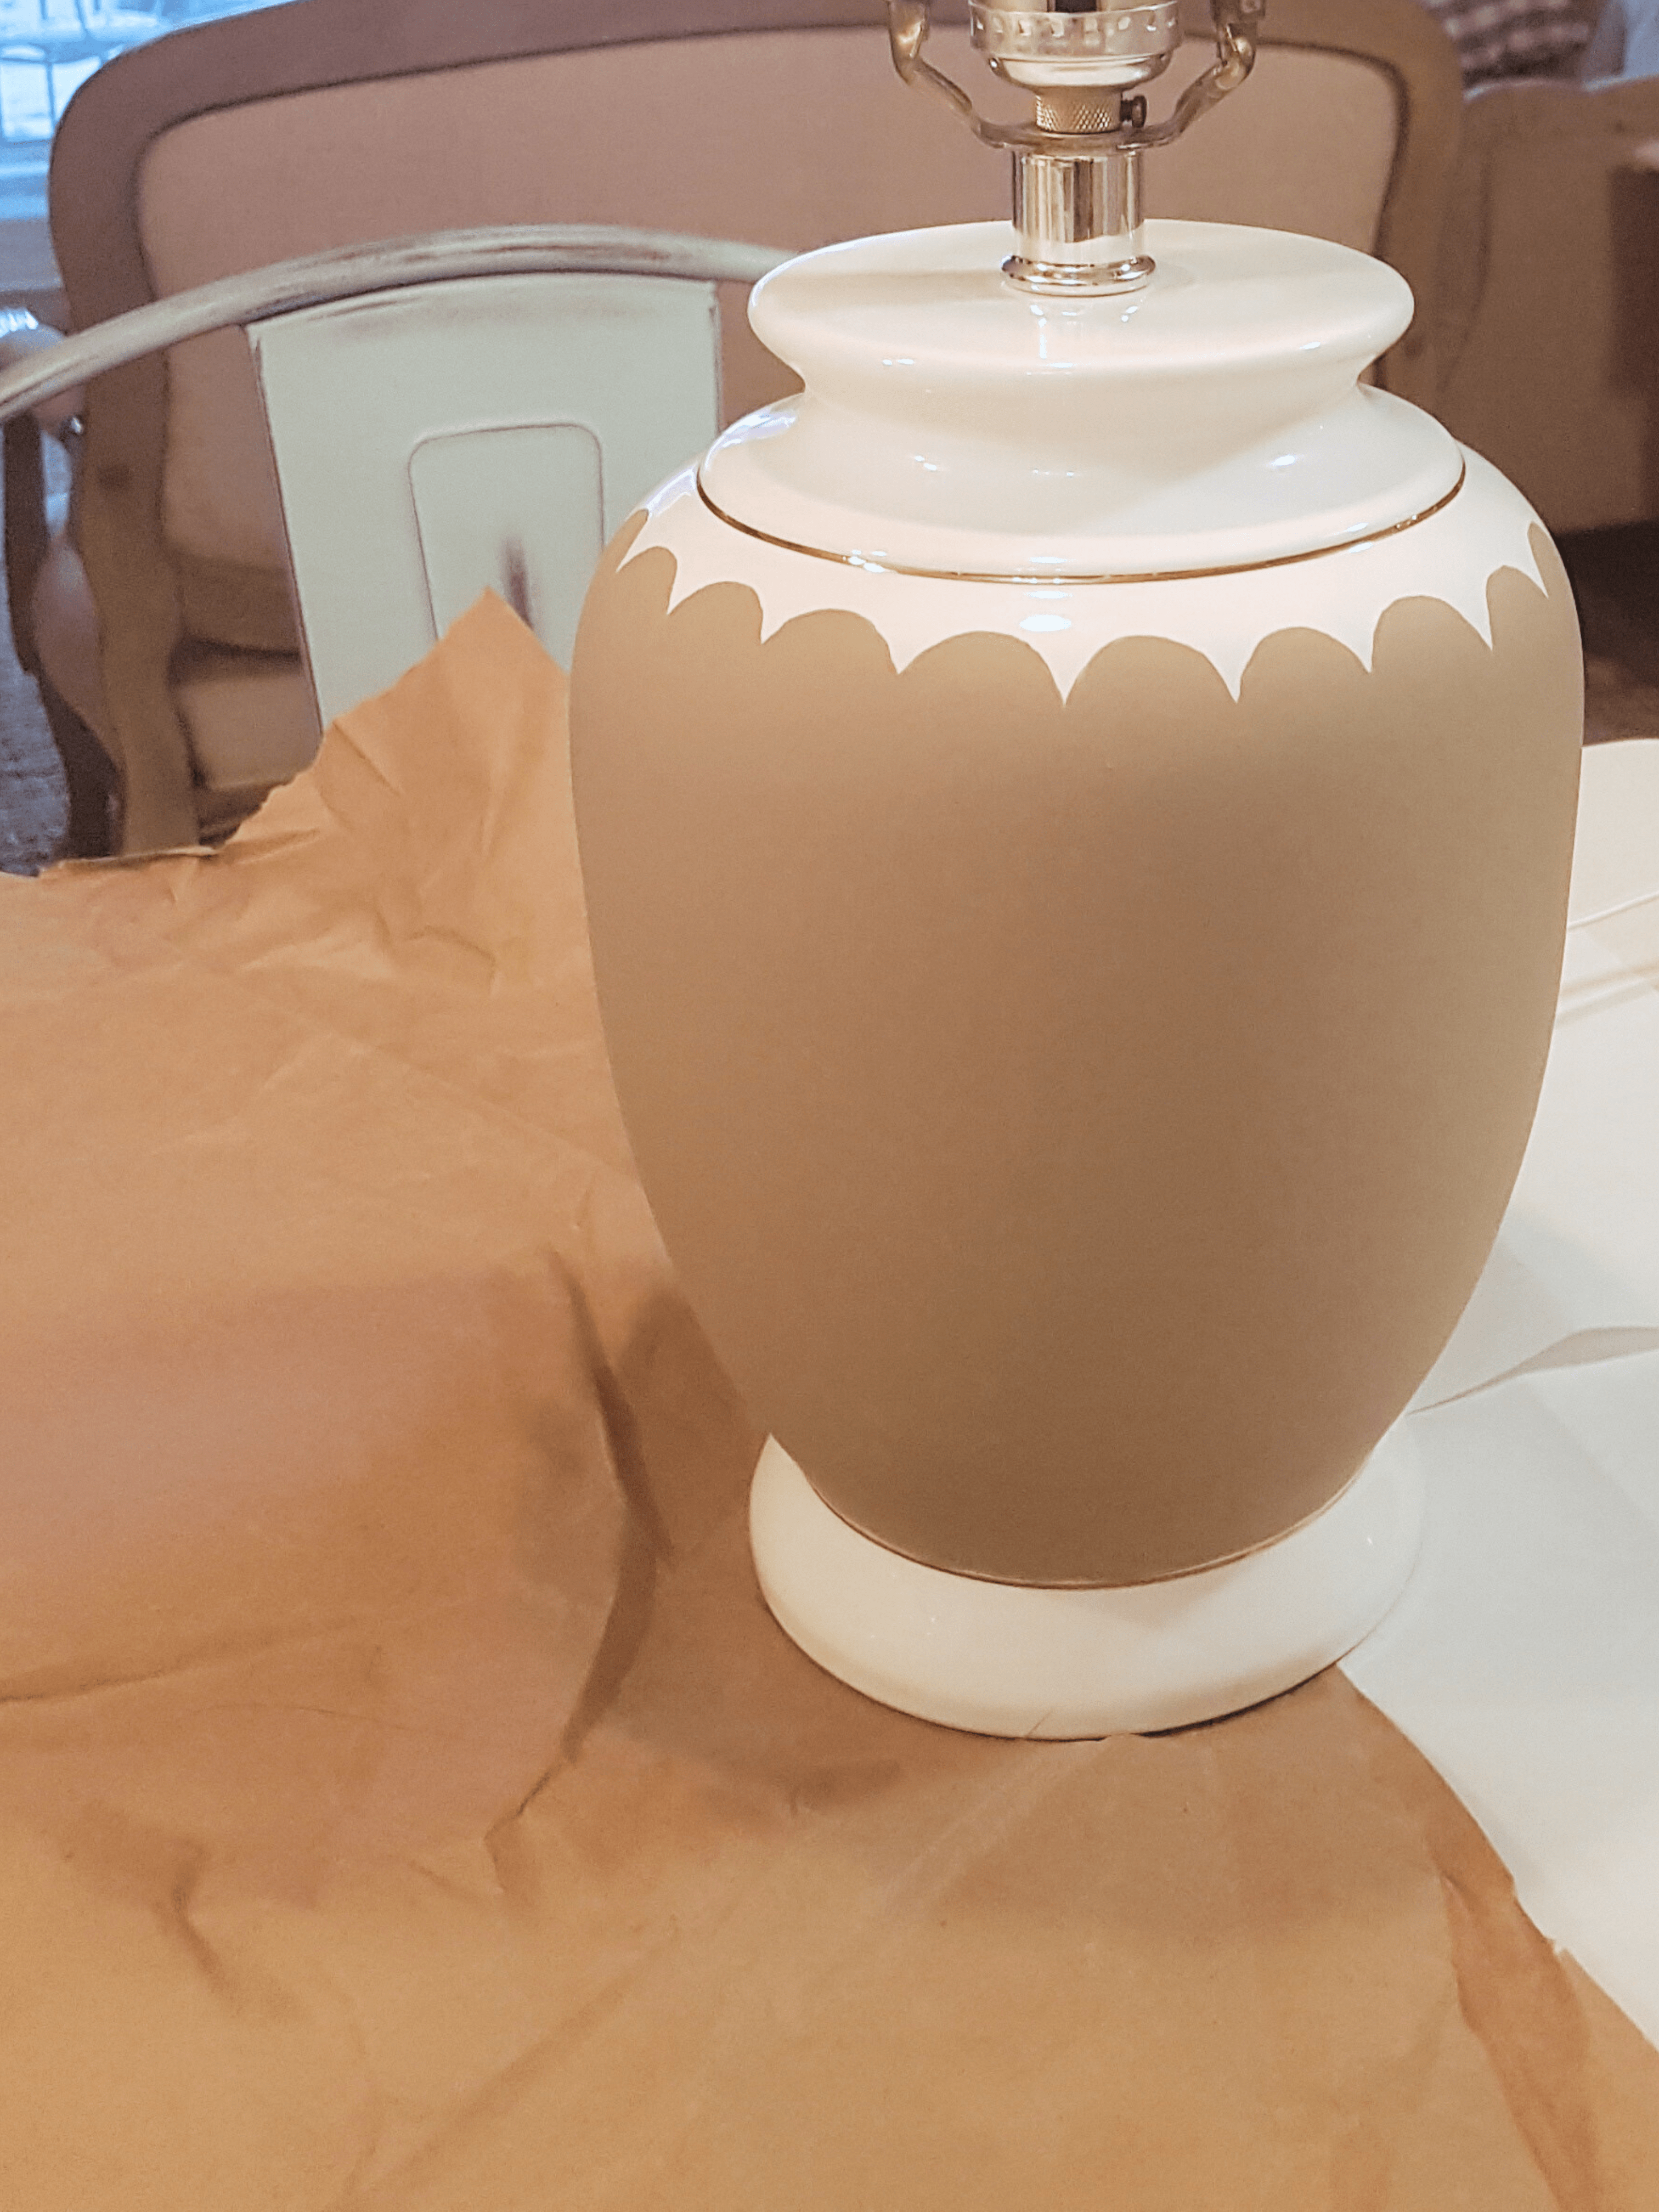
4. Paint Your Second Coat (and more if needed)
Here’s how my lamps looked after the final coat of paint. For the life of me, I can’t seem to remember if I did two coats or 3 (but this will depend on your specific item anyway).
5. Add a Clear Coat
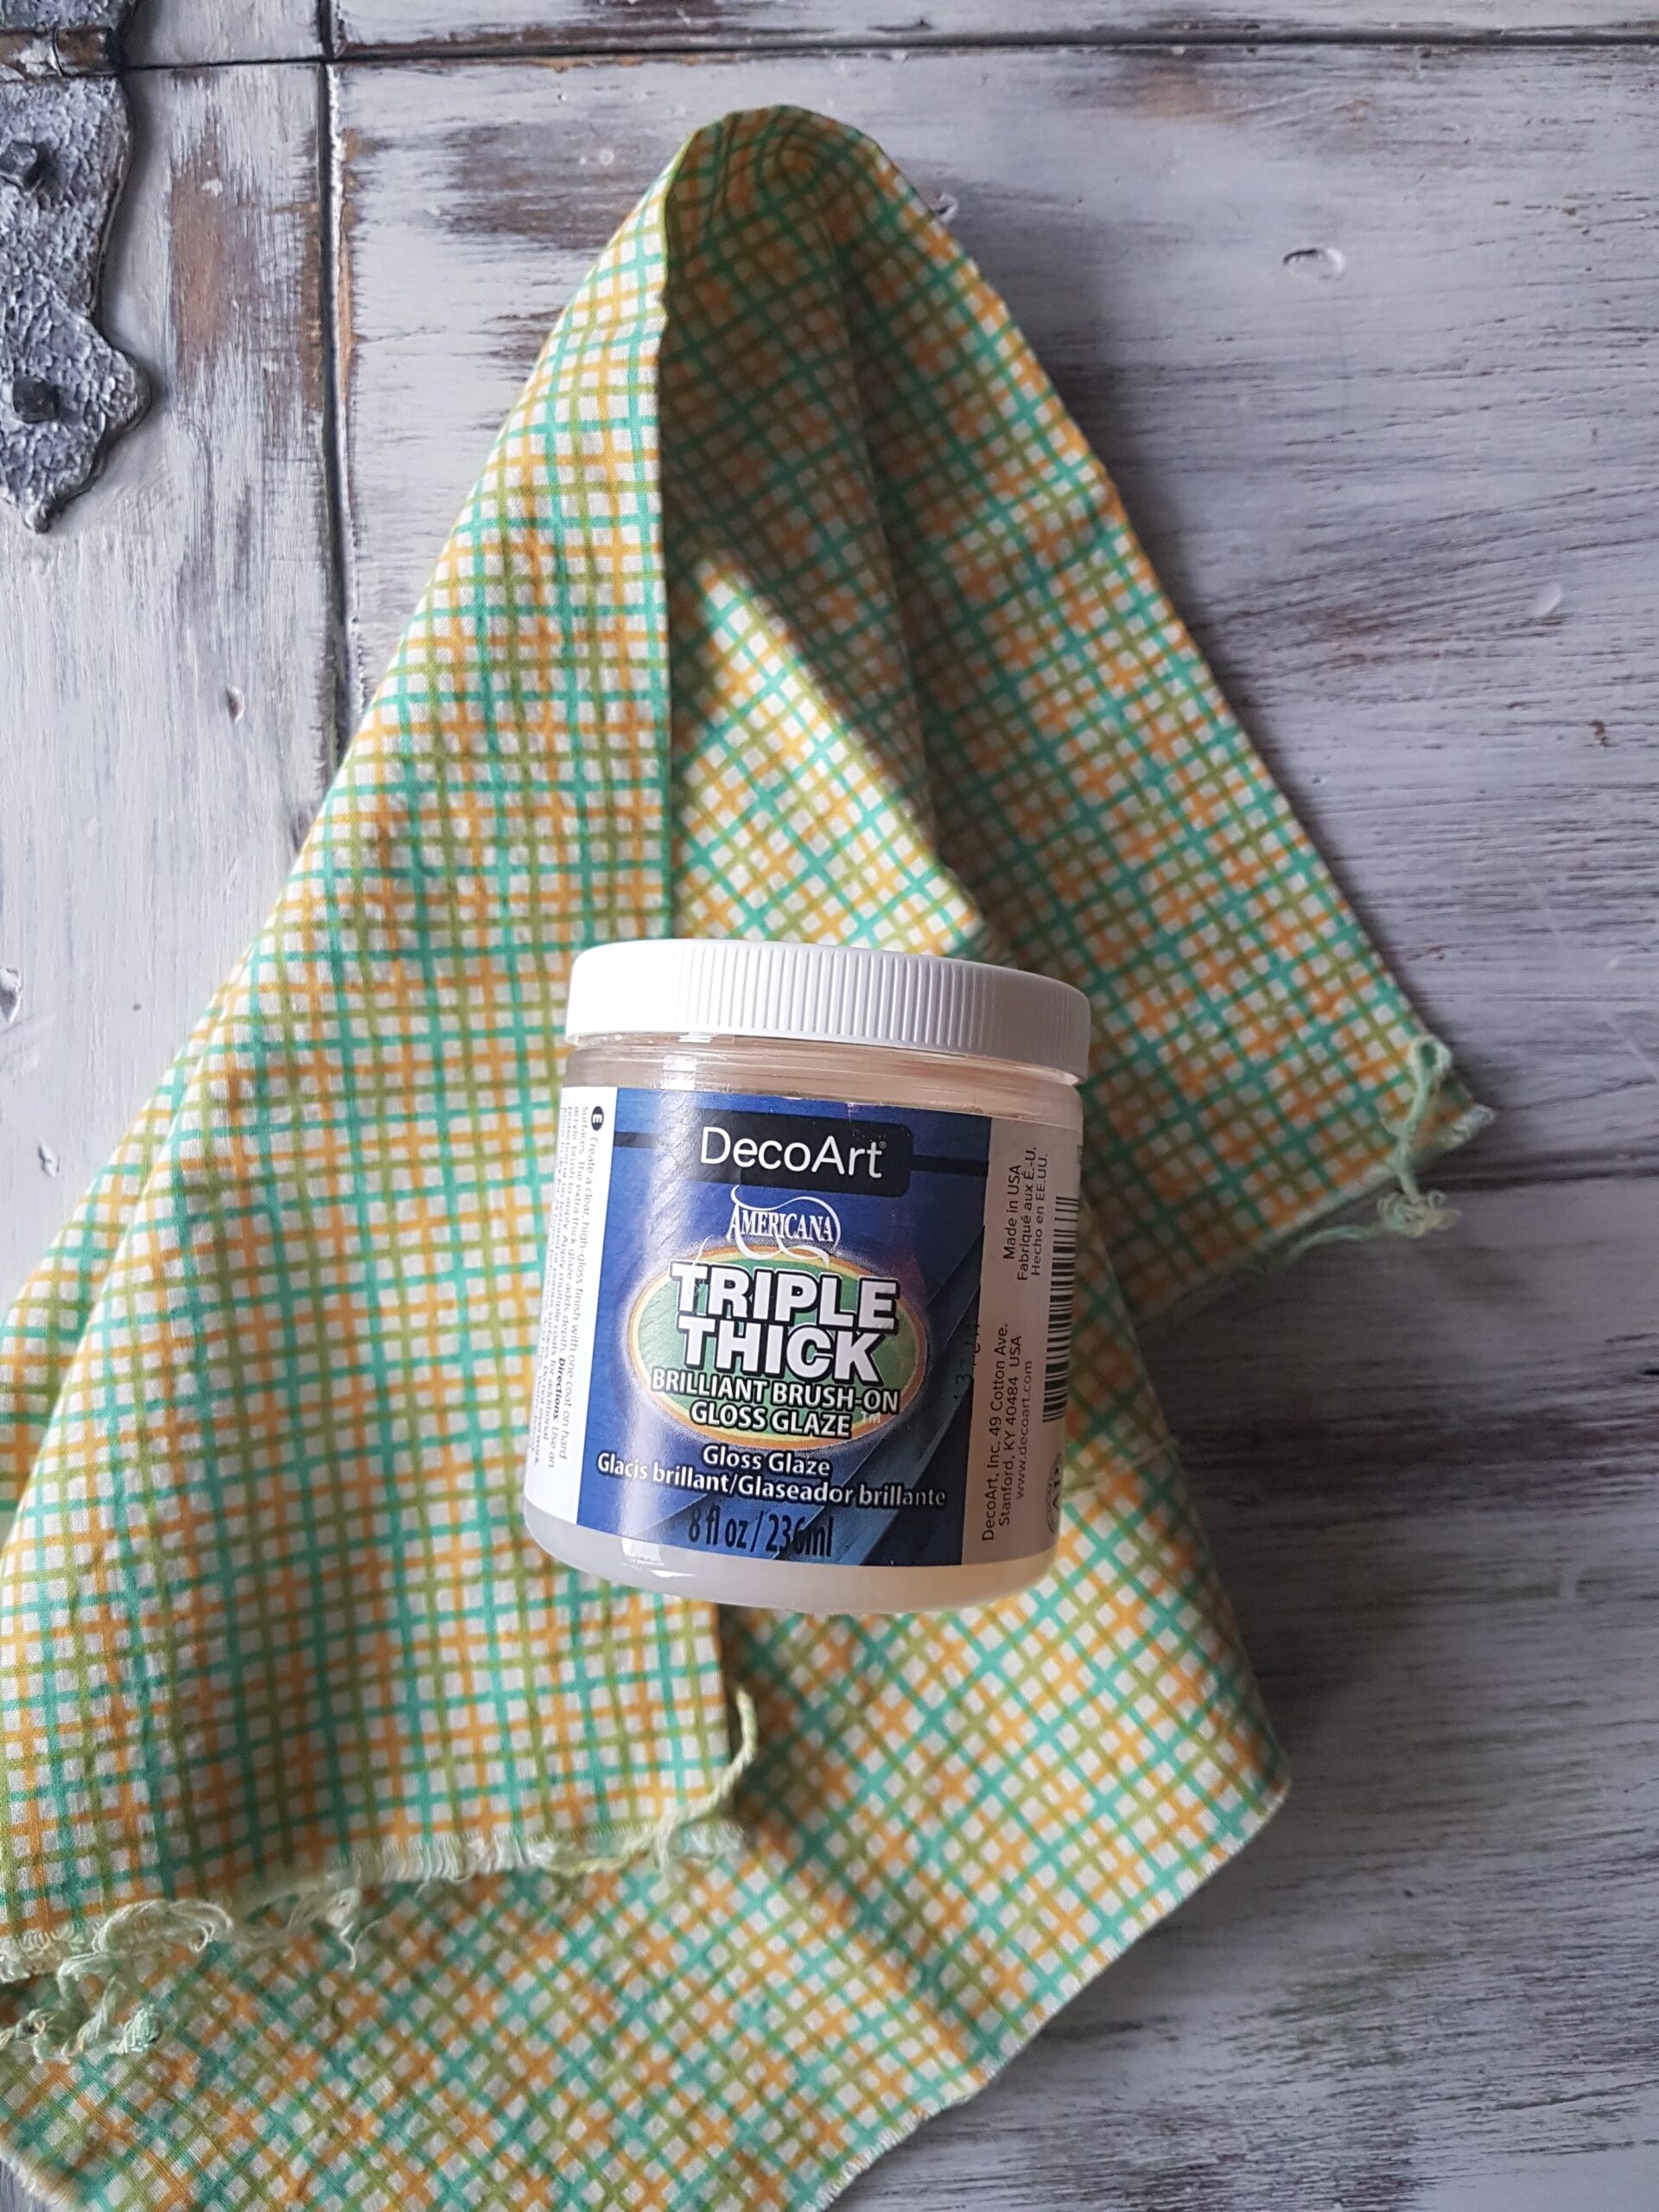
To seal the paint and prevent it from chipping off, I used this Triple Thick Gloss Glaze from DecoArt (affiliate link). I wanted a glossy finish to these lamps to maintain the ceramic texture of them, and match the rest of the lamp that I didn’t paint.
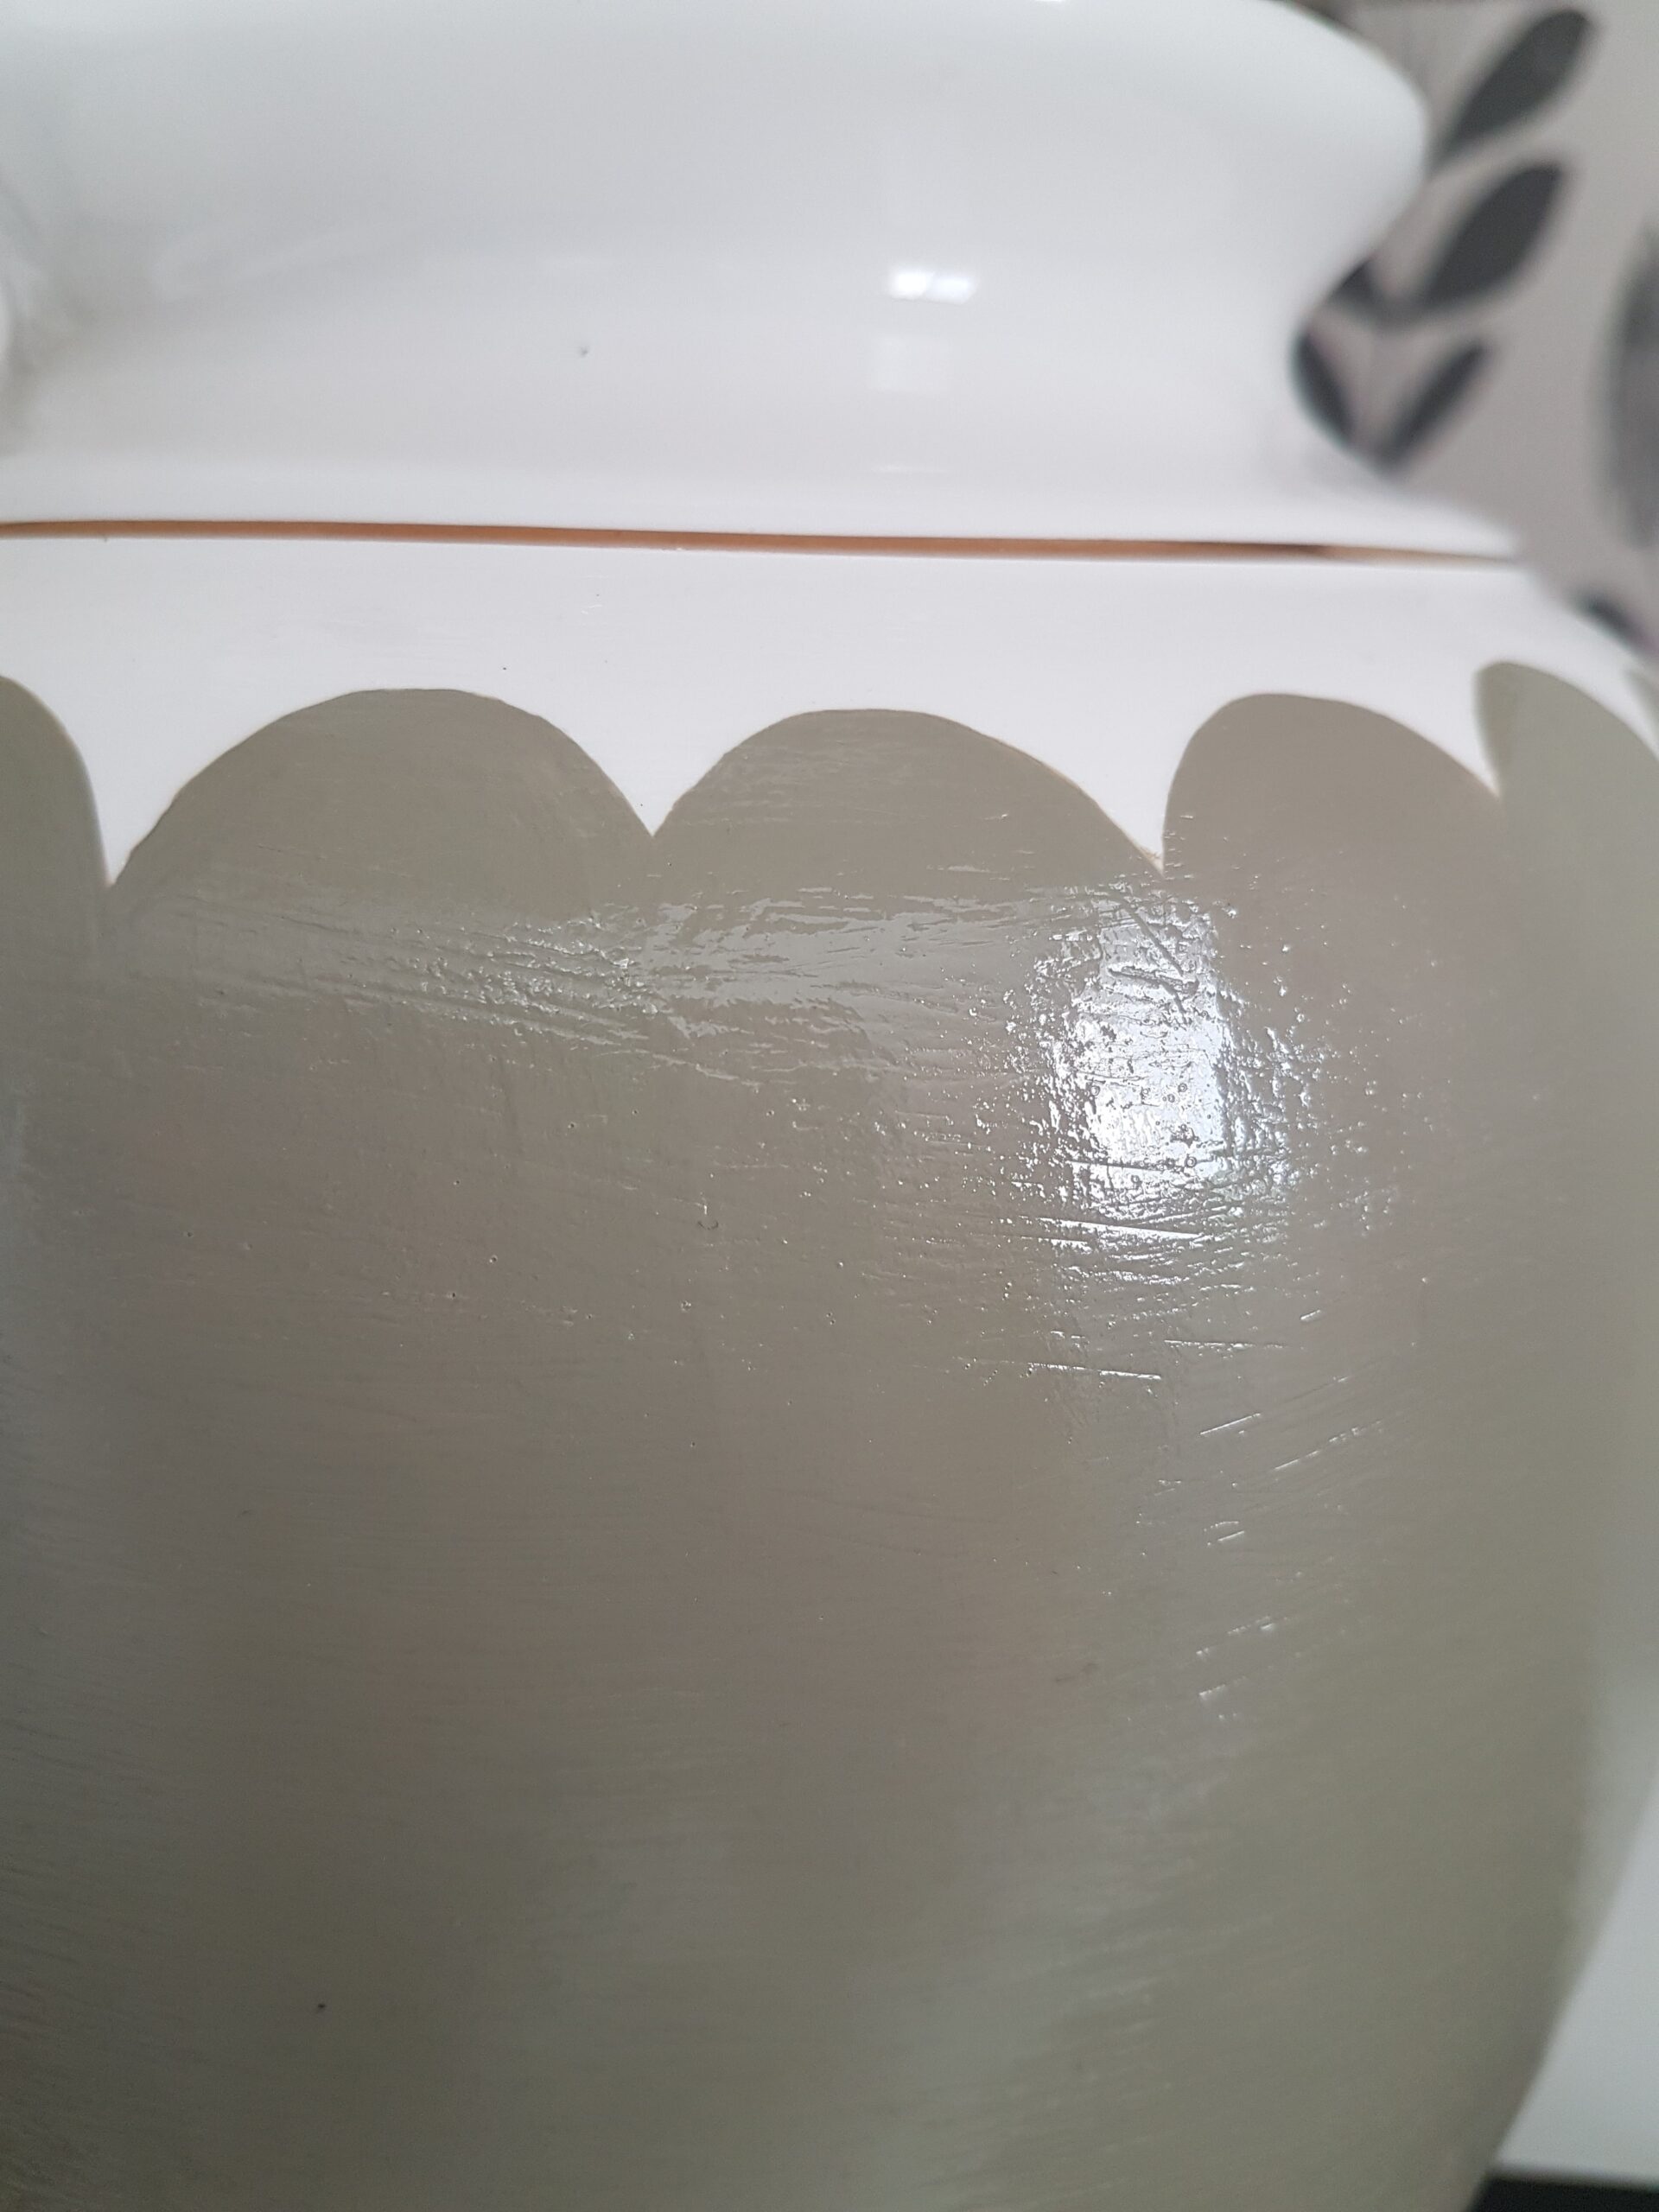
To be honest, I did not love the application of this product. It truly is triple thick, which meant that it was a bit hard to apply on a large surface. It would dry really fast, which meant that my clear coat has brush strokes in it because it would start to dry as I would be trying to spread it around.
However, the end result of my lamps is still great! The mentioned “brushstrokes” left behind in my clear coat actually don’t look too bad and give the lamp bases some texture. For an easier application of a clear coat and to avoid brushstrokes, you can use a spray-on clear coat… BUT this has to be done outdoors and I find spray-on products create more toxic fumes.
And here is the final result! I’m quite happy with these and think they’re so cute! This is a simple project that will give you a really unique item.
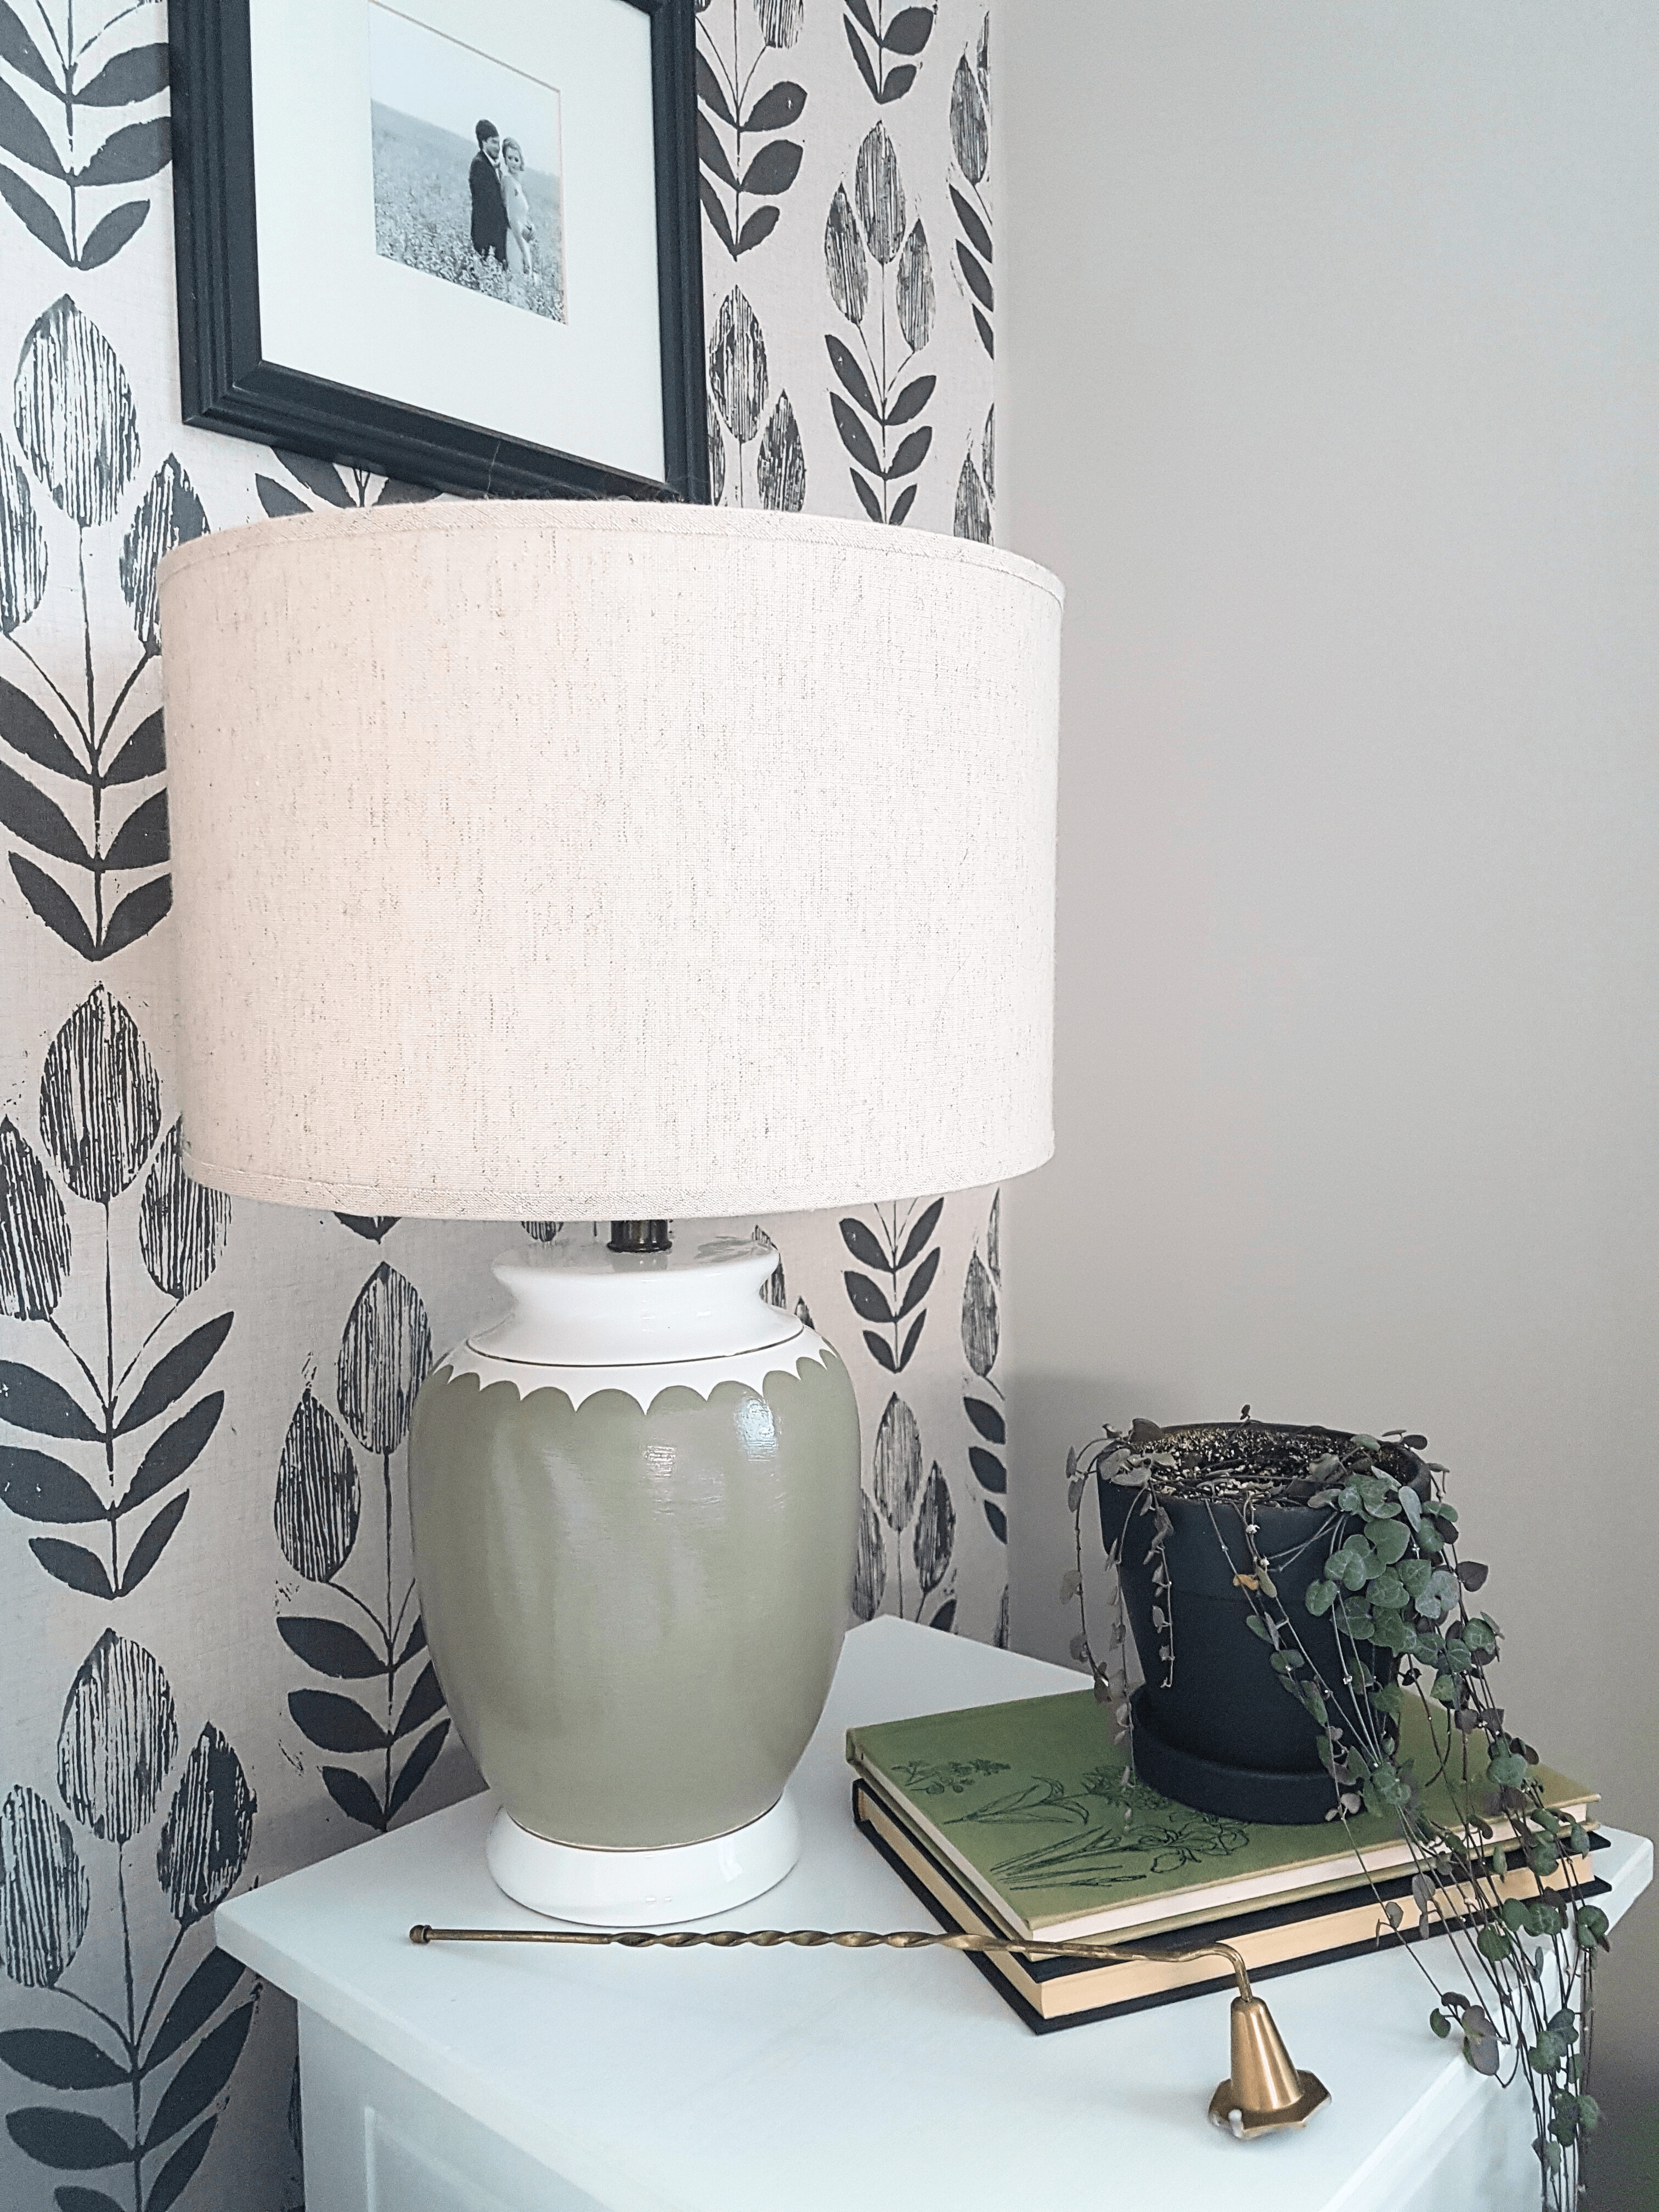
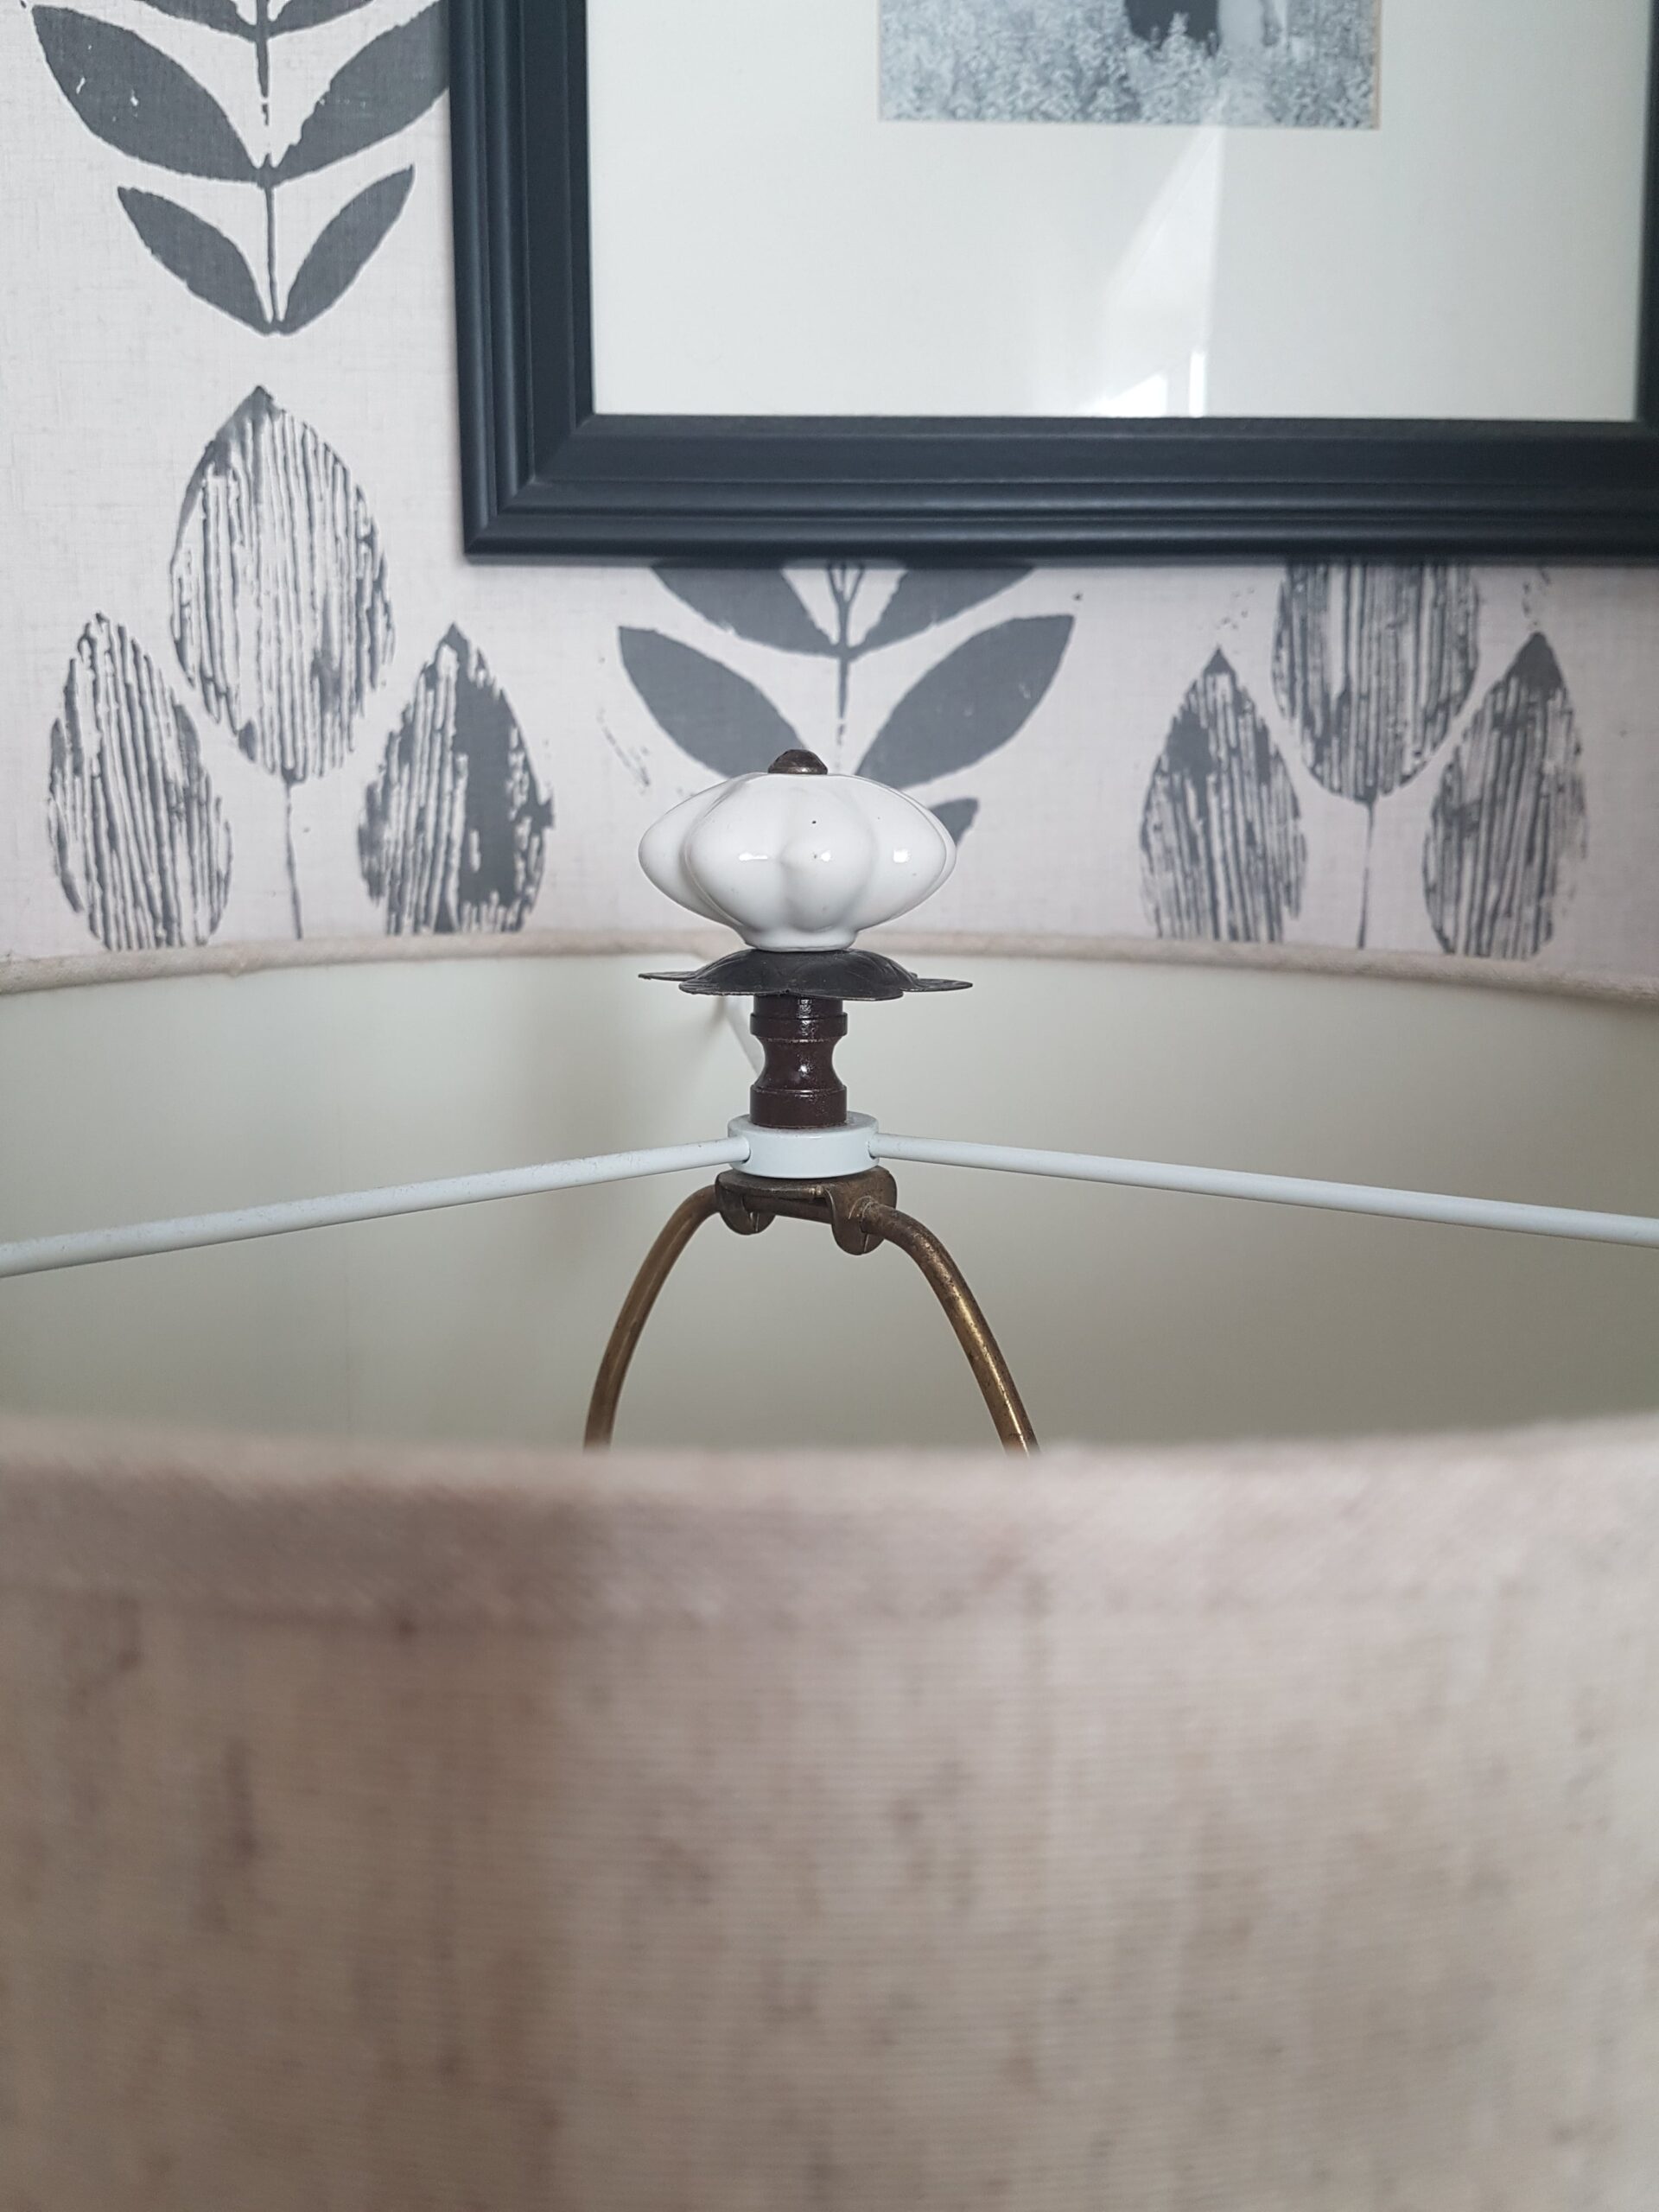
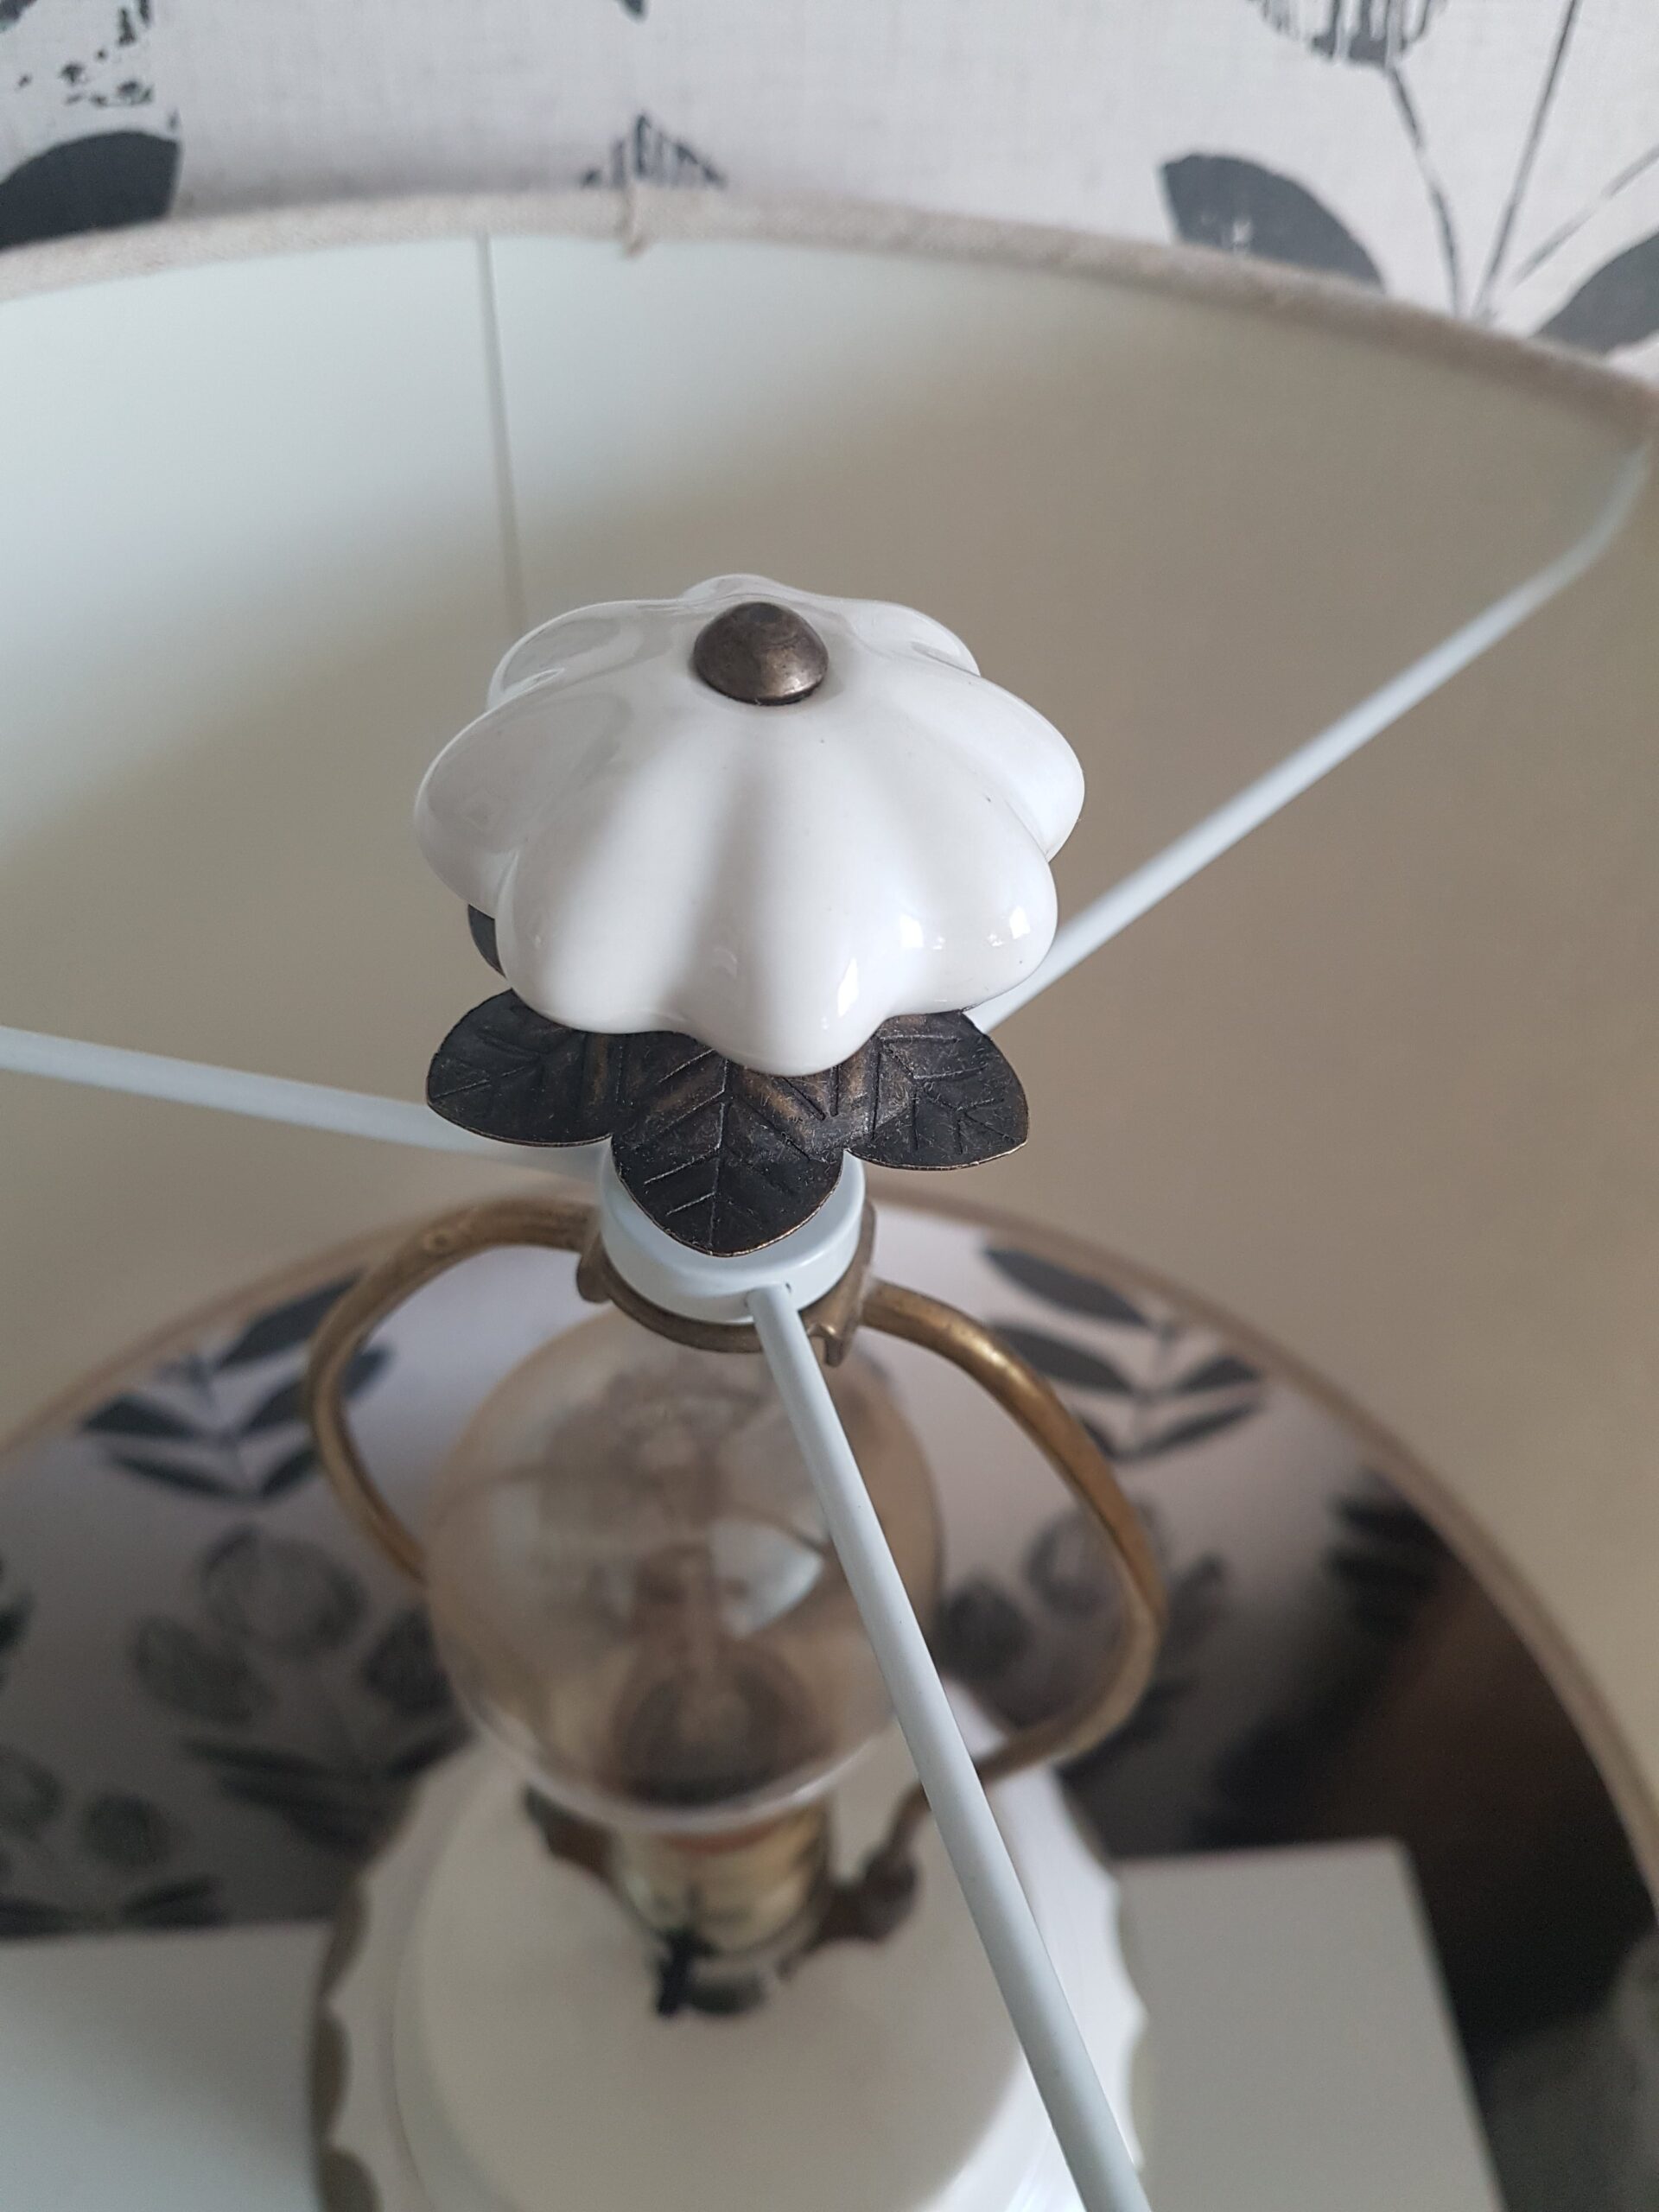
I also purchased some new finials for these lamps. It just adds another layer of detail to make them even cuter! I got these finials from Etsy.
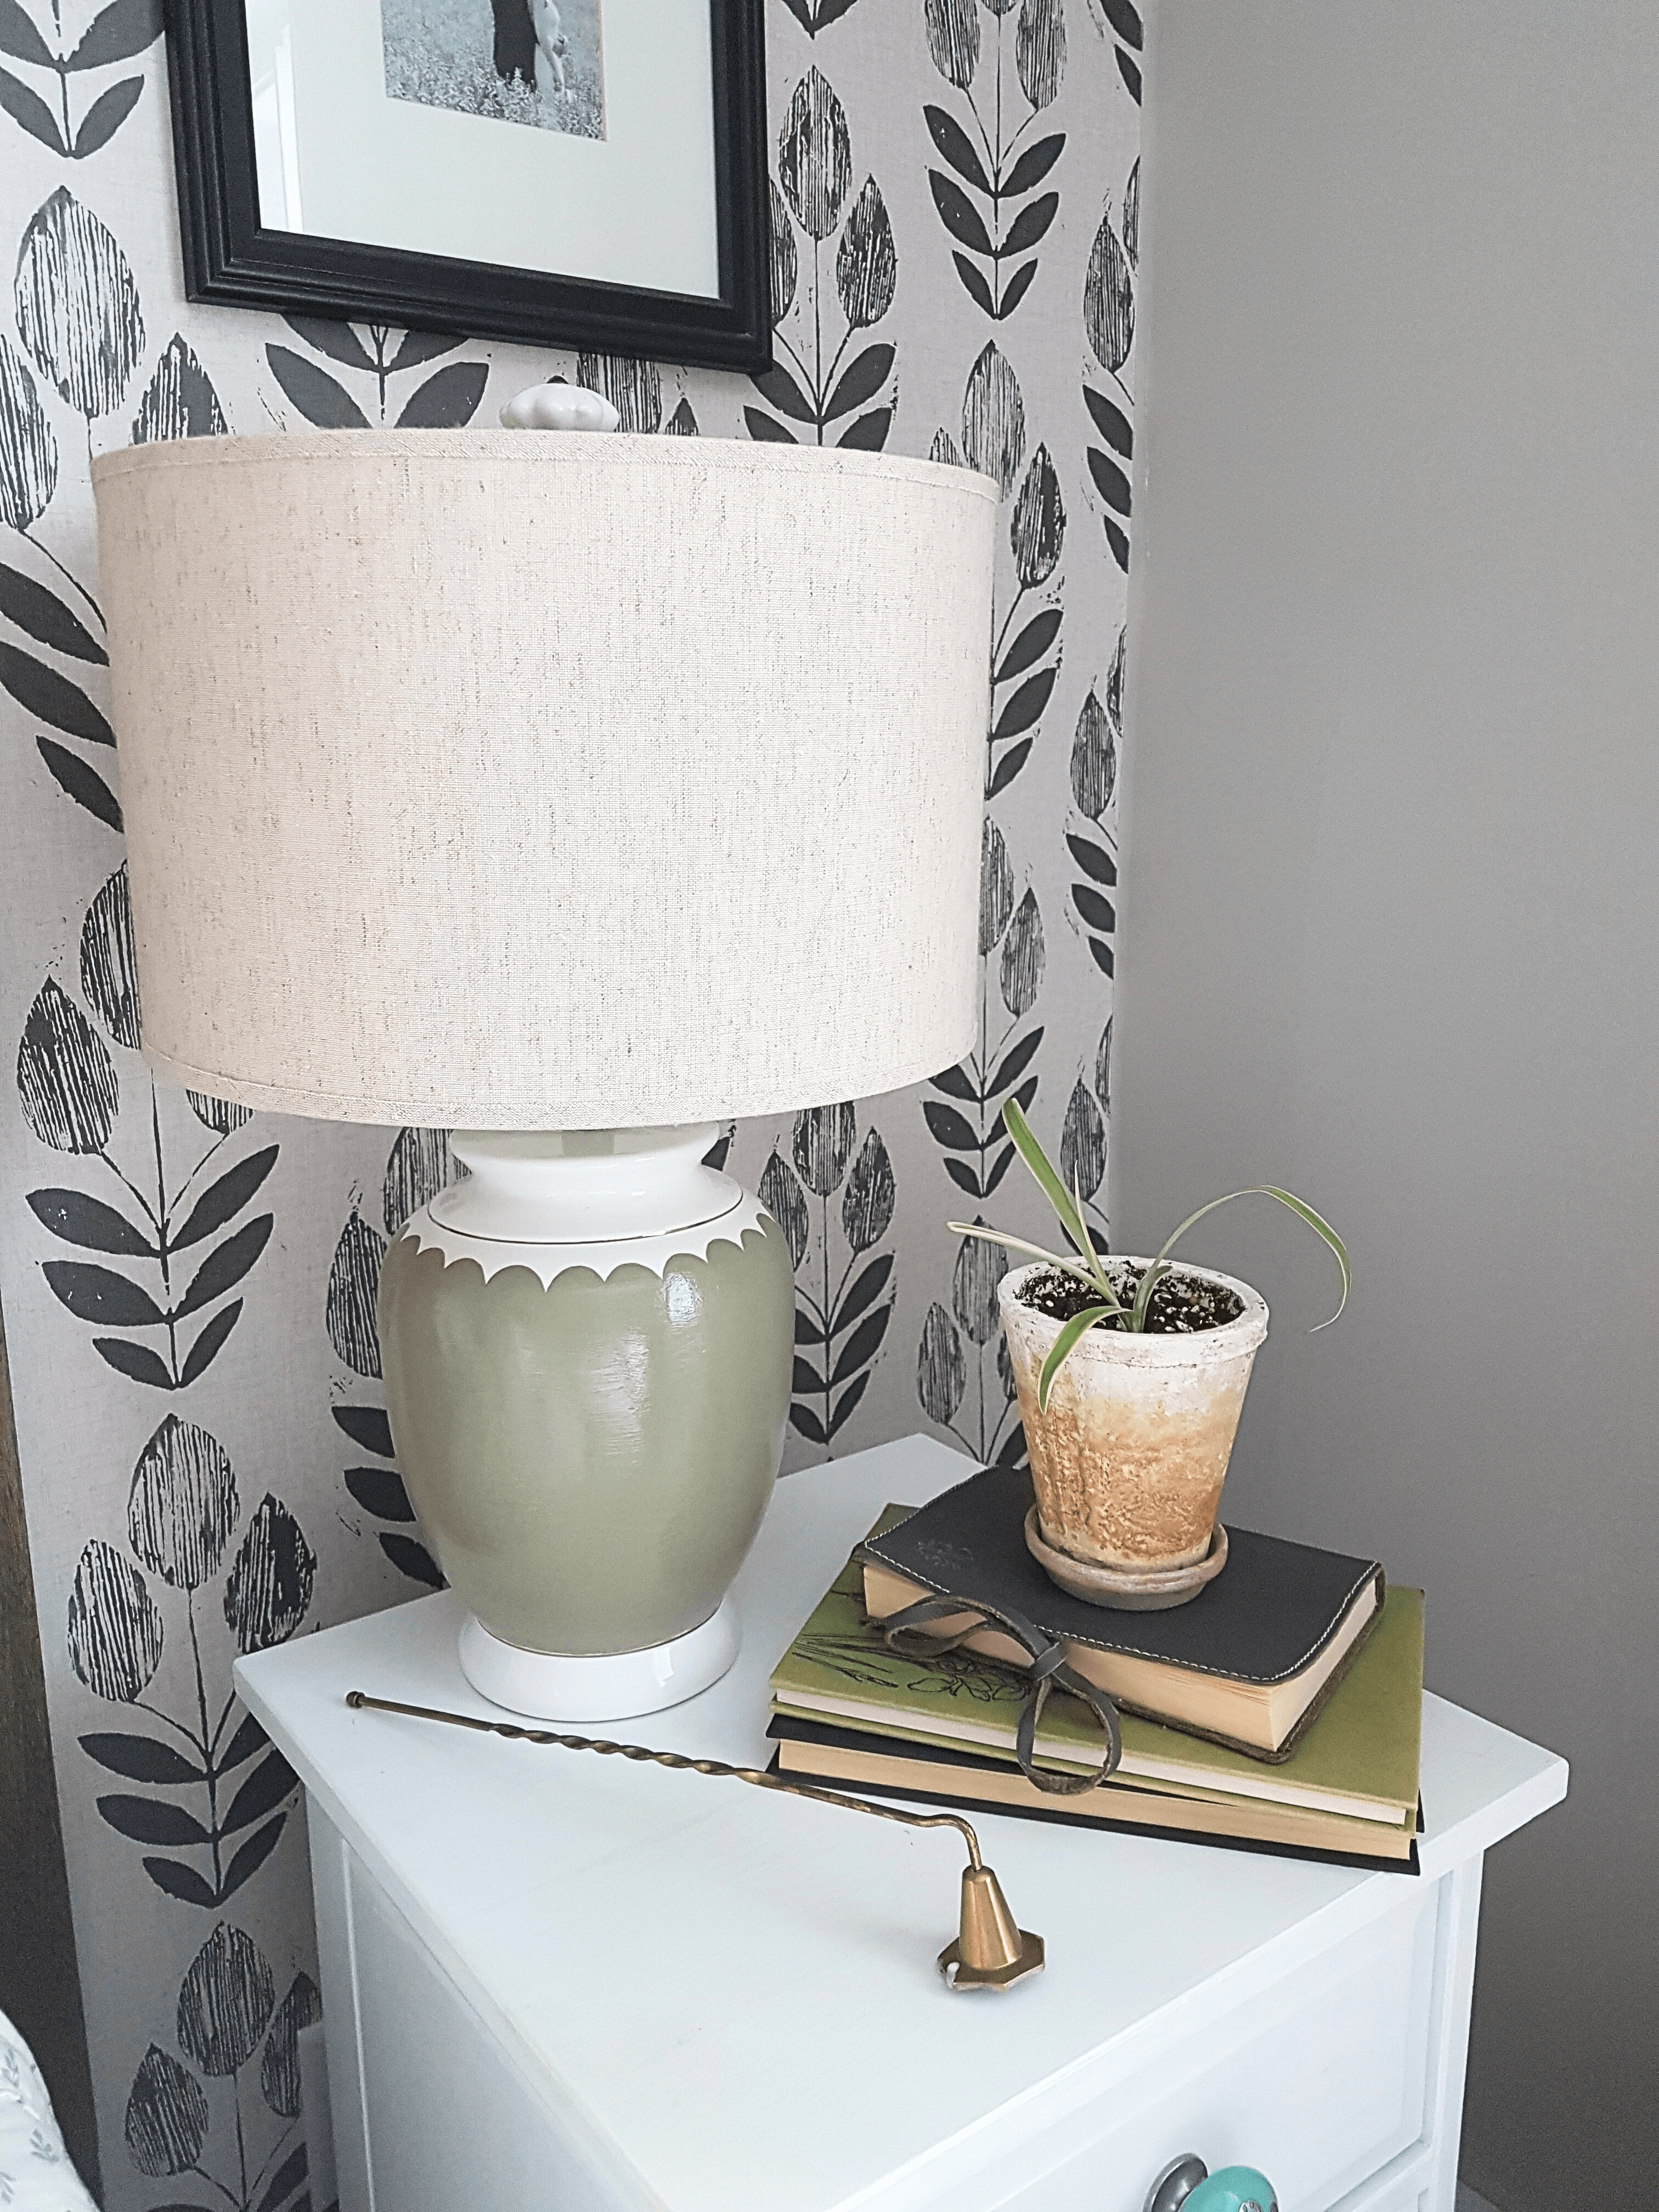
And there you have it! I hope this was helpful and gives you some inspiration for your own home. If you try this project, I would LOVE to hear about it!


Join the List
Stay informed & receive my latest healthy living tips to your inbox.