DIY: Turn an Outdated Vase into Old-World Pottery
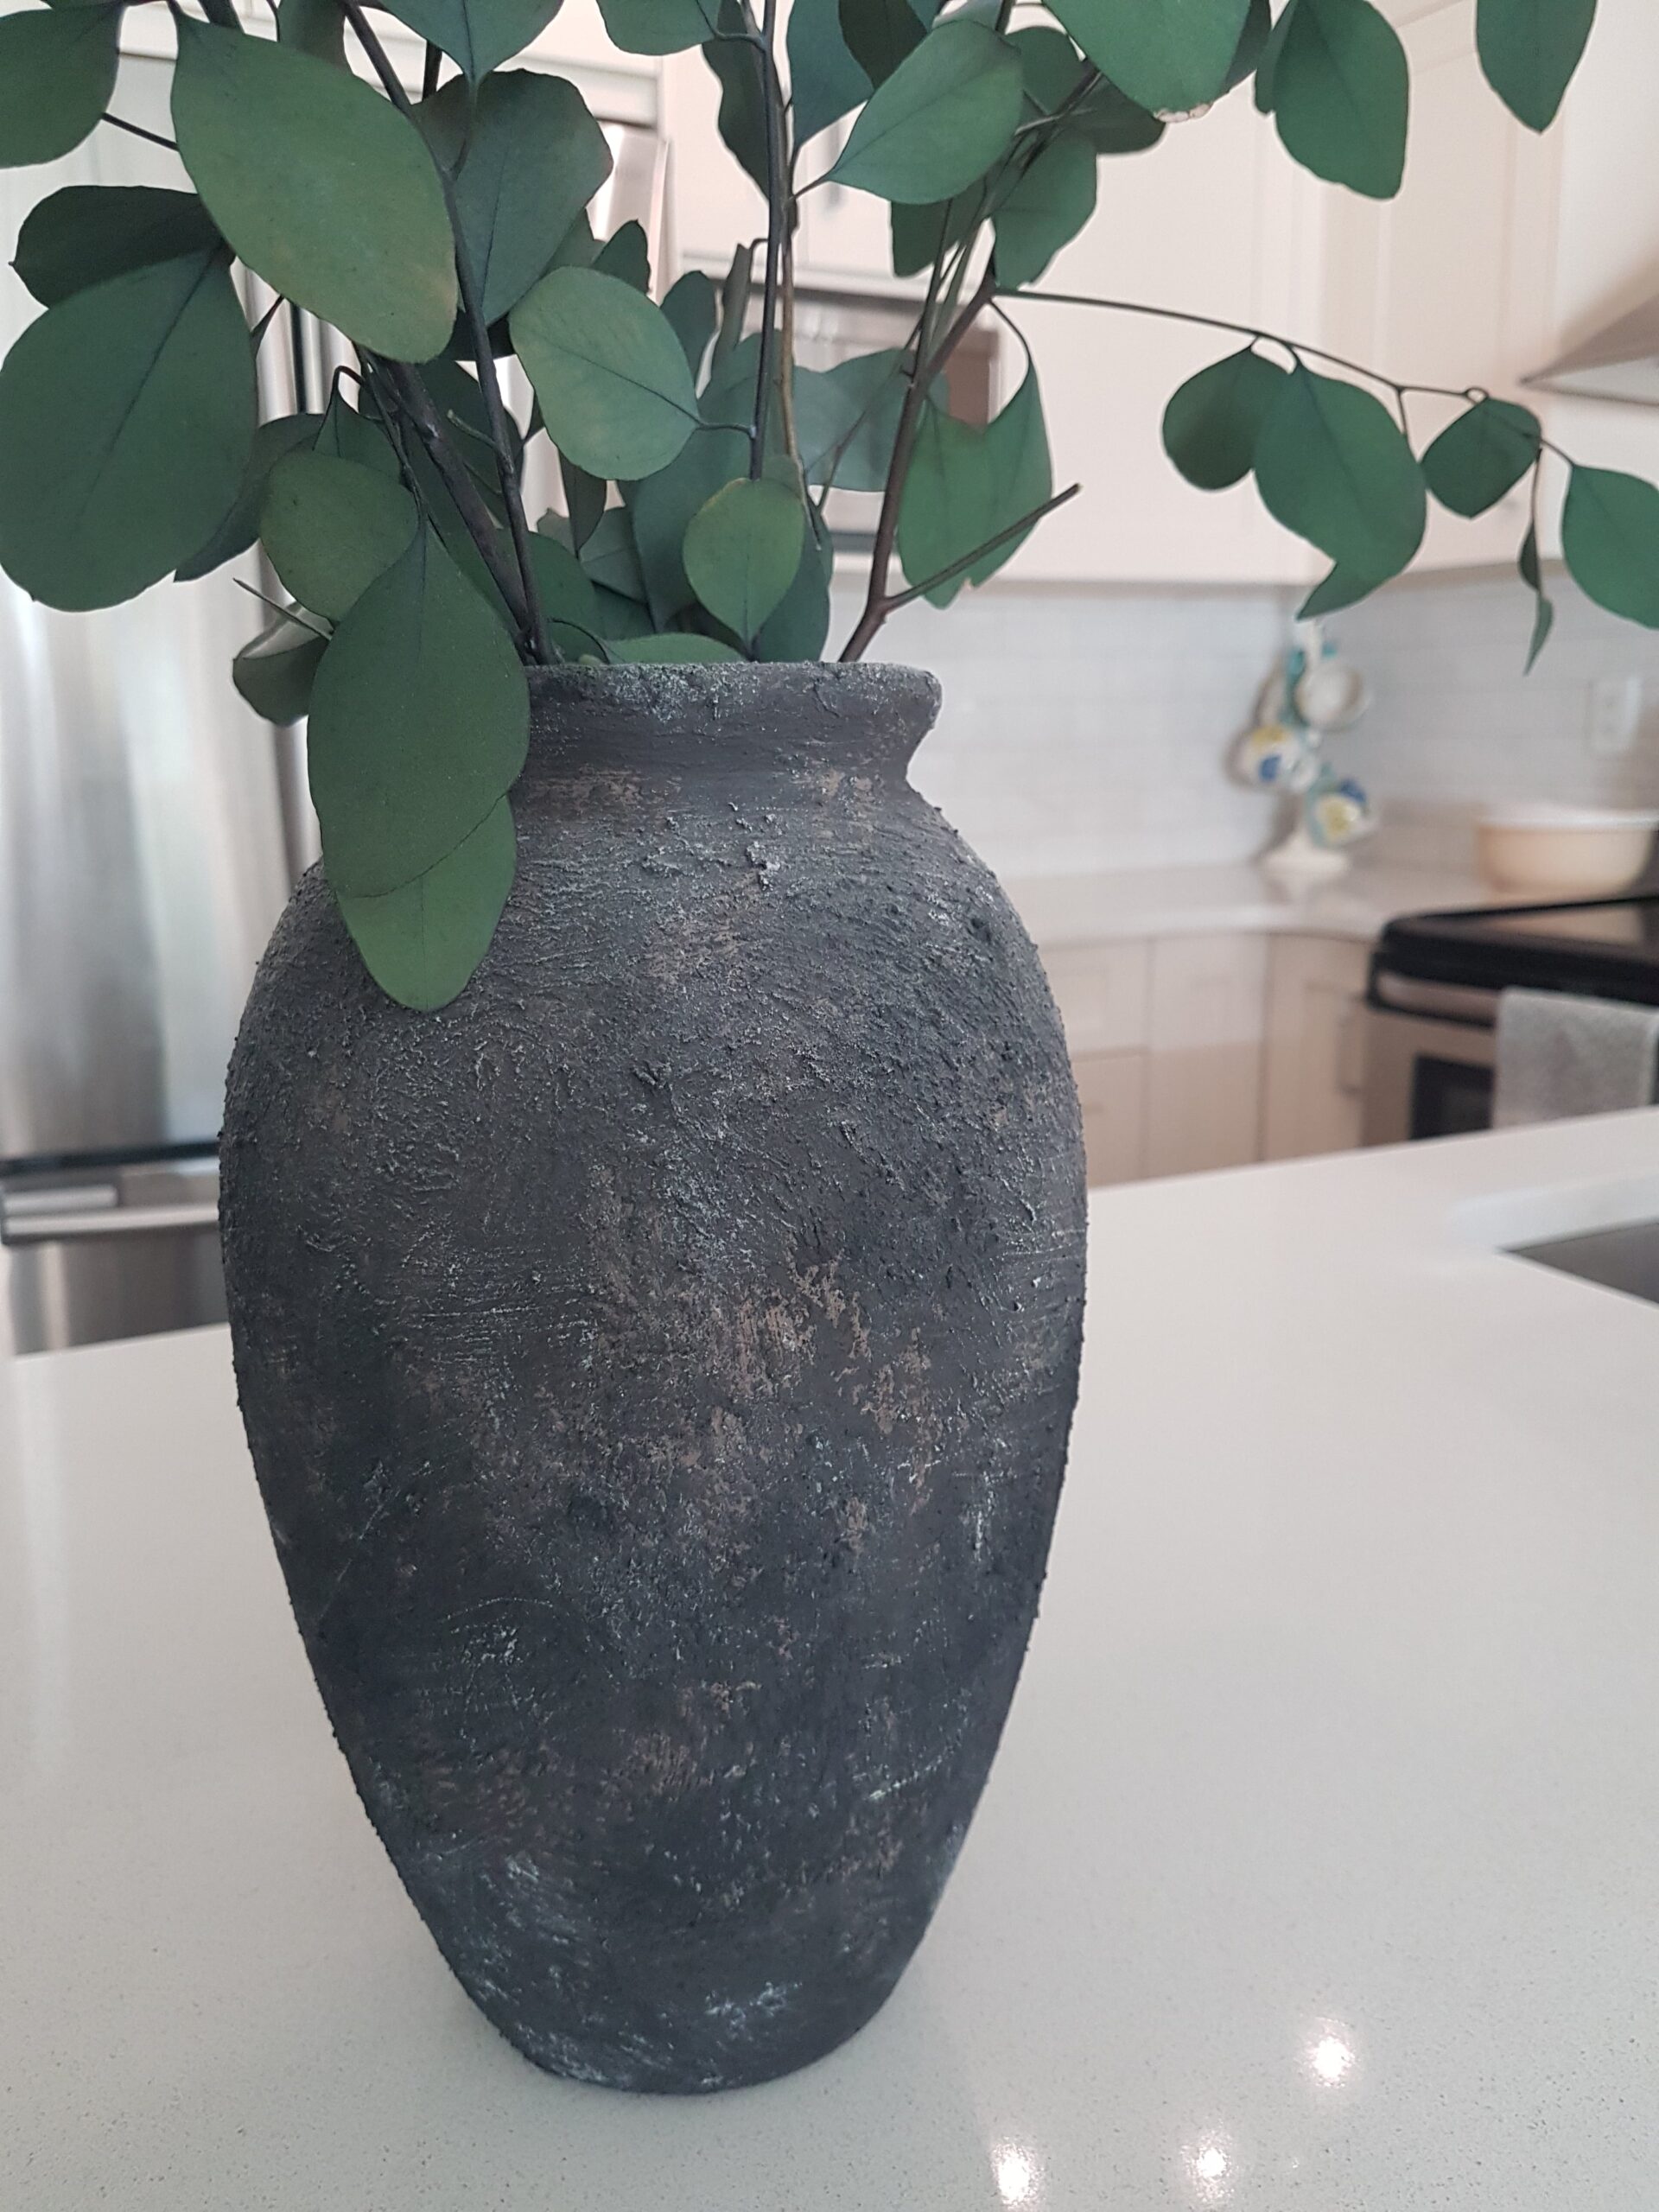
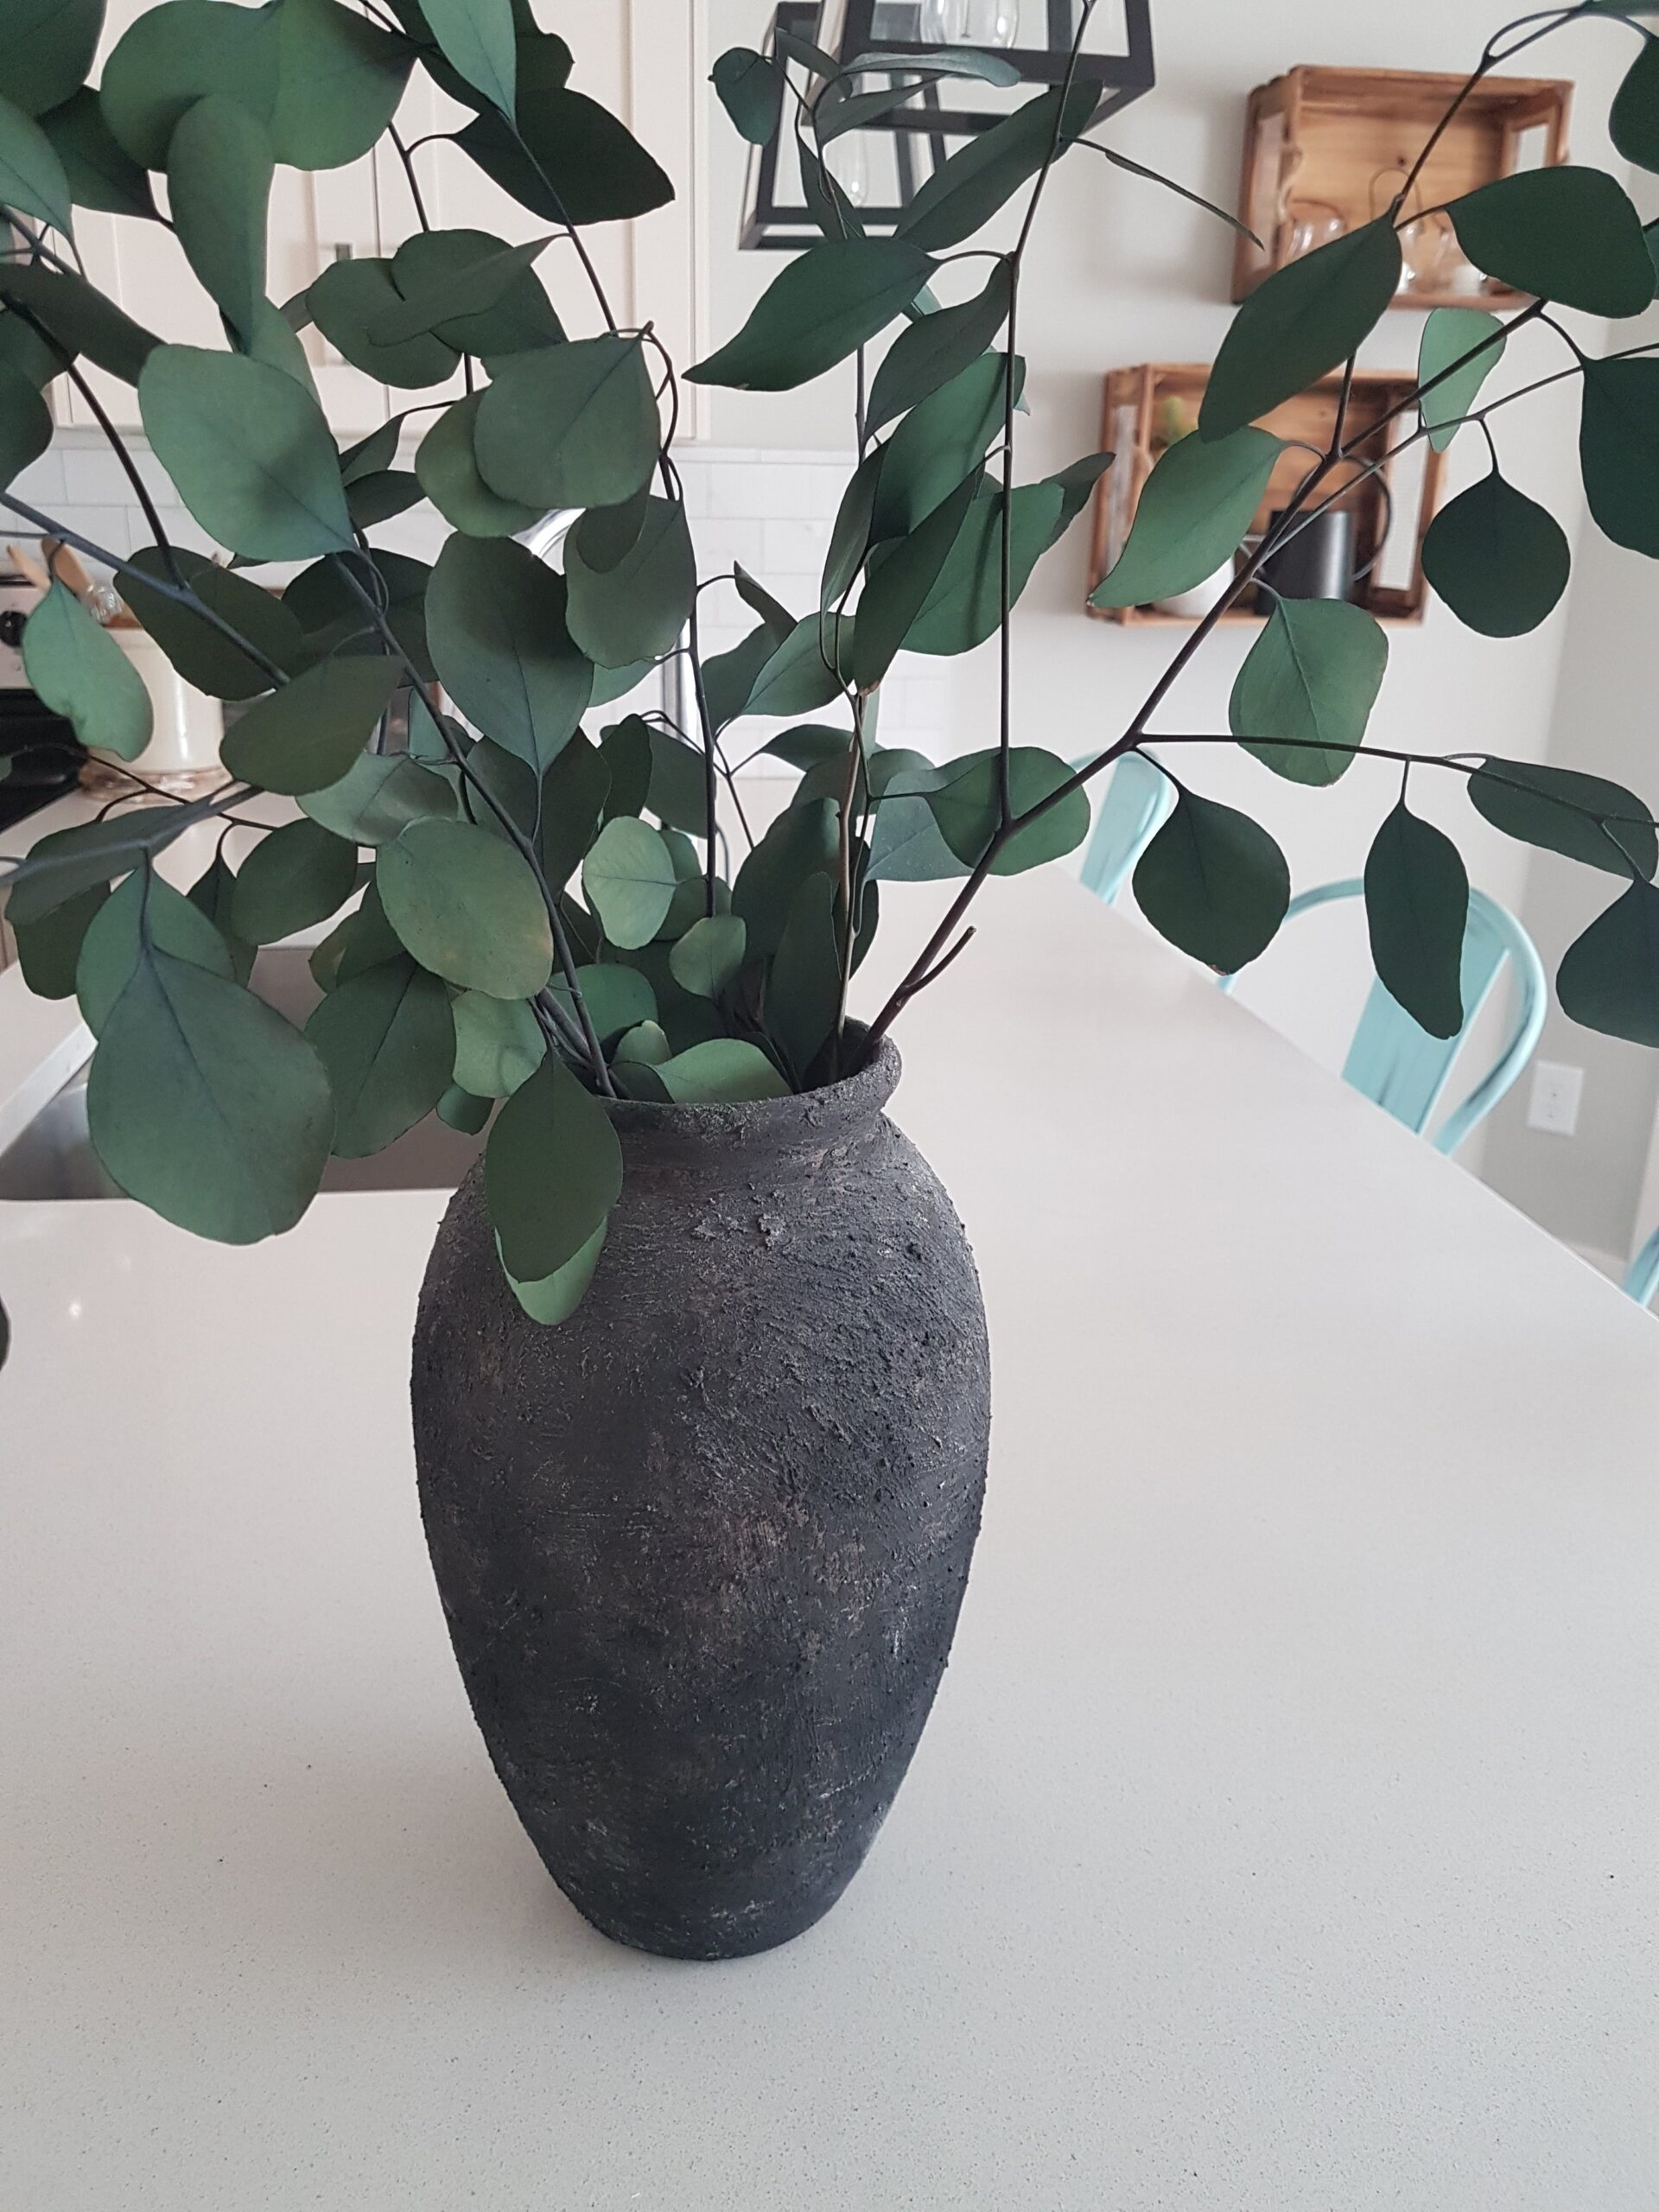
DIY projects are such a great way to save money on home décor and achieve a specific look that will fit perfectly with your home and tastes. One of my absolute favourite projects that I’ve done is this old-world pottery vase that I painted. It was one of the easiest projects I’ve ever done, and I still look at it every day and think “Gosh, that vase looks great!”.
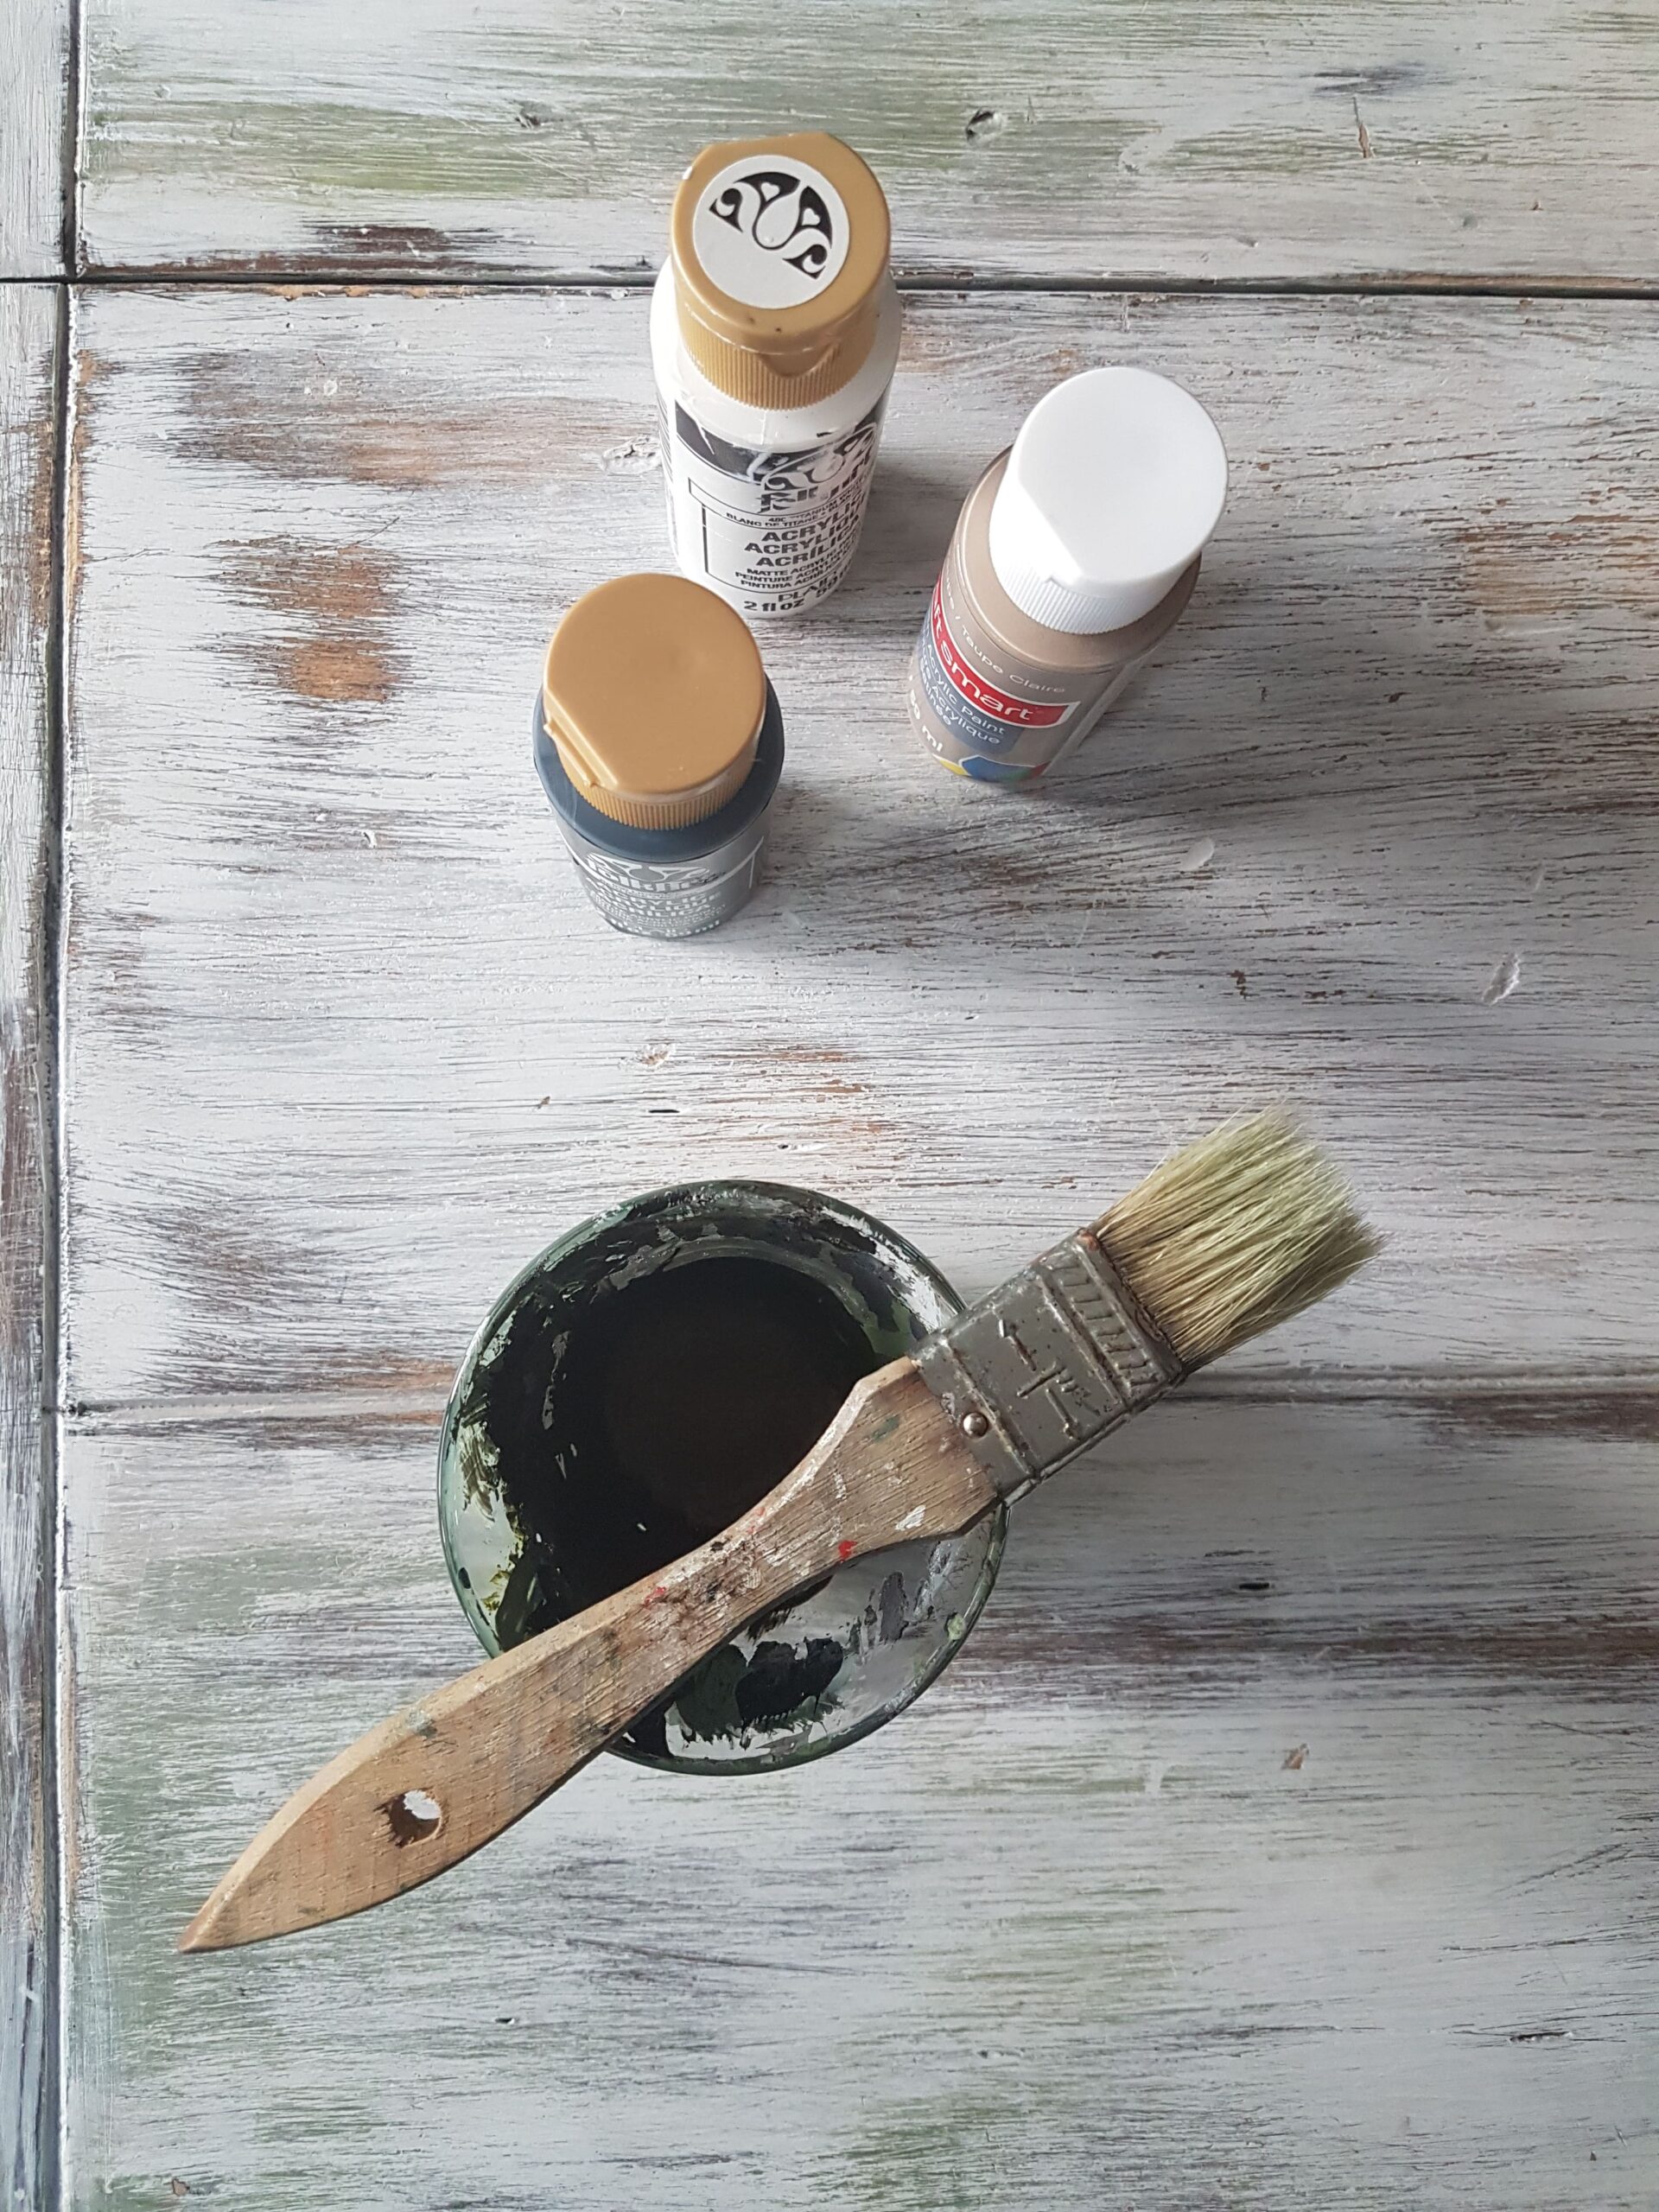
I read through many tutorials on how to do this, and trust me when I say that my method is the easiest! You won’t need plaster, or dirt, or sand, or a primer, or multiple tools- just a vase, an old paint brush, matte acrylic paint, and baking soda & salt!
Jump To:
– tips on finding a vase
– the process overview
– written tutorial with tips & tricks
– condensed instructions with pictures
Tips On Where To Get a Vase
I purchased this vase from Goodwill for $5. I was immediately drawn to the shape of it, and felt pretty confident that it was the right size too! Even better was that it was a terracotta vase with a matte paint on it, so I knew it would be easy to paint over top of this! Another bonus was that the inside of it was finished with a clear glossy glaze, meaning I could actually put water in it and use it as a flower vase if I wanted to (unglazed terracotta would just absorb the water).
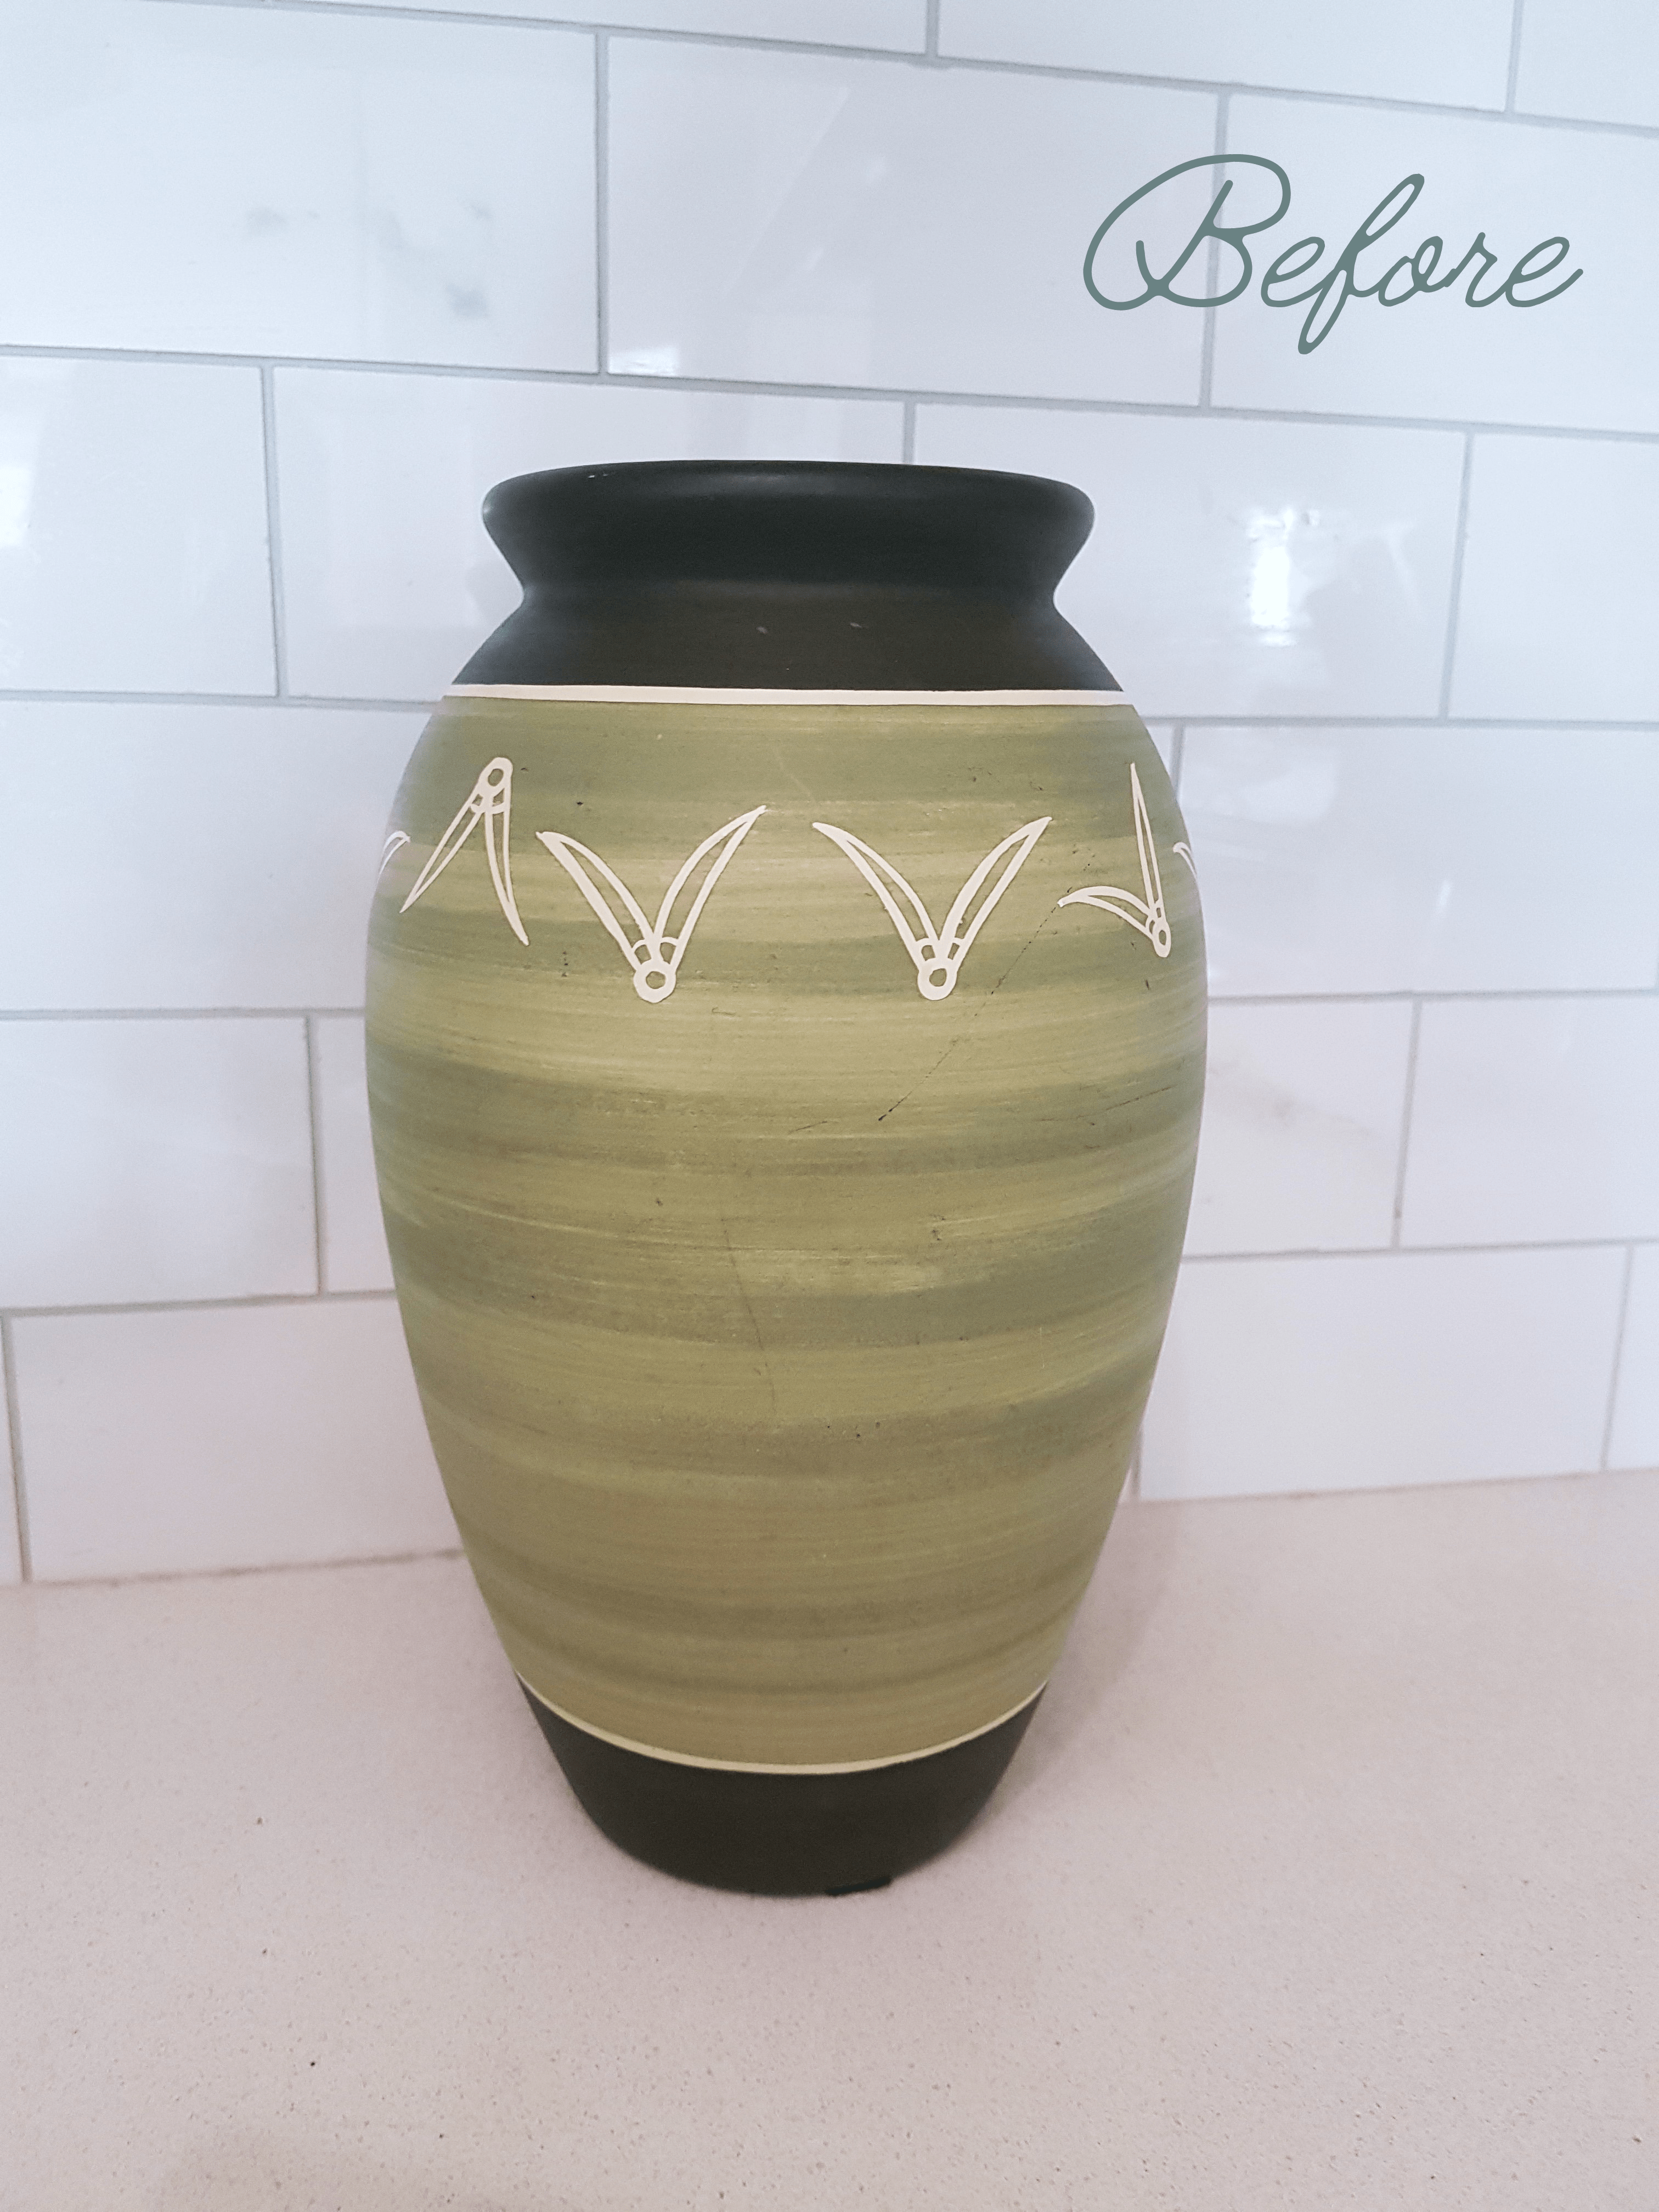
My tips for what to look for in a vase that you want to paint like this are:
- Choose something with a unique shape, or a shape that you love!
- The type of vases that work well for this project are ones made out of: terracotta, matte ceramic, smooth wood. Refer to the instructions on your paint bottle to ensure the material you want to paint will adhere properly.
- If you have a specific location that you want to put the vase, measure how big you think the vase should be. This makes it much easier to know whether a vase you find at a thrift store will work.
The Process
To achieve the textured clay or plaster-like appearance of the vase, I used the baking soda and salt trick! I wish I could take credit for this technique, however there are many tutorials out there showcasing this method or something similar. After reading through many of them, the process I used below definitely seemed to be the easiest method.
Basically, you just add baking soda to acrylic craft paint, which turns the paint into a thick paste that you can apply almost like plaster. You can also add course salt to the paint & baking soda, which adds additional texture and grit.
The important thing to do if trying to achieve the same look as mine, is to layer different colours of paint. Think about what you want the “main” colour to be, and use this as the top layer. You can then choose to use either a lighter or darker colour as the first layer/base colour. For mine, I used a lighter greyish-brown as the base colour, and then layered a darker charcoal over top.
Also, there is no right or wrong way to do this. It all depends on the colour and look you are wanting! I recommend finding a picture of a vase that you love, and then try to replicate it with the same colours and texture. If you like the look of mine, here’s how I did it:
How To (see below for step-by-step with pictures):
Step 1:
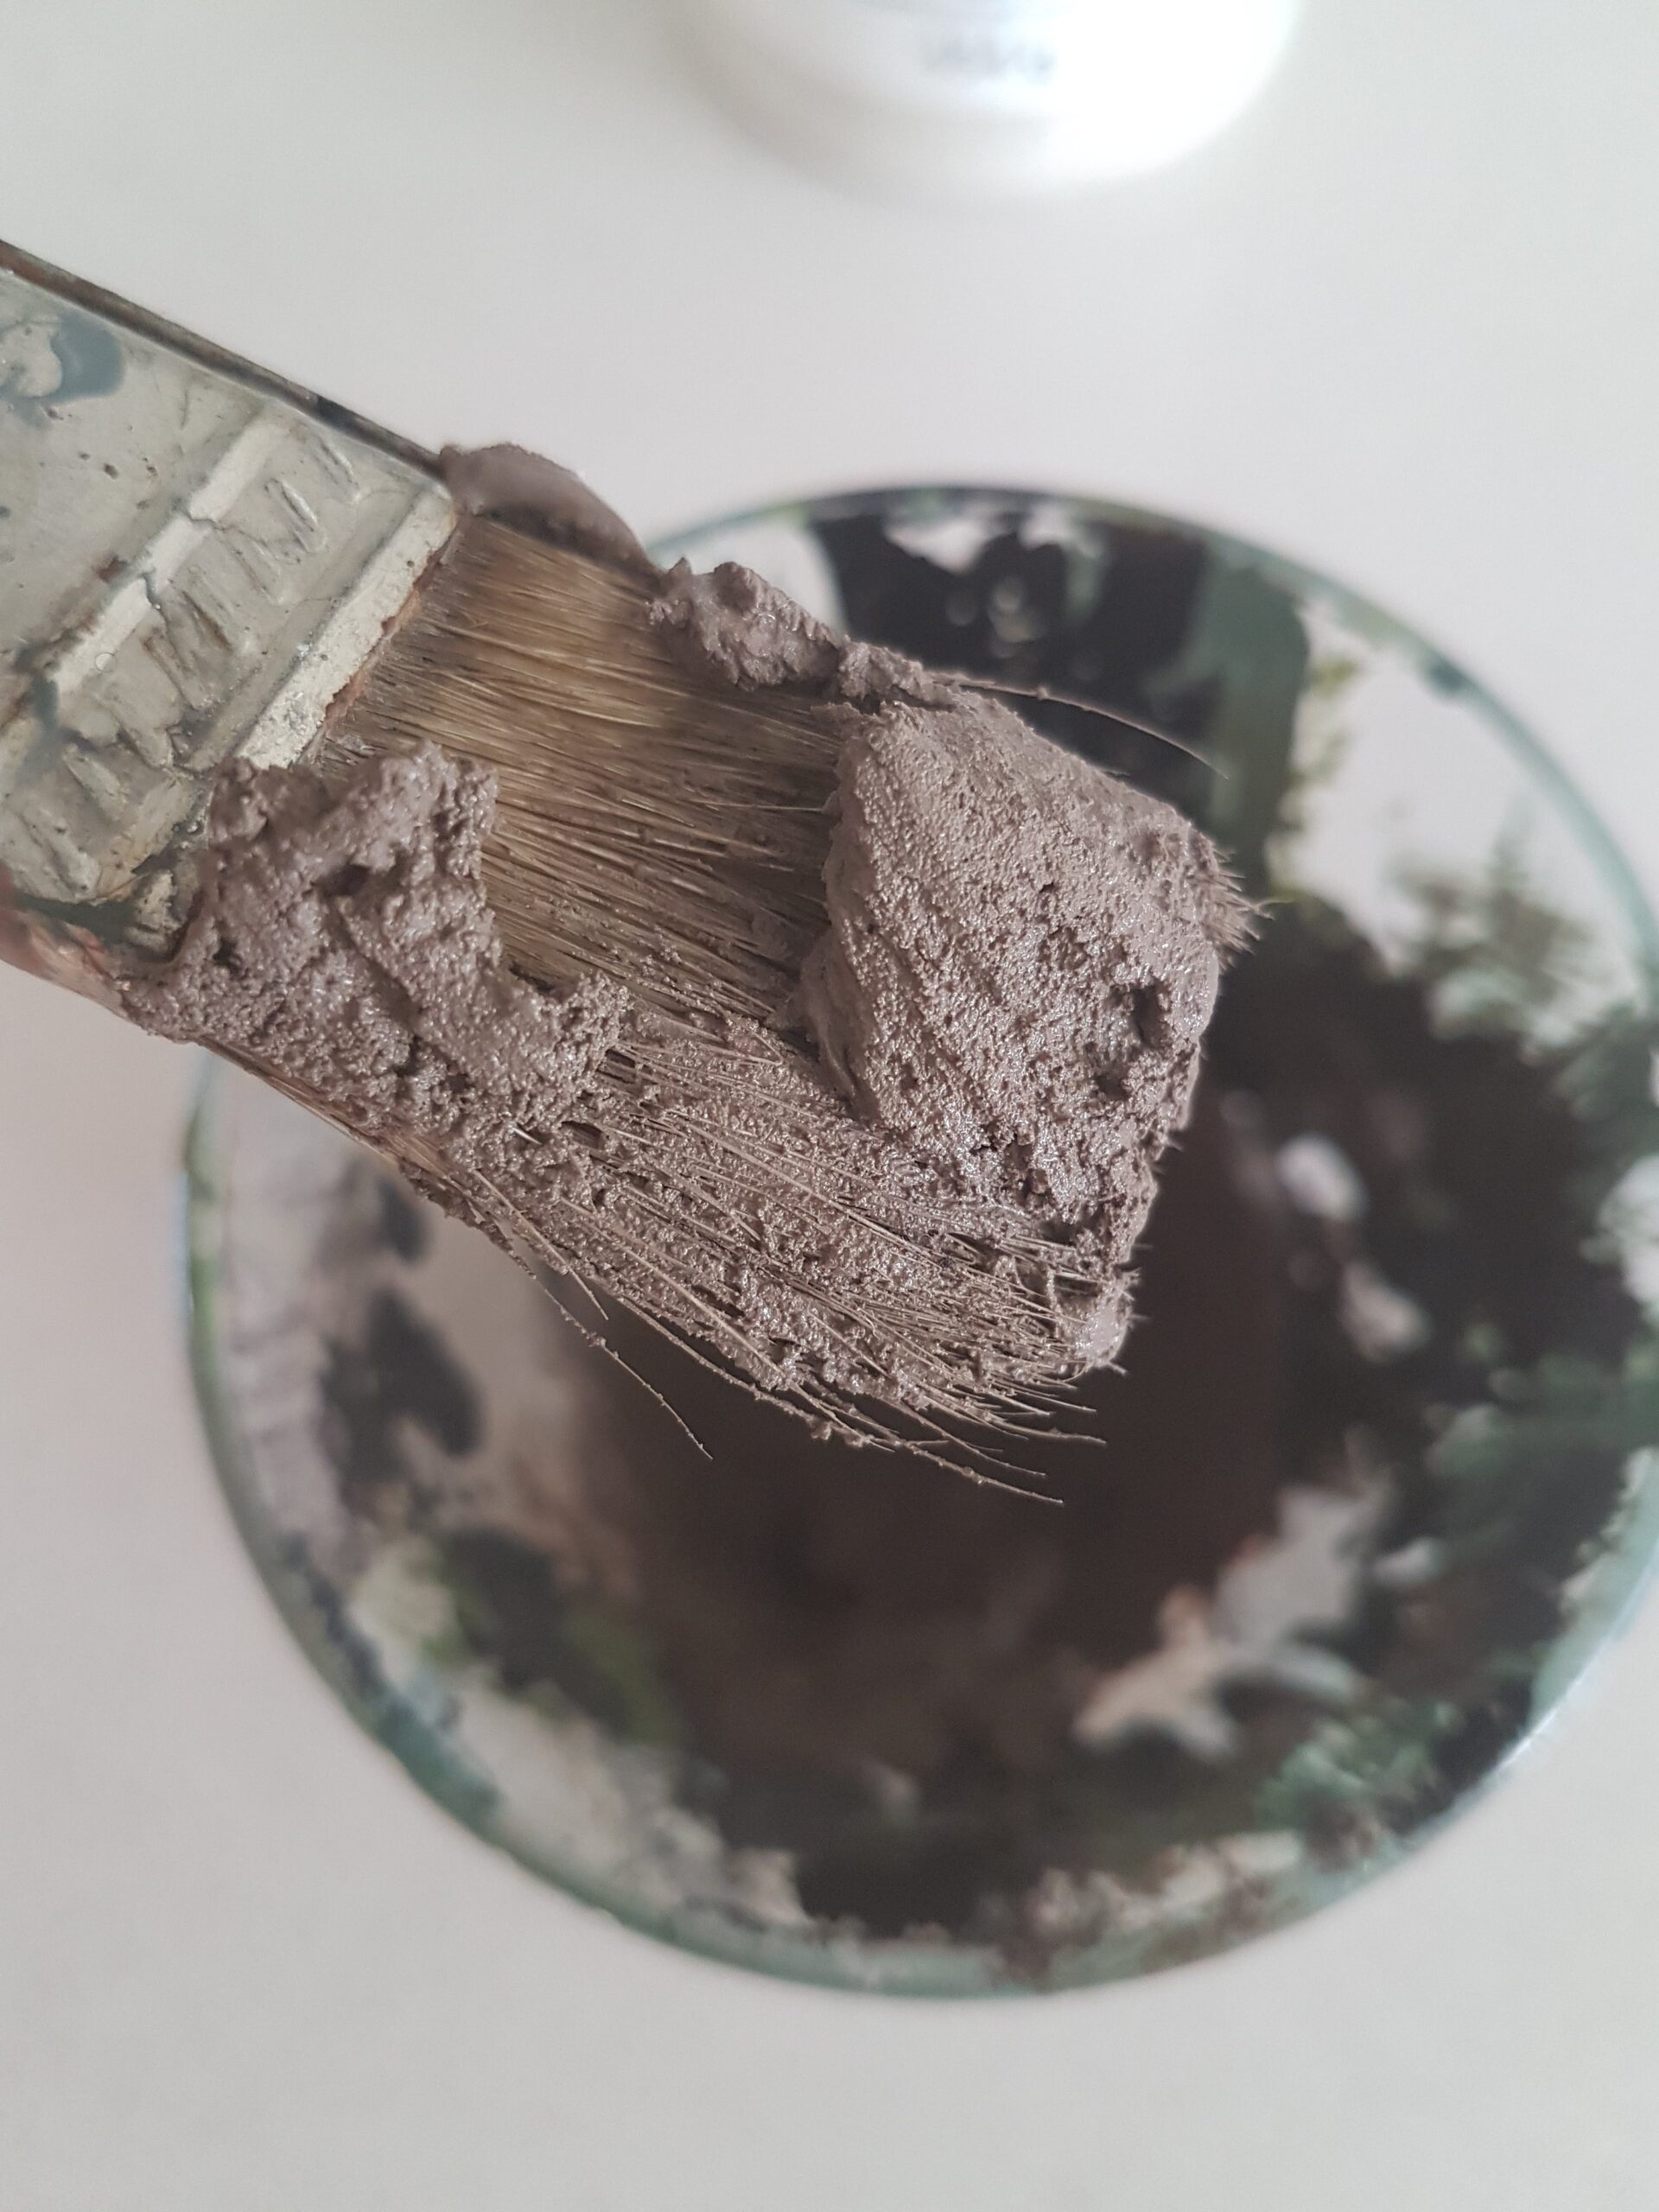
Mix your base layer of paint. Add baking soda to your paint until it becomes a spreadable, thick consistency almost like plaster. Start with a few tablespoons of paint, and add the baking soda about 1 tsp at a time. It should be thick enough that it doesn’t drip off your brush, but thin enough that you can easily apply it with a craft paint brush. Then add some course salt to give it additional texture.
- Keep in mind that the paint dries very quickly with the baking soda added, since the baking soda absorbs some of the moisture. You want your paint to be thin enough that you can manipulate it to get it how you want before it dries. If your paint mixture becomes too thick, you can add a bit of water to thin it (or you can add more paint).
- I created my own paint colour by mixing brown, taupe, and charcoal, to achieve a greyish-brown tone.
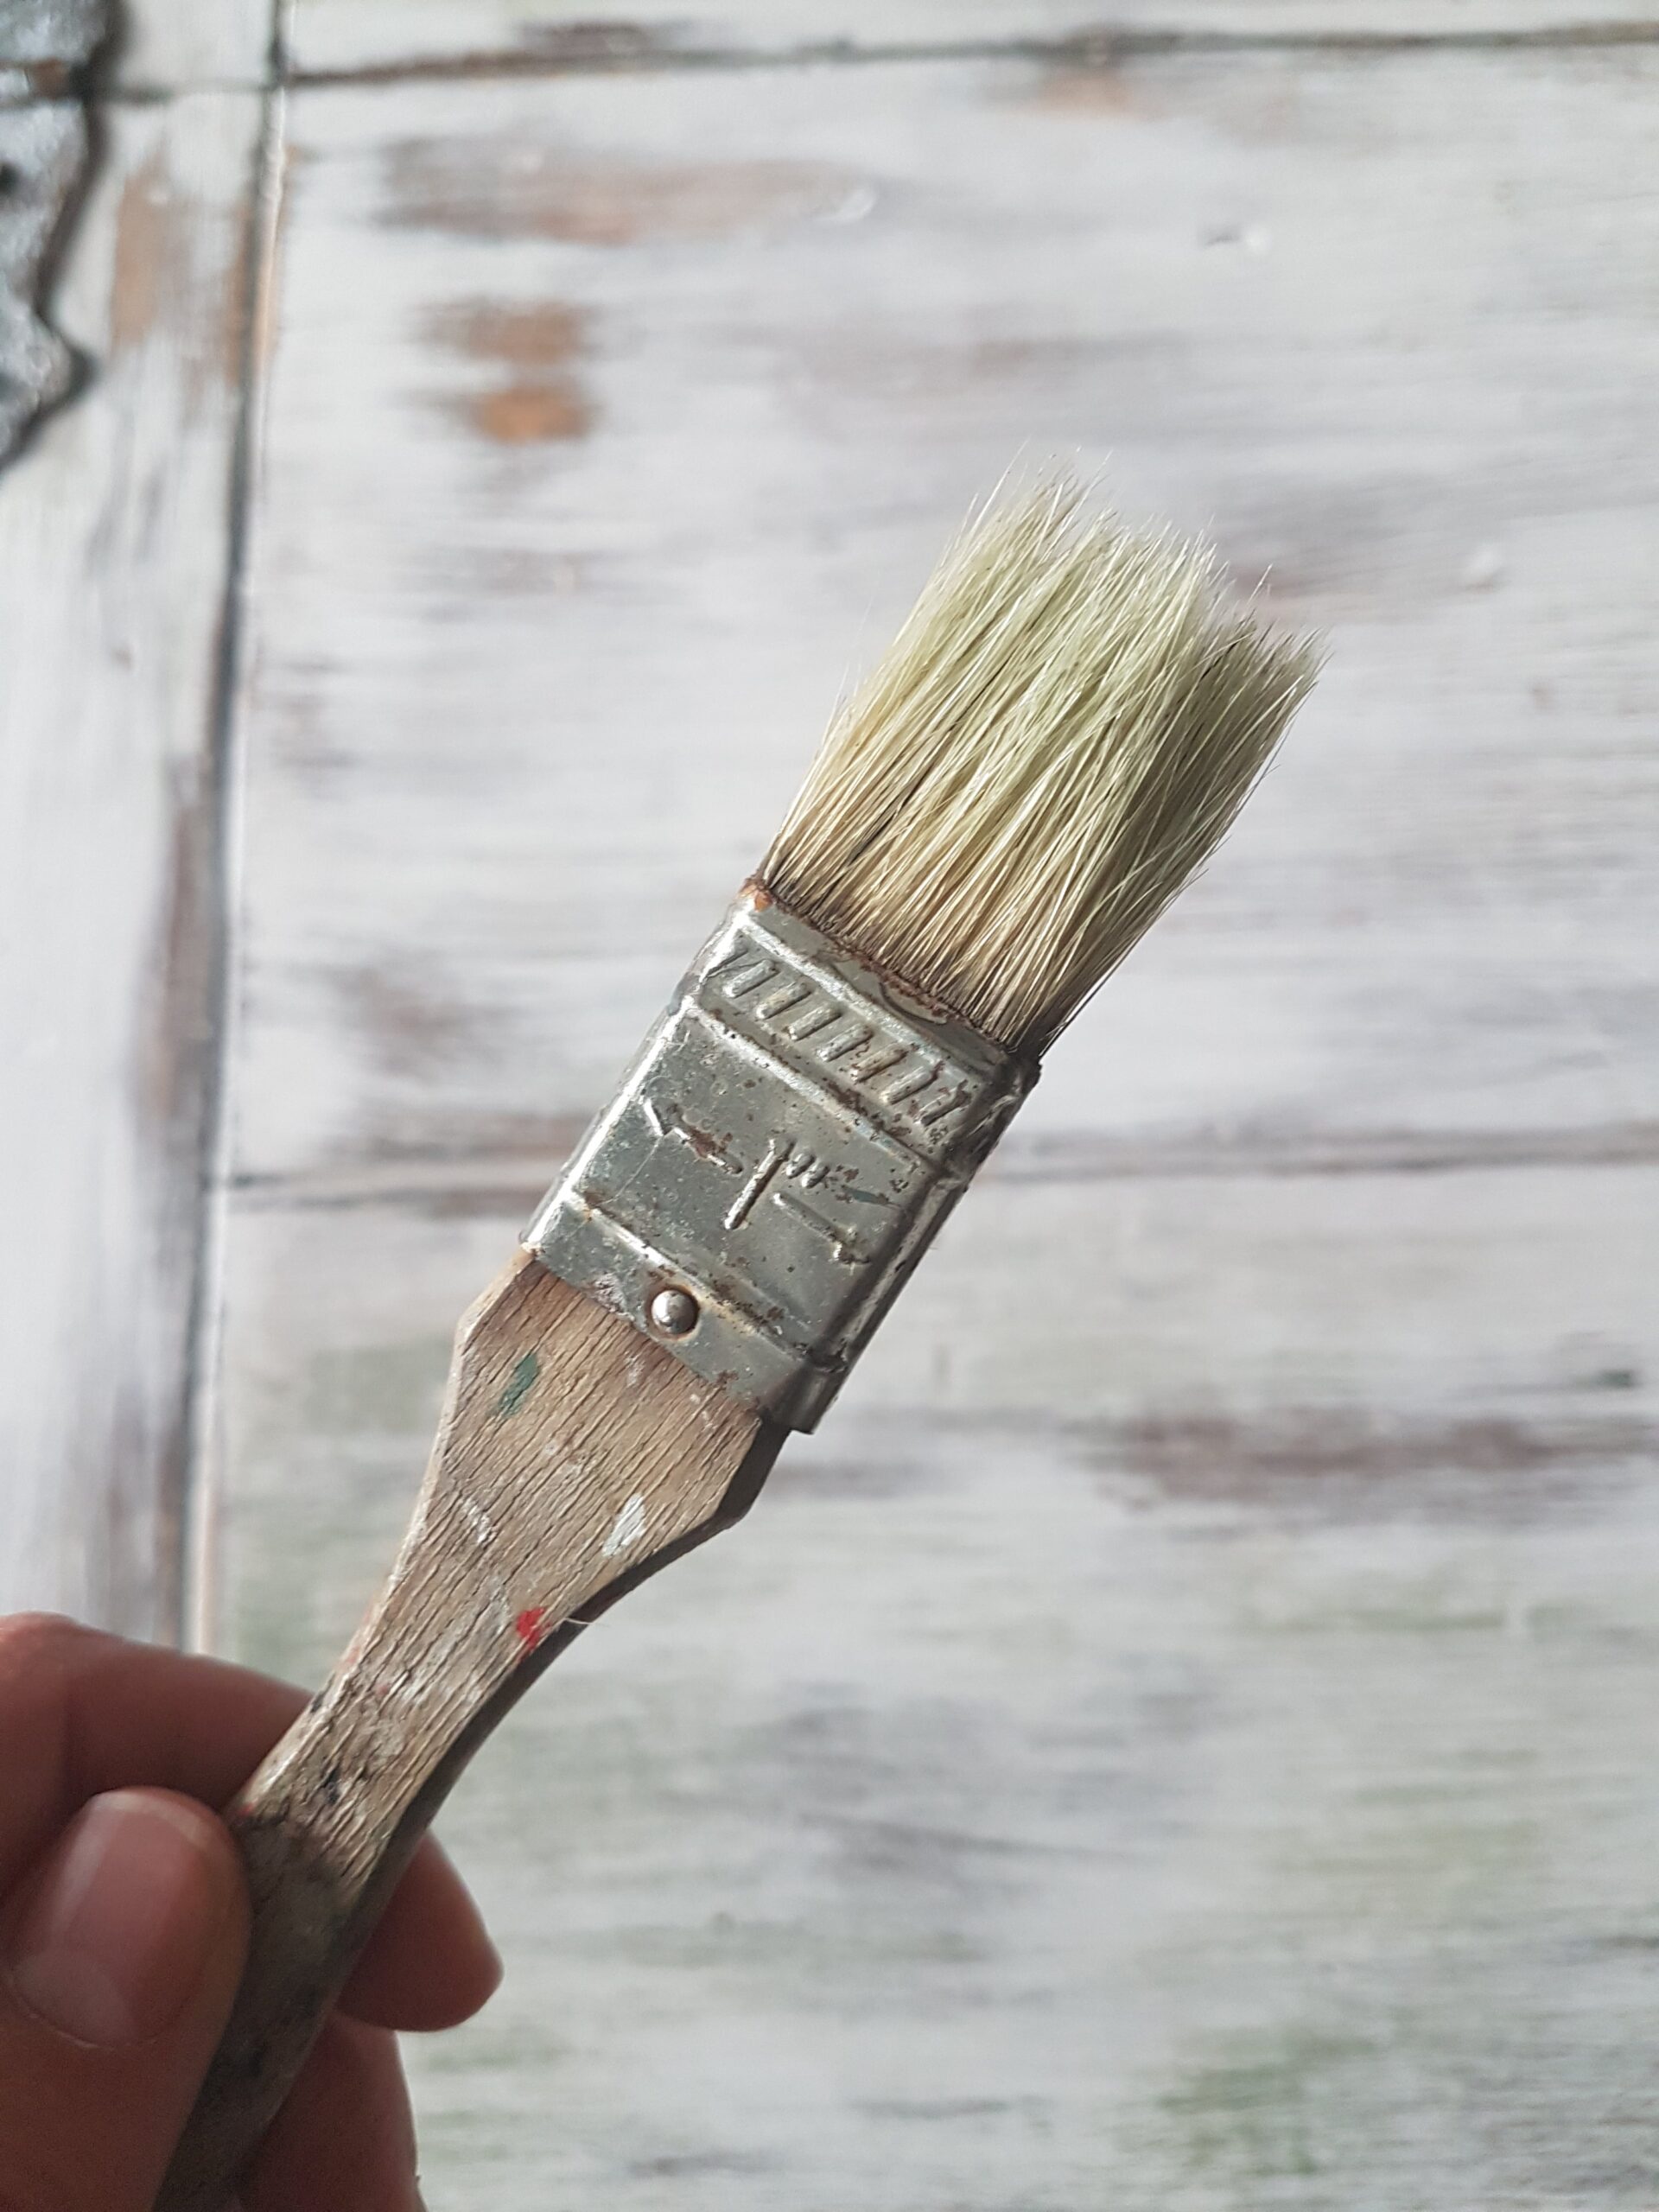
- I recommend using an old brush that may be missing some bristles if you have one. This just helps to create more texture and give it a more “imperfect” look if some of the bristles are missing or not perfectly straight.
Step 2:
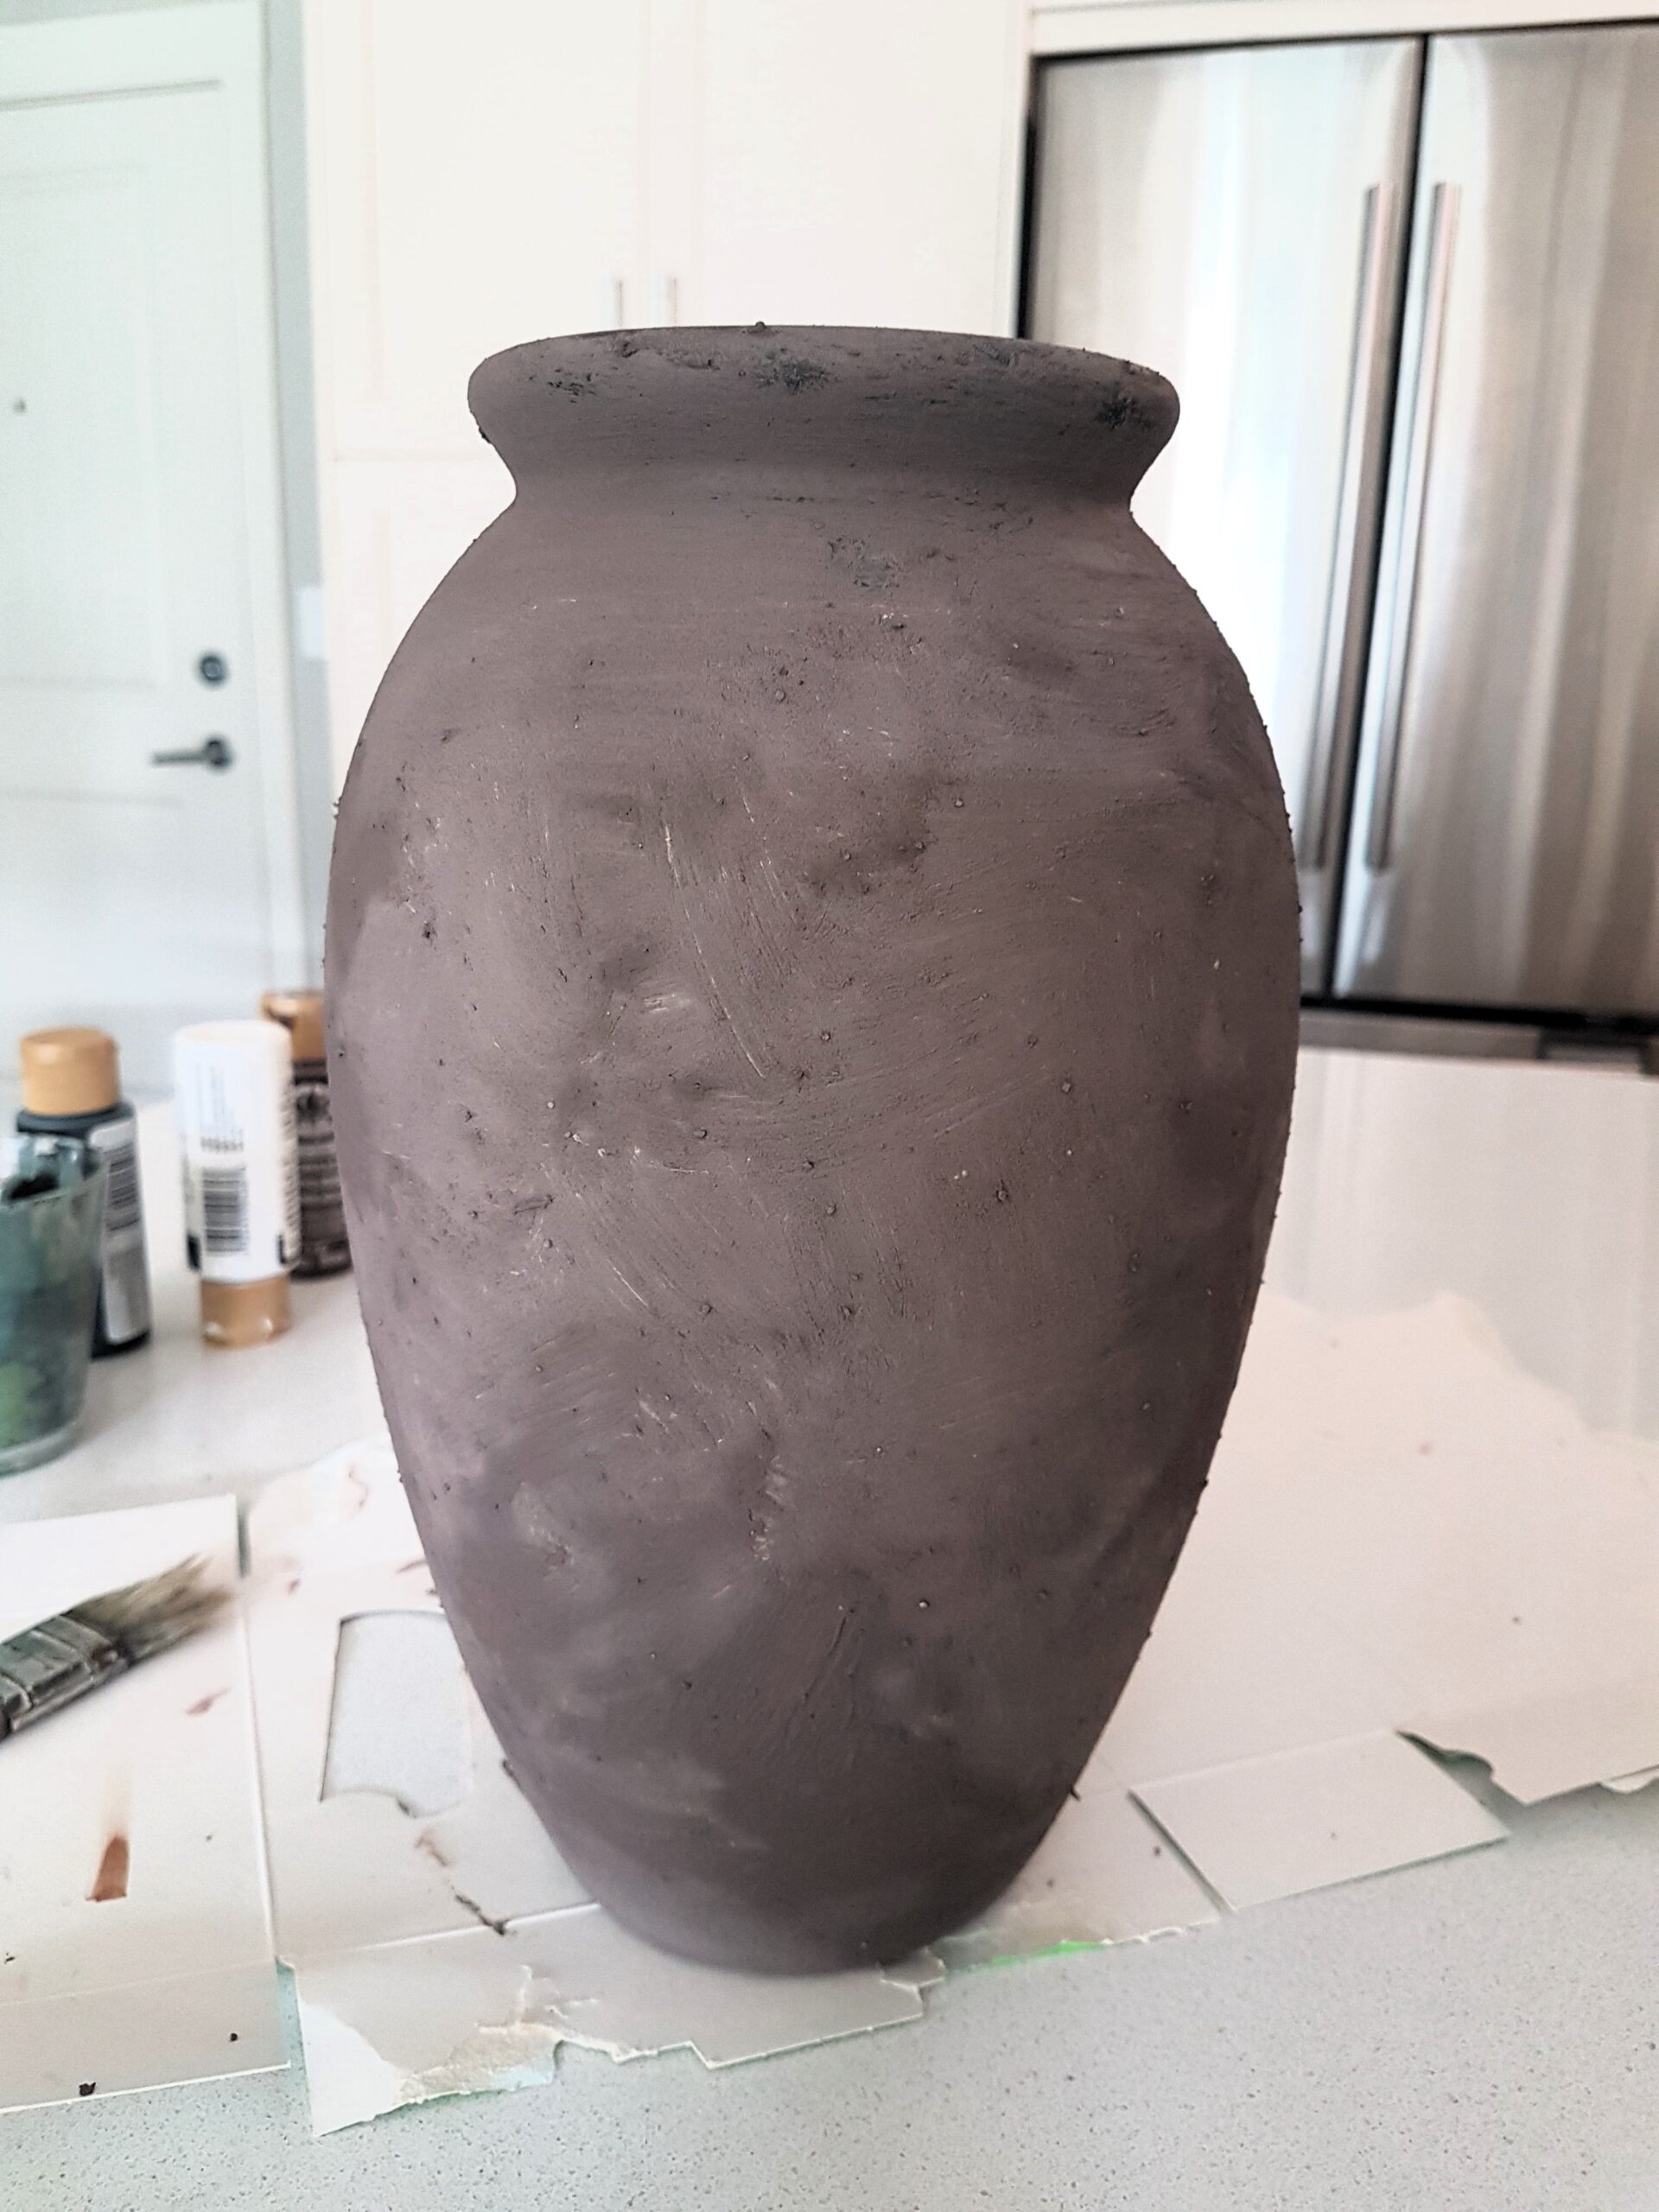
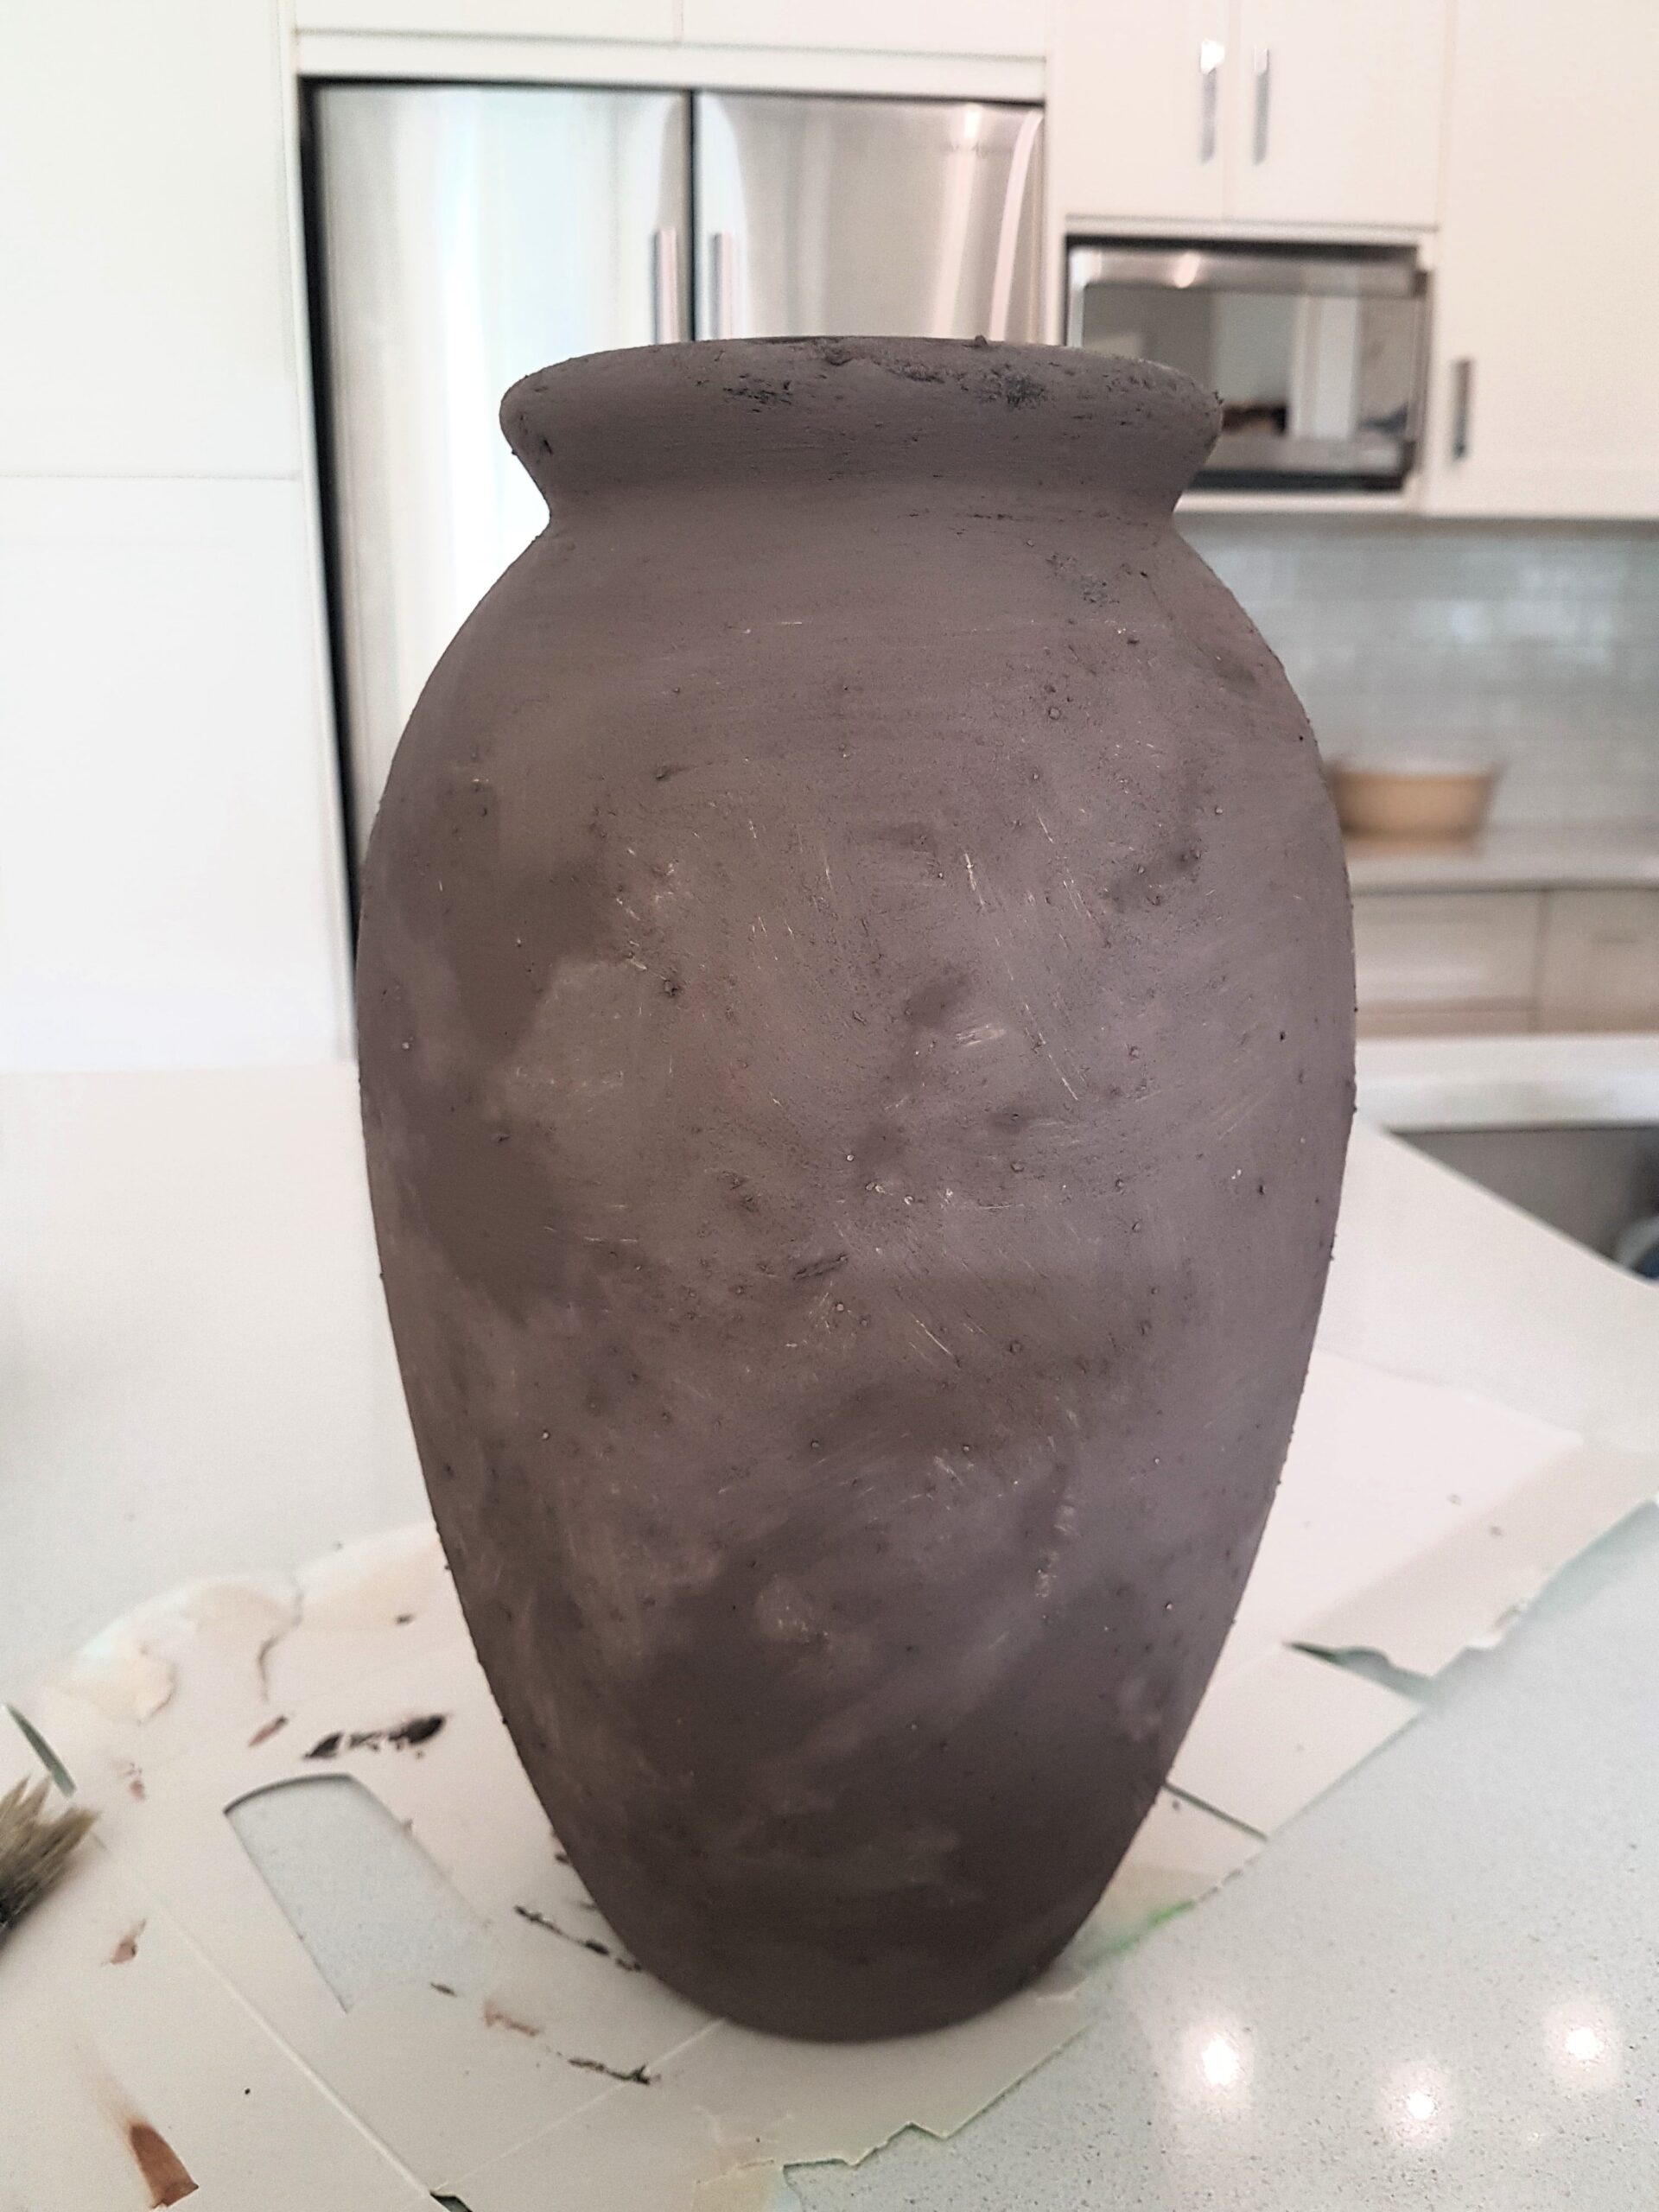
Apply this first base coat and fully cover the vase with the paint. Allow it to dry for one hour.
Step 3:
Then, mix up the next colour you want to use. Apply it in patches to allow some of the base colour to show through. Apply as much or as little as you like, depending on the look you’re going after! Allow this coat to dry for one hour.
- For this layer, I also created my own colour by mixing black and a little white to achieve a charcoal colour. I knew I wanted the vase to be mostly dark, but not a jet black.
- If you know where you want to put the vase when it’s done, you can bring it into the space and see how the colour looks! I did this several times to make sure the colour I was imagining was looking right.
Step 4:
Lastly, put the final touches on the vase. I added more depth and dimension by layering on an even darker tone in certain spots. I also used white to add “highlights” in certain areas as the very last step. I dipped my brush very lightly in white paint and gently dusted it on in certain spots to highlight the texture using a dry-brushing technique (lightly brushing on the paint when your brush is almost dry).
Step-by-Step Process in Pictures:
Here is the old brush I used. I use this brush for many projects as it makes it easier to add a distressed/imperfect look.
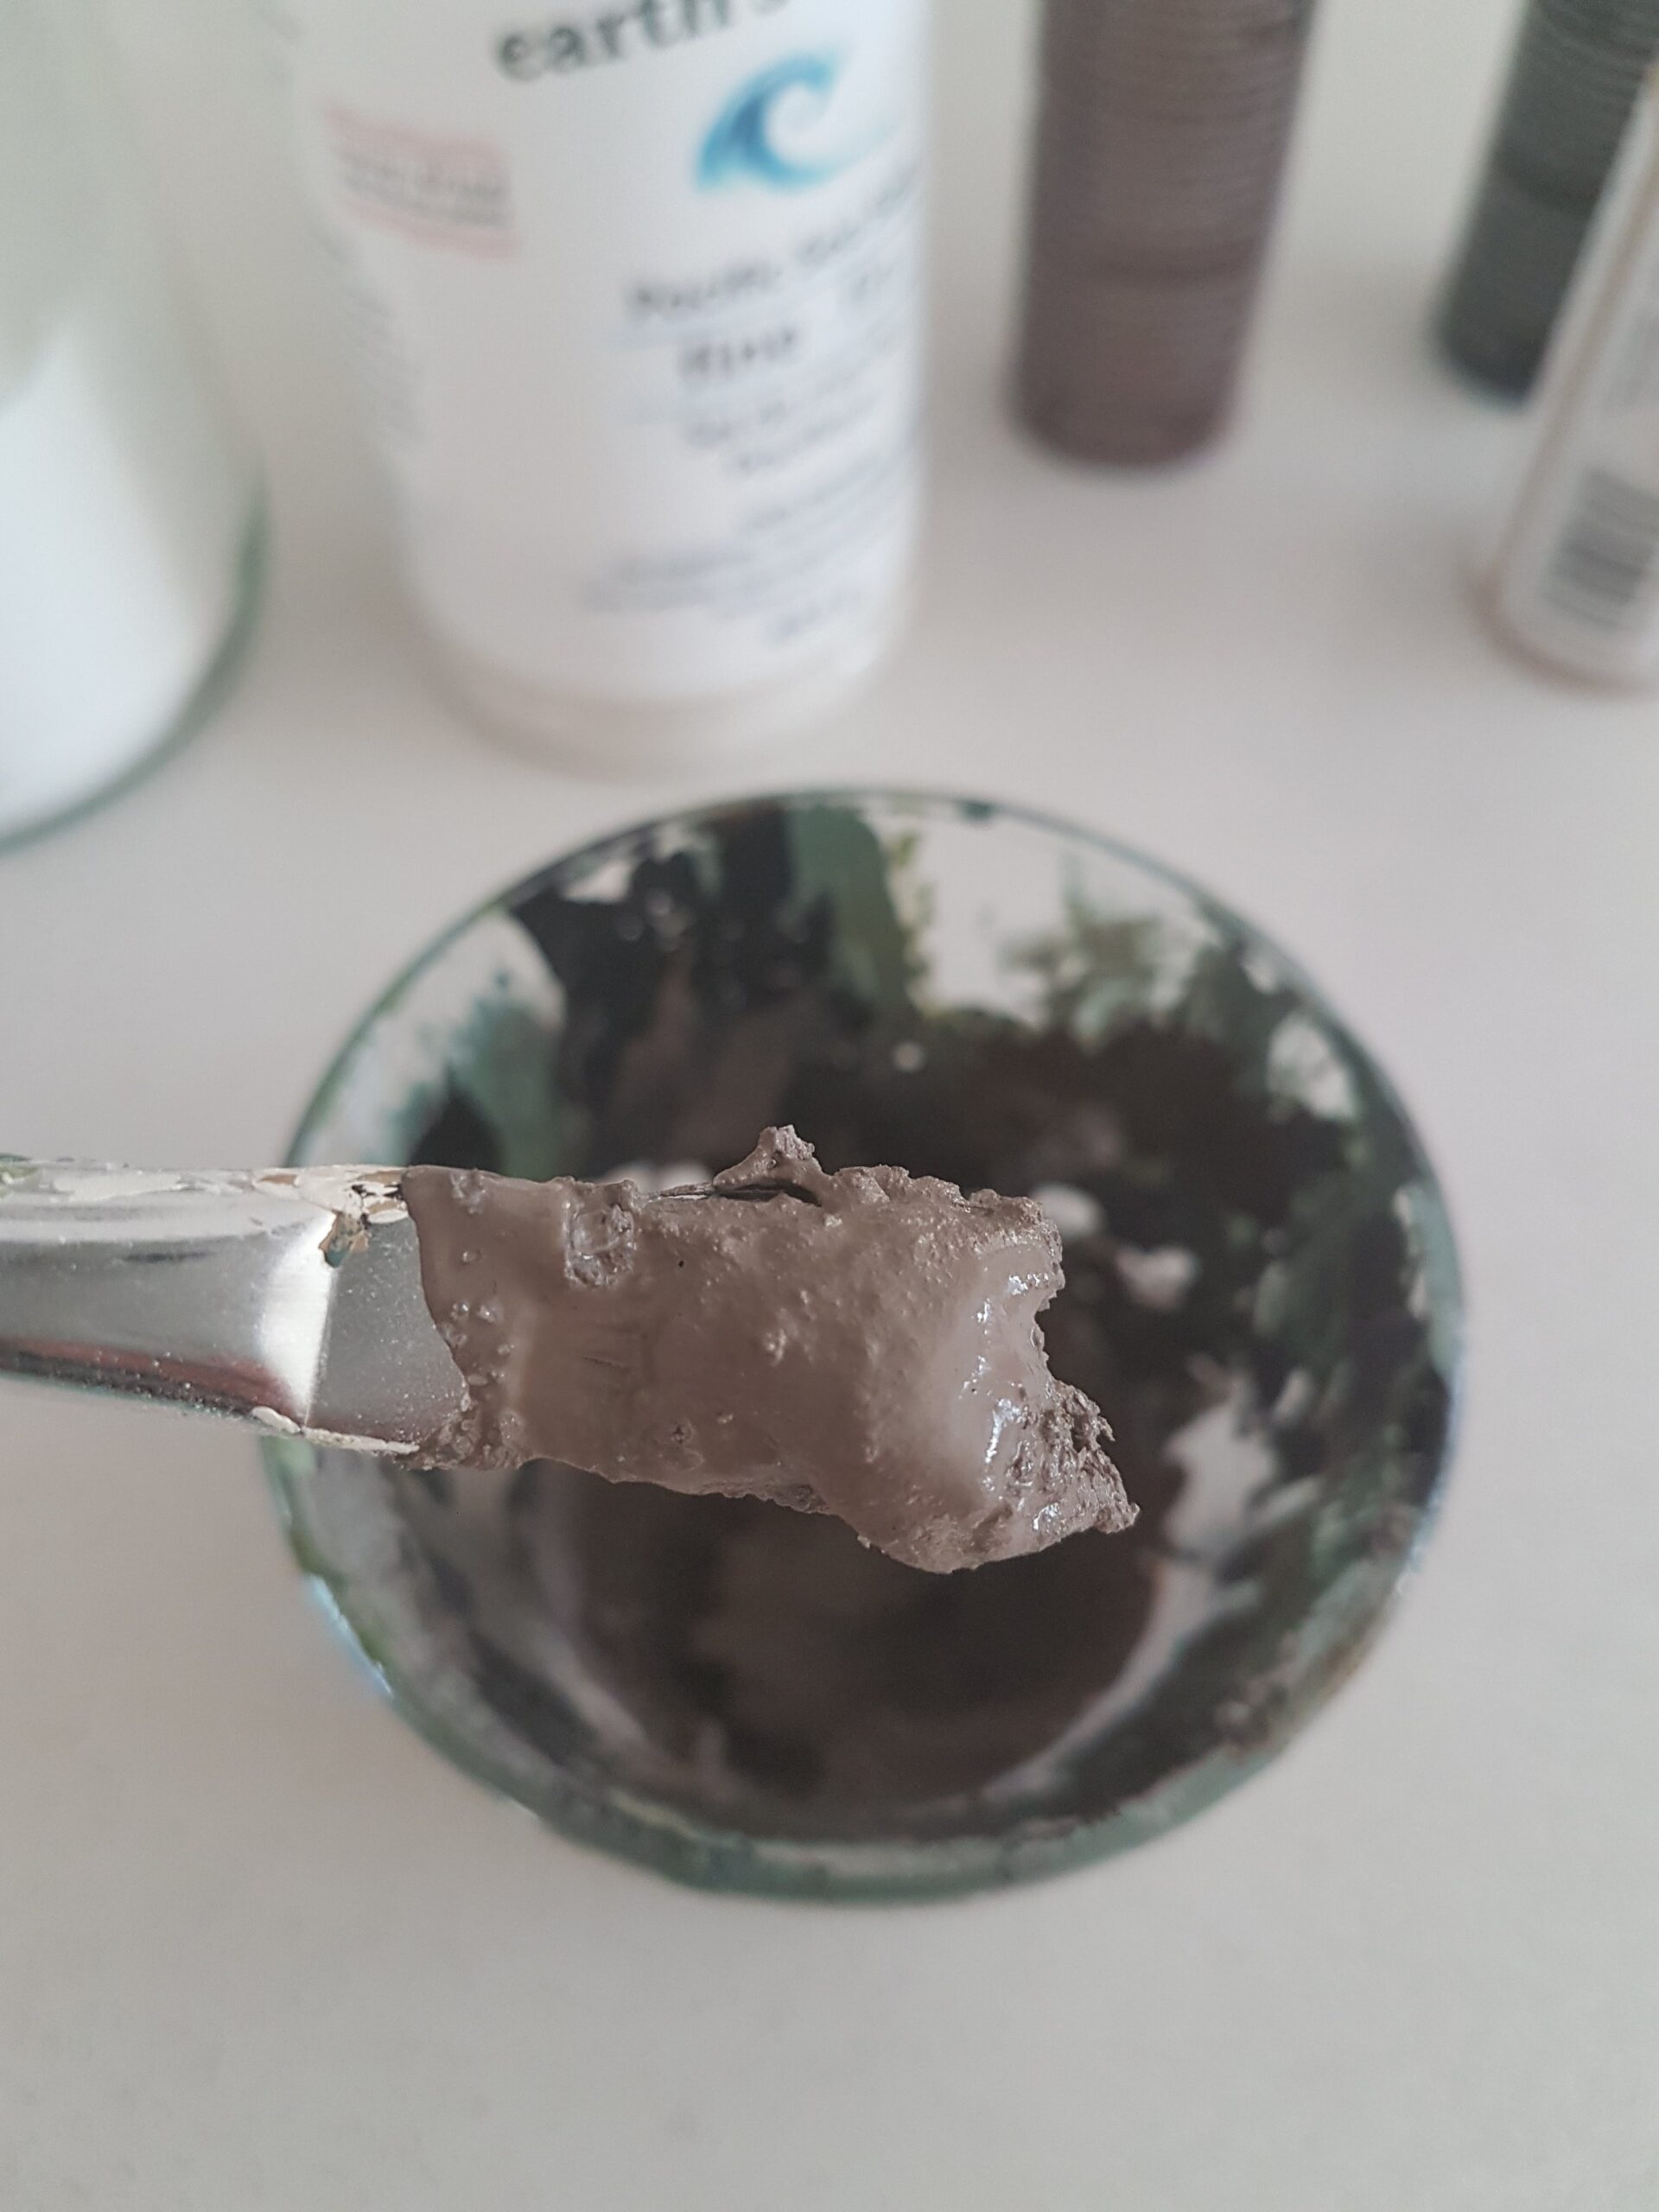
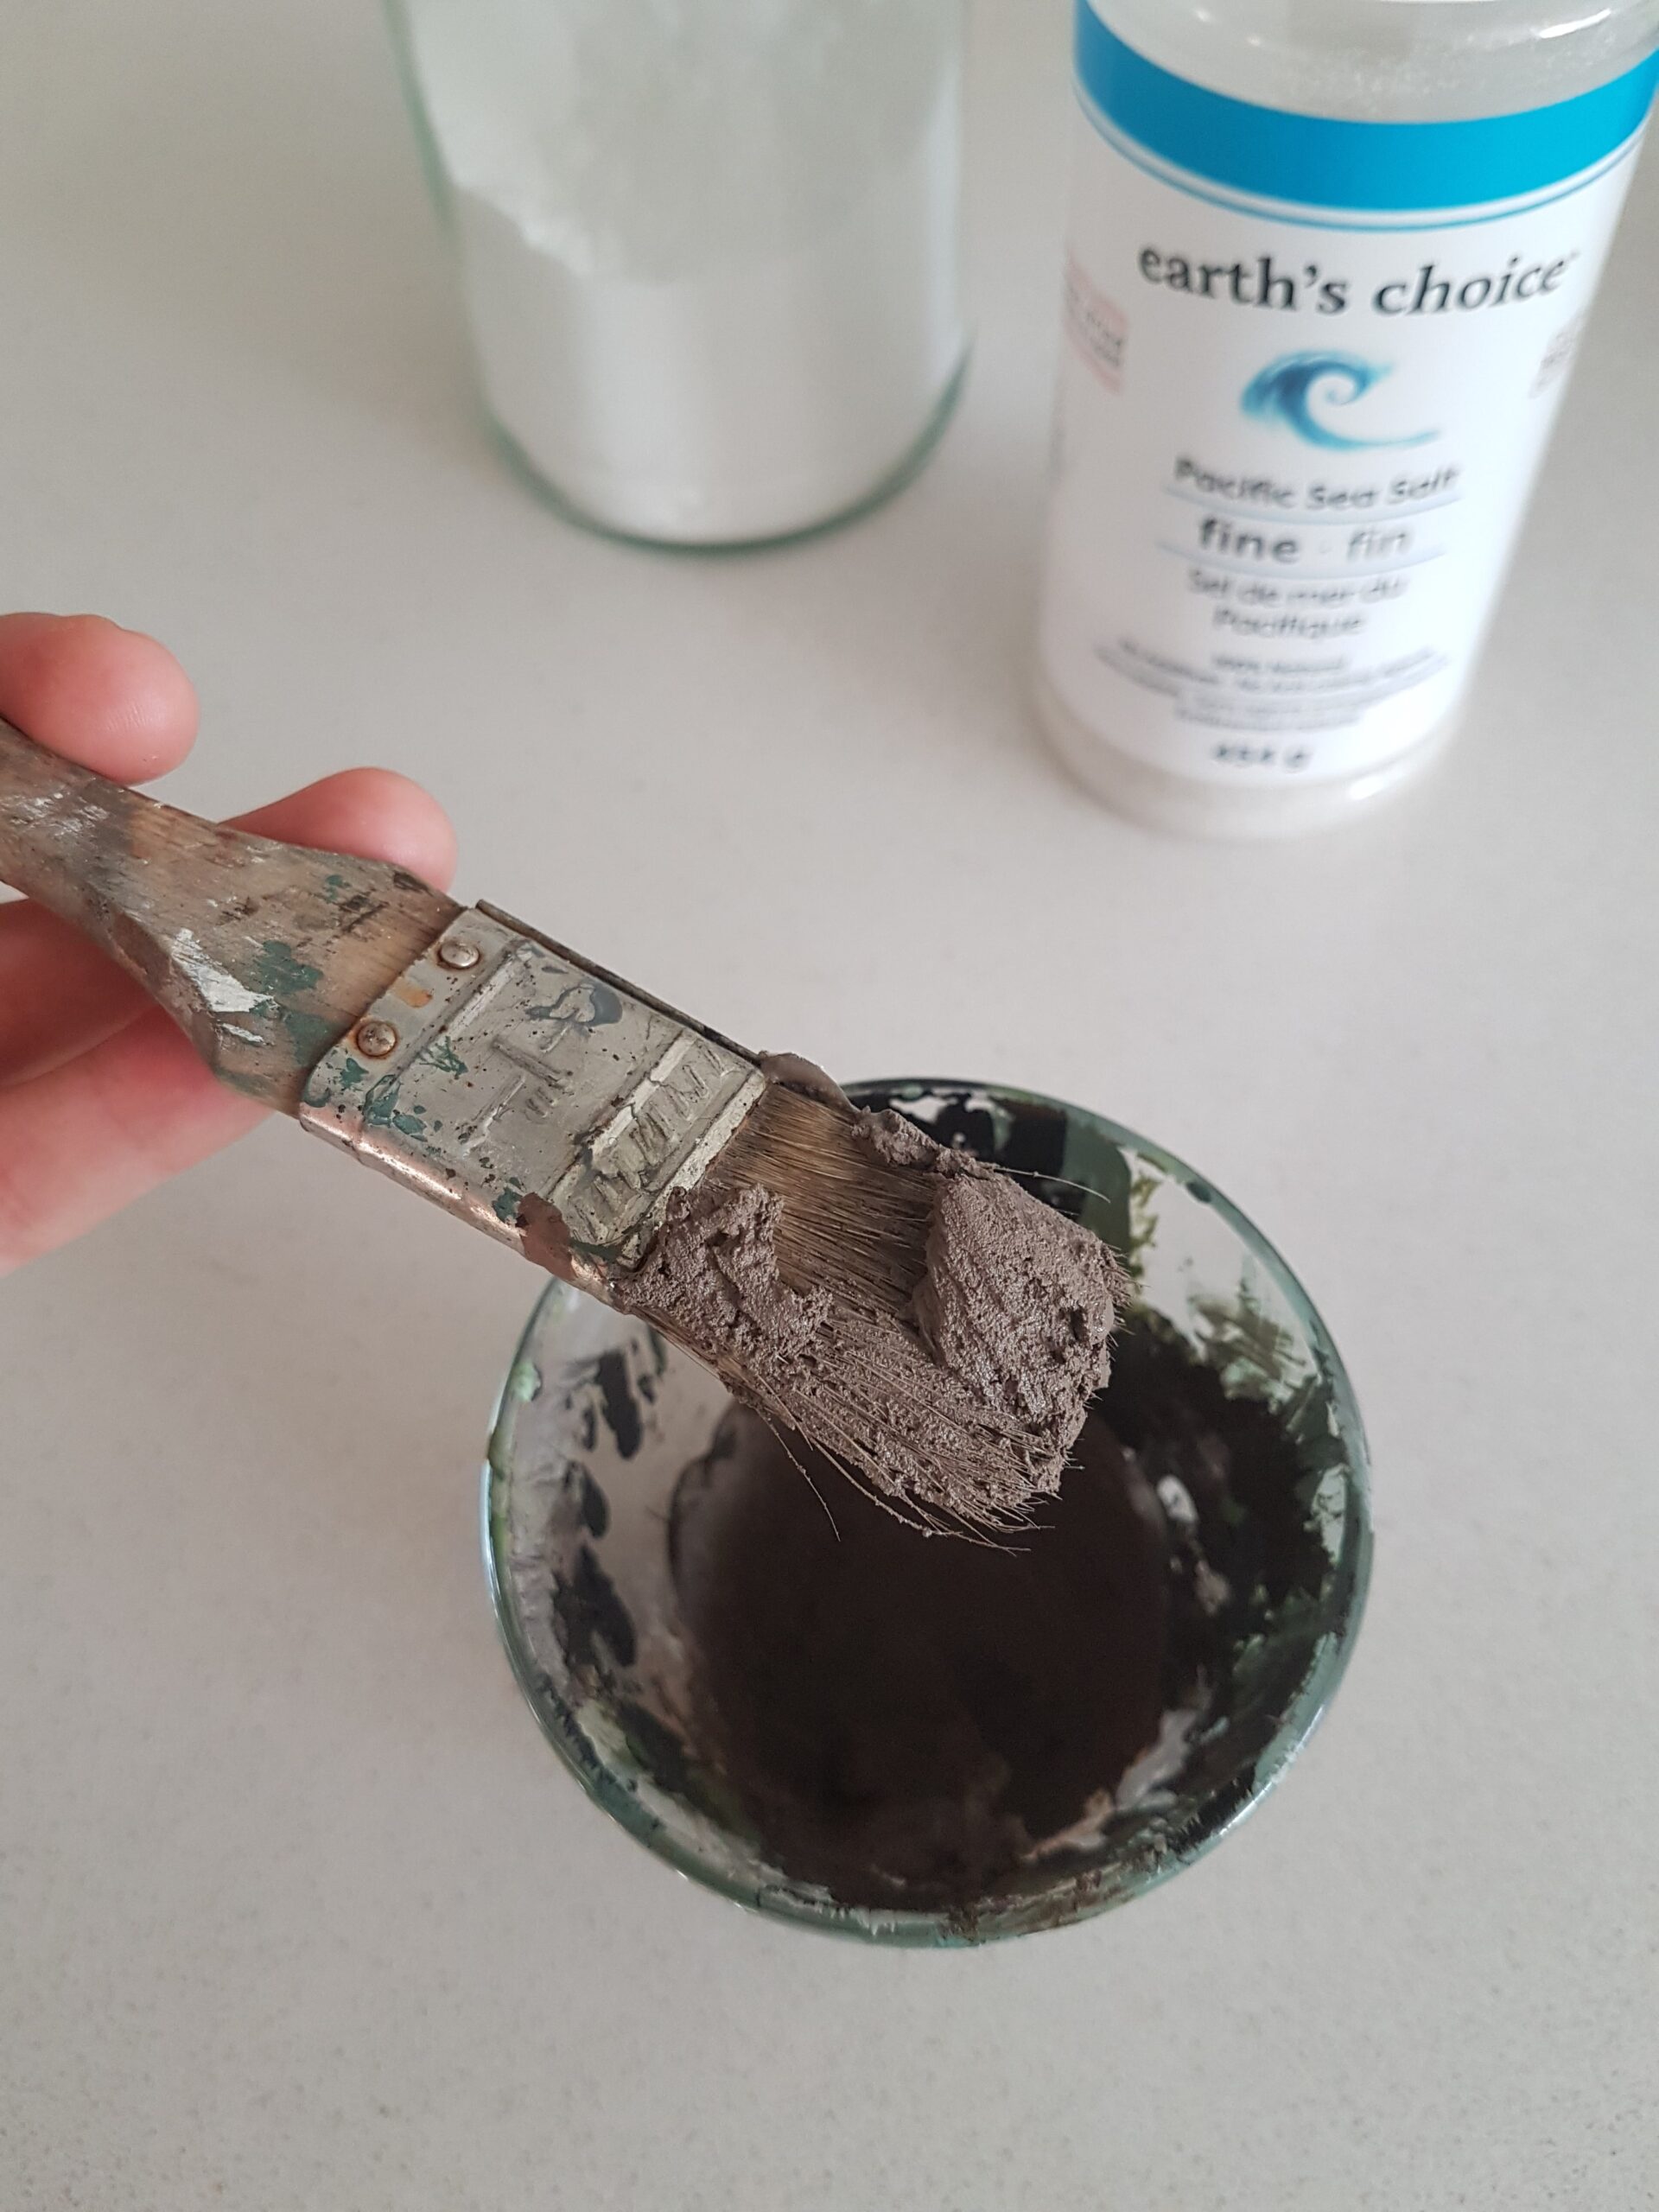
Step 1: Mix your first layer of paint by combining the paint with baking soda and course salt. Start with a few tablespoons of paint and add the baking soda 1 teaspoon at a time until the desired consistency is reached. Add course salt for additional texture, starting with about 1 teaspoon. The paint mixture should be thick enough that it does not fall of the brush when turned to the side, but thin enough that you can easily spread it around on the vase with your brush. If your paint becomes too thick or too dry, add water or more paint to thin it.
Step 2: Apply your first layer of paint, completely covering the vase. Allow to dry for one hour. See how some areas look darker than others? This is due to some of the paint being wet, and some areas already drying. I also had to mix more paint part way through, and unless you’re measuring your paint colours exactly, the colour will never be the exact same each time (which is a good thing here). The vase was already looking amazing after only one coat!
Step 3: Mix up your next colour of paint and brush it on, allowing some of your first layer to show through. Allow to dry for one hour. I used a charcoal colour and allowed some of the brown to peek through in some spots. Sadly, I forgot to take a picture after the second layer!
Step 4: Add the final touches to the vase by creating more depth and dimension. Add your darkest colour to certain spots here and there. Lastly, add a light dusting of white paint to certain spots to highlight the texture. In the photos below, you can see how the first layer of brown peeks through in some areas, and how I highlighted certain spots with a light dusting of white paint.
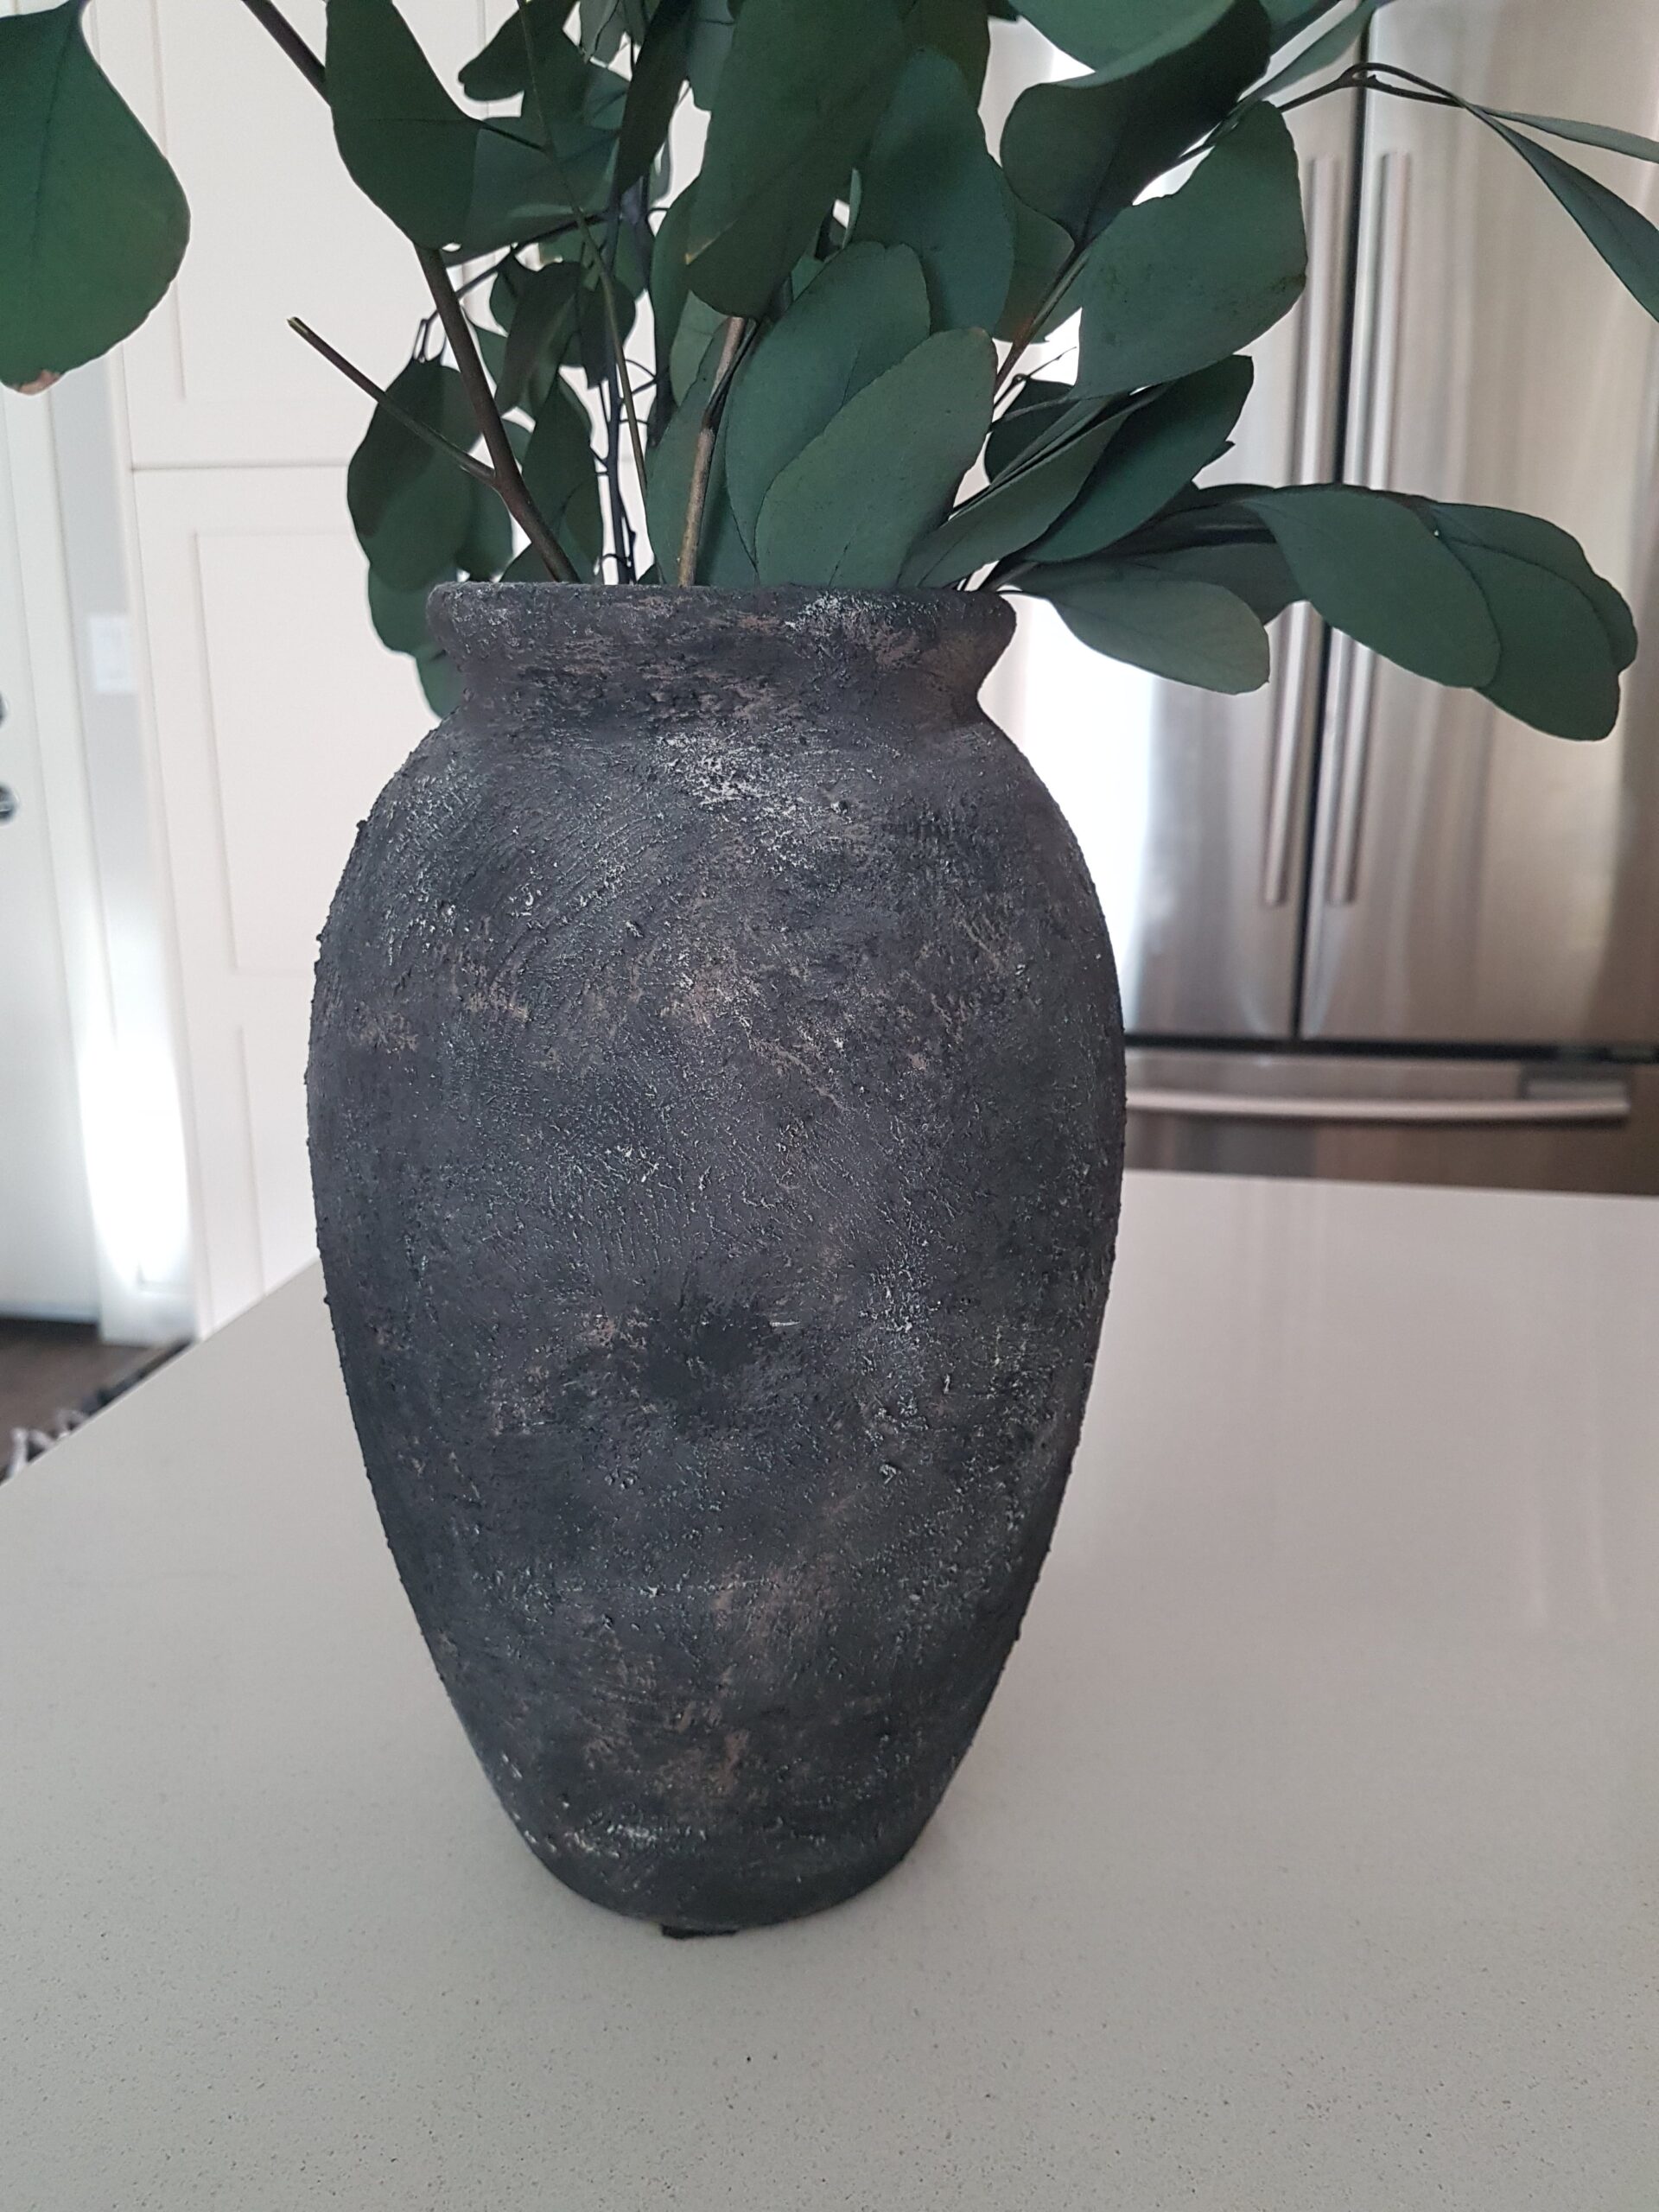
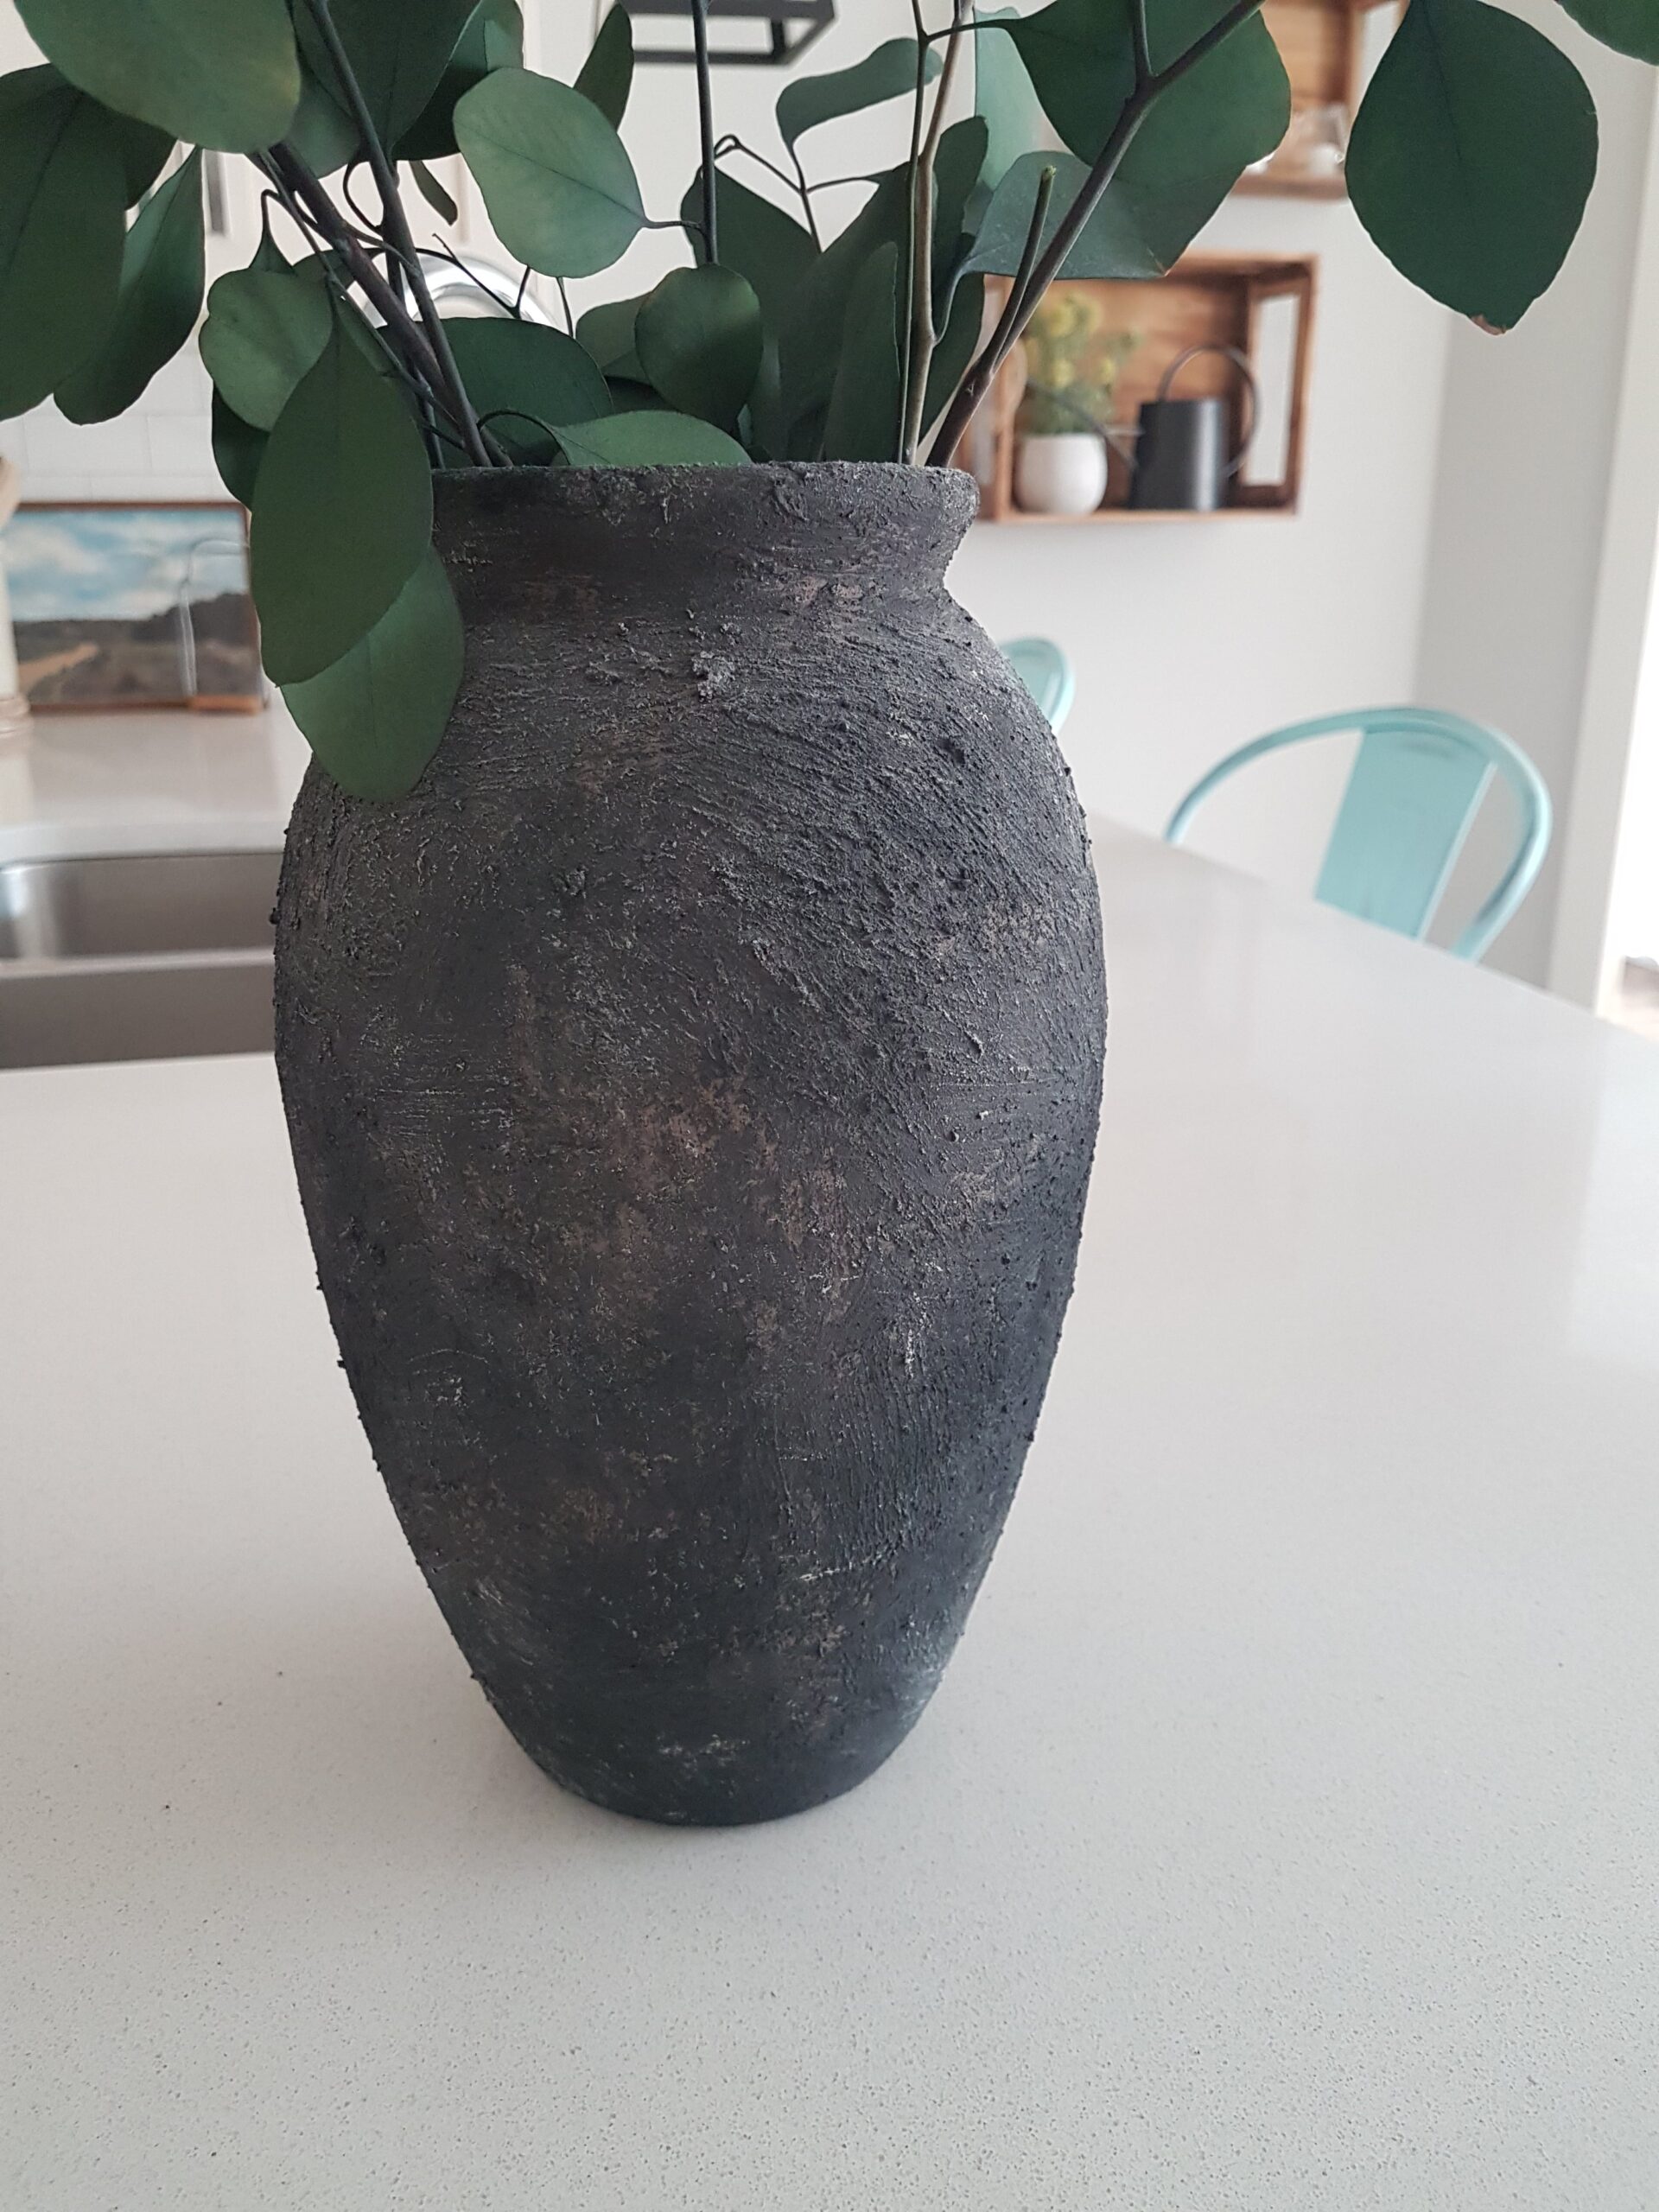
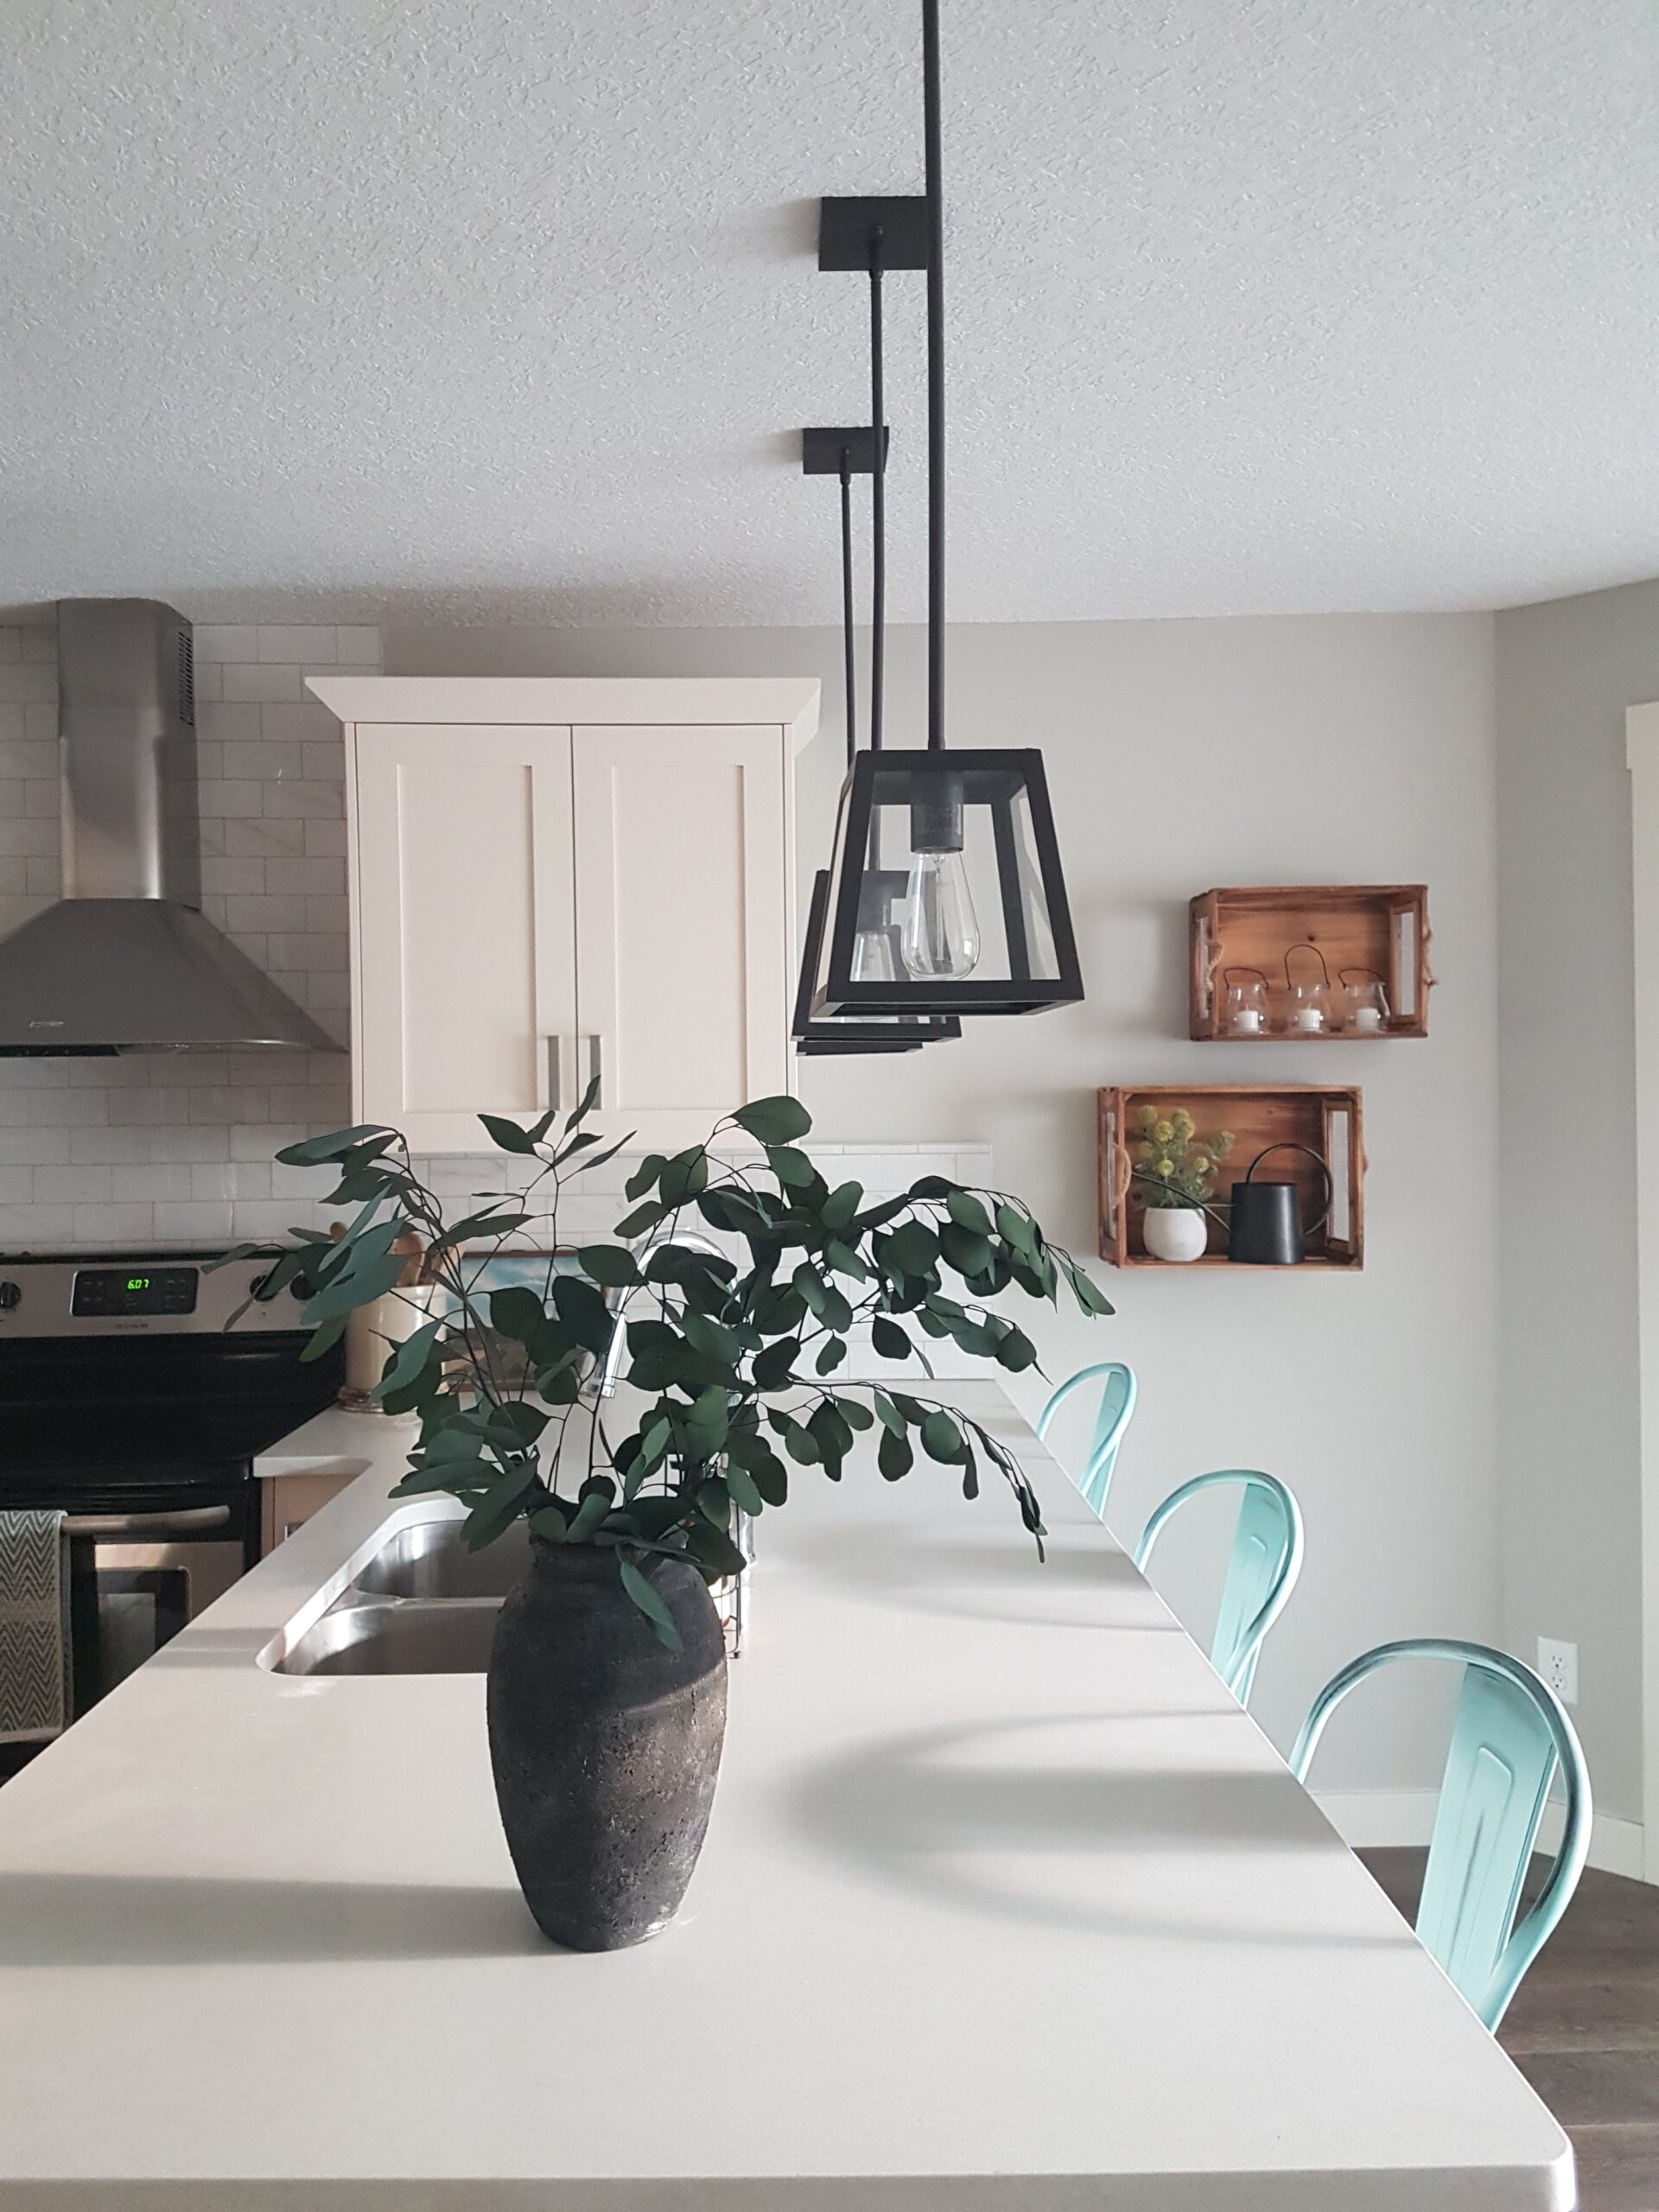
To style the vase, I used preserved Eucalyptus stems that I purchased from Etsy. They are amazing because they have the look and movement of fresh stems, but they will last for years! This is one of my favourite interior design tips. There are tons of beautiful preserved floral stems and greenery available that you can use if it’s not feasible to use fresh stems.
If you have any questions about this tutorial, leave a comment for me below. Make sure to save this post on Pinterest to refer back to!


Join the List
Stay informed & receive my latest healthy living tips to your inbox.