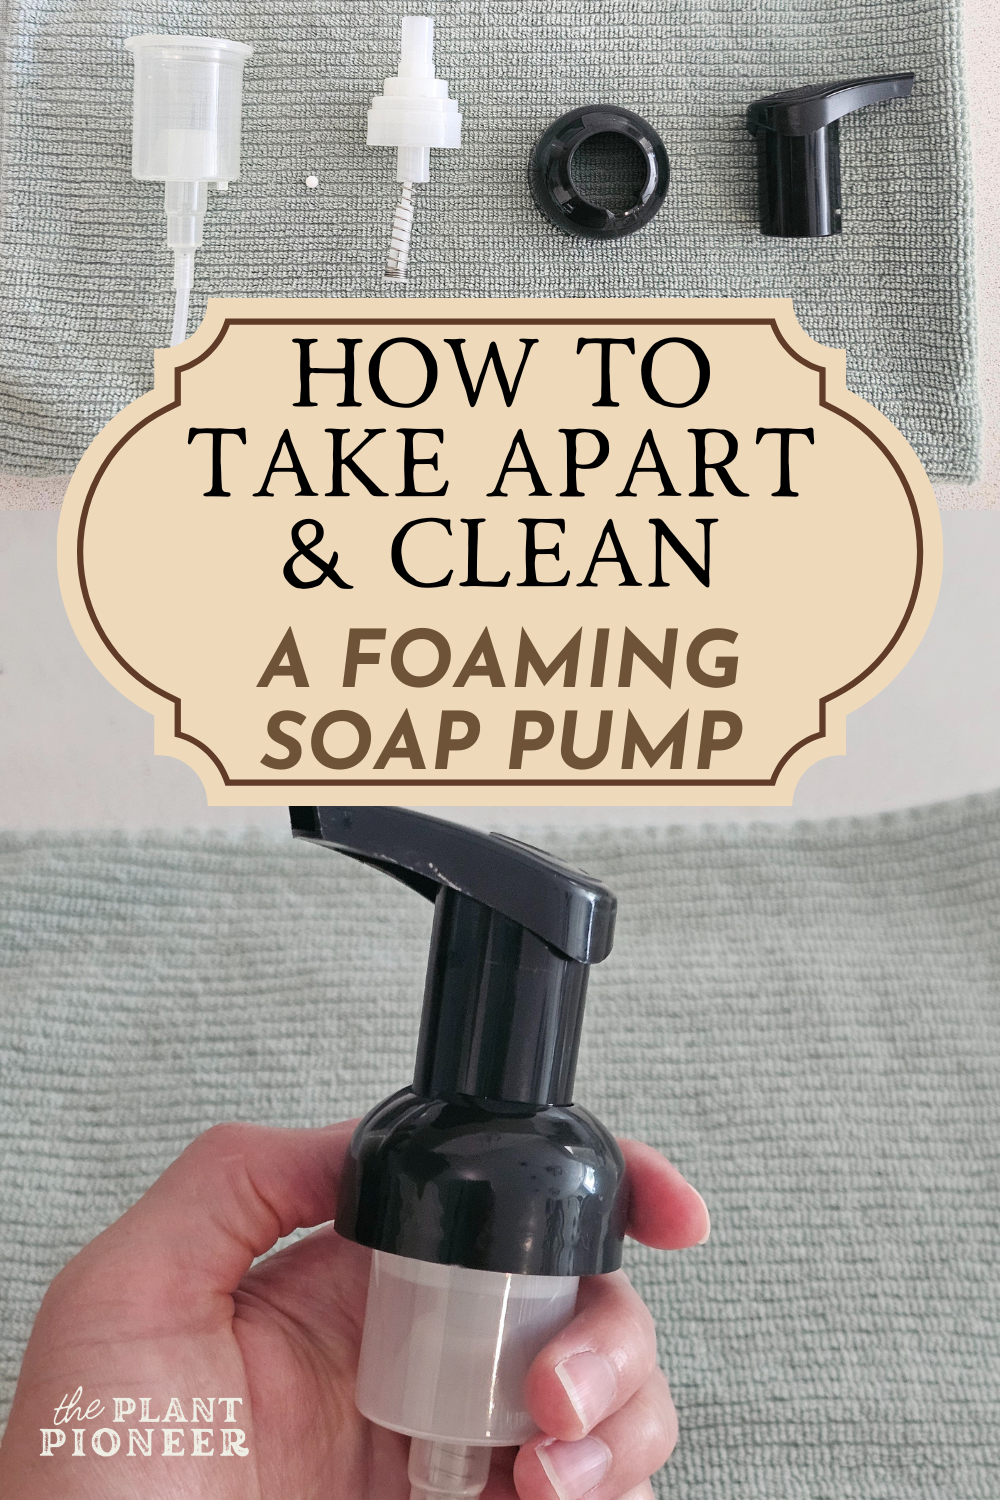
How to Take Apart & Clean Foaming Soap Pumps
One of the simple ways I regularly save money on natural, non-toxic products is by making my own foaming hand soap. A really affordable way to do this is by simply re-using and refilling foaming soap dispensers that you already have. Here’s how to take apart a foaming soap pump to clean it, so it can be reused for years! It’s super quick and easy!
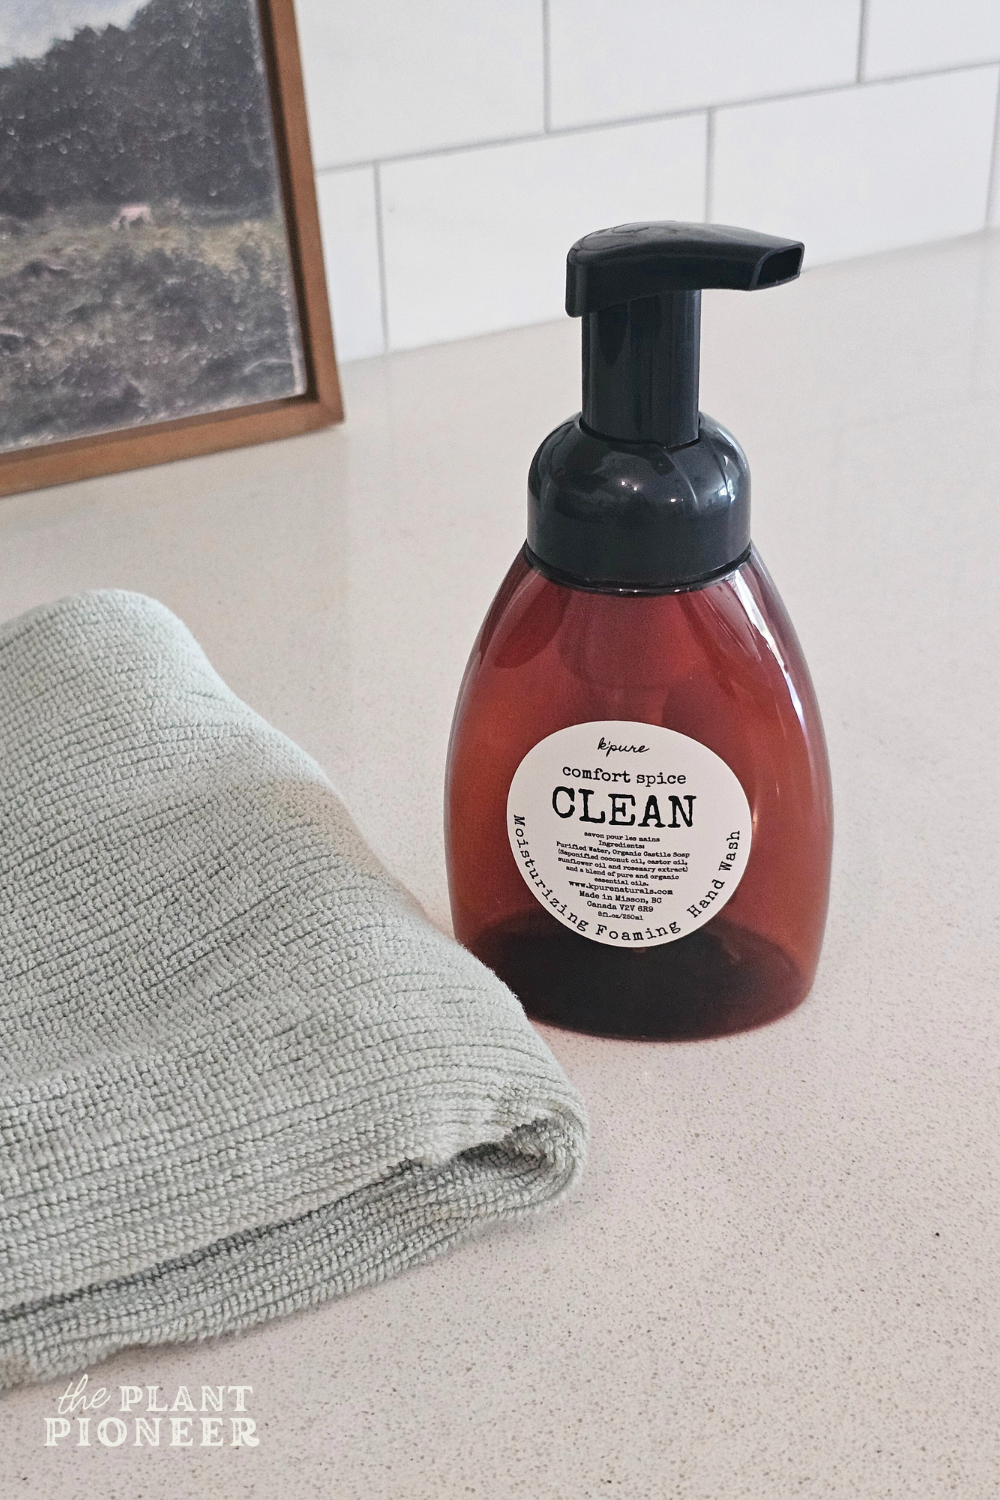
I recently upgraded to these glass foaming soap dispensers, but I still kept a few of my previous plastic ones in case I want to take them camping, or use them in the shower, etc. But, one issue I came across was wondering how to clean the pumps! I noticed that there would still be liquid inside the pump after using up all of the soap, and I always wondered if they could be taken apart to be cleaned properly.
Then I found this post by Humorous Homemaking explaining how to take apart these dispensers to clean properly… yay! It’s important to clean out the pumps before storing them in order to prevent bacteria from growing.
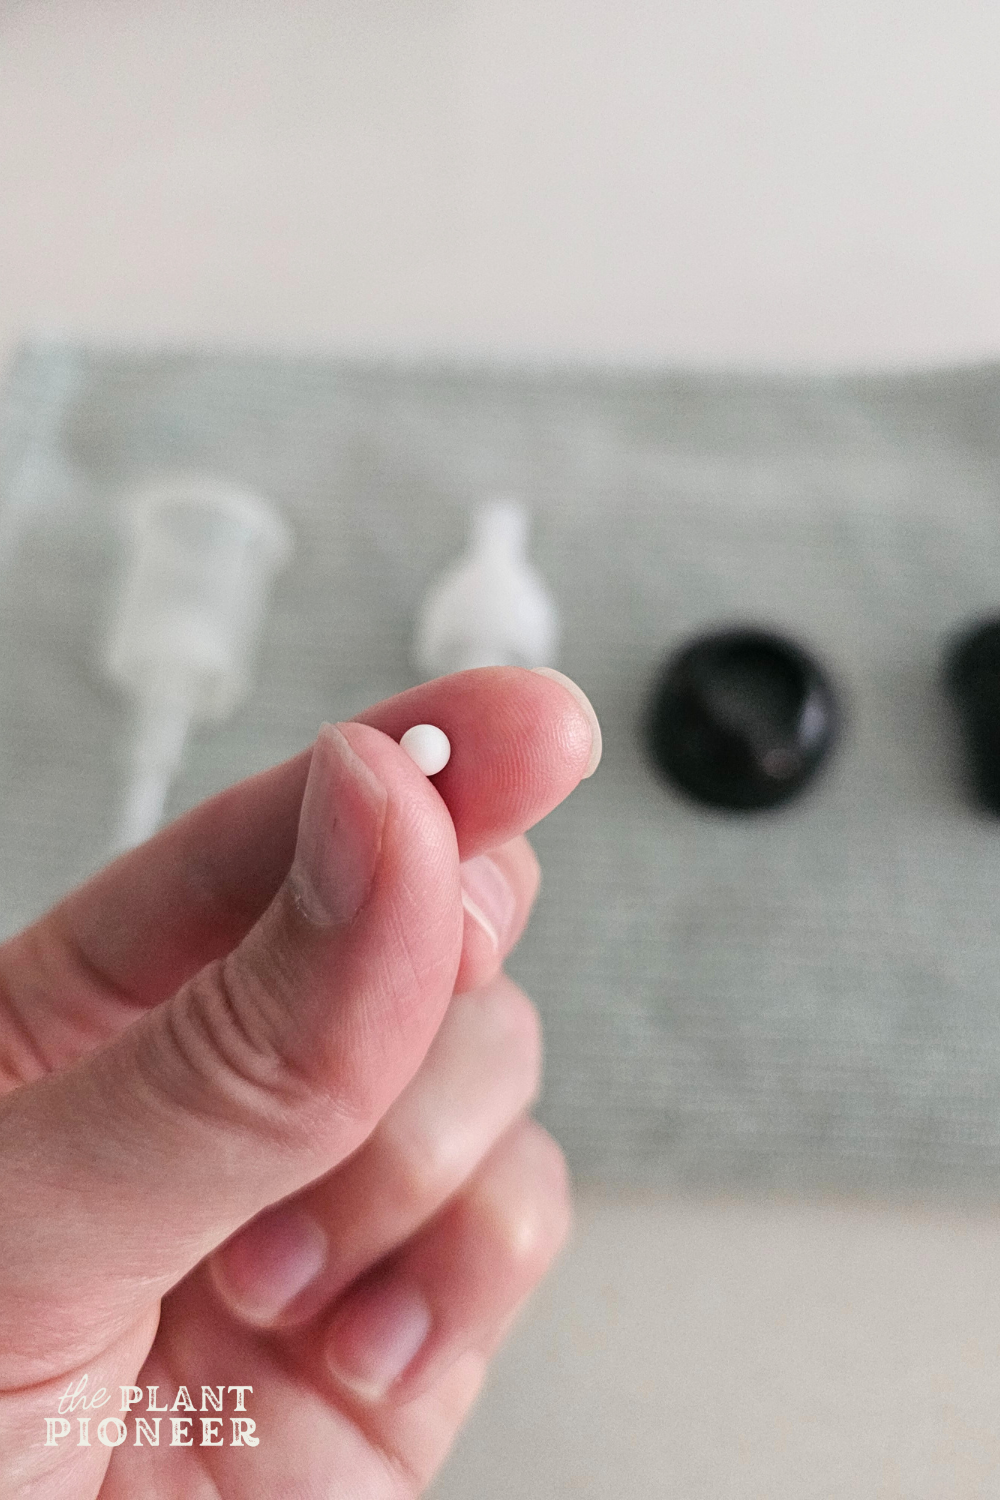
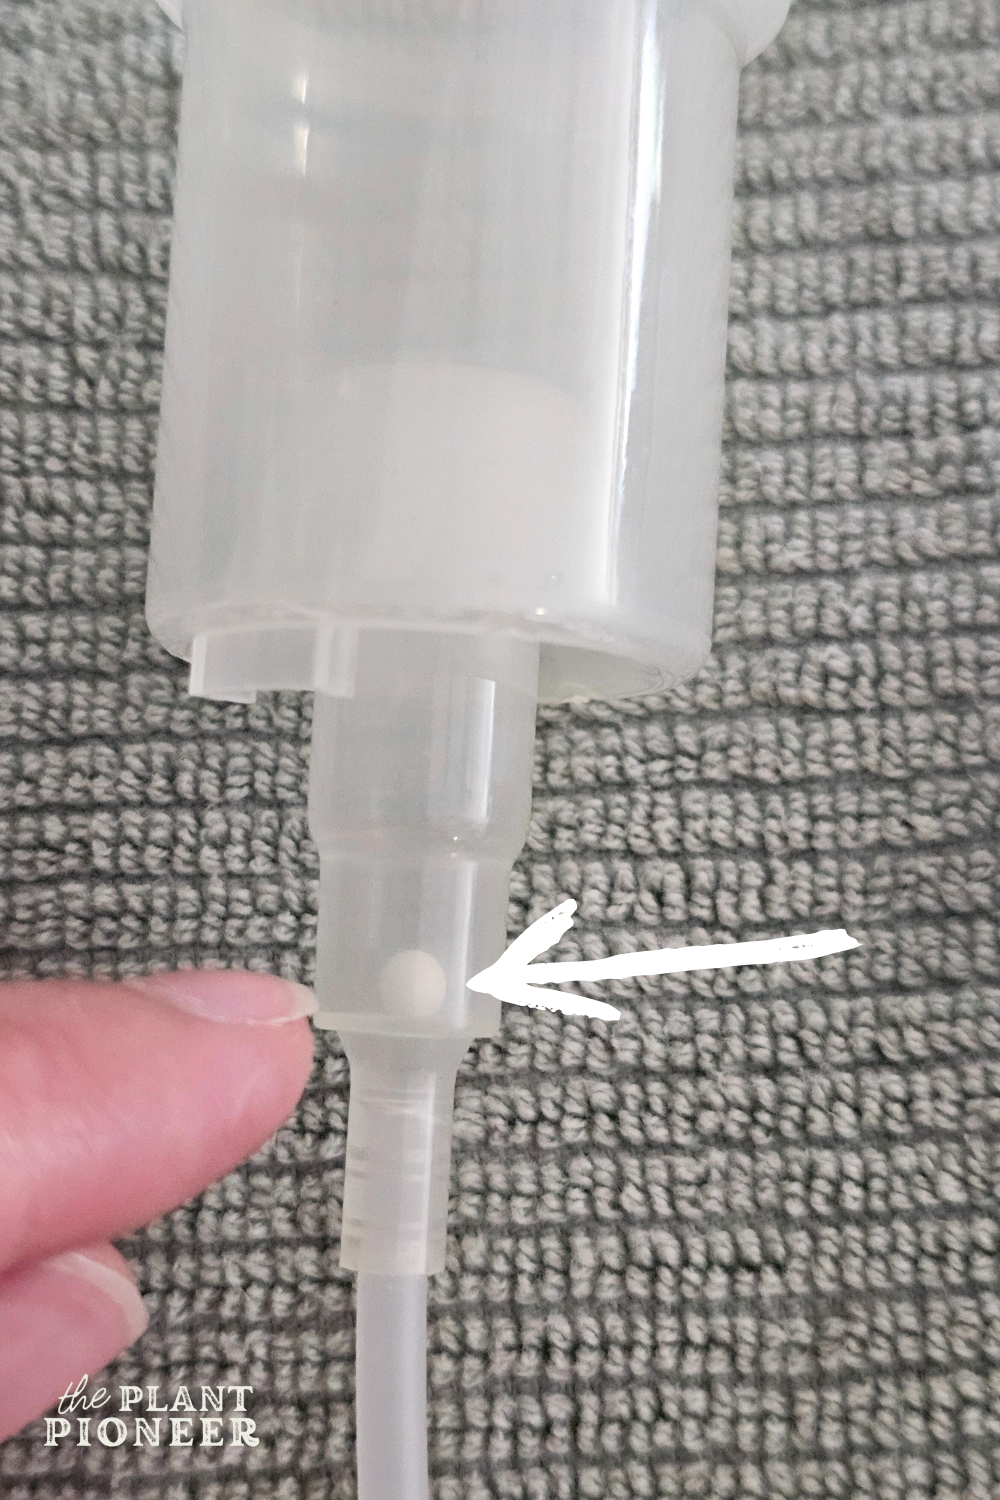
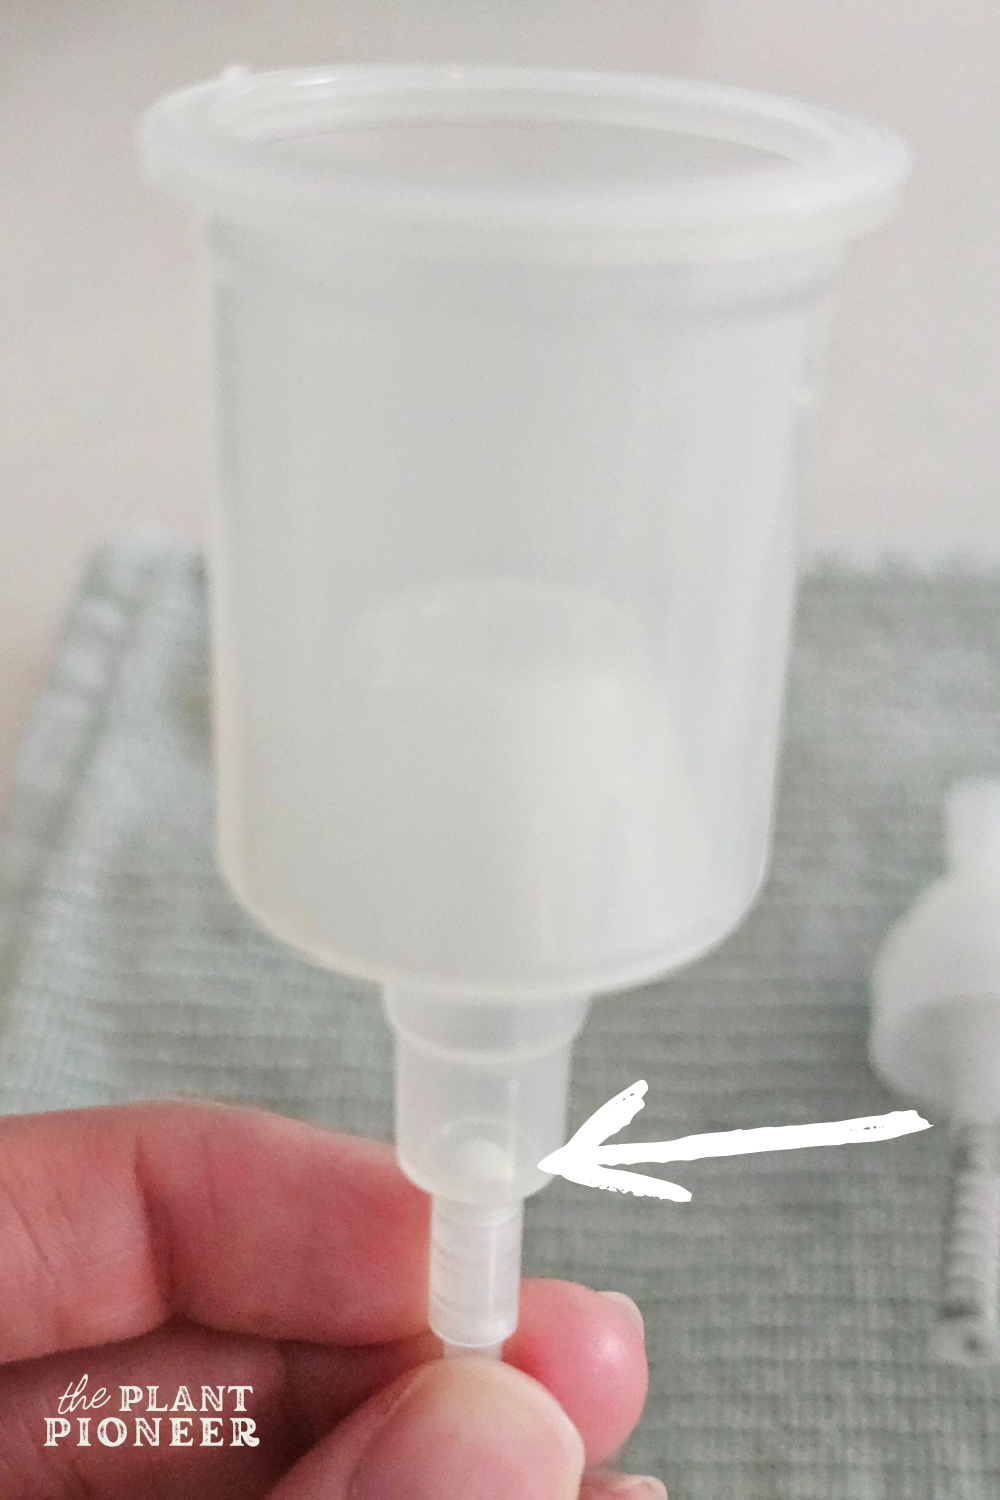
Before taking the pieces apart, it’s important to note that there will be a little ball inside the pump (see image below), just above where the straw connects. This tiny little ball bearing is needed to make the pump work correctly! Make sure not to loose it when taking your pump apart. I recommend not doing this above the sink, as it can easily be dropped down the drain!
Here’s a quick video showing how the pieces come apart:
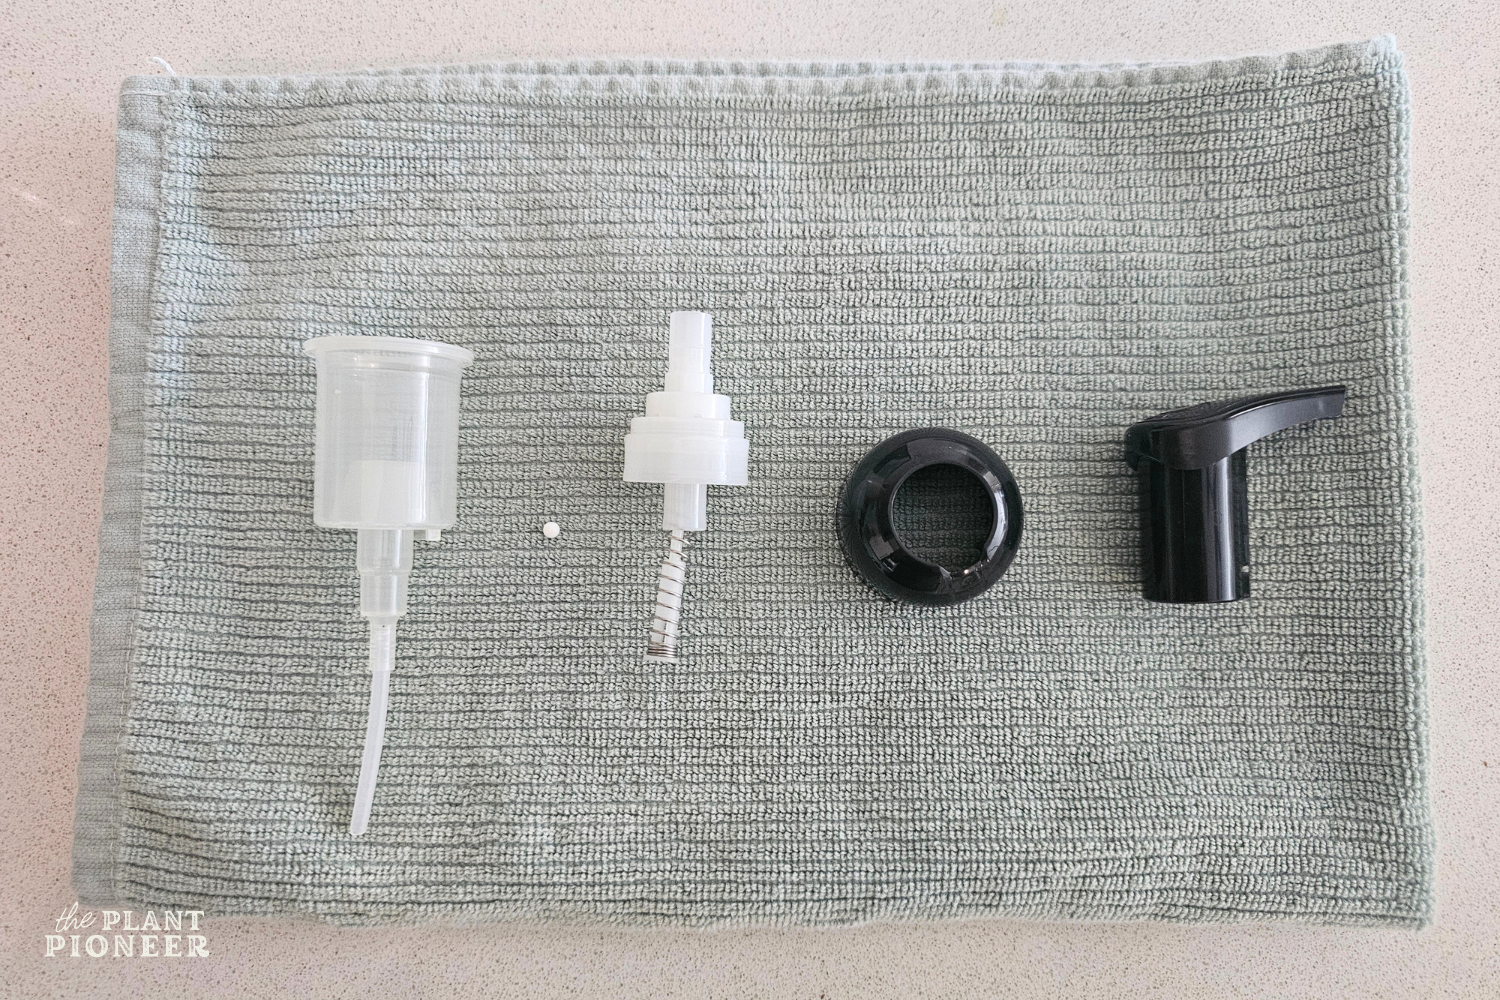
Here’s the step-by-step process in pictures:
Step 1
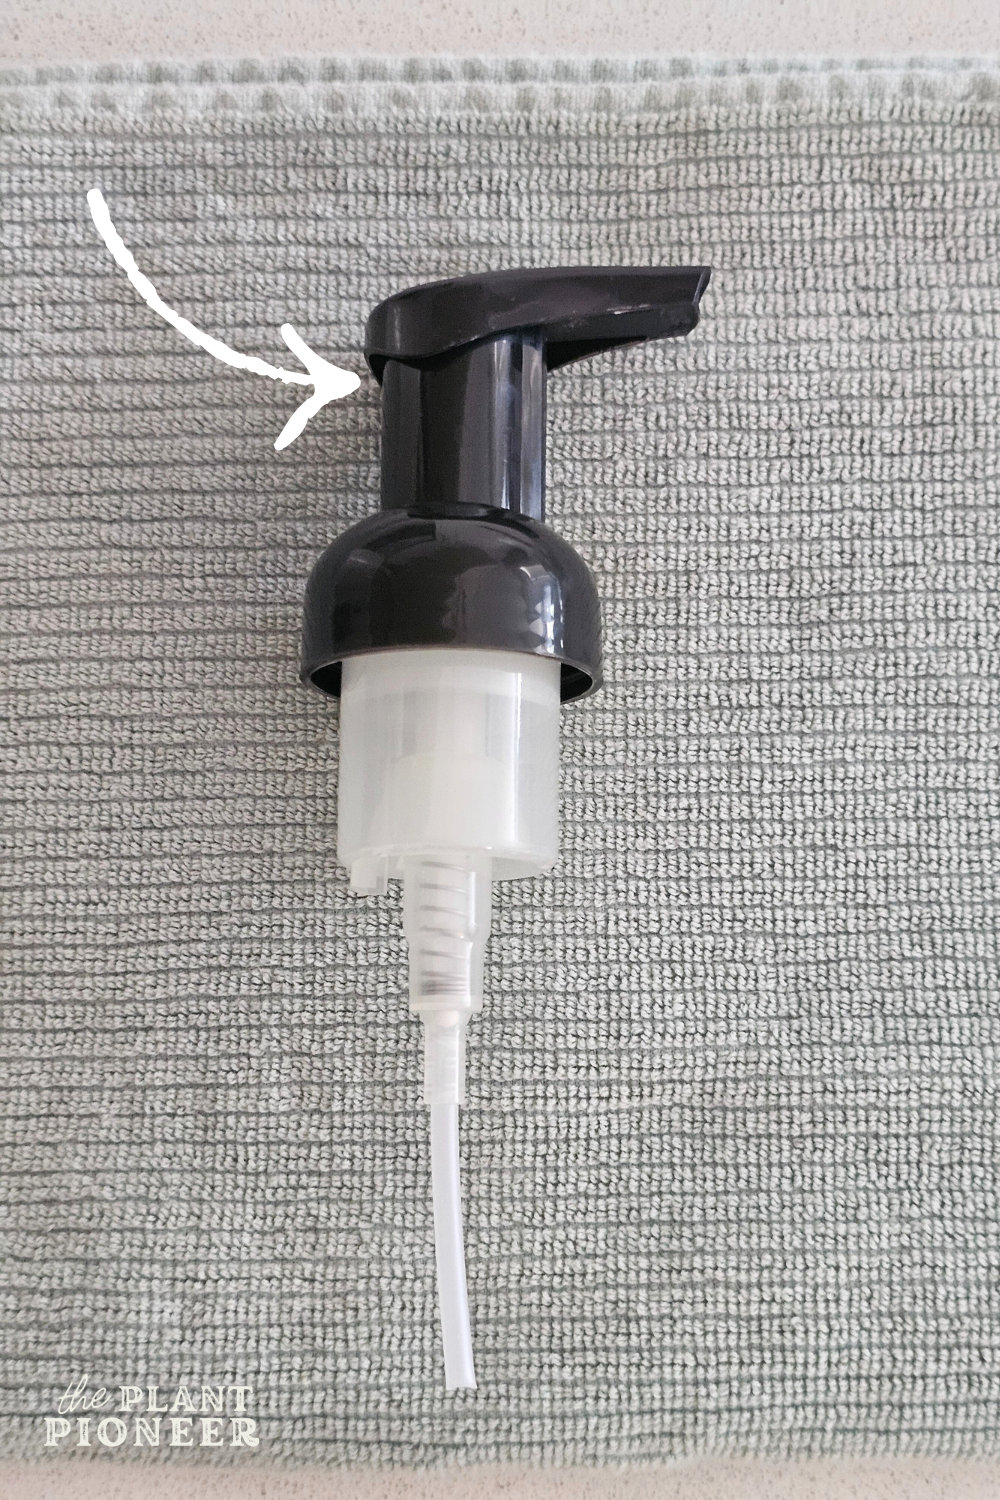
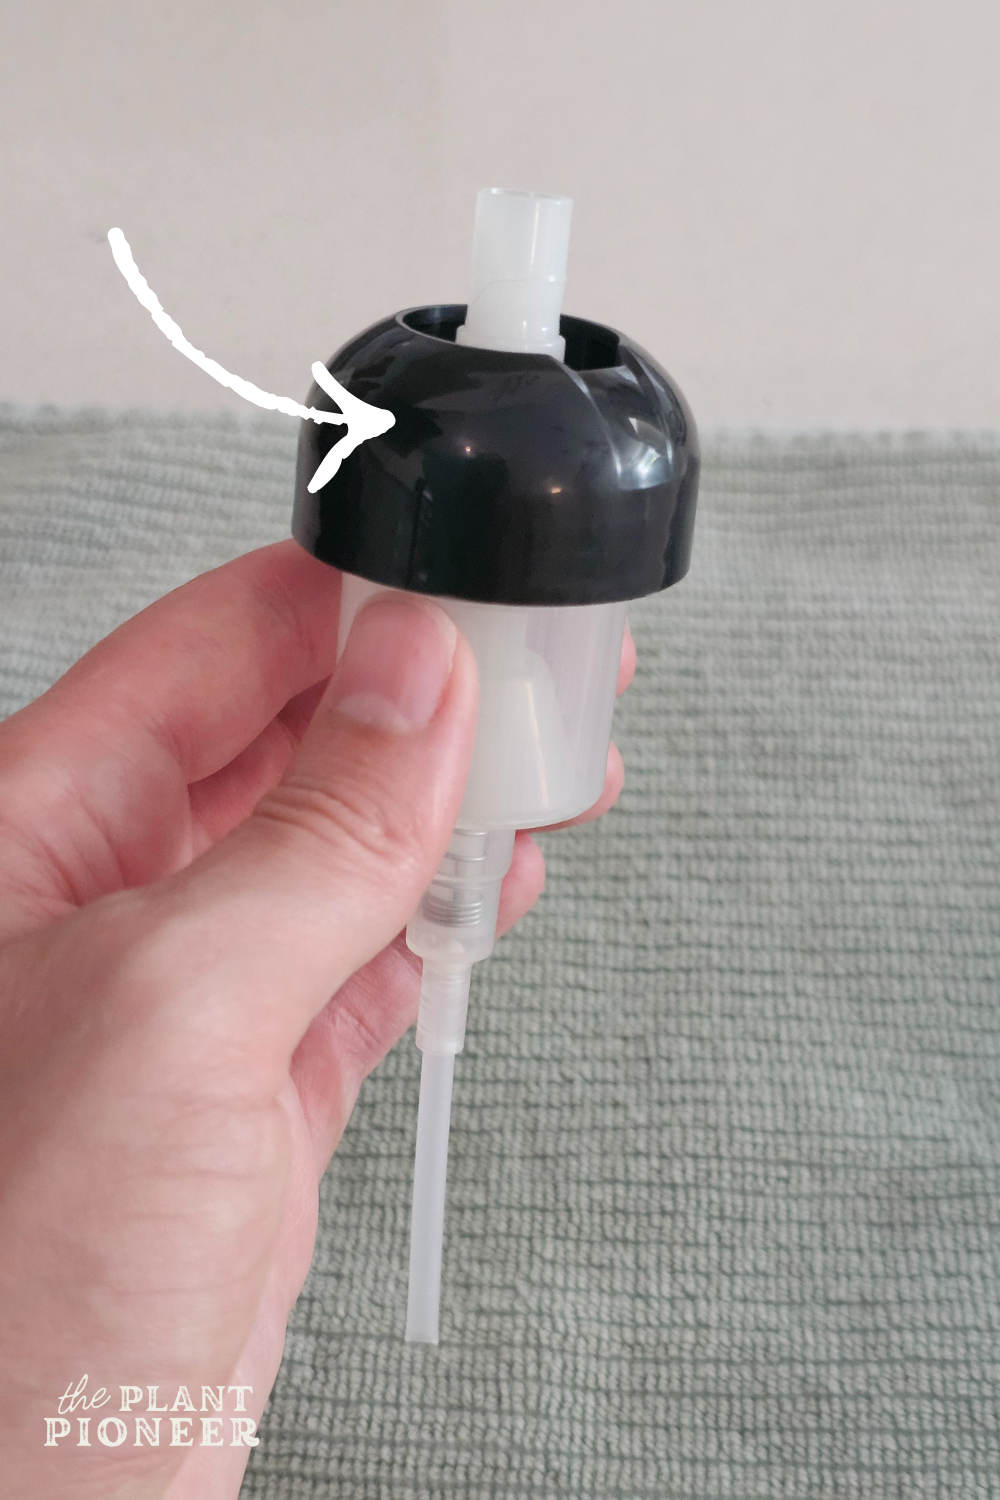
Pull off the top dispenser/nozzle piece. You may have to pull hard, but it should pop right out.
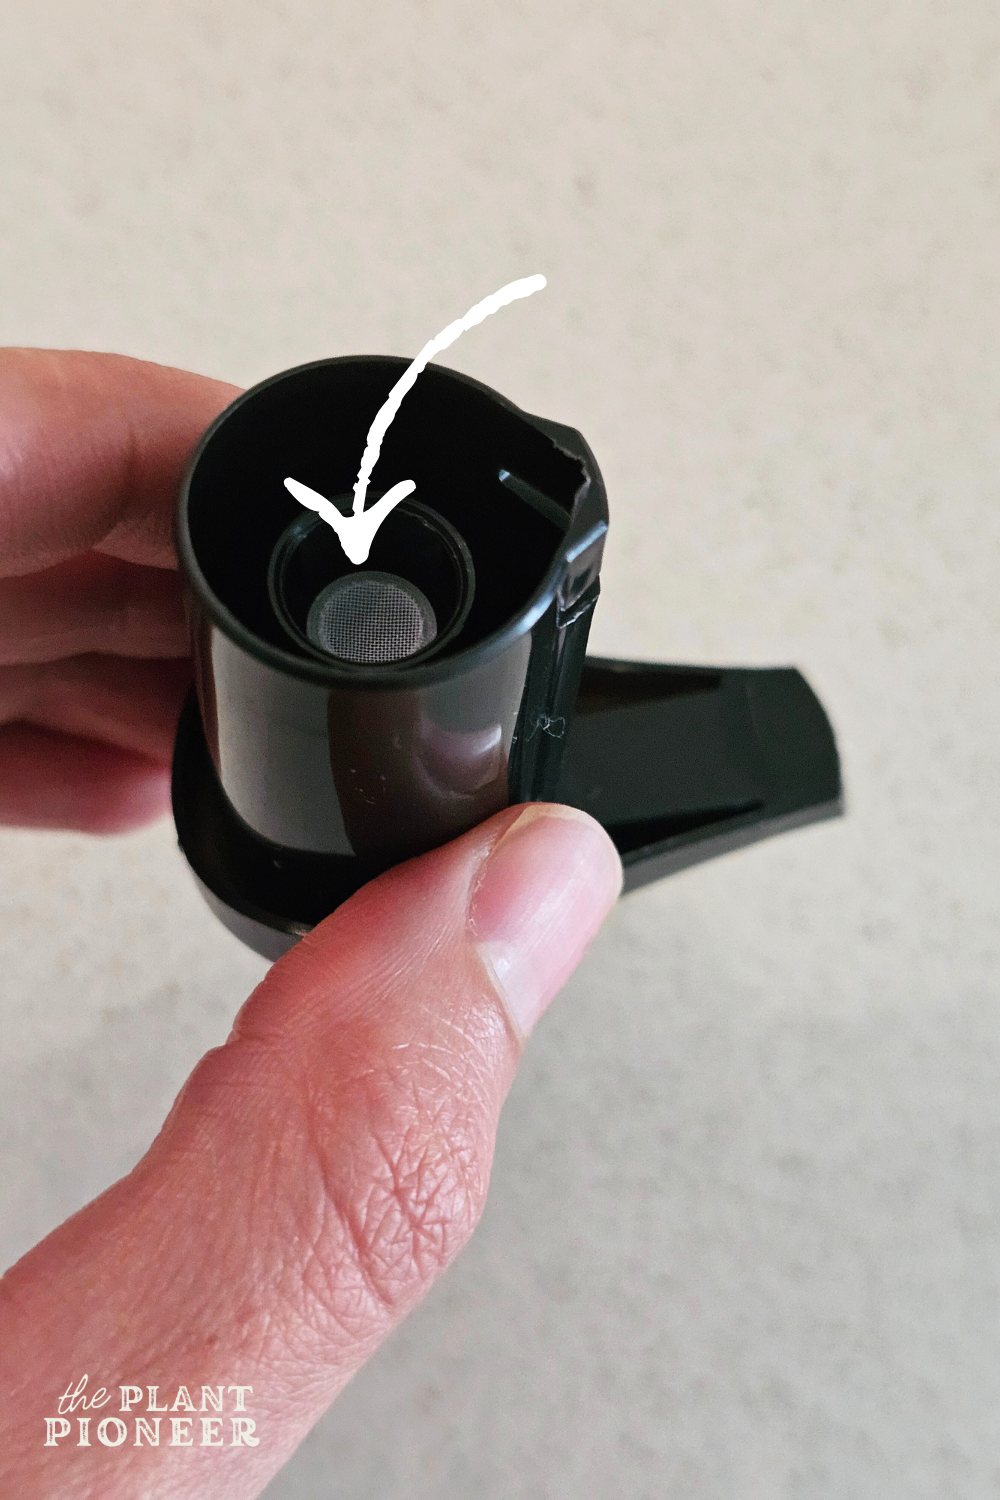
Look inside the dispenser piece and check for any damage. There will be a cylinder insider here with a mesh screen attached to it. This mesh screen is important for creating the foam. If the mesh screen has damage, this could be why your soap dispenser is not working properly.
I have seen that this cylinder inside the dispenser head can sometimes be removed, however, I haven’t been able to get it out. Simply rinsing it out thoroughly with hot water has worked well for me.
Step 2
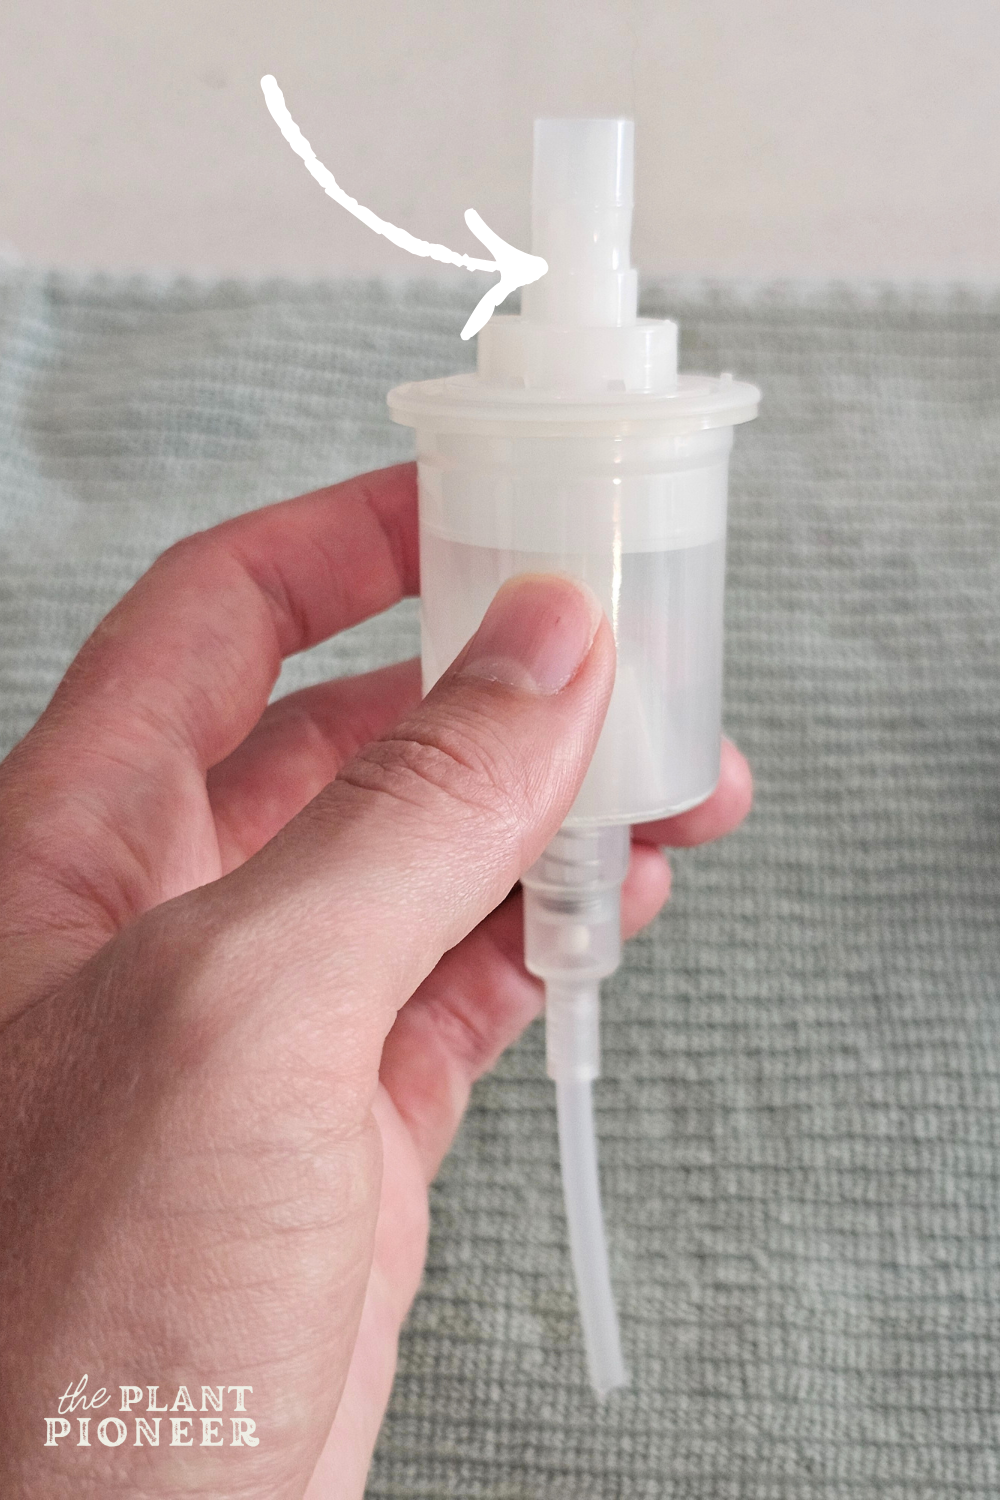
Pull off the “neck collar”. This piece “clicks” into place, so you may have to pull harder than you think to get it off.
Step 3
Pull out the inner pump mechanism. This piece just sits inside the “cup”, and the metal spring will be attached to it at the bottom.
Step 4
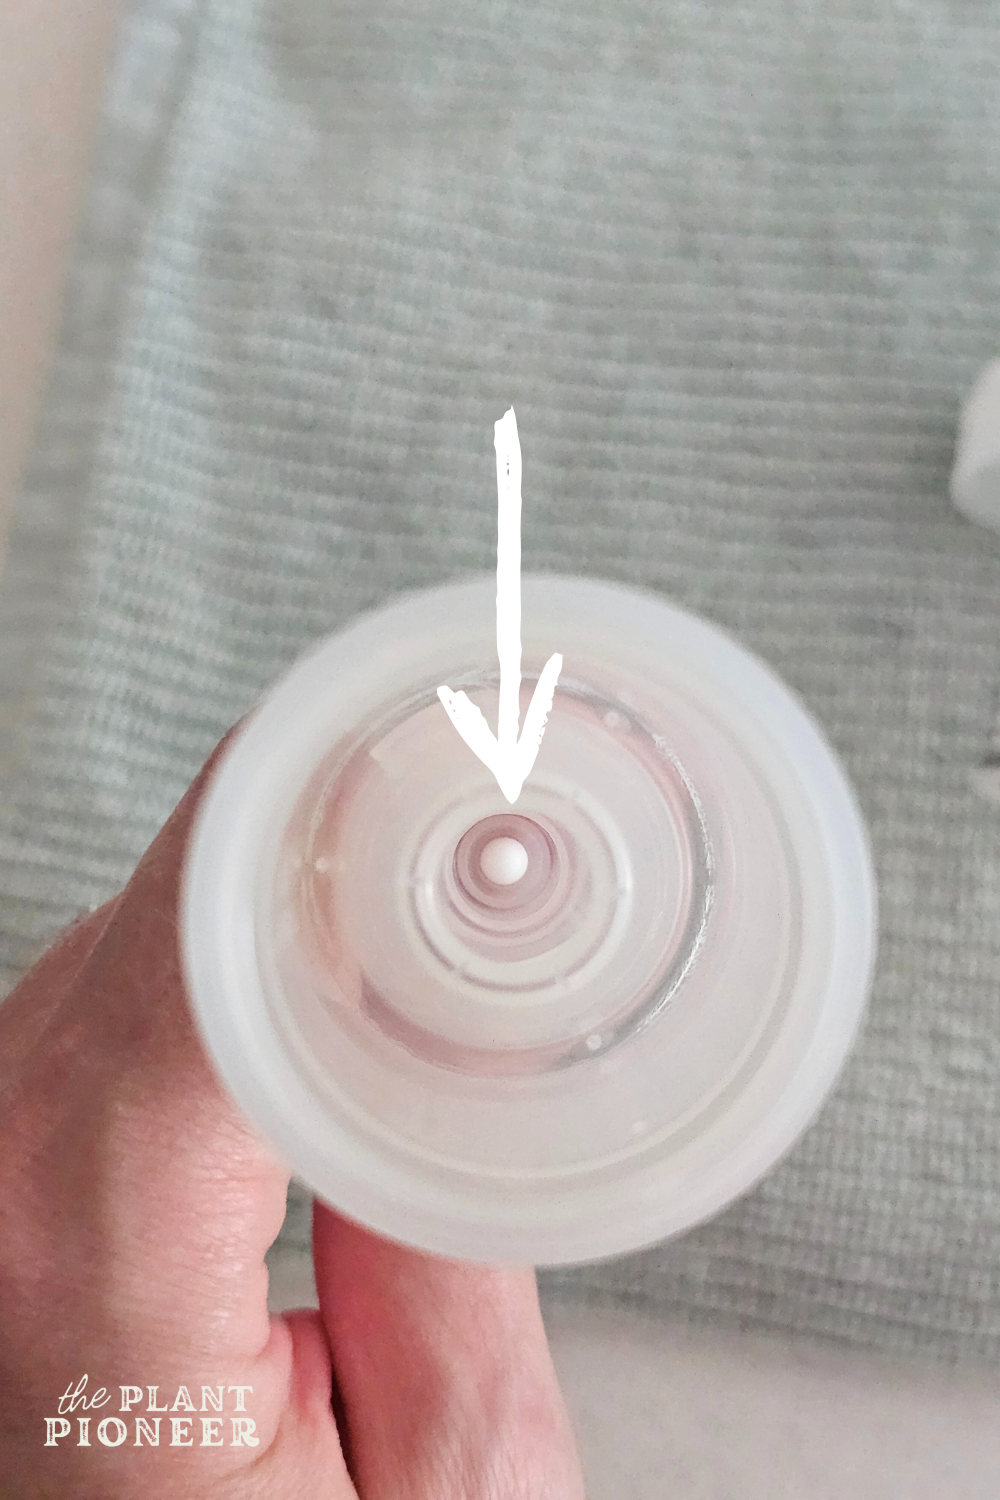
Remove the little ball bearing that’s located at the bottom of the “cup” piece. Pour it into your hand or into a container. Make sure not to lose it!

Step 5- rinse in hot water and/or soak in vinegar
Now that all of the pieces are apart, all you have to do is rinse each piece in hot water! This will help remove any residue from previous soaps.
If you find that rinsing in hot water doesn’t get it clean enough, you can soak the pieces in vinegar for 30 minutes.
Step 6- air dry & reassemble
If you won’t be using the pump right away and will be putting it in storage, allow each piece to fully air dry before reassembling it.
Then simply put each piece back into place in the same order that you removed them. The neck collar will click into place, and the top dispenser piece will also click back into place.
And that’s all there is to it! I hope this was helpful! Make sure to pin this post to Pinterest to refer back to:
If you’re making your own foaming soap, you will love all of my easy recipes using essential oils. See them all at the links below:

Join the List
Stay informed & receive my latest healthy living tips to your inbox.