
How to Make the Best Iced Coffee At Home (Healthy)
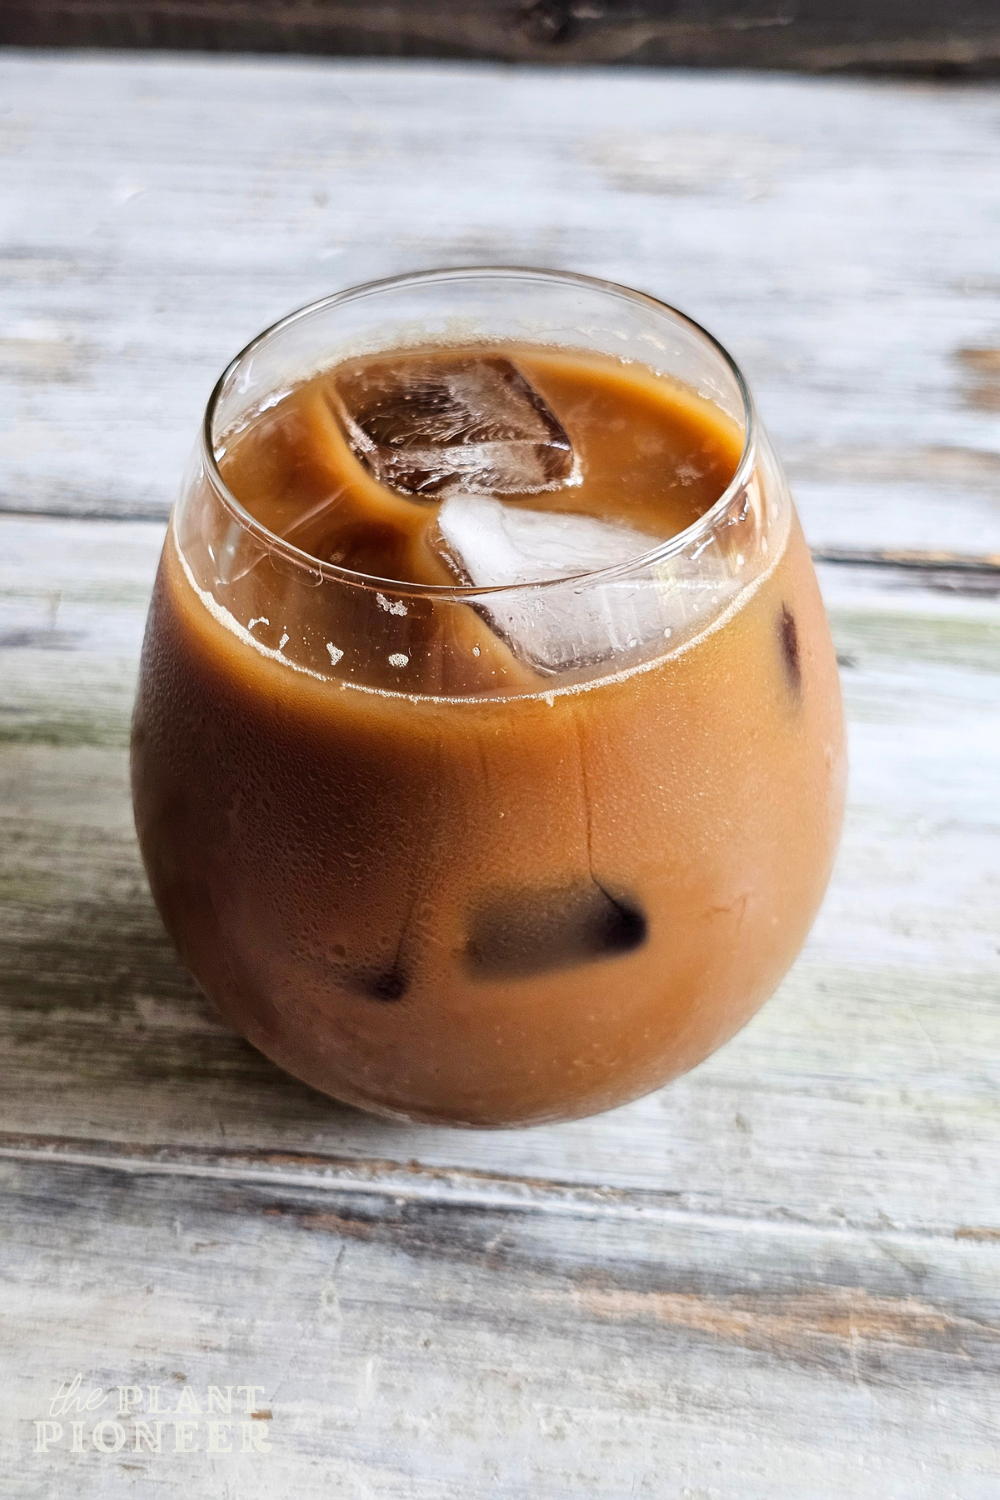
I finally figured out how to make great-tasting iced coffee at home easily, and let me tell you, this has been saving me so much money! The iced coffee I used to make at home tasted… well.. not great. It just didn’t have that nice, fresh coffee flavour and sometimes even had a weird after-taste. Slowly but surely, I figured out all of the keys to making it taste like coffee shop coffee (you know- the good coffee), and I’m sharing them all here with you today. This post is not only about how to make iced coffee that tastes great at home, but these tips will make it healthier too!
This page contains some affiliate links, which means I may receive a small commission, at no extra cost to you, if you purchase through these links. I only recommend products that I LOVE and personally use. Read more here.
It’s currently 29 degrees Celsius in our home, so if I’m having coffee, it must be iced. I’ll come home from walking my dog in the morning drenched in sweat, only to sweat even more once I’m inside. I have to plop myself down in front of a fan immediately.
In the past, I’d then frequently end up heading over to the nearest coffee place to grab an iced coffee or iced latte because I just couldn’t bear the idea of drinking a hot coffee. This iced coffee recipe has been saving us!
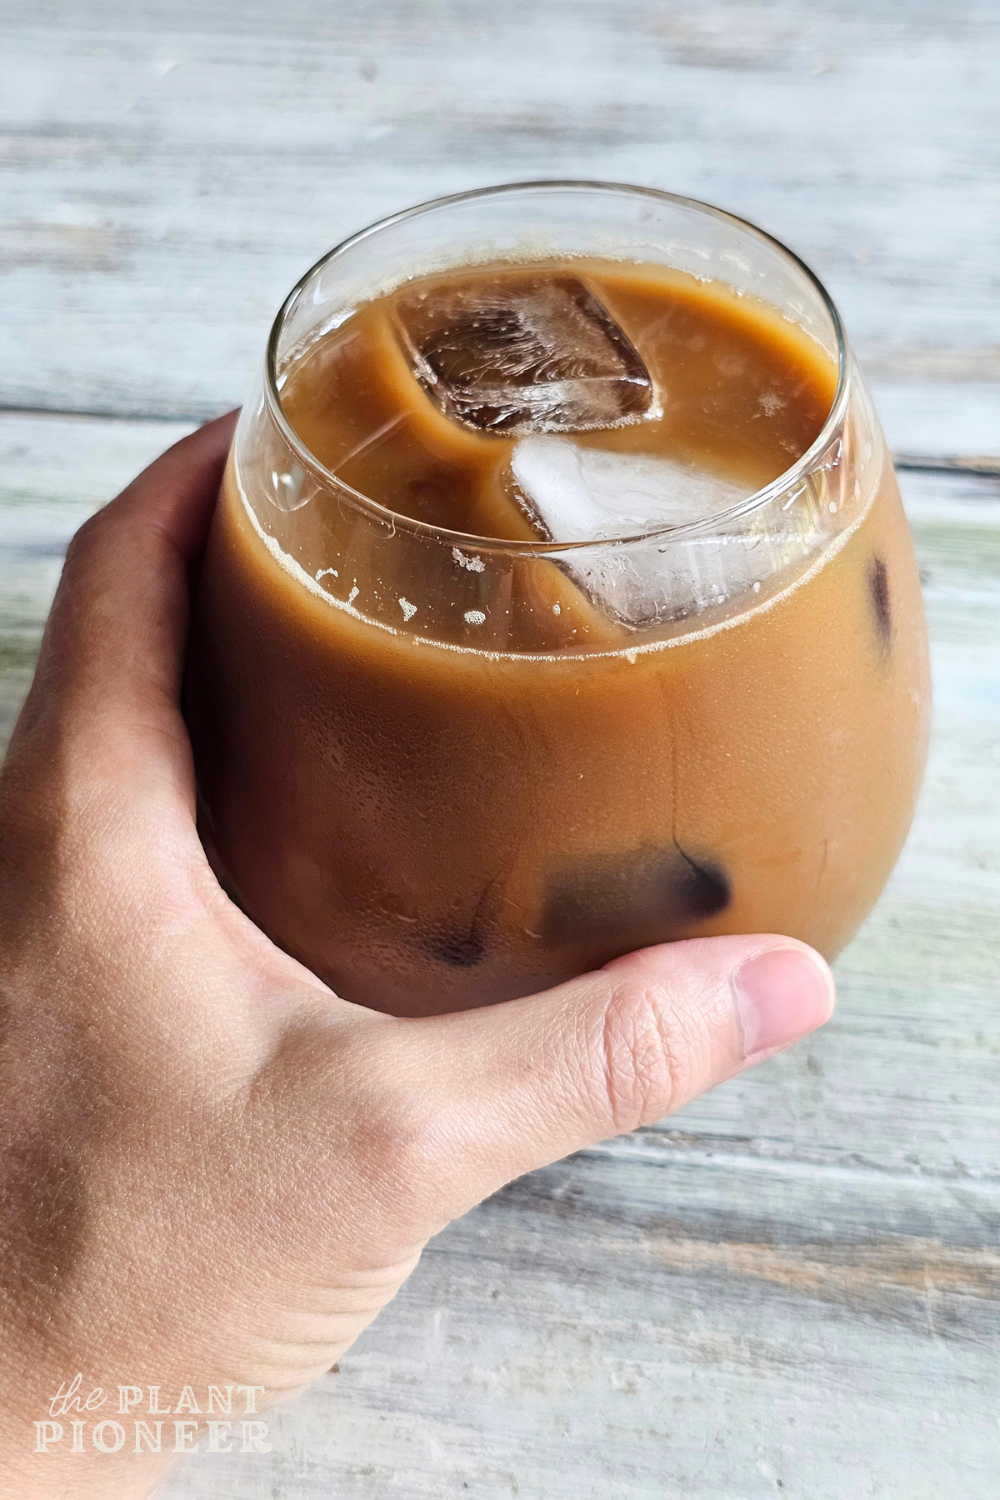
These are the KEYS for making great-tasting iced coffee at home:
I’ve got a few more important recipe instructions described in the recipe card, so make sure to read that for the full recipe.
Take it to-go
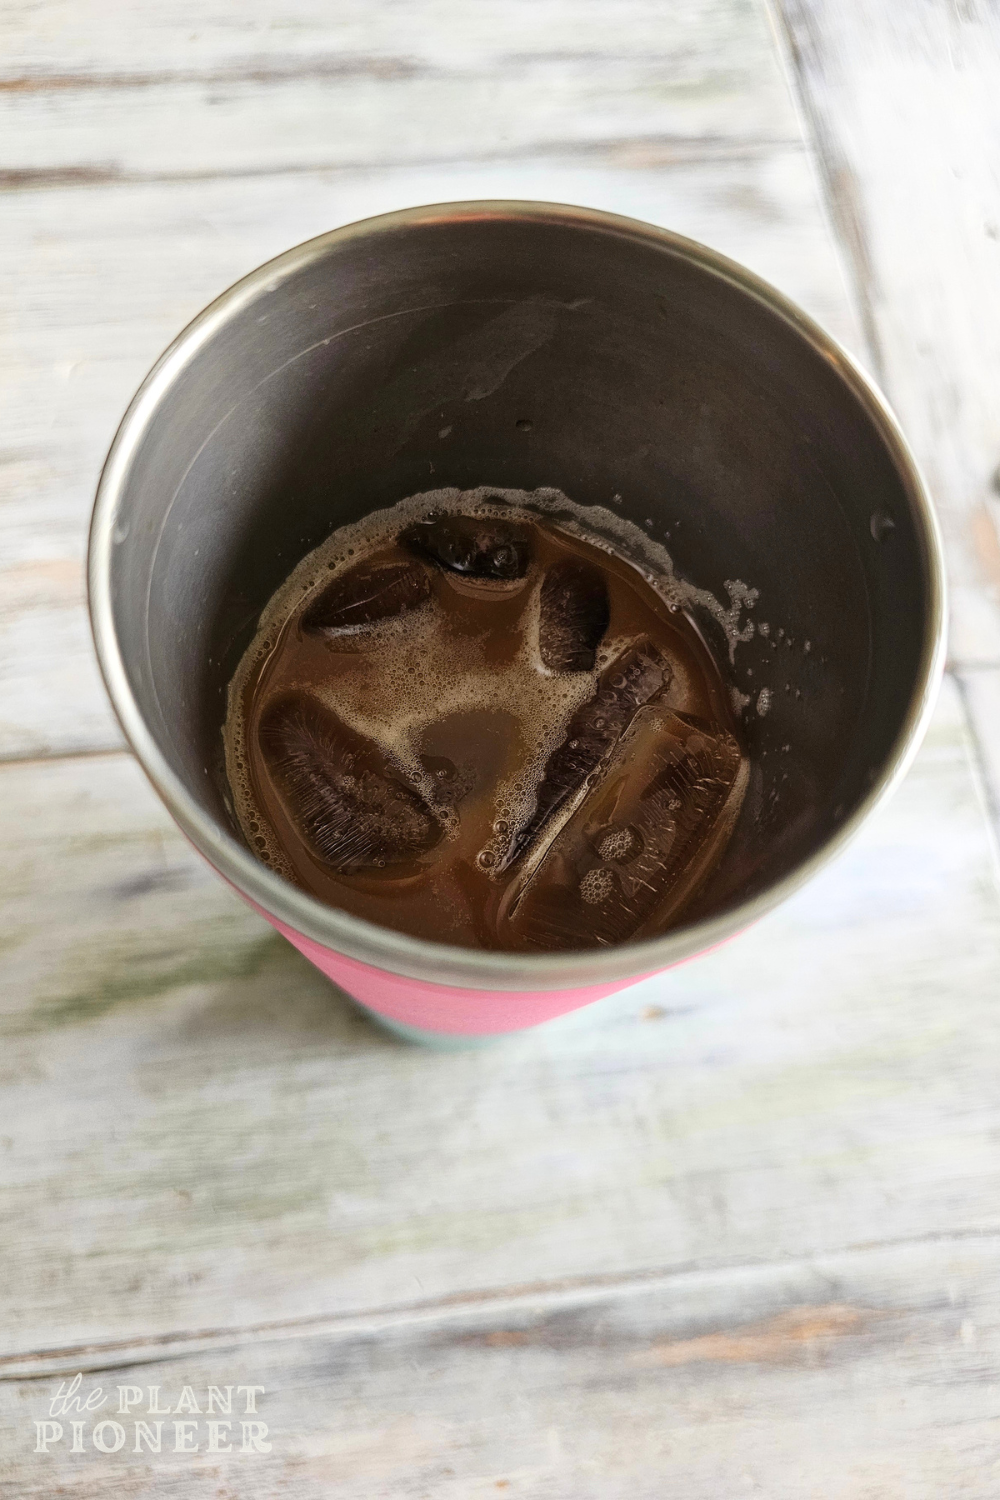
If you want to take this coffee to-go, I highly recommend getting an insulated stainless steel tumbler like this. It keeps the ice frozen for hours! I’ve been able to use mine to bring this iced coffee with me anytime I’m heading out the door… no need to stop for iced coffee! I’ve even been finding that it’s super helpful to use at home too, and I end up using way less ice overall because it stays frozen for so long.

The Best Healthy Iced Coffee at Home
Equipment
- 1 stainless steel ice cube tray (do not use silicone)
- 1 french press (I use a large stainless steel one)
- 1 kettle for boiling water
Ingredients
- 4 cups filtered water
- 9 tbsp organic ground coffee
- 1/4 cup almond milk (per serving) (or your favourite milk/cream- adjust to suit your taste)
Instructions
- Refer to the recipes notes section below for KEY TIPS that give the iced coffee good flavour.
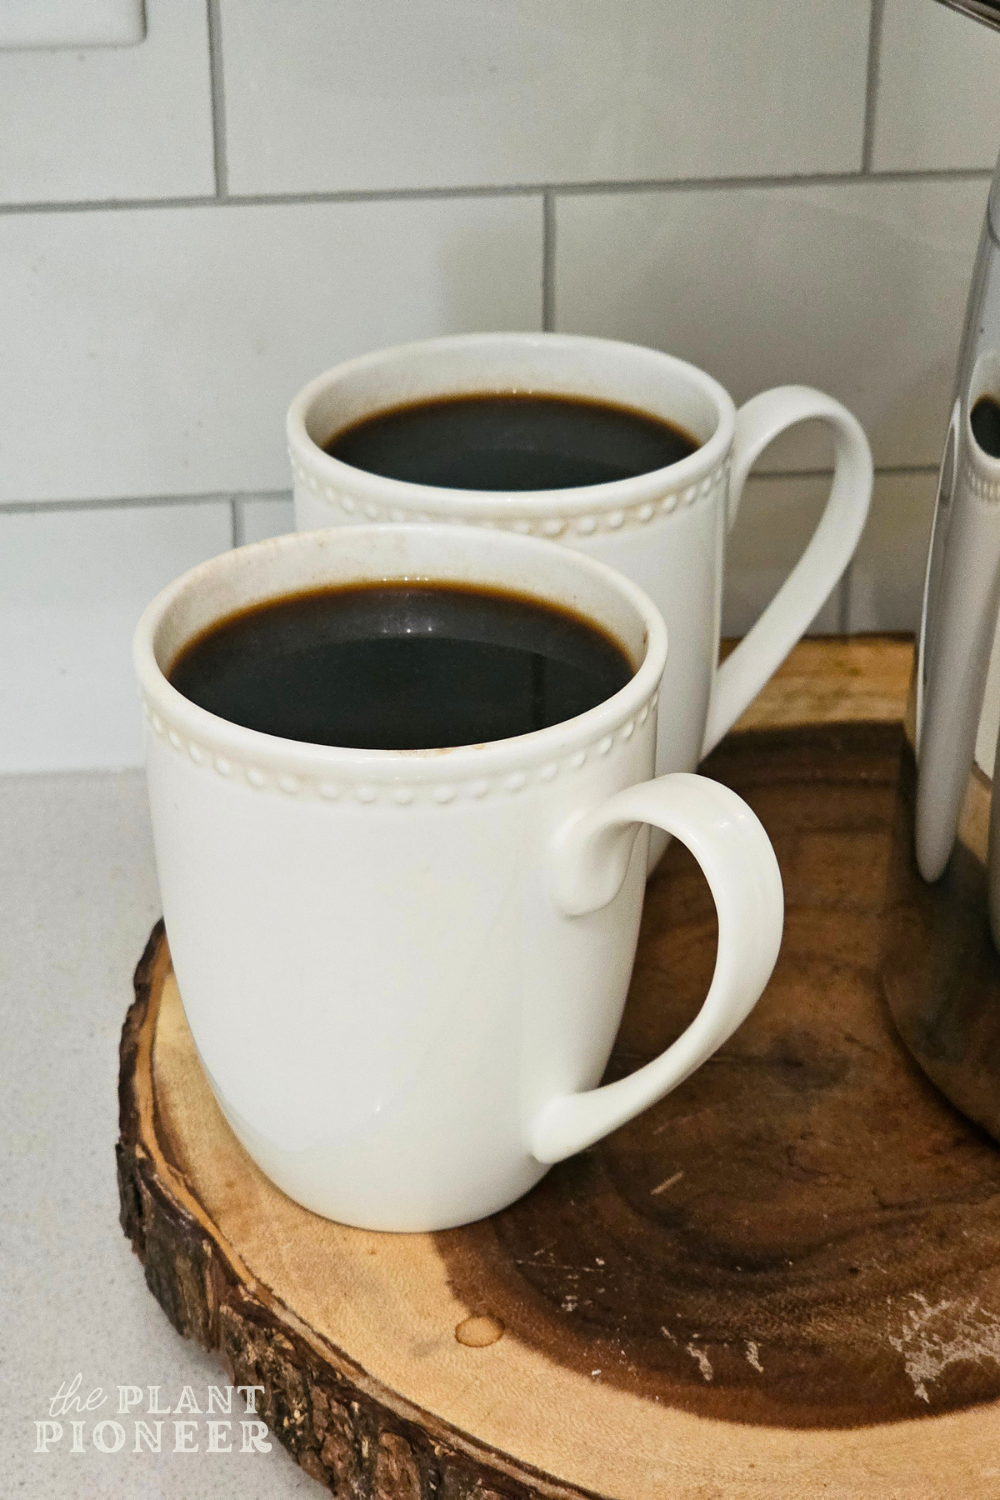
- Brew your coffee with the French press- put the ground coffee into the French press, add boiling water, and allow to steep for 10 minutes (reduce time if desired, but 10 minutes is what I like to do). Press the coffee.4 cups filtered water, 9 tbsp organic ground coffee
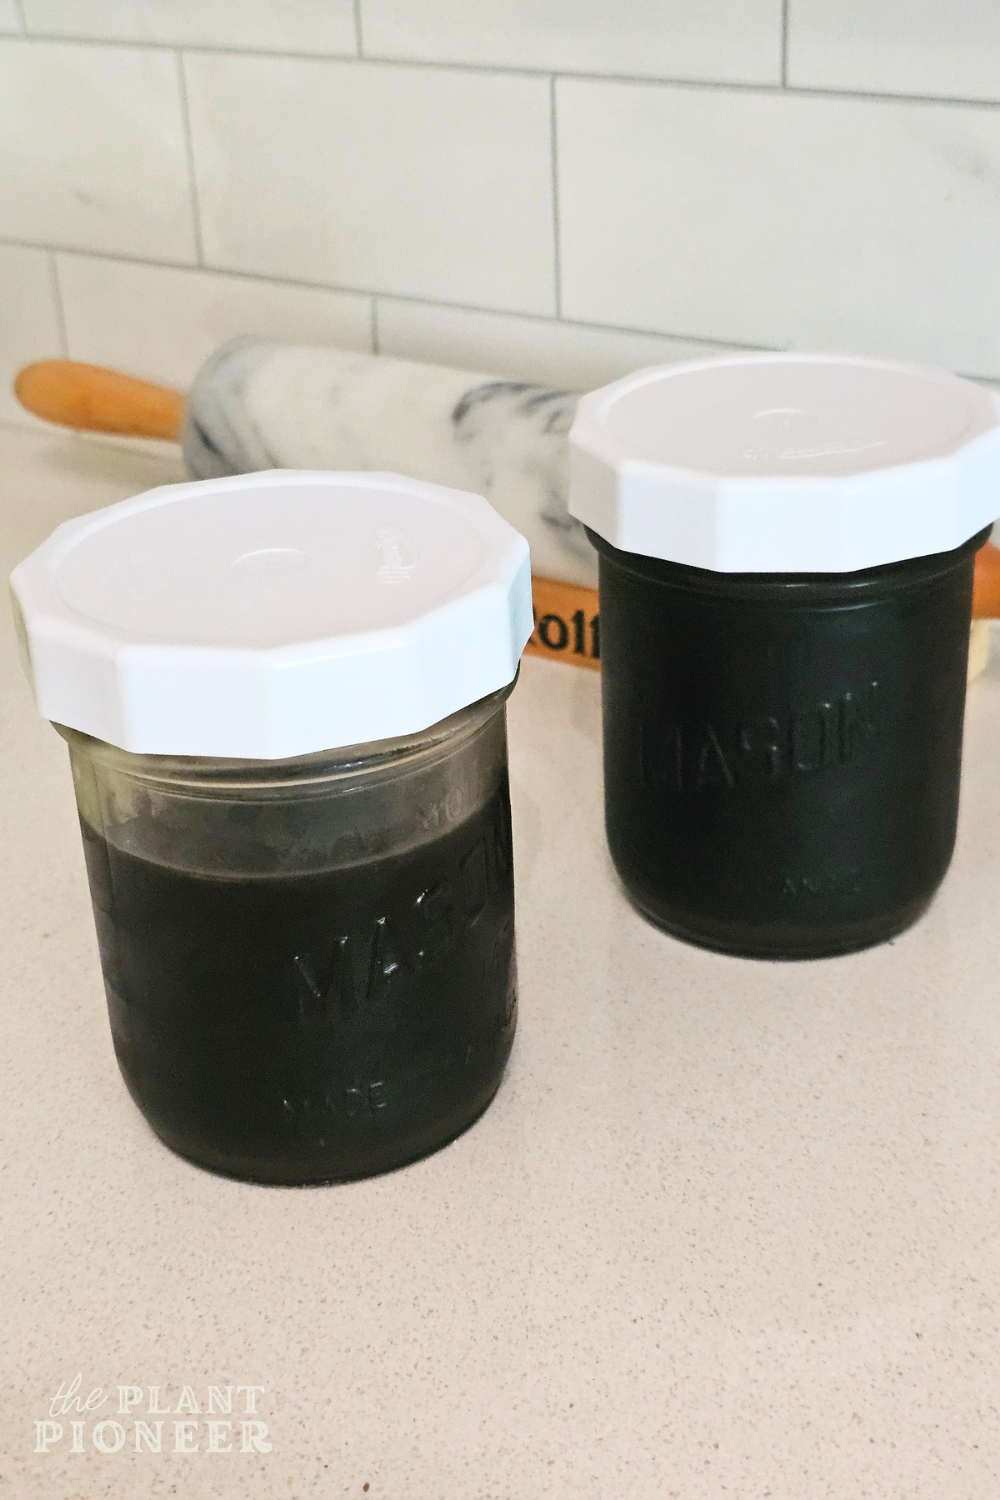
- After the coffee has finished steeping/brewing, pour all of it into heat-safe glass jars or coffee mugs to allow it to cool off more quickly. Allow it to cool for 5 minutes, or longer if desired (this helps to take the "edge" off the heat before we pour it over ice). This step is important if you are using an insulated stainless steel French press like mine. Leaving the hot coffee sitting in the insulated French press for hours causes the flavour to change, and keeps it hot for hours.
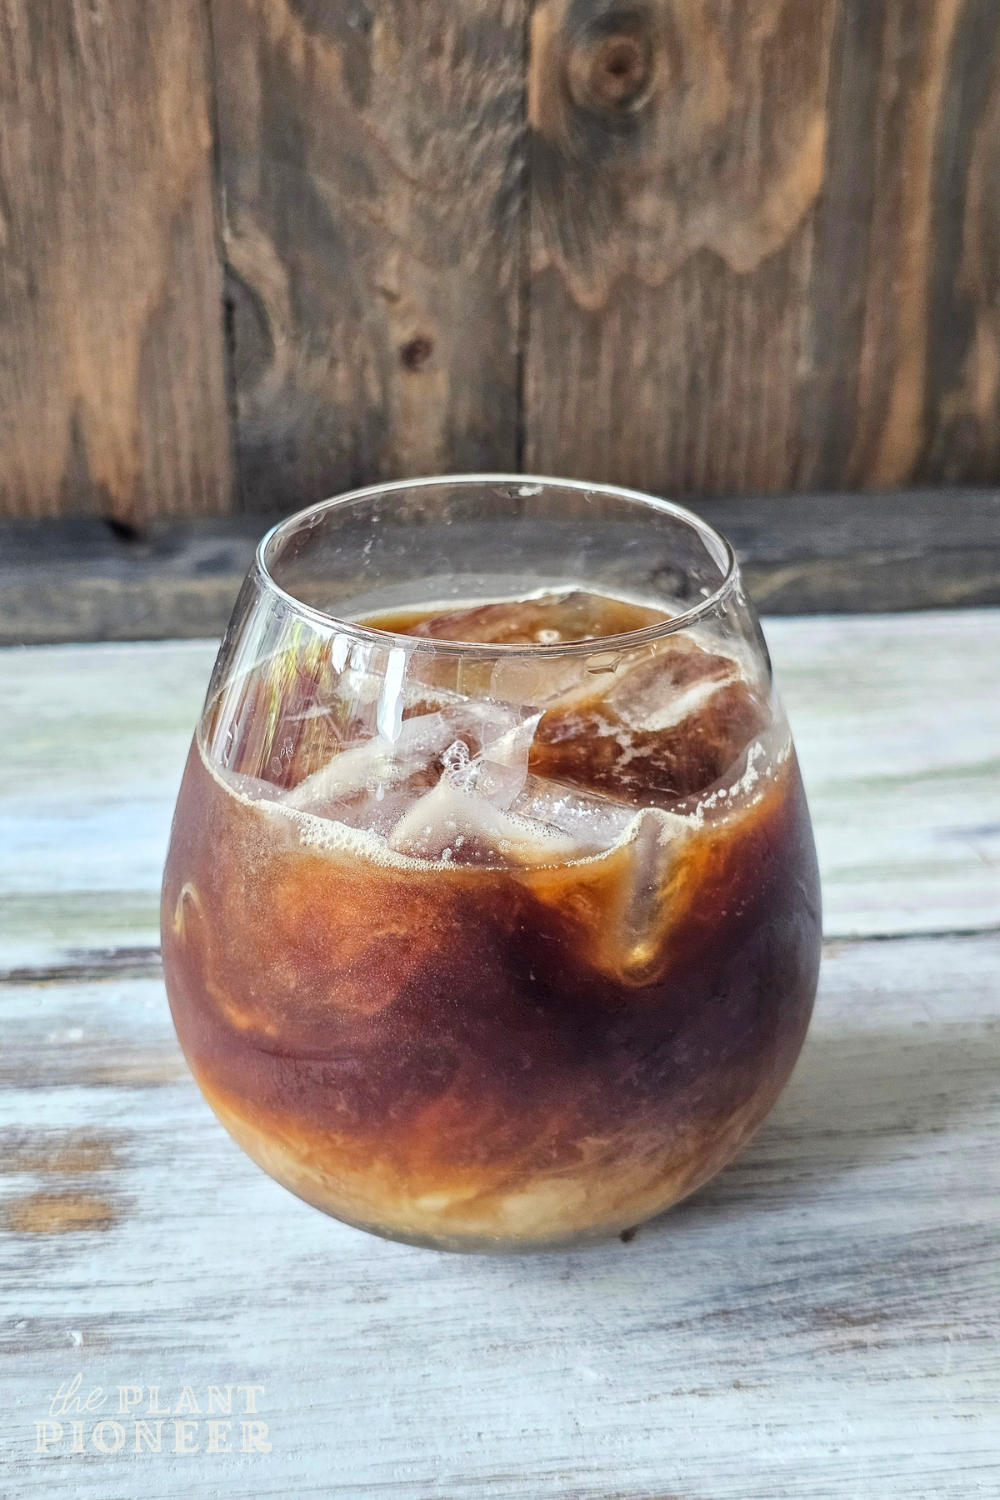
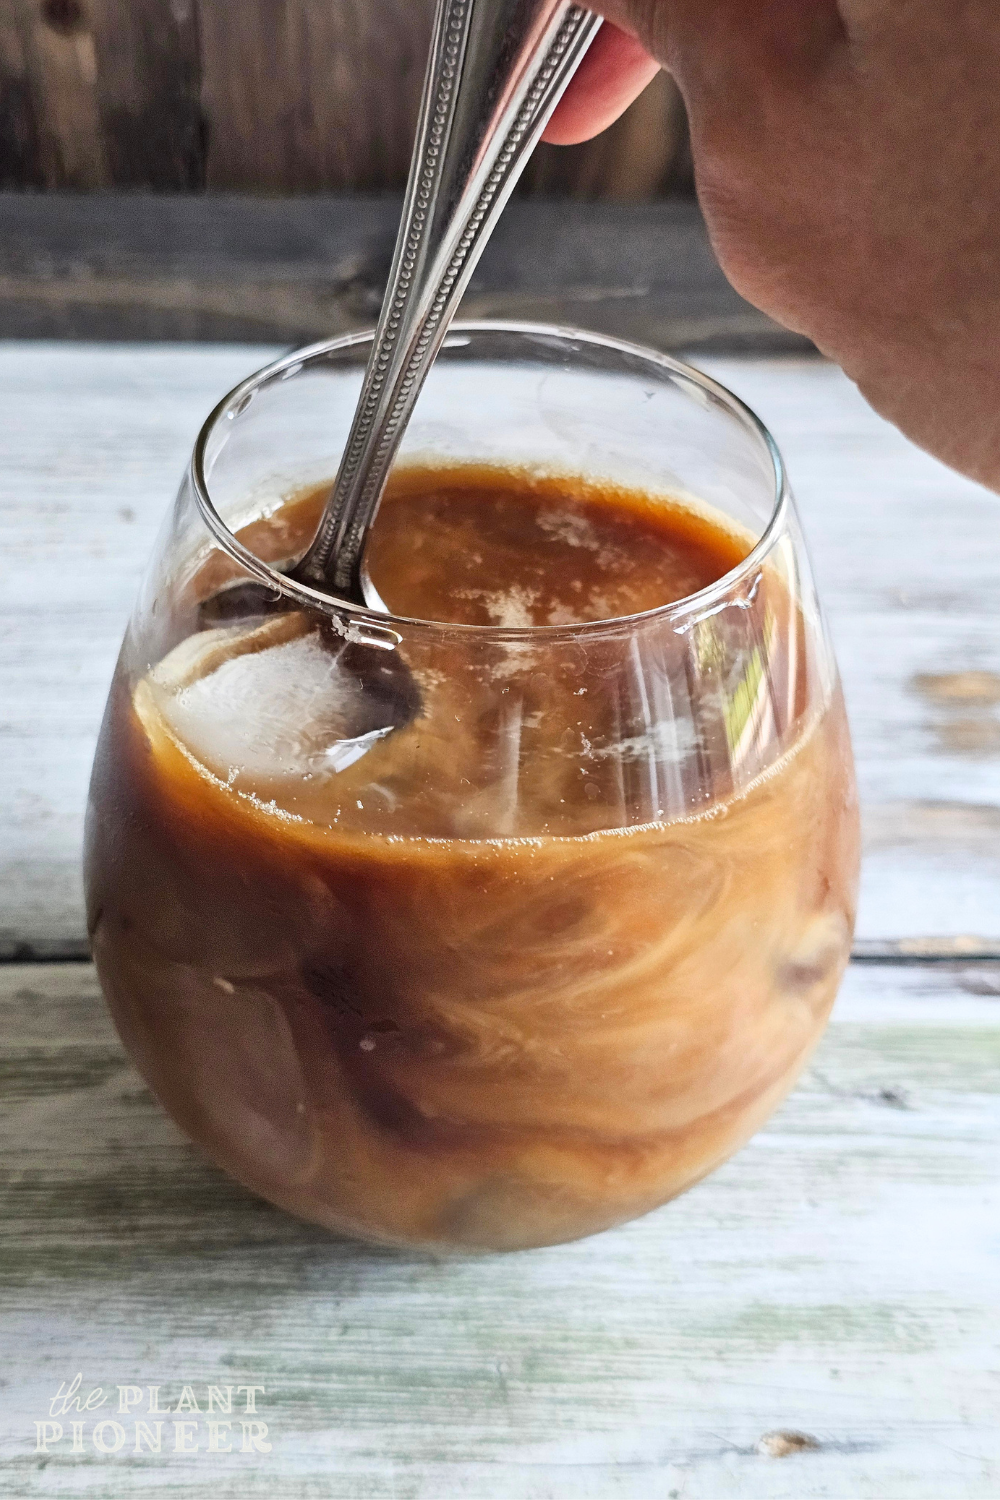
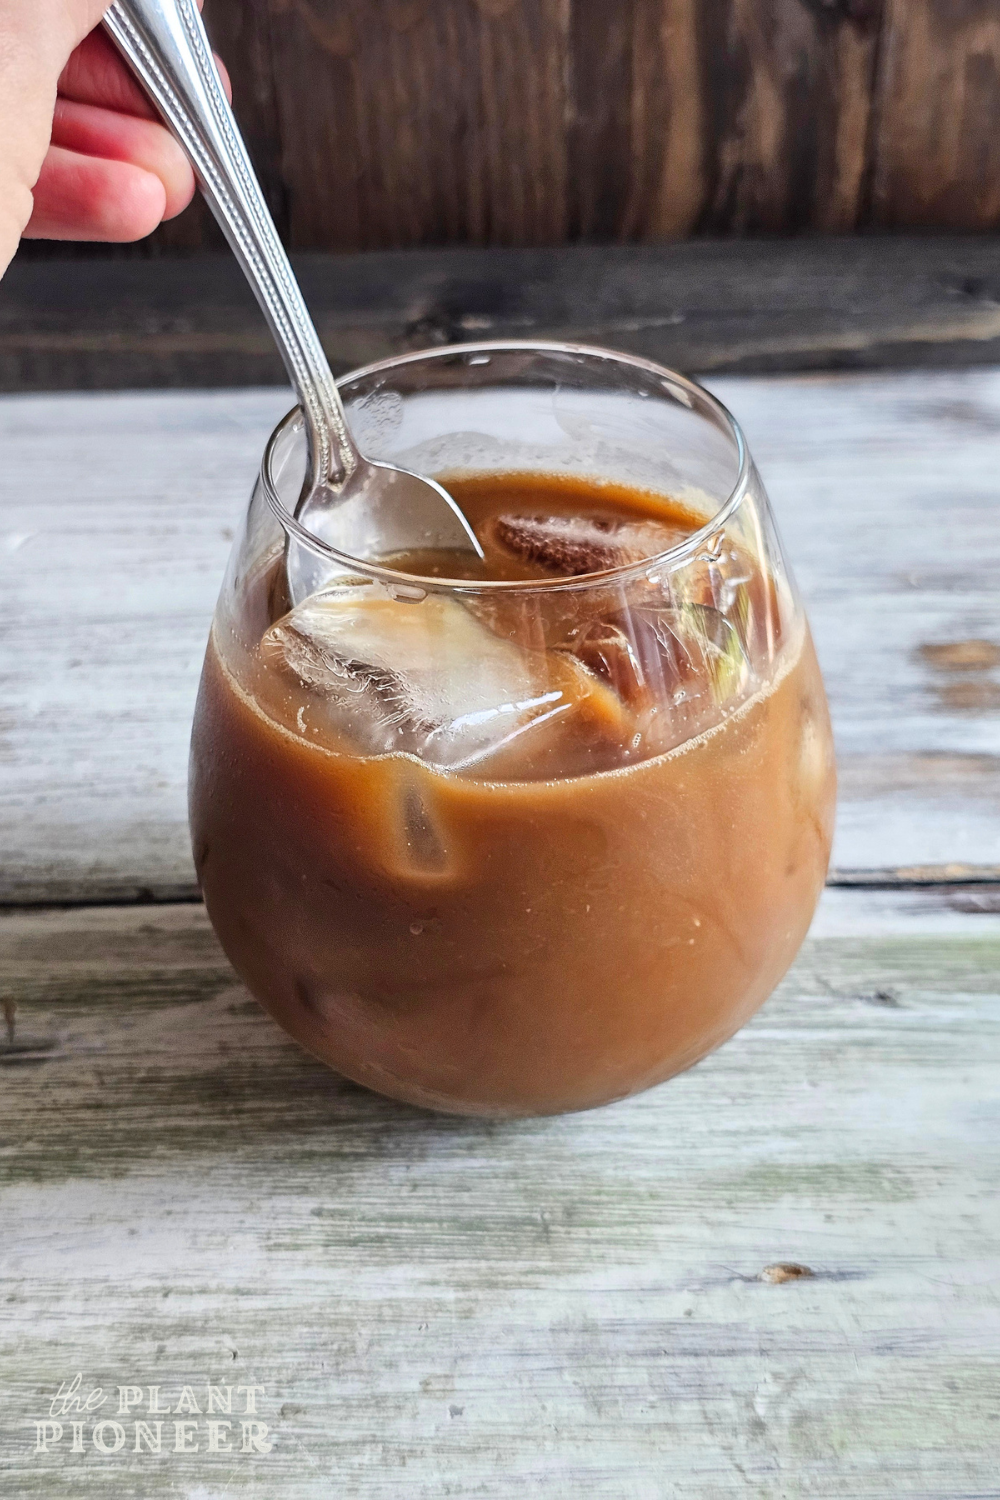
- To serve right away: After the coffee has cooled slightly from sitting in the glass jars or mugs, completely fill a glass with ice made from filtered water. Slowly pour the (still warm) coffee over the cup of ice, leaving some room for your desired milk or cream. Top it off with your milk of choice, and stir together if desired. If you like it sweet, add a drizzle of maple syrup over the top.1/4 cup almond milk (per serving)
- To serve later: With any leftover coffee, leave it sitting in the jars/mugs you poured it into to cool down more. Once it has cooled enough, transfer it to the fridge. I like to transfer it to glass jars with lids. You now have a concentrated and flavourful coffee that can be used the next day. Just pour over ice (you don't need to add as much ice if the coffee is already cold), and add your desired milk!
Notes
Step-by-step in photos:
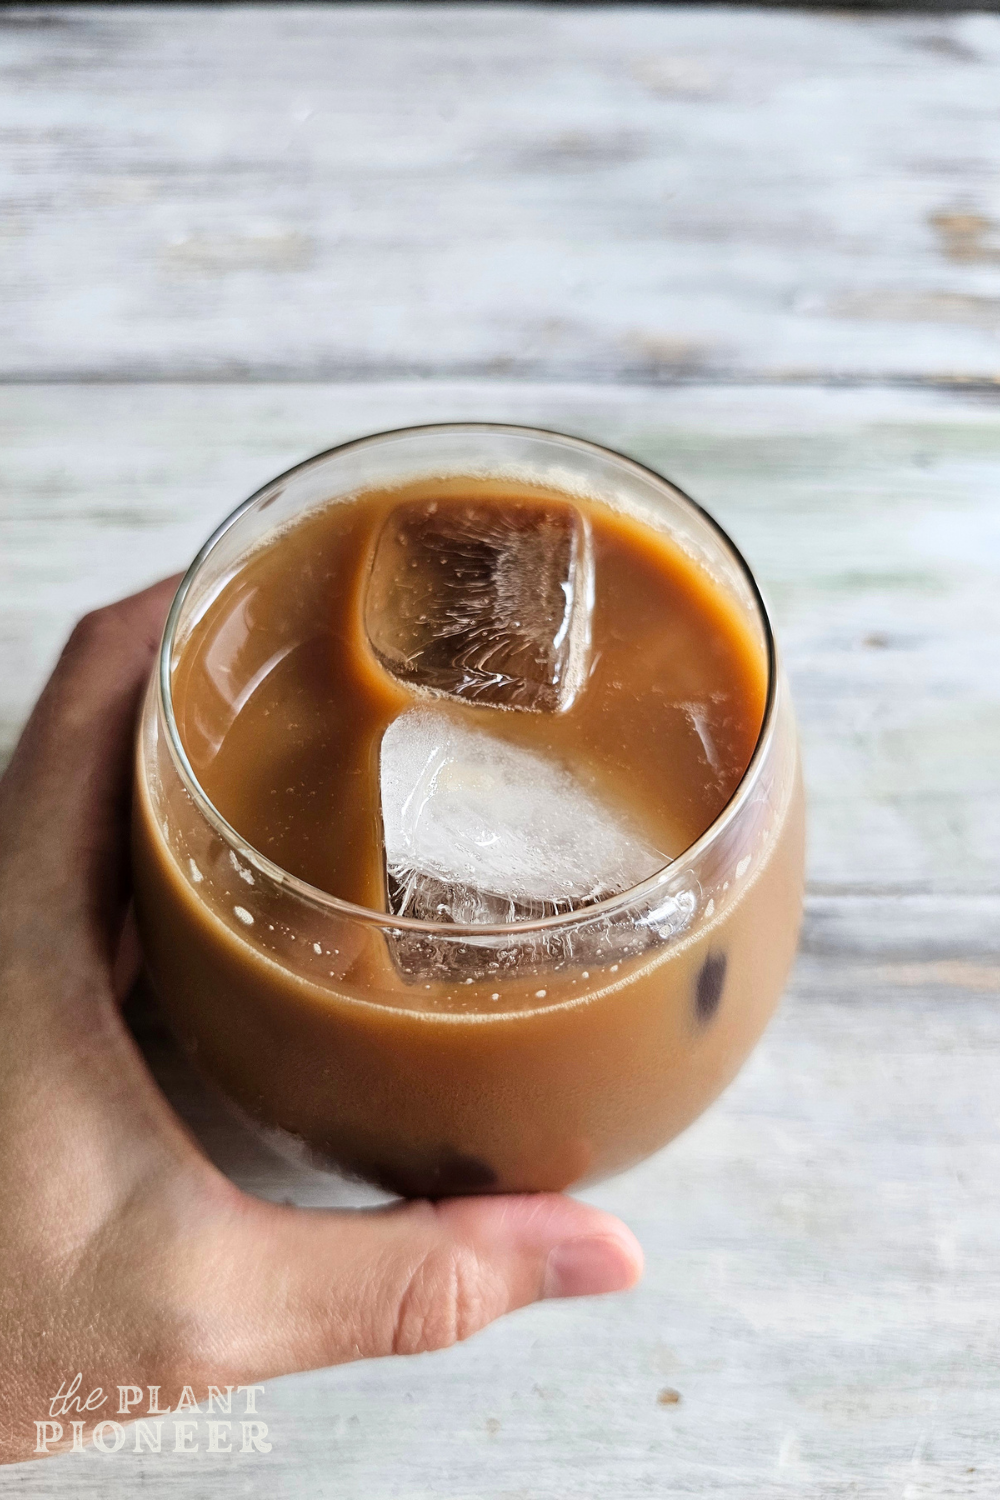
Enjoy your iced coffee! Save this recipe to Pinterest!


Join the List
Stay informed & receive my latest healthy living tips to your inbox.