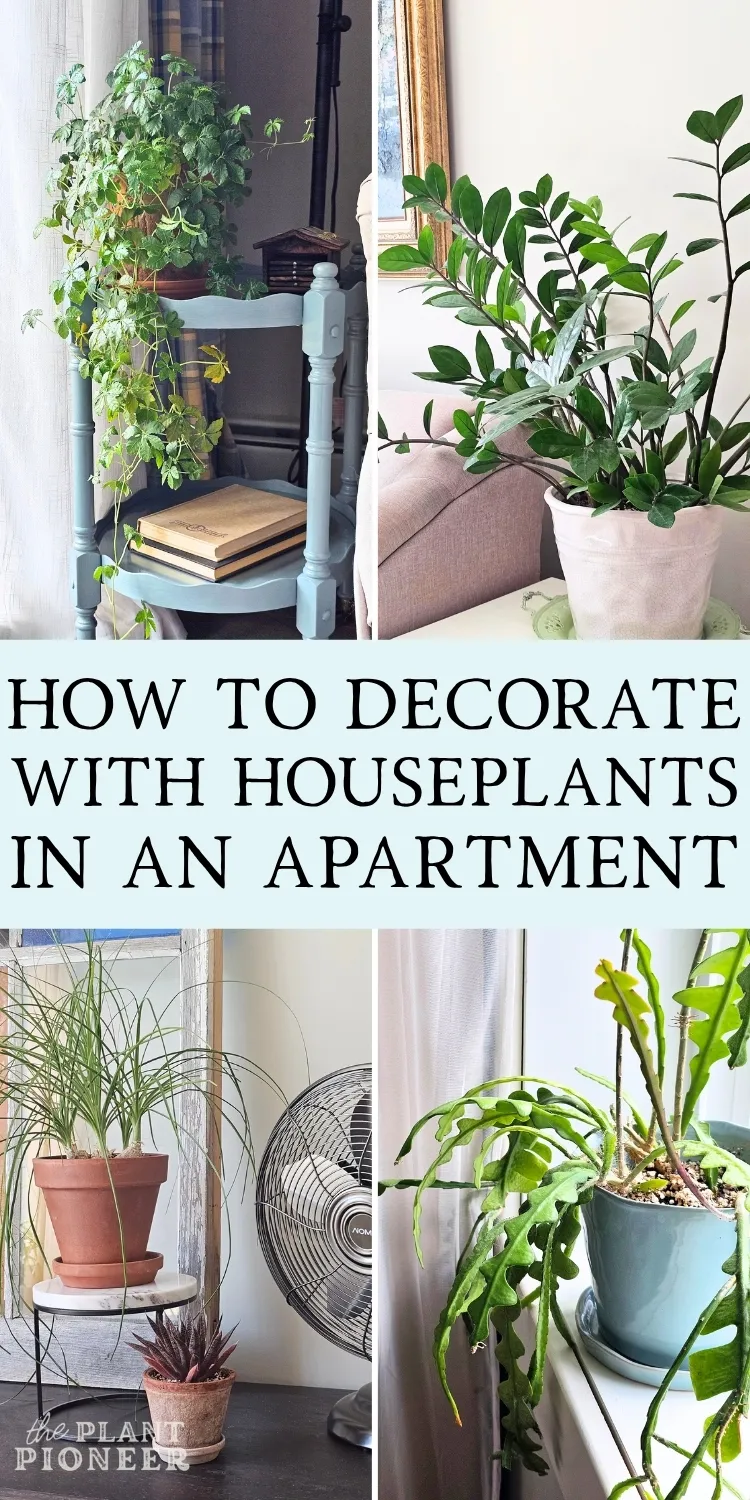
How to Decorate with Houseplants in an Apartment
If there’s one thing I’ve learned about decorating with houseplants in an apartment, it’d be that the lighting can be a real struggle. In this post, I’ll be sharing design tips on how to effectively decorate with houseplants, but also how to do this in a way that will keep your plants happy and healthy! Here are all my best tips to decorate with houseplants and keep them looking healthy.
This page contains some affiliate links, which means I may receive a small commission, at no extra cost to you, if you purchase through these links. I only recommend products that I LOVE and personally use. Read more here.
It’s common for apartments, condos, and townhouses to only have windows facing one direction, meaning that the natural lighting can often be either quite dim, or quite intense, depending on the time of day. The problem with this for houseplants is that most plants really prefer something more in the middle.
A large number of houseplants prefer bright, indirect light, which I have found to be less common in an apartment. This makes it really tricky to find good locations to put your plants that not only keep the plant healthy, but look nice too!
It can then become a real struggle to find the balance between where you plant needs to go to have the best lighting, and what would actually look best in the room. The following tips will provide some clear guidelines and strategies to help you find the right balance between what your plants need and what will look good!
Aim to have at least one plant in each room (except for rooms without windows)
A great goal to have from a decorating perspective is to aim to have at least one plant in every room, with the exception of utility rooms or rooms that have no windows.
Plants add so much life, warmth, character, and colour to a space. The green from a plant makes a neutral space come alive, and it goes with any colour scheme and any style. Adding plants is one of the best ways to make a space feel lived-in without adding clutter. They also have a lot of health benefits too!
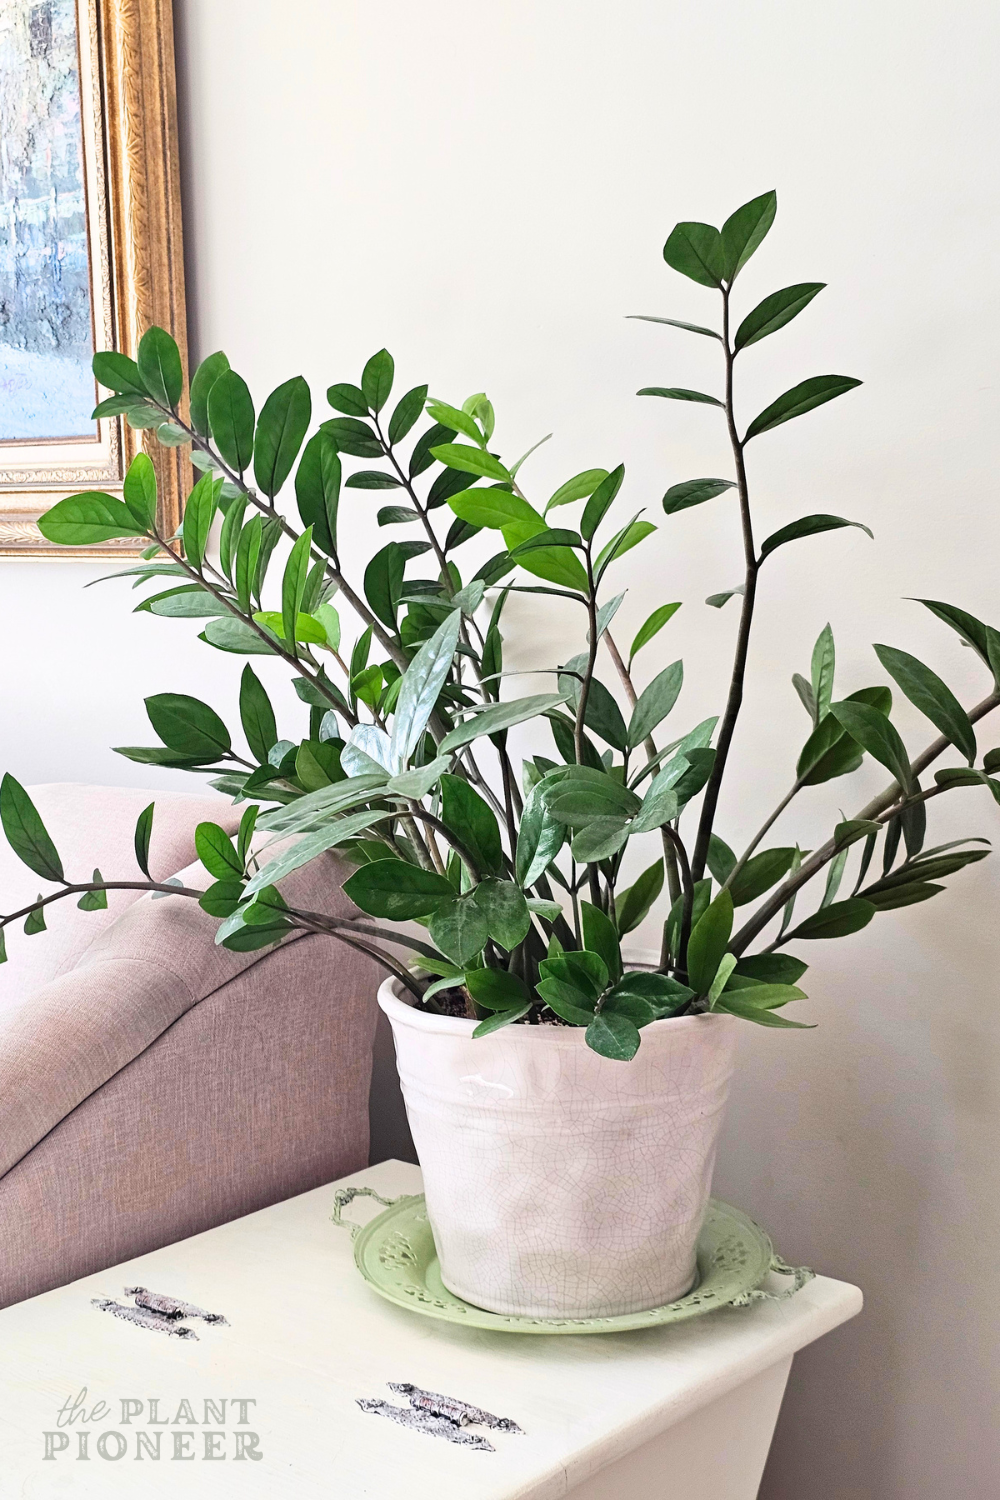
Adding at least one plant to every room is one of the easiest and most doable interior design tips. If a room feels unfinished or boring, take notice if it’s missing a plant! In the photo above of our living room, I recently added this ZZ plant to this side table. It’s a bit of an experiment to see how it will handle getting a bit less light than it used to get in it’s previous location, but I’m loving how it looks here.
Relocating this plant to our living room has really improved the look of this space. P.S. ZZ plants are amazingly easy to take care of!
Prioritize the best location for the plant in terms of lighting, then decorate with other items around this
When trying to find locations to put your plants, I recommend to first prioritize the best location for the plant in terms of lighting and other care requirements, and then fill in around it with your other decor items.
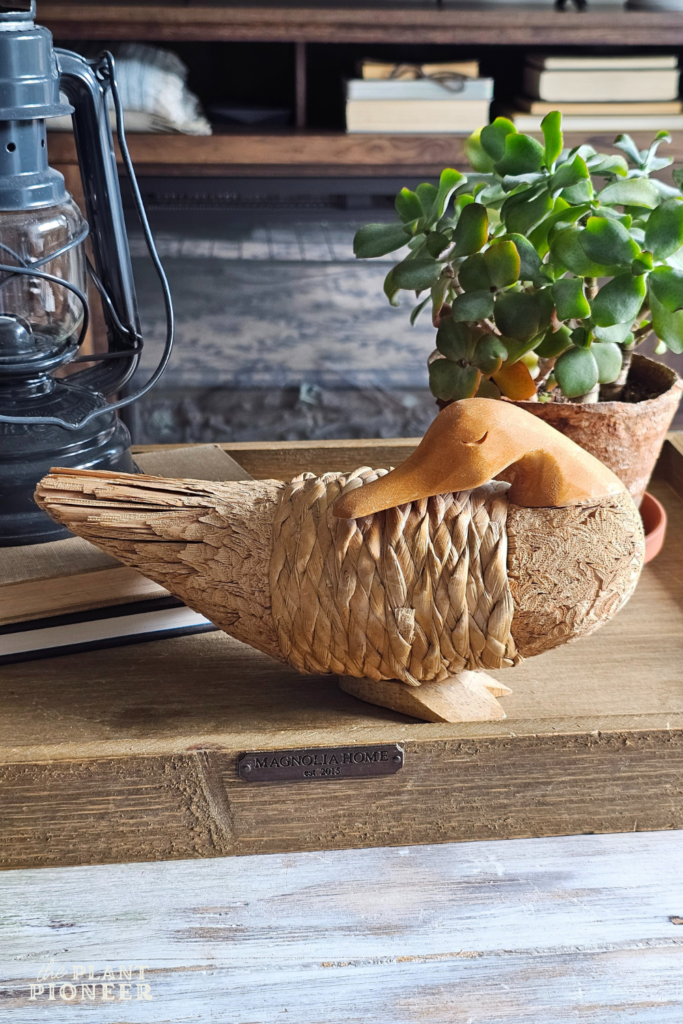
After placing your plants in their ideal location, you can then add in books, candles, picture frames, meaningful knick knacks, or other decor. The succulent pictured below has been here on our coffee table for almost a couple of years now. I had to place it towards the right side of the table in order for it to get some of the direct sun in the afternoons.

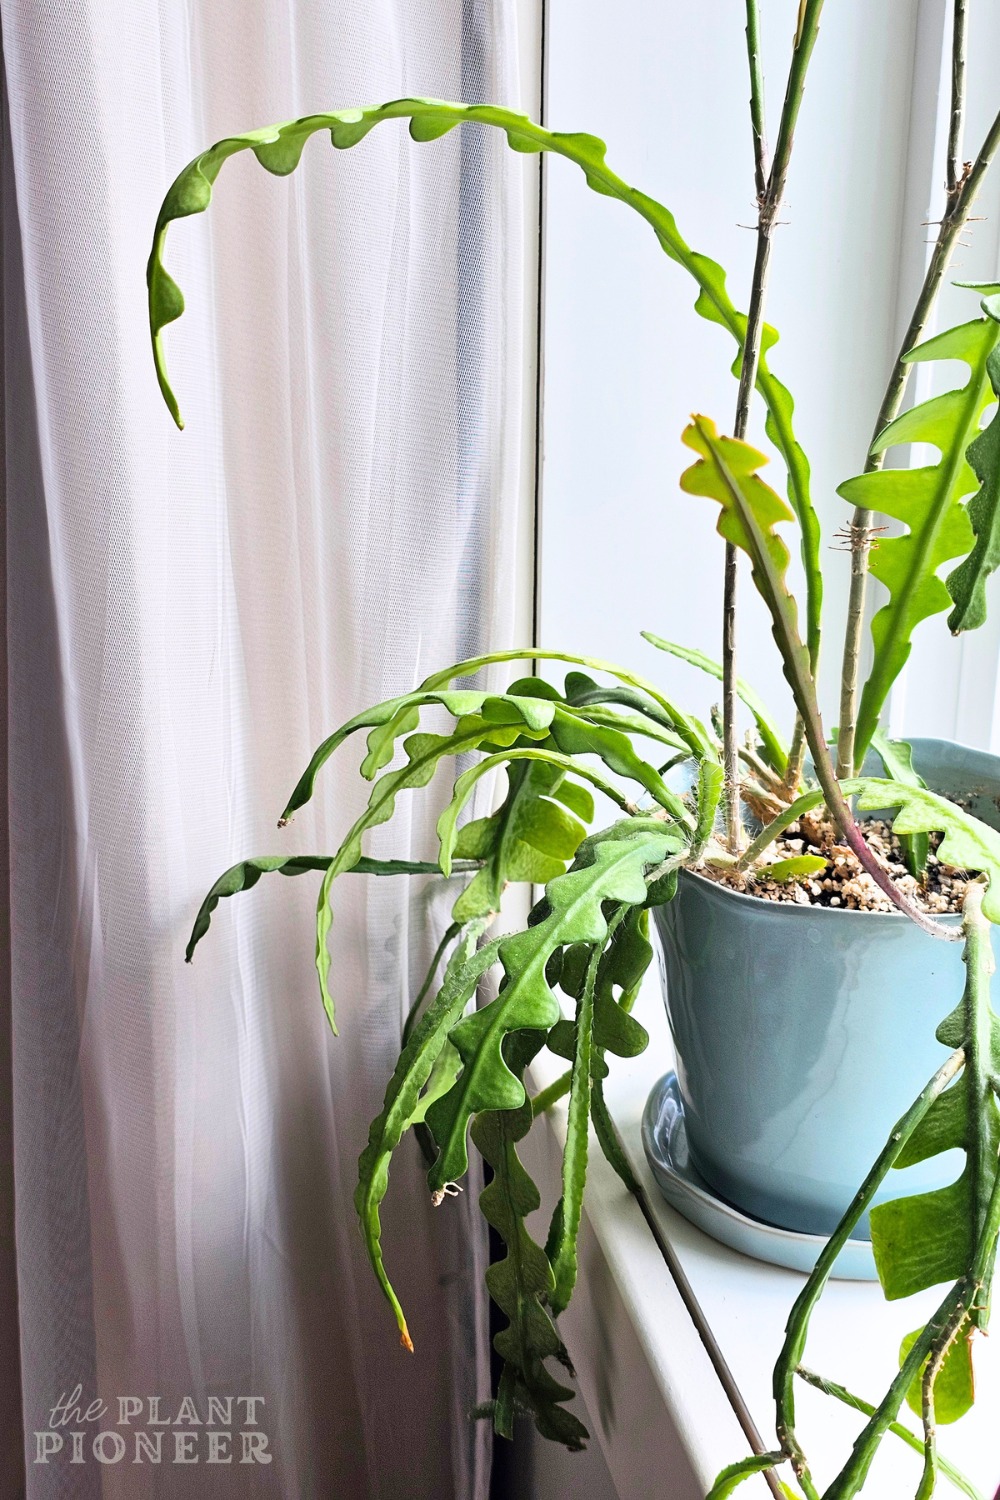
Experiment with different heights & groupings
When arranging your plants, don’t forget to consider the height. If you need to raise the pot higher, try using plant stands or risers, or get creative with items you already have such as books or baskets. Playing with the height of the plant can help you arrange things in a more visually-appealing way, along with helping the plant get better lighting (whether that’s to reach more sun or to move it farther away from the sun).
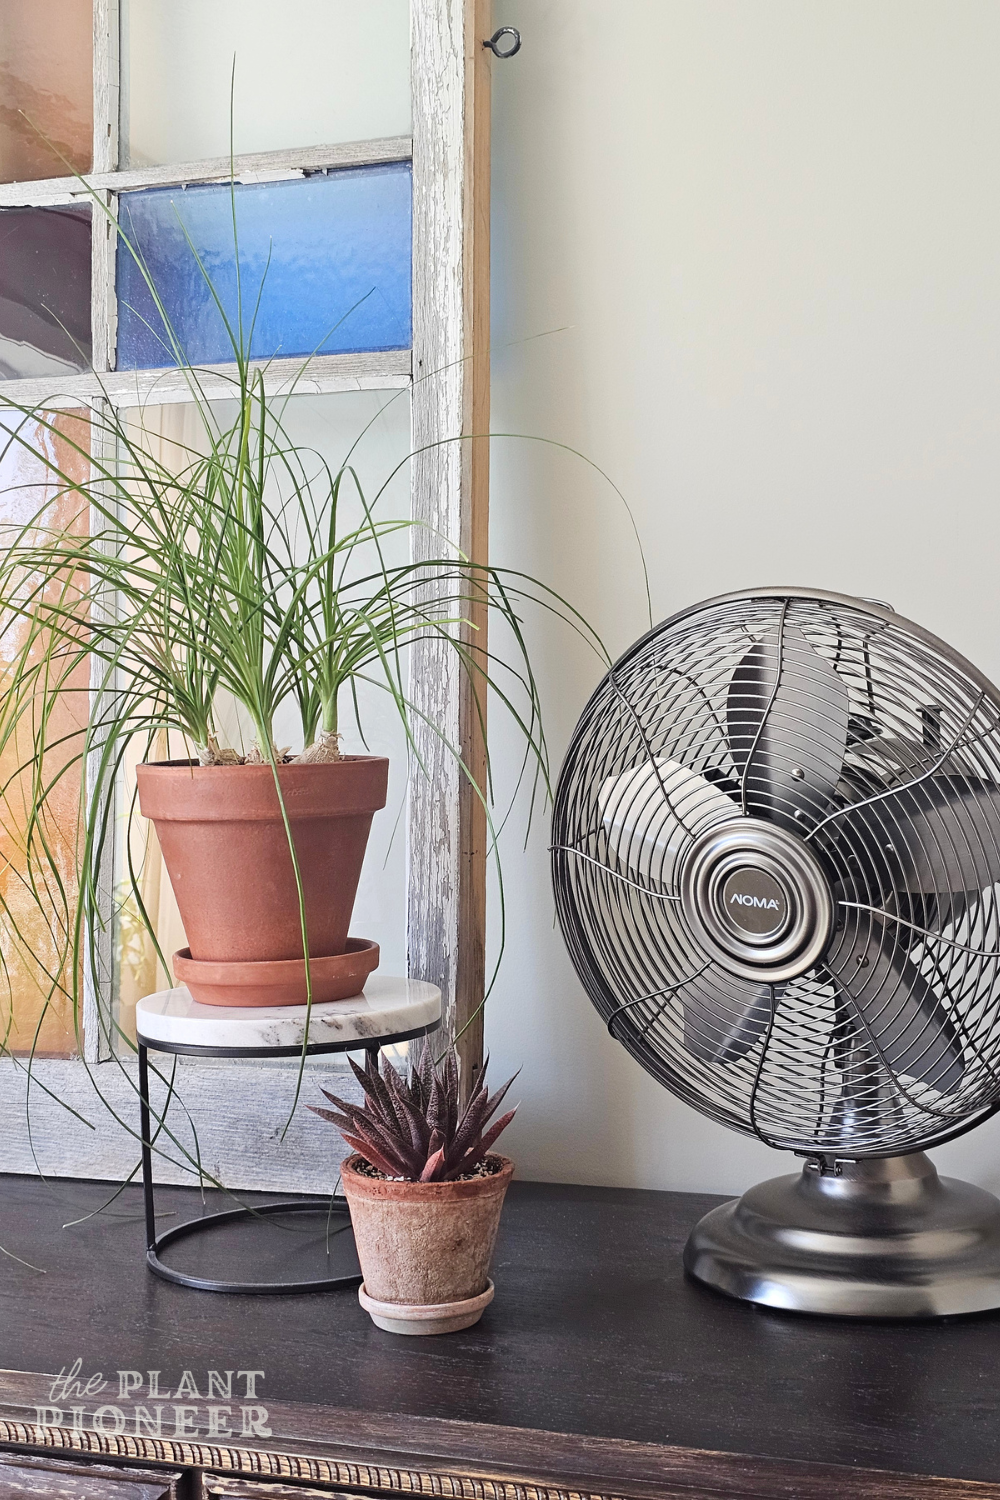
Arrange groupings of items in odd numbers (ex: 3 instead of 2), and vary the height of each item– one tall, one medium, and one short. An arrangement of items will instantly look better if you follow that design rule. Below is an example of this with two plants arranged on our bedroom dresser. It’s a grouping of 3 items with the fan- all at different heights (and note how I used a plant stand to add more height).
Don’t underestimate the style & colour of your plant pots
The wrong colour or style of plant pot can have a big impact on the look of the room, so don’t underestimate this detail! I recommend browsing images on Pinterest and seeing what styles you are drawn to. I recommend avoiding plastic as they can cheapen the look of your space. Using real, natural materials like terracotta, cement, wicker, and ceramic, can give your space a lot more character and make it look more expensive. These small details have a bigger impact than you think!
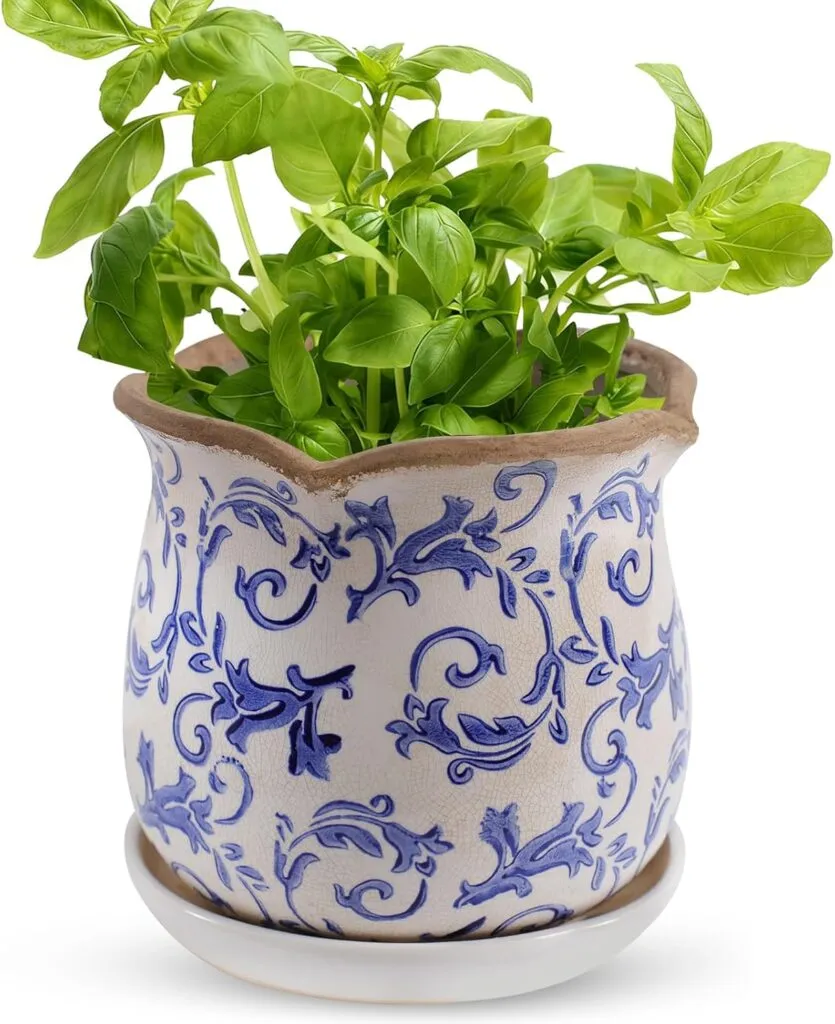
I personally love aged terracotta and have been trying to use a lot of that style to maintain a cohesive look that keeps my displays from looking too cluttered. They add character and are a timeless style that works well with so many design styles.
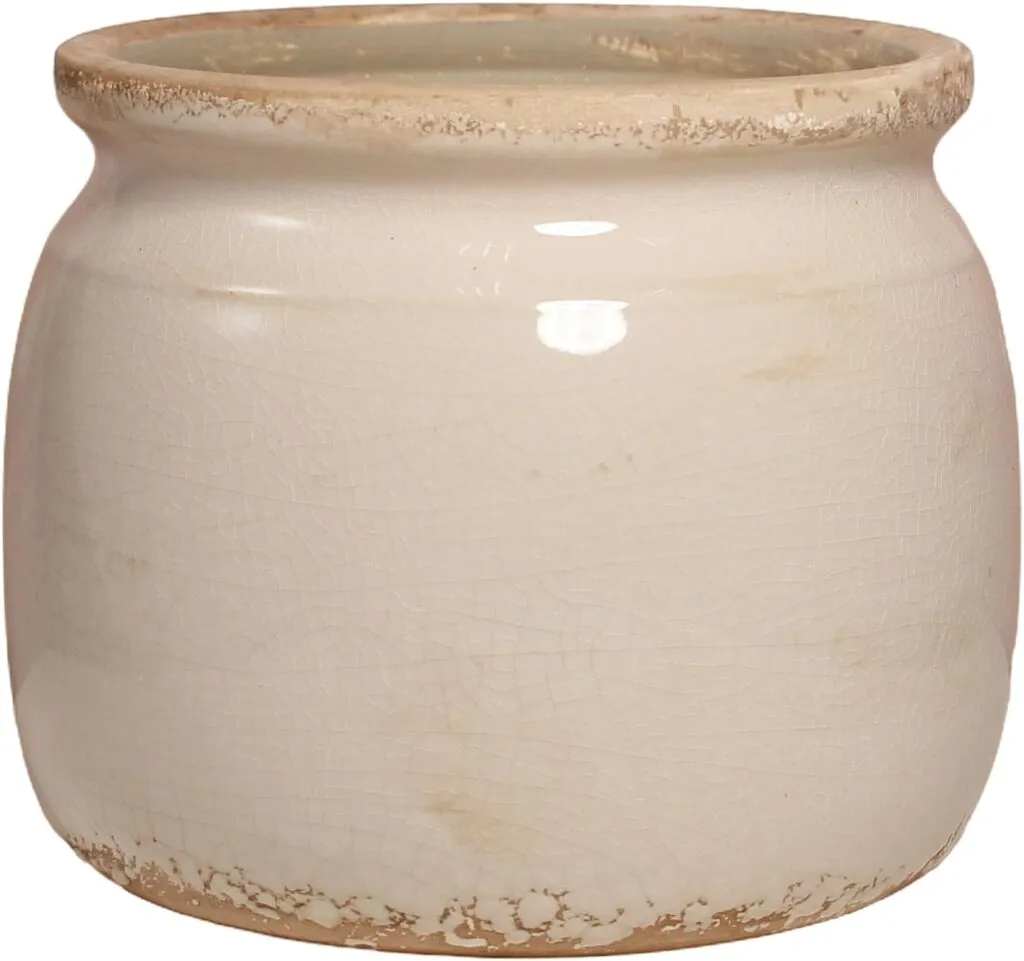
I then like to add in any pots with some vintage charm. I am loving the cottage vibes of the pots below and they are on my wishlist! Both come in several different colours and patterns and have a drainage hole (middle link, left & right link).
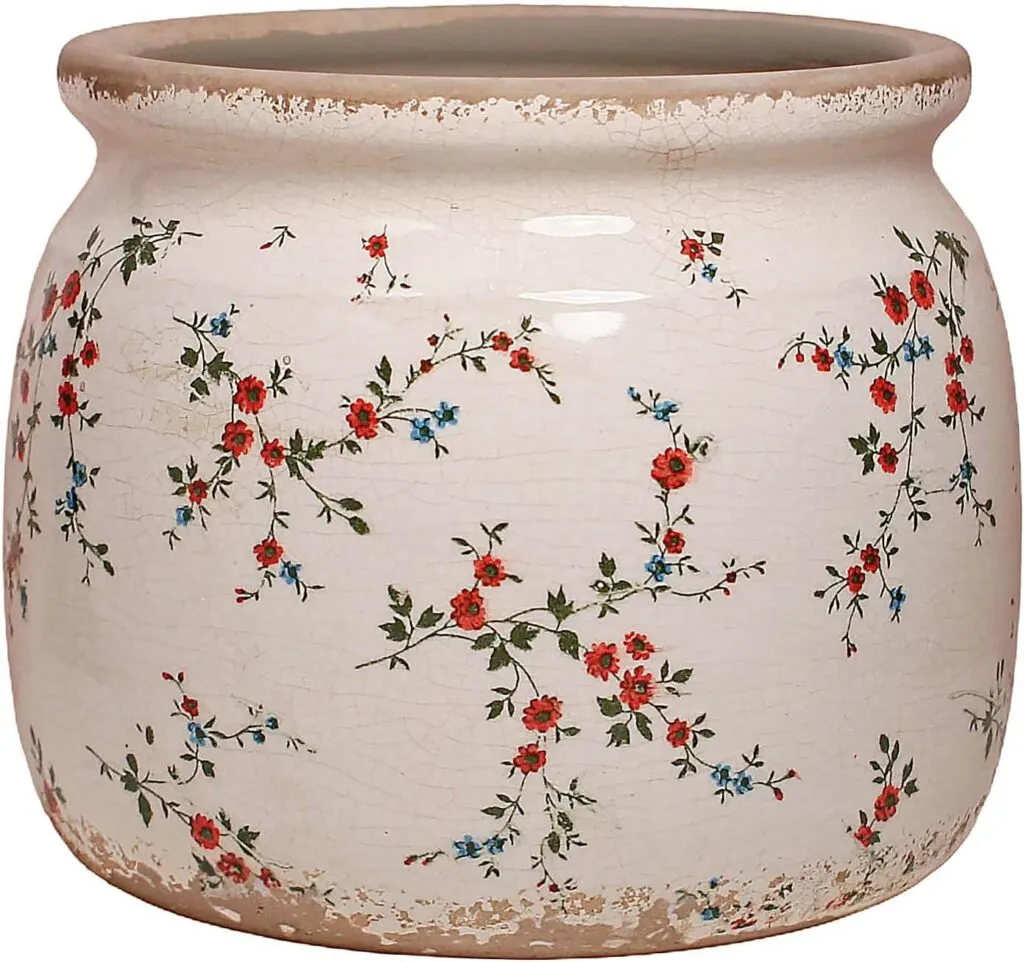
For a more eclectic look that is still cohesive, use a variety of materials for your plant pots, but stick within a certain colour scheme. Having a colour scheme does not mean repeating the exact same colour over and over… what it really means is using different shades and tones of the same colour. This is what gives a display interest and depth.
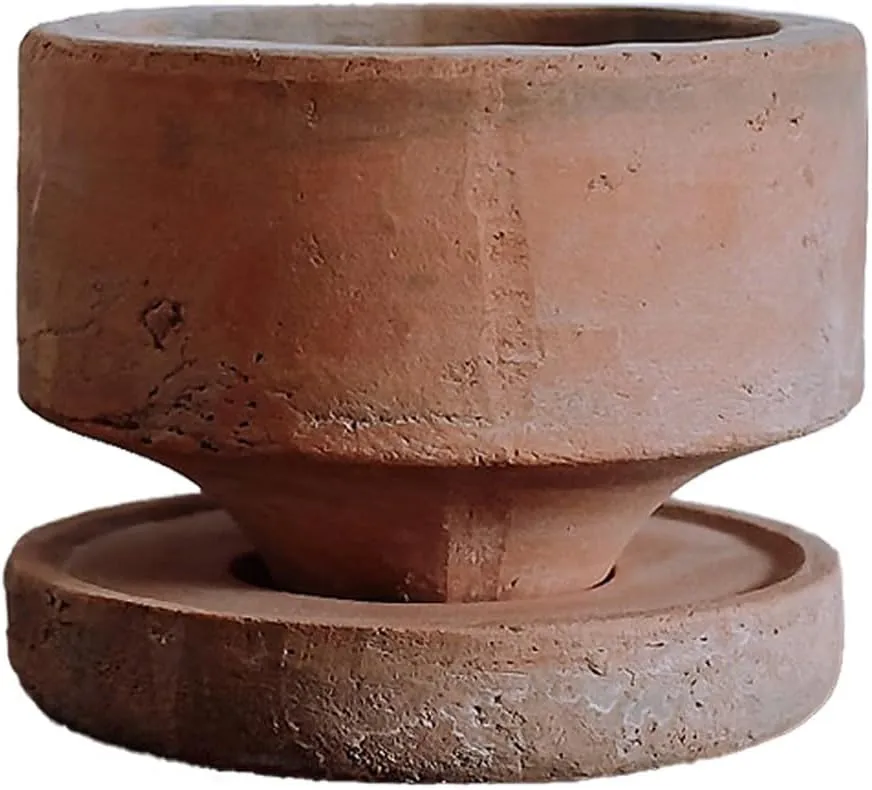
This is a great pot with a unique look and a lot of character:
Get creative when finding ways to display the plants
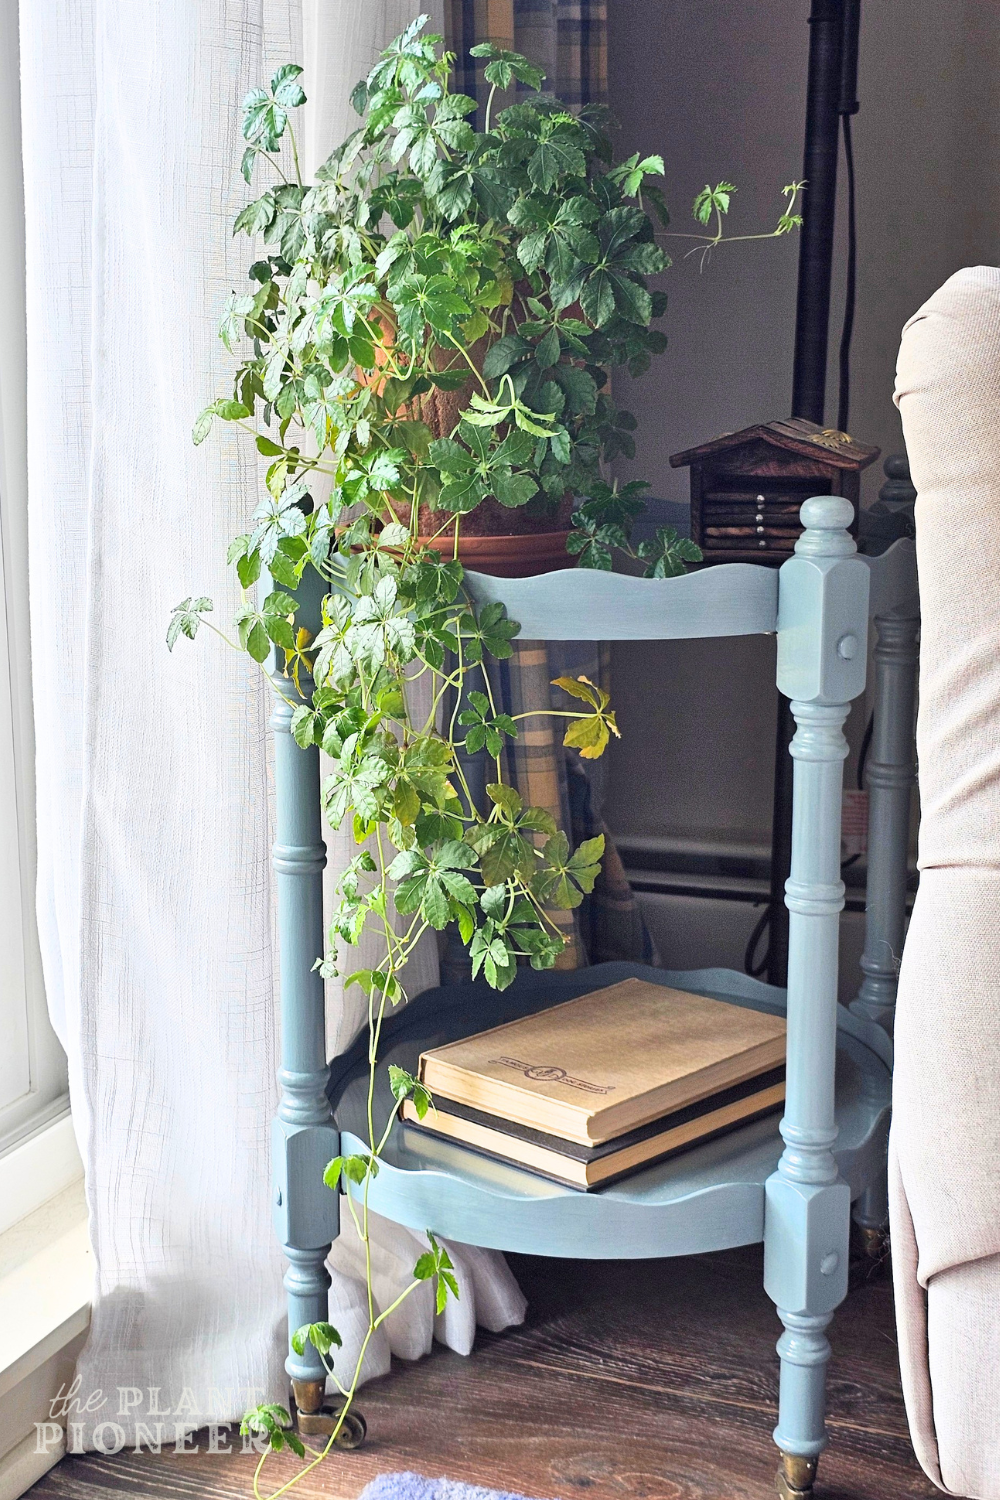
Some of the best plant displays I’ve seen are when the person displayed them in an unexpected way or got creative with how they were displayed. For example, I love seeing plants placed on old bar stools or chairs as a plant stand, grouped together on an antique cabinet, or simply placed in a location that feels unexpected.
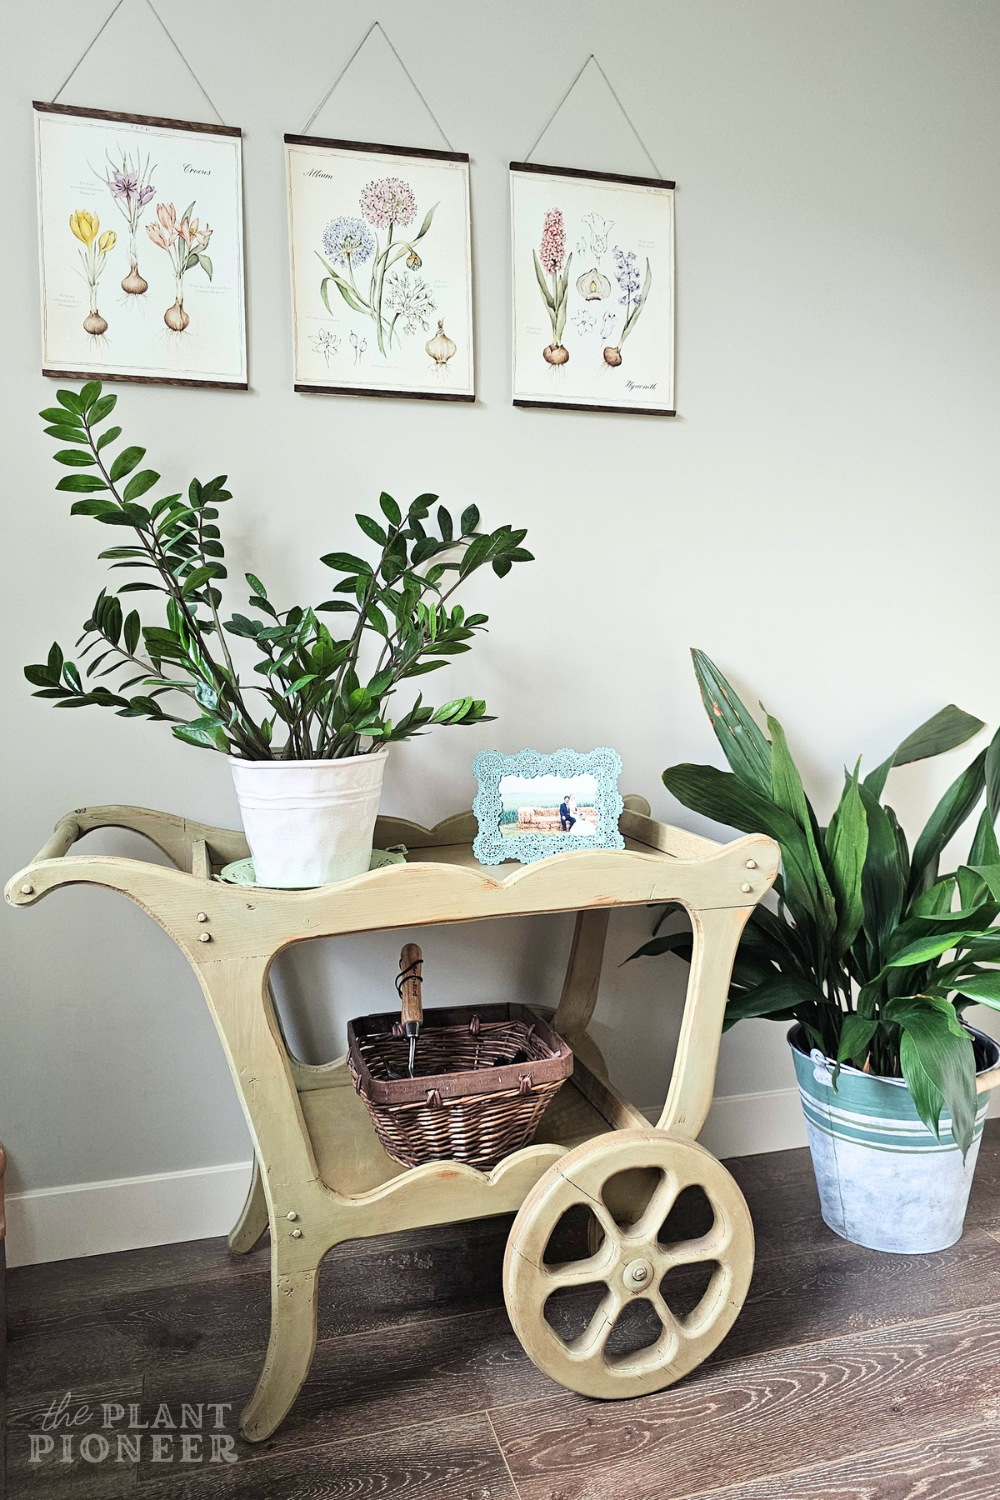
In the image below, I’m using this vintage tea cart that my Grandfather built as a plant stand. This is where my ZZ plant used to live. I’m hoping that in the future I’ll be able to add more plants to it.
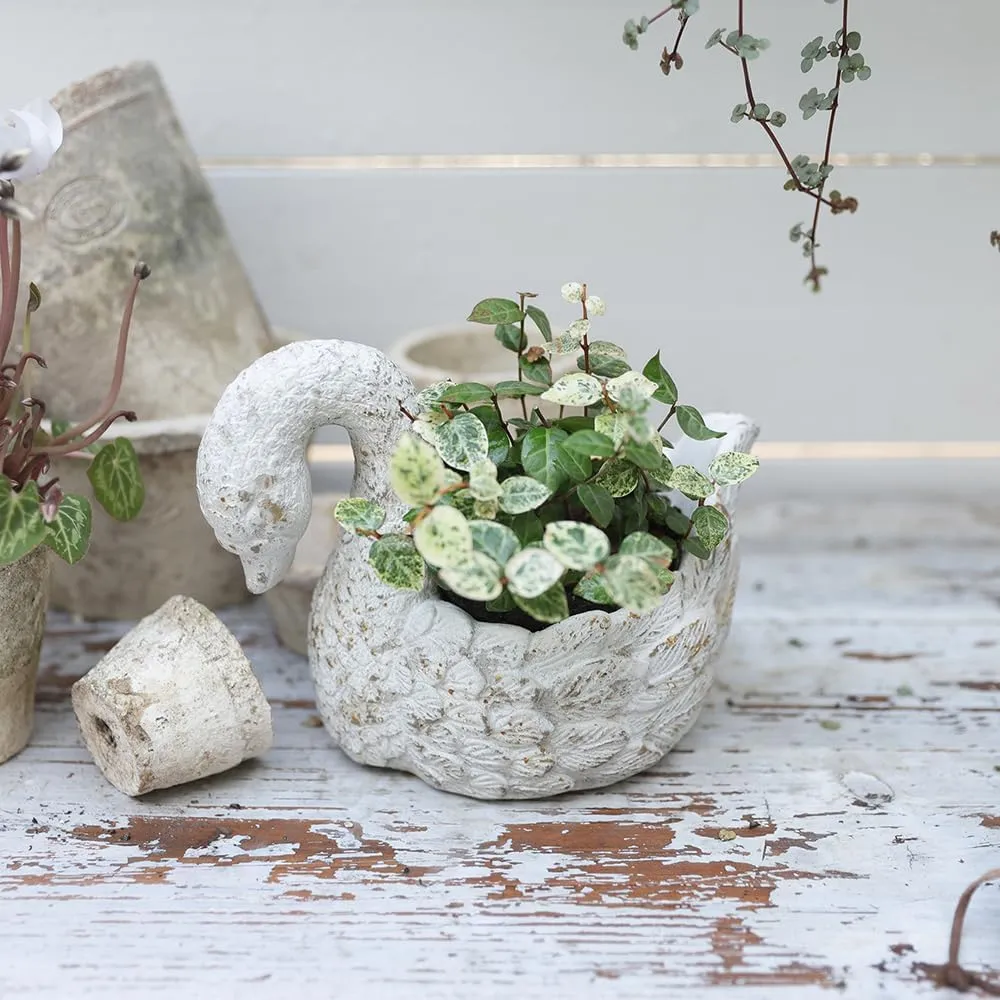
Another example would be using an unexpected item as a plant pot, like repurposing a vintage bucket or an old basket. I absolutely love this concrete swan planter and think it’s a perfect example of a way to style your plants in a more unique way.
Vary the size of the plants and leaves
When it comes to design, you always want to add a variety of textures and different scales of pattern. This applies to your plants as well! Vary the textures by varying the sizes of the leaves on the plants. Have some with large round leaves, some with pointy leaves, and some with tiny leaves.
Having this variety in your plants provides an array of “patterns” and textures, and this will have the best visual impact!
Research their lighting needs before buying
If you want your plants to be happy and don’t want to waste money on a plant that won’t survive, one of the most important things to do is to research its lighting requirements before buying the plant. Don’t get sucked into buying the next trendy plant that you see on social media!
Determine the type of lighting that your home gets, and then find out if a plant you’re interested in could work with this type of lighting. For example, our condo faces west, which means that we get some direct sun in the afternoons, but no morning light. The lighting is fairly bright for most of the later day, but only near the windows. I found this post here helpful in providing clearer parameters on how light levels drastically decrease the farther you get from windows, and what is actually considered bright light and low light.
Be careful where you get your information from too- it’s best to rely on information written by real people with real experience about the plants they’re discussing. Way too many websites out there talk about plants that can live in “almost no light”. In reality, most plants placed in a location with too little light are actually slowly dying rather than really living. Perhaps you’re ok with the plant eventually dying, but it’s good to keep in mind!
If you really want to have a plant in a very low light location, adding a grow light to supplement the lighting can help. This decorative wall-mounted grow light will give you a lot more options for plant placements!
Research their care requirements before buying
On a similar note to the point above, you’ll also want to research what other care requirements the plant has so you will know if it will suit your lifestyle and home. For example, some plants, like ferns, prefer high humidity and for their soil to stay more on the moist side, while plants like succulents need their soil to dry out completely before being watered again, and are totally fine with low humidity.
If you know that you will never remember to water a plant weekly, you may want to stick with plants that are fine with their soil being dry, such as cacti, succulents, aloe vera, and ZZ plants.
The pot material that will work best for each type of plant is also important! Terracotta pots absorb water, causing the soil to dry out more quickly. This works well for plants that like their soil to dry out between waterings. On the the other hand, plastic and ceramic are better for keeping the soil moist longer, and work better for plants that like more moisture in general. You can put a plastic pot inside of a more decorative pot if needed!
Choose plants that you love!
Lastly, curate a collection of plants that you love and make you happy. Don’t just buy the first ones you see at the local hardware store. It’s totally worth it to do a bit of research and find out what plants will not only suit your lifestyle, but also suit your personal decor tastes as well. This is what will really make your plant displays look the best that they can be.
I hope you have found these tips helpful and are feeling inspired! Make sure to save this post to Pinterest!


Join the List
Stay informed & receive my latest healthy living tips to your inbox.