
DIY Pressed Leaves Art for Fall
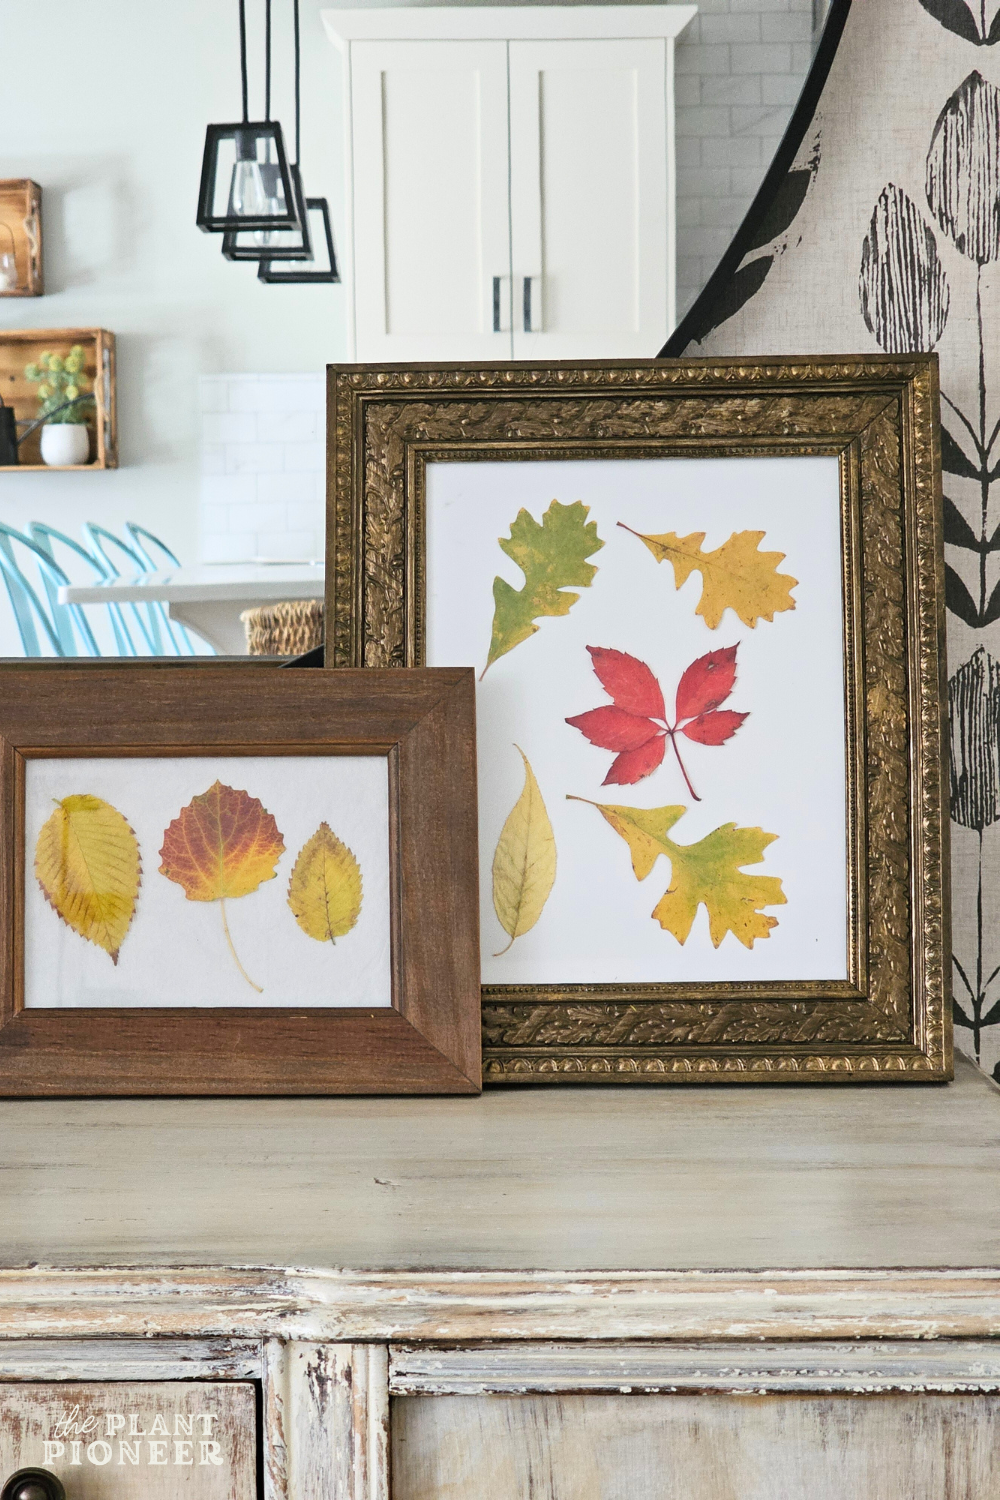
Want some beautiful, unique, and completely free art to display for the fall season? Here’s how to press leaves to create your own fall artwork! You can do this project completely for free, and I love that it uses natural materials straight from nature. This is one of the best ways to bring nature into your home and embrace seasonality. This is also a great fall craft to make with kids!
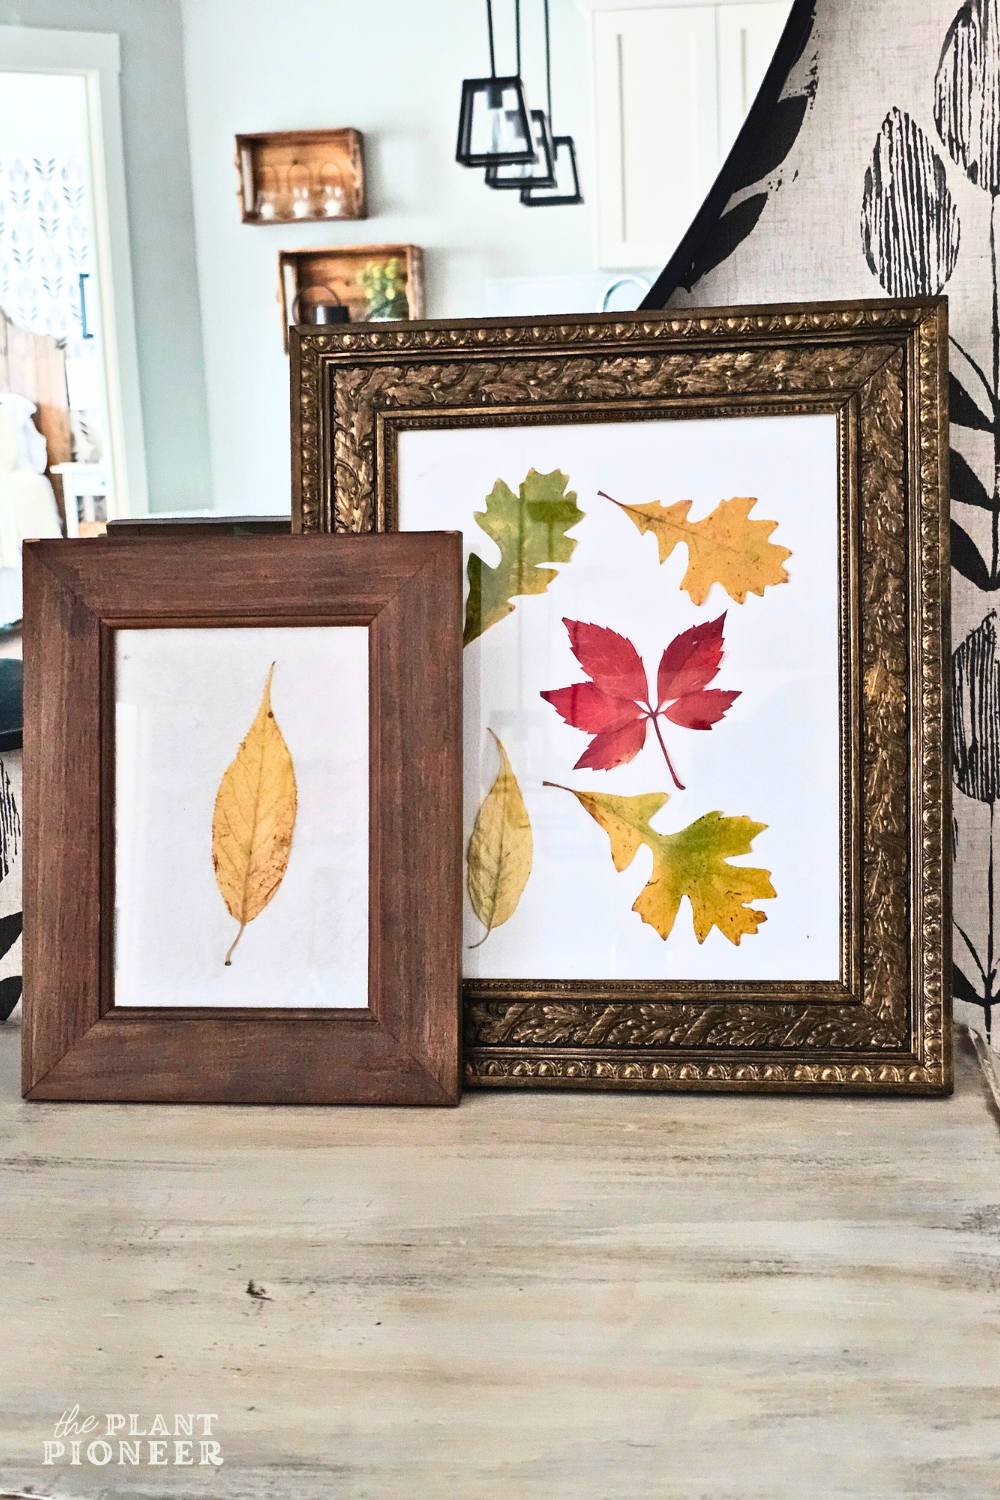
This project is so easy that it almost feels silly to create a tutorial for it! However, I really hope it provides some inspiration for you on making your home beautiful with seasonal, natural items. I hope you’ll find some helpful tips here too!
To do this project, you will need:
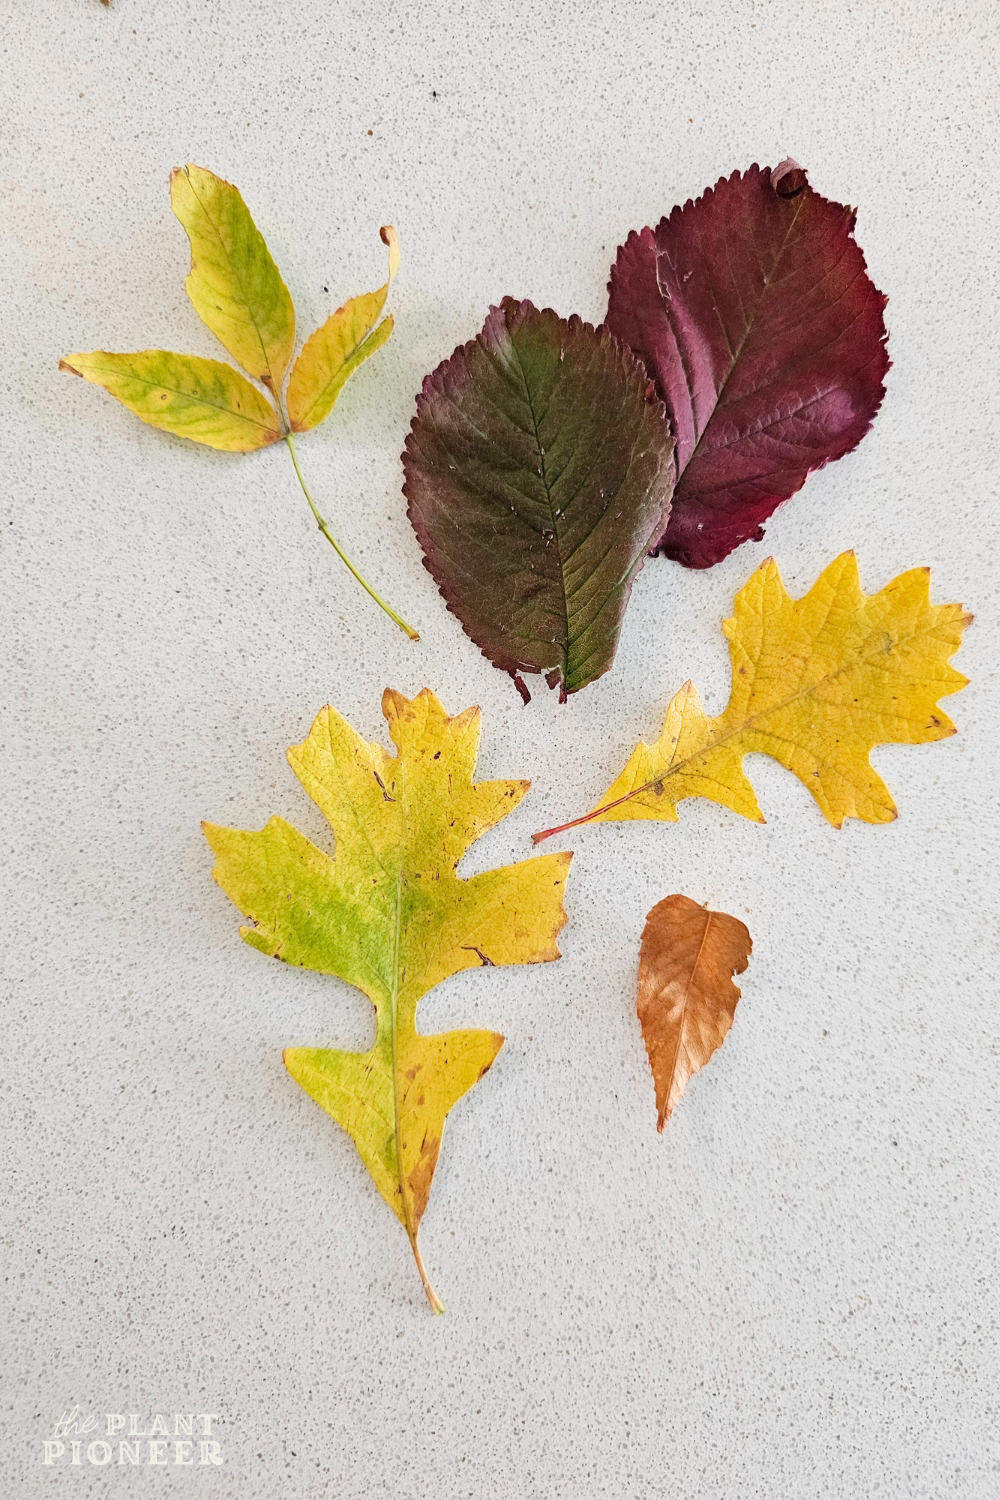
The process of pressing leaves is so easy and is the same process as pressing flowers! You just need the patience to let them press. There are a few options available for pressing flowers, but I find it easiest to use the tried-and-true method of pressing them inside books. This method doesn’t cost anything extra (assuming you have some books that can be used) and only takes minutes of your time.
If you want to create artwork now to hang up, you can also do what I did for my framed pieces shown here- just frame the leaves right away and allow the frame to do the pressing ;). I also pressed some leaves in books to use later.
It was so fun to walk around my neighbourhood looking for the prettiest leaves to press! This would be a fun activity to do with kids too! In my experience, leaves that were still on the tree worked better than ones that had already fallen off and were on the ground. Ones that I grabbed off the ground tended to turn brown and crispy after bringing them inside.
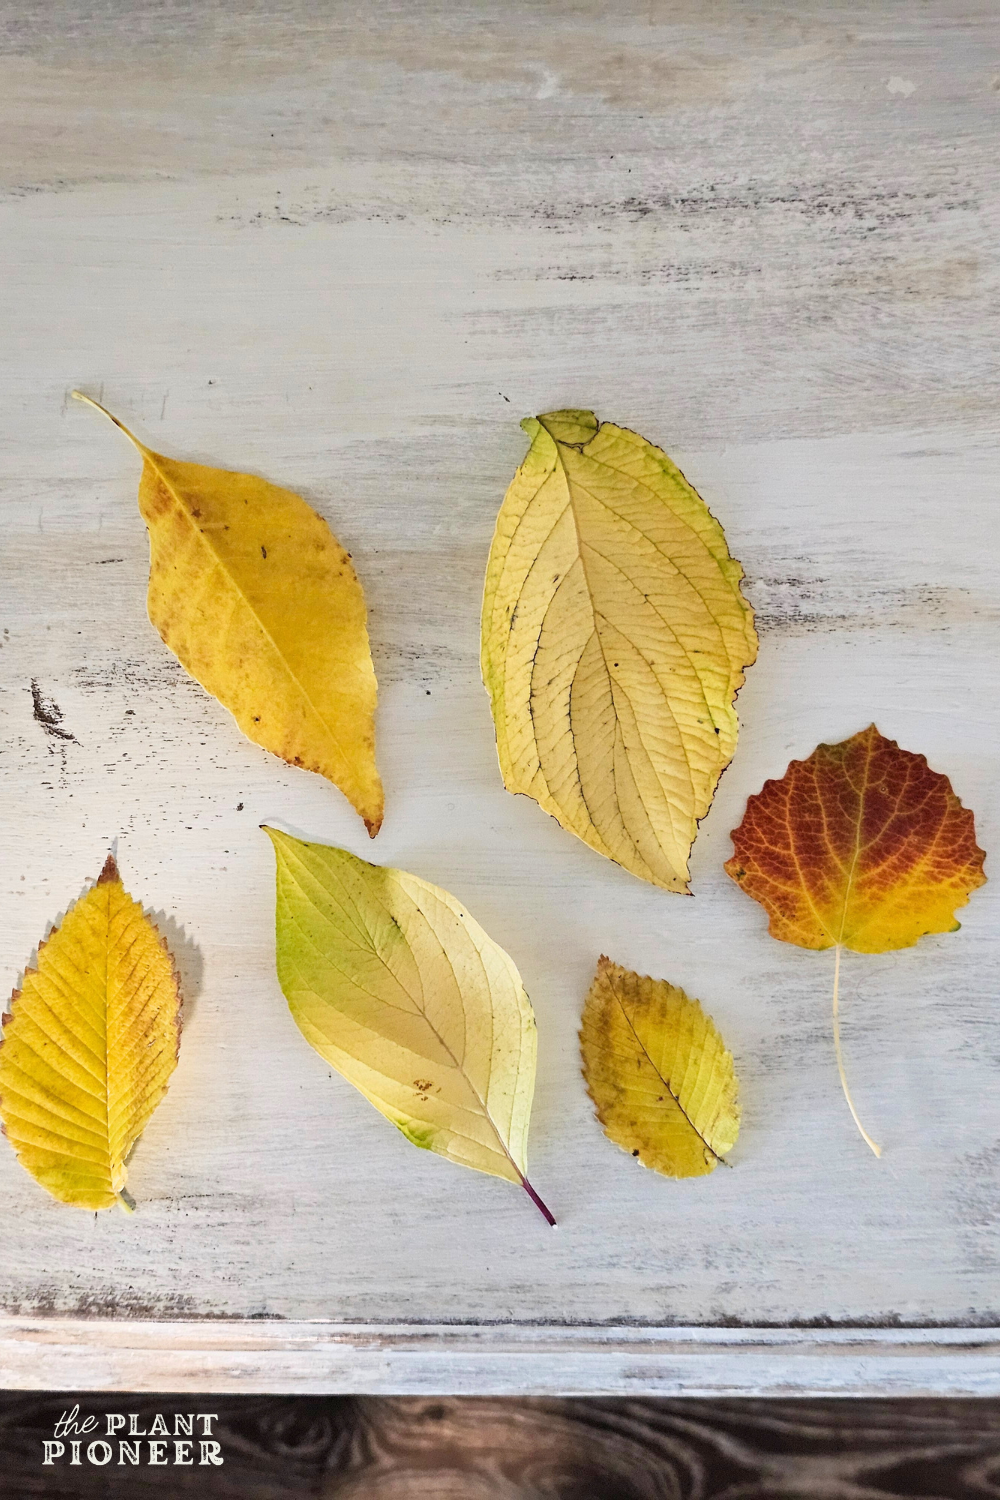
Here’s how to do it:
- Arrange your leaves in a single layer inside a folded piece of parchment paper or waxed paper. I simply cut a large piece of parchment paper then folded it in half.
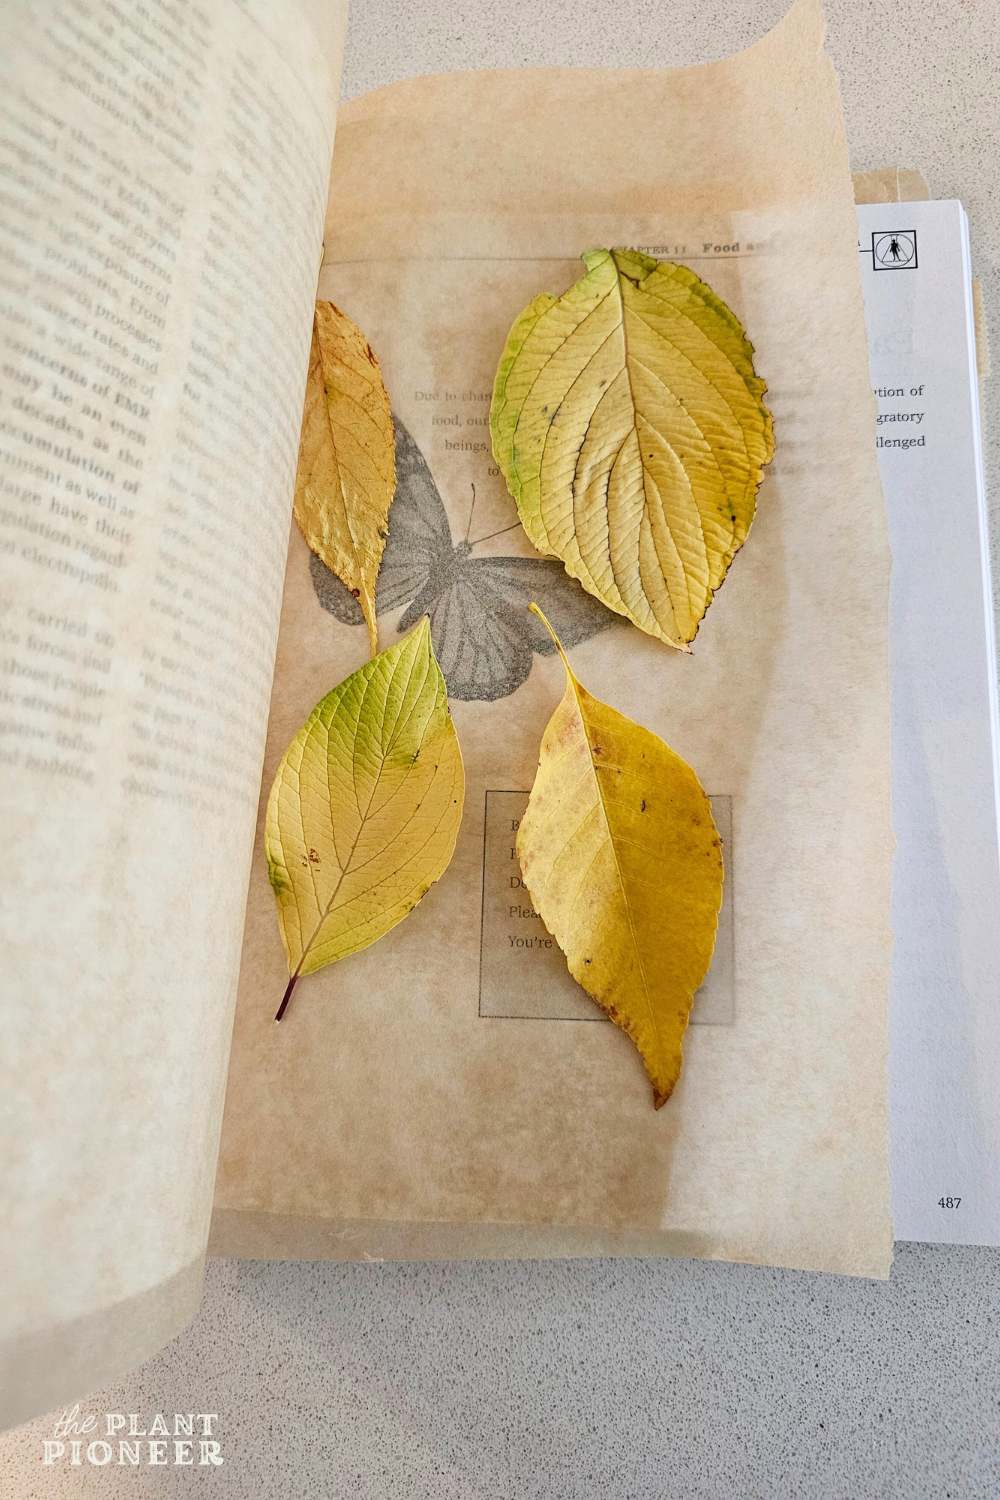
2. Place this inside a heavy book, stacking additional books on top of it to create a good amount of weight for pressing.
3. Allow them to press for 2-4 weeks. Pressing the leaves allows all of the moisture to be pressed out, which prevents the leaves from turning moldy later on and helps preserve them. If you are feeling impatient (like I was!), you can skip this step and frame the leaves right away. Frame some now, and press some for later! That way if the ones currently in the frame turn moldy or brown, you have some pressed ones that you can swap them out for later!
4. After they’ve finished pressing, determine how you would like the art to look by trying out different arrangements to get the look you like. The options are endless for this! You can do a more minimal look with one simple leaf centered in the middle, or arrange a bunch of them together, even layering some on top of others. I ended up doing a few different arrangements!
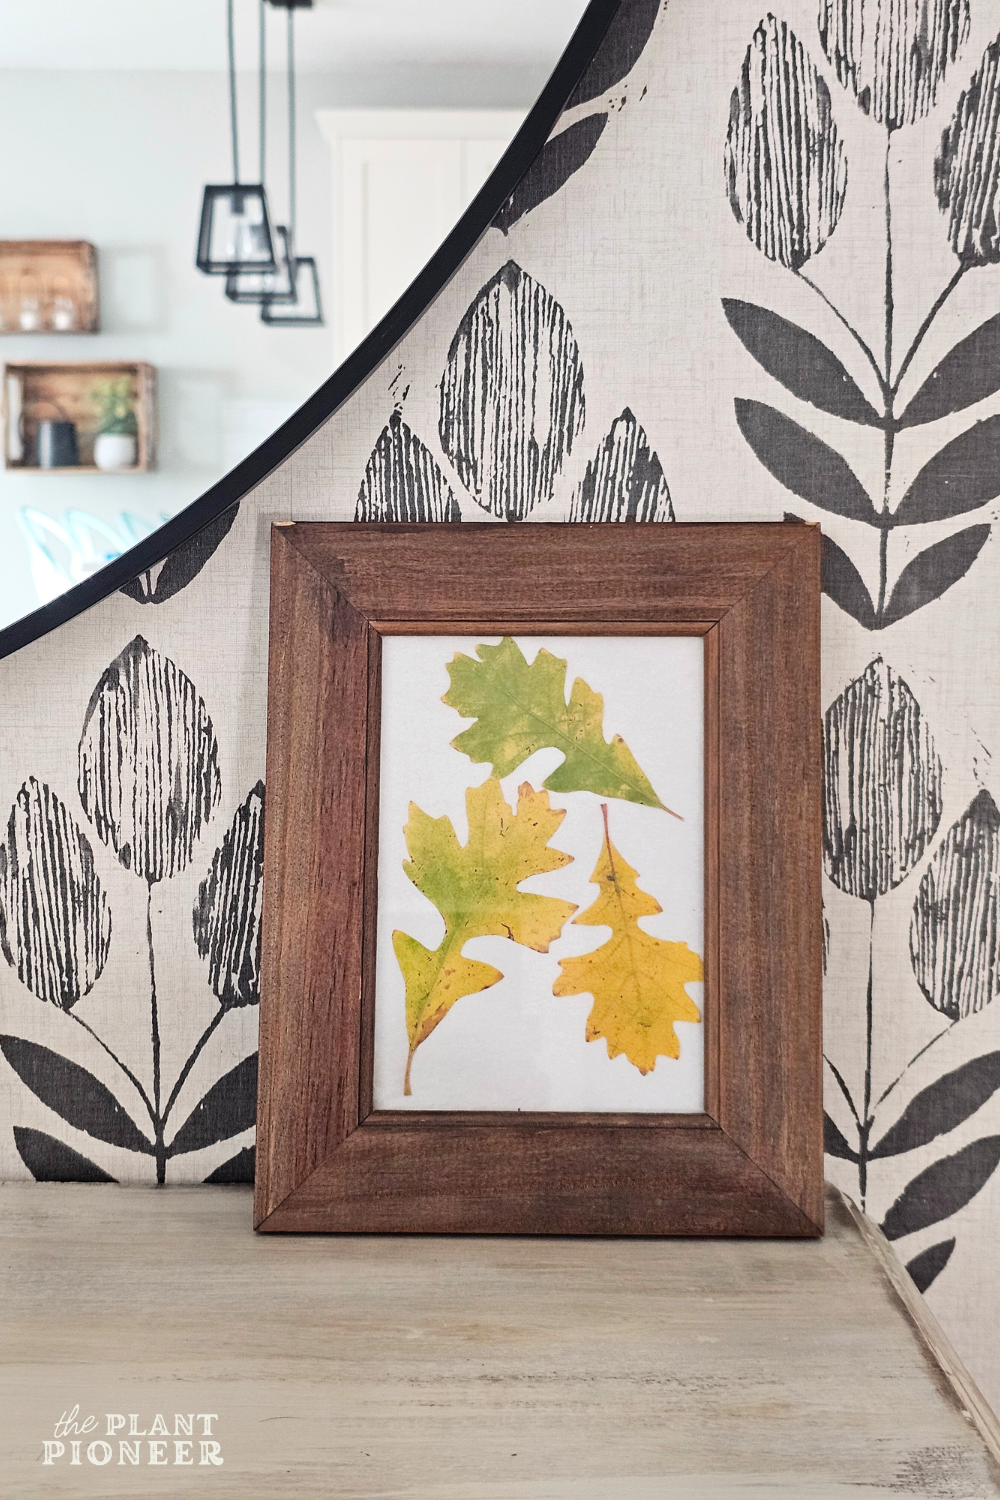
5. To hold the leaves in place, you have a few options:
- Allow the pressure of the glass to hold them in place (this is how I did mine- works well for simple arrangements). You may need to layer in an extra piece of paper or cardboard in the frame in order to create more pressure inside the frame.
- Use a small piece of clear tape and place it on the back of each leaf.
- Or use archival glue or any glue that dries clear. Simply brush a small amount onto the leaves and press them down onto your paper.
6. For the paper that will create the background for your leaves, use the back of your frame to trace the size of paper that you will need. Cut this out. On this frame pictured below, I simply used some white tissue paper folded up into several layers. I’m all about using what you have for this project!
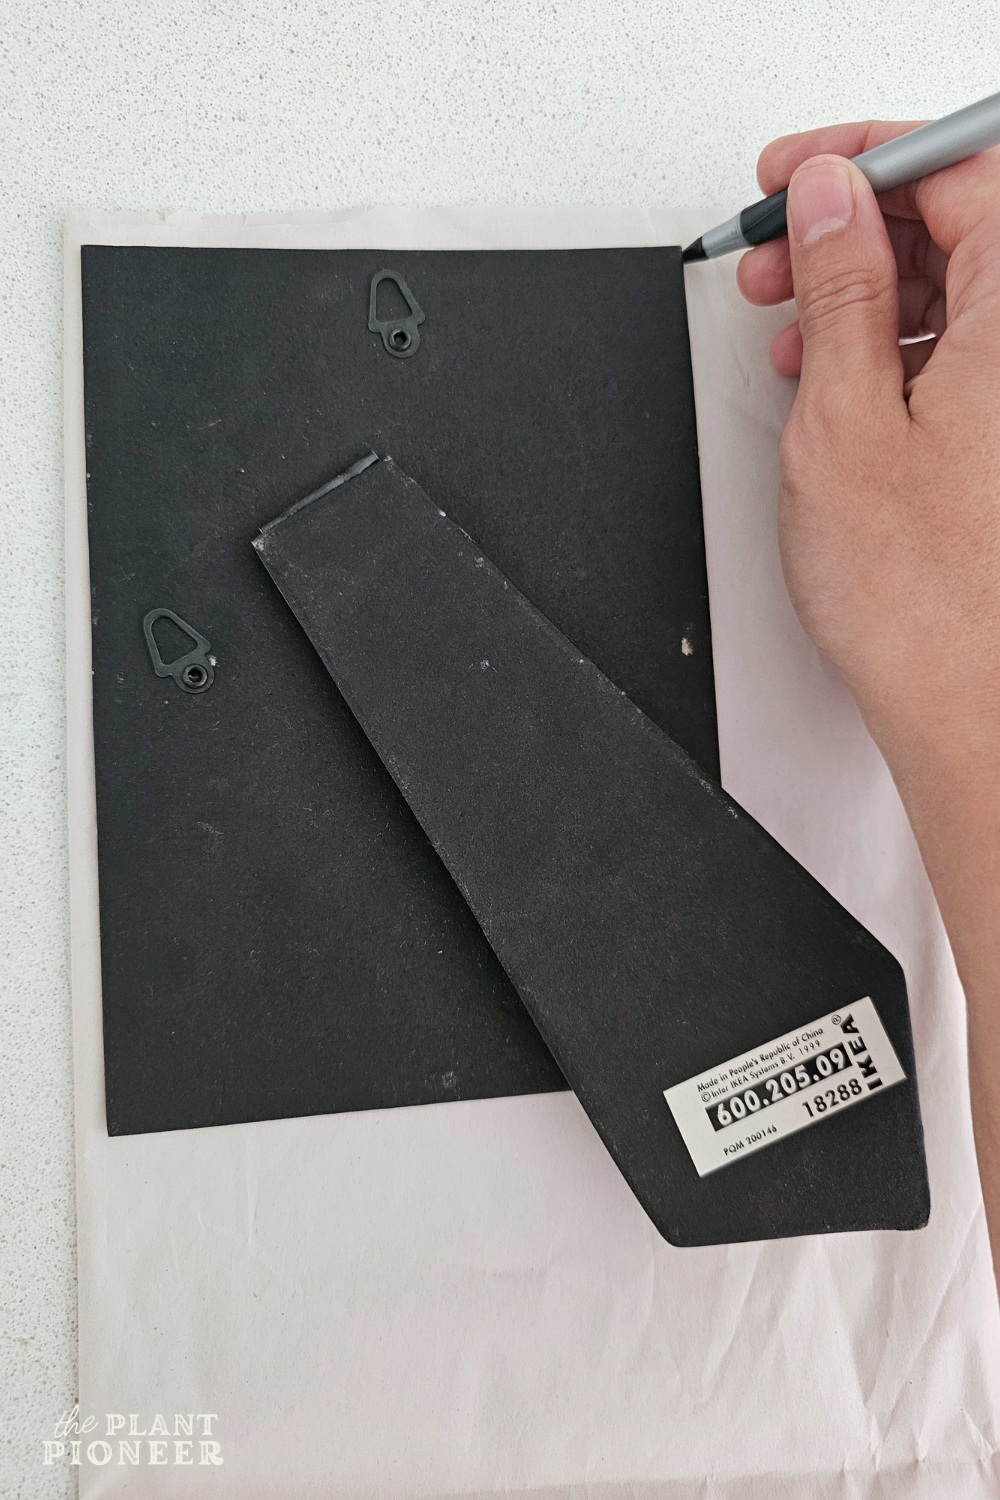
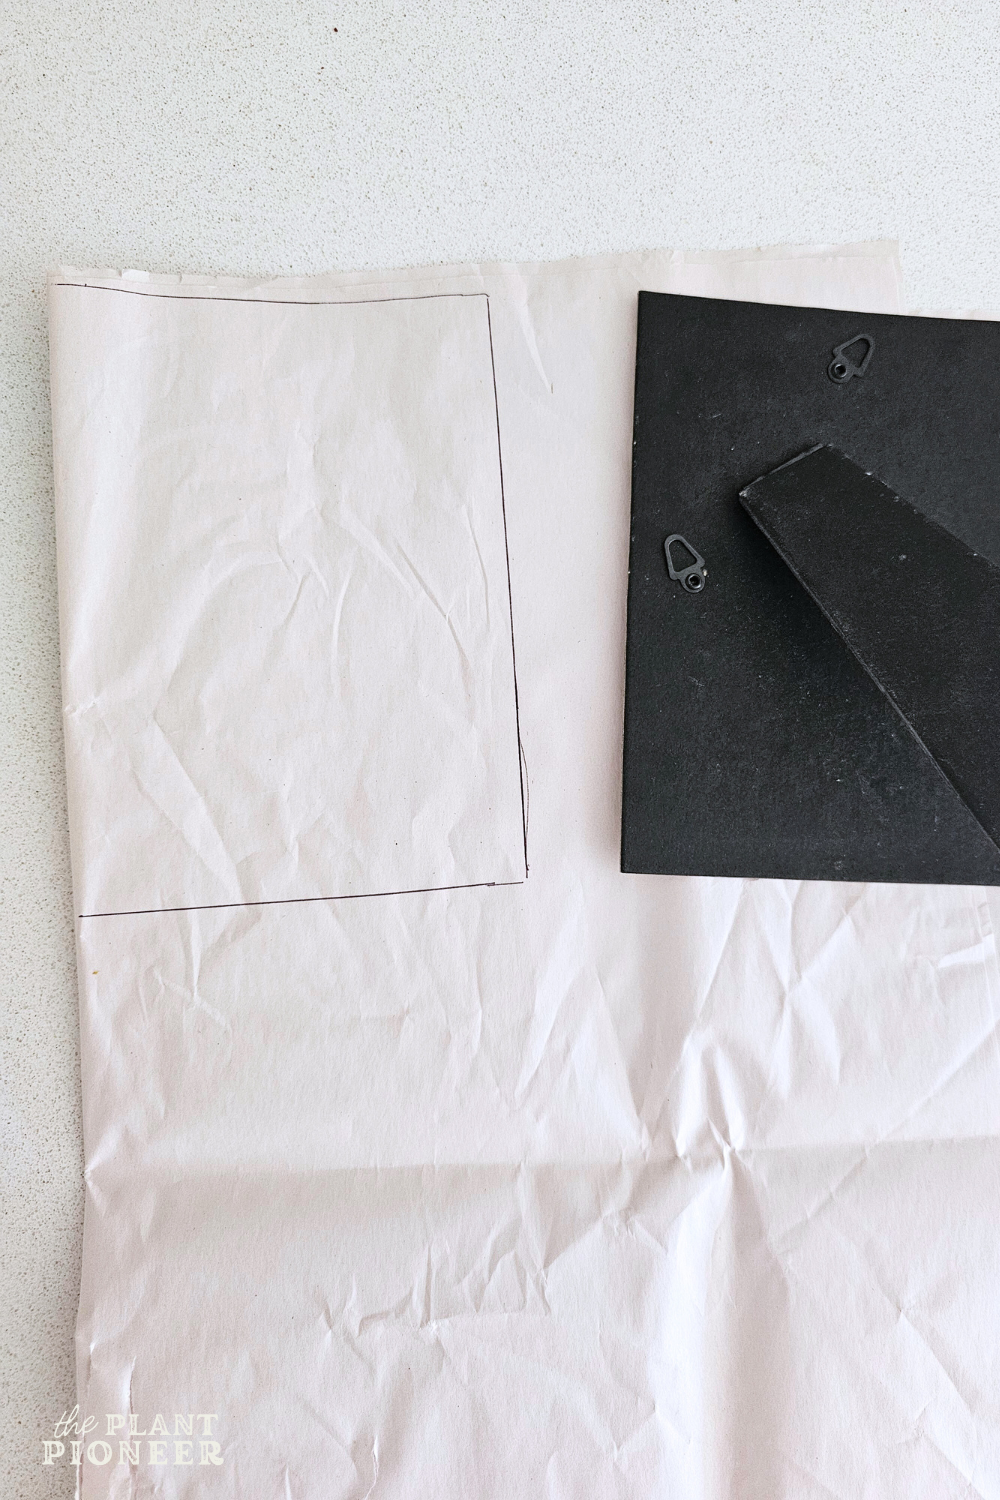
7. If you’re not using any tape/glue (as I didn’t), simply arrange the leaves how you want them on the glass by placing them front-facing side down. Then carefully place your background paper on top of this, making sure not to move the leaves around, and then put the back of your frame on. Then turn it over and admire your framed leaves!
- If you’re using tape or glue to hold the leaves, place a small piece of tape on each leaf, or gently apply a thin layer of glue, onto the back of each leaf. Then press them down onto your background paper.
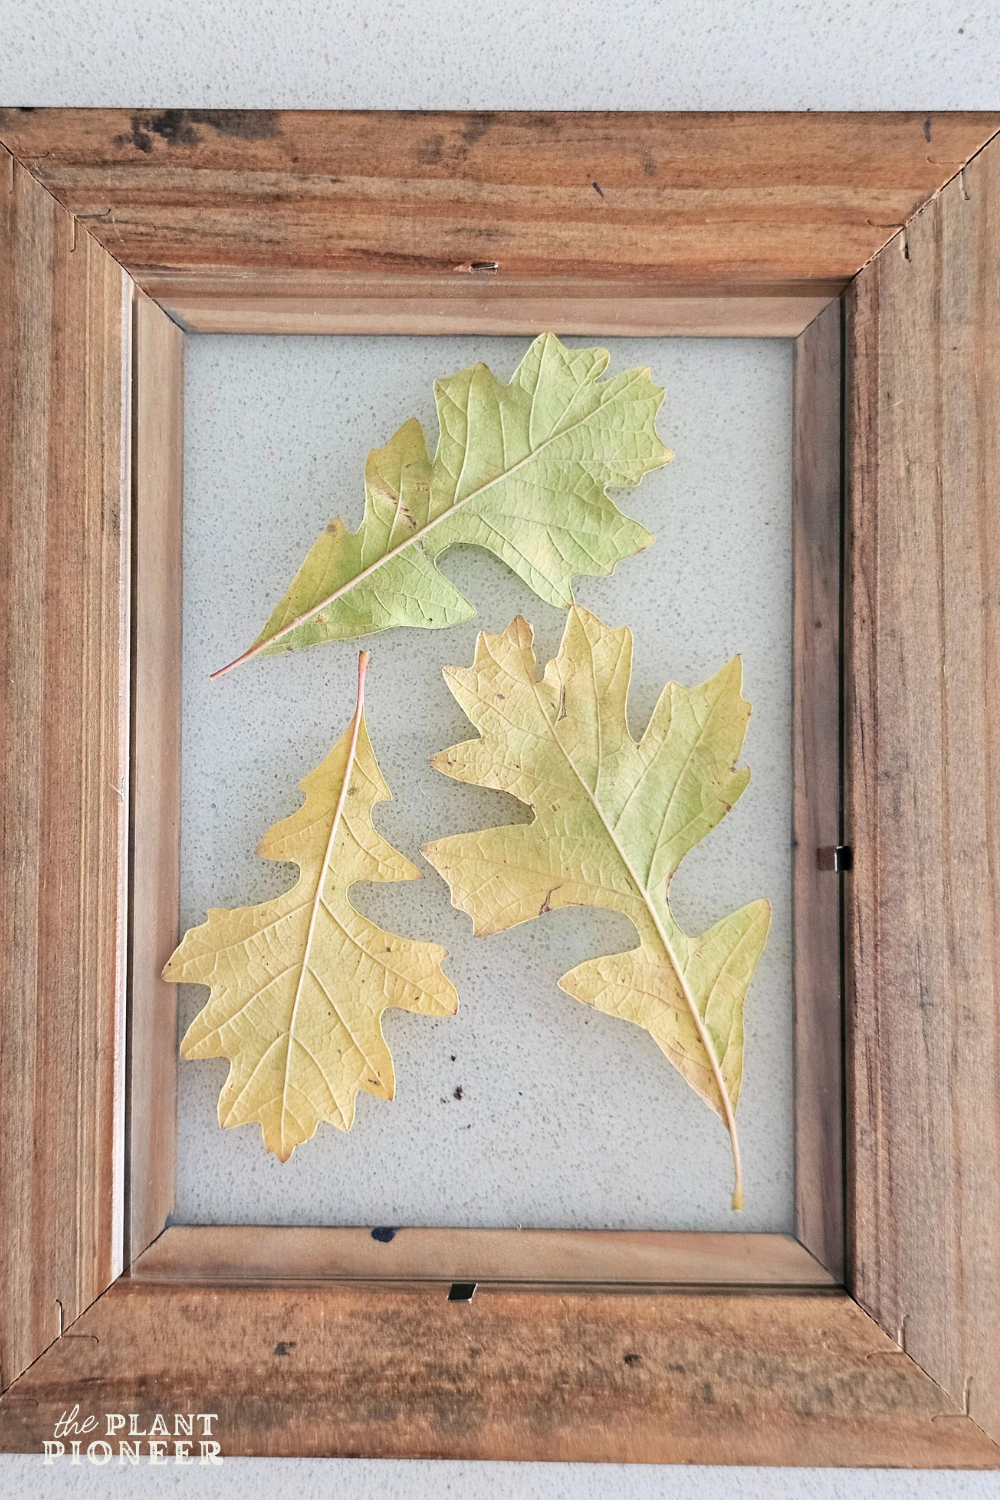
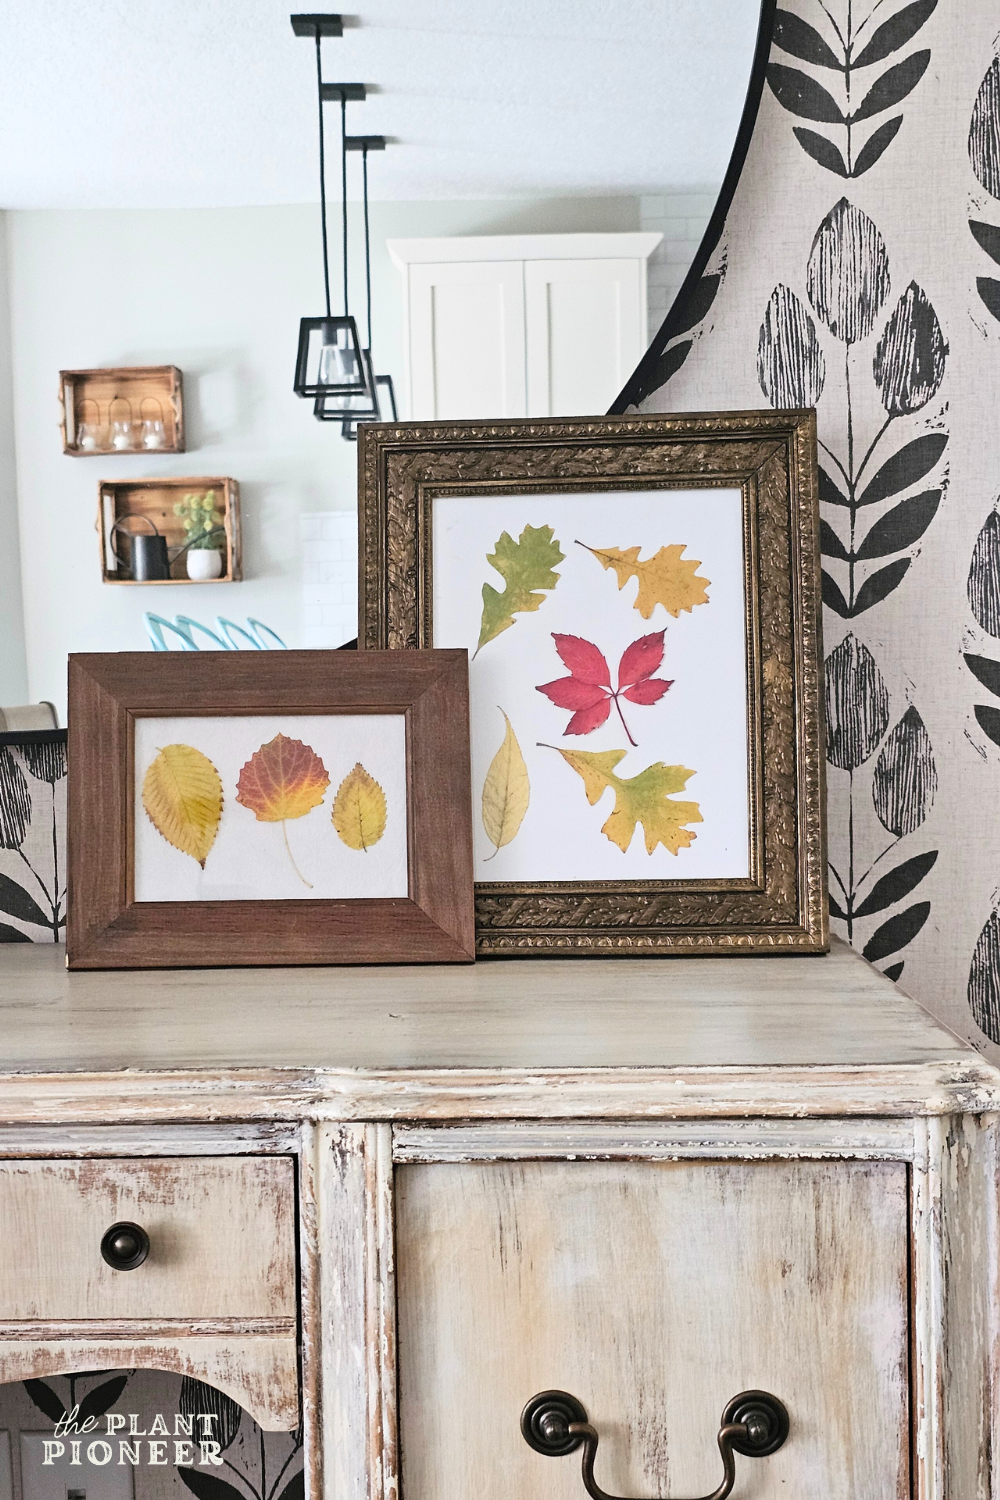
Enjoy your pressed leaves art! I styled mine by layering it in front of the mirror near our front entry. I’m probably going to continue playing around with different leaves and frames throughout the season. But for now, I used what I had!
Helpful tips for the best results:
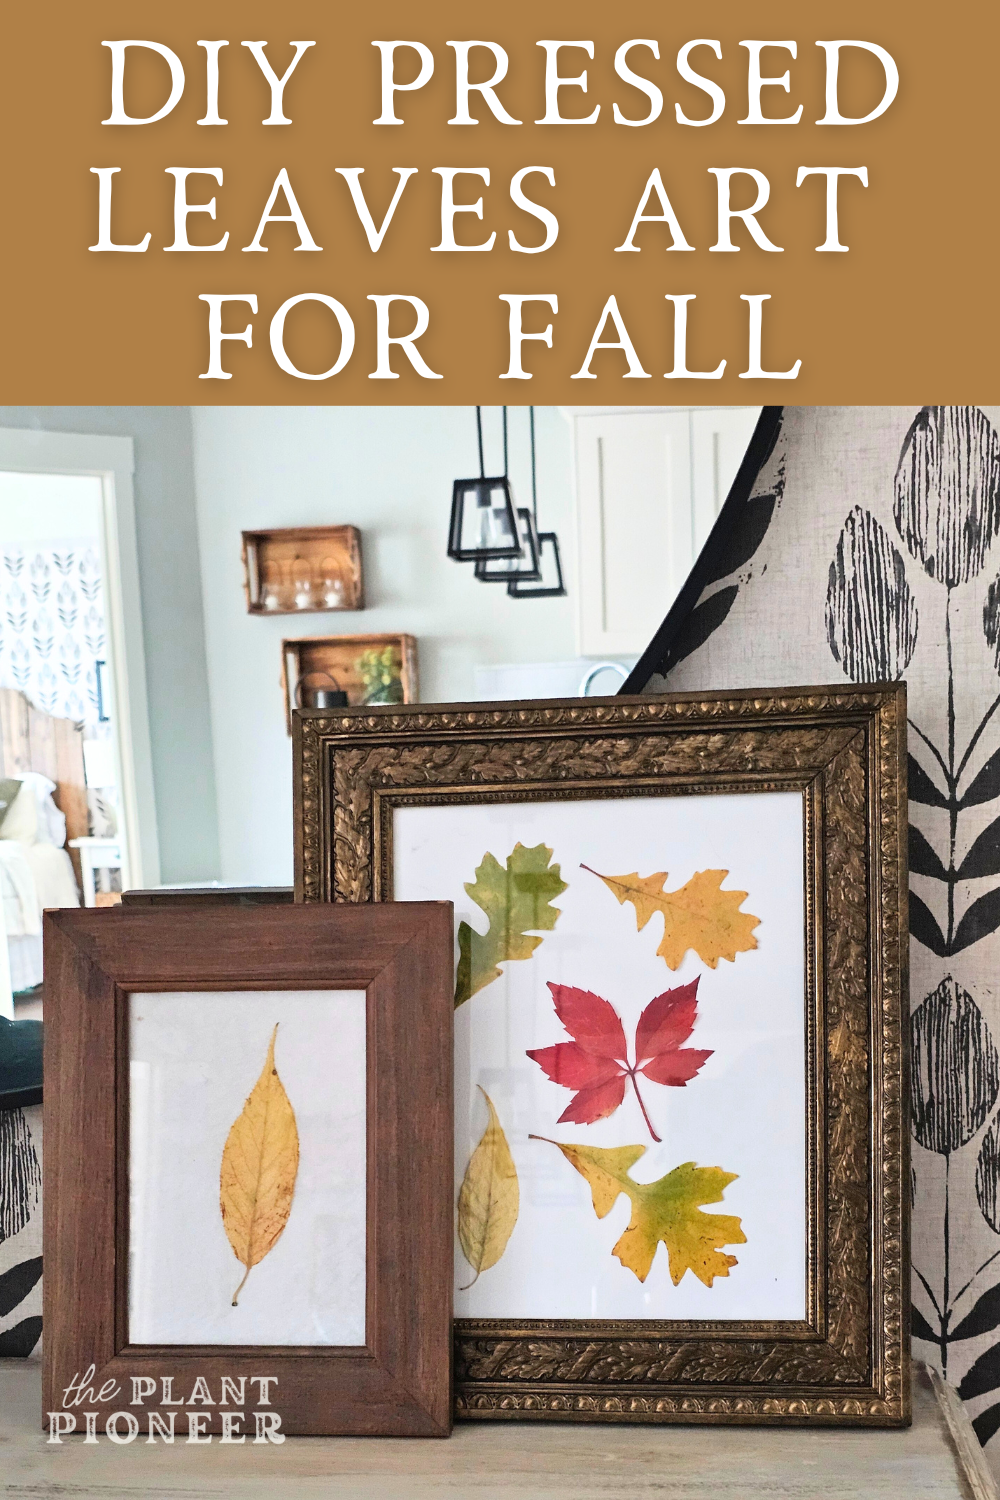
I hope this easy project has given you some inspiration on how to create some beautiful, natural artwork for free! Don’t forget to pin this post to Pinterest:



Join the List
Stay informed & receive my latest healthy living tips to your inbox.