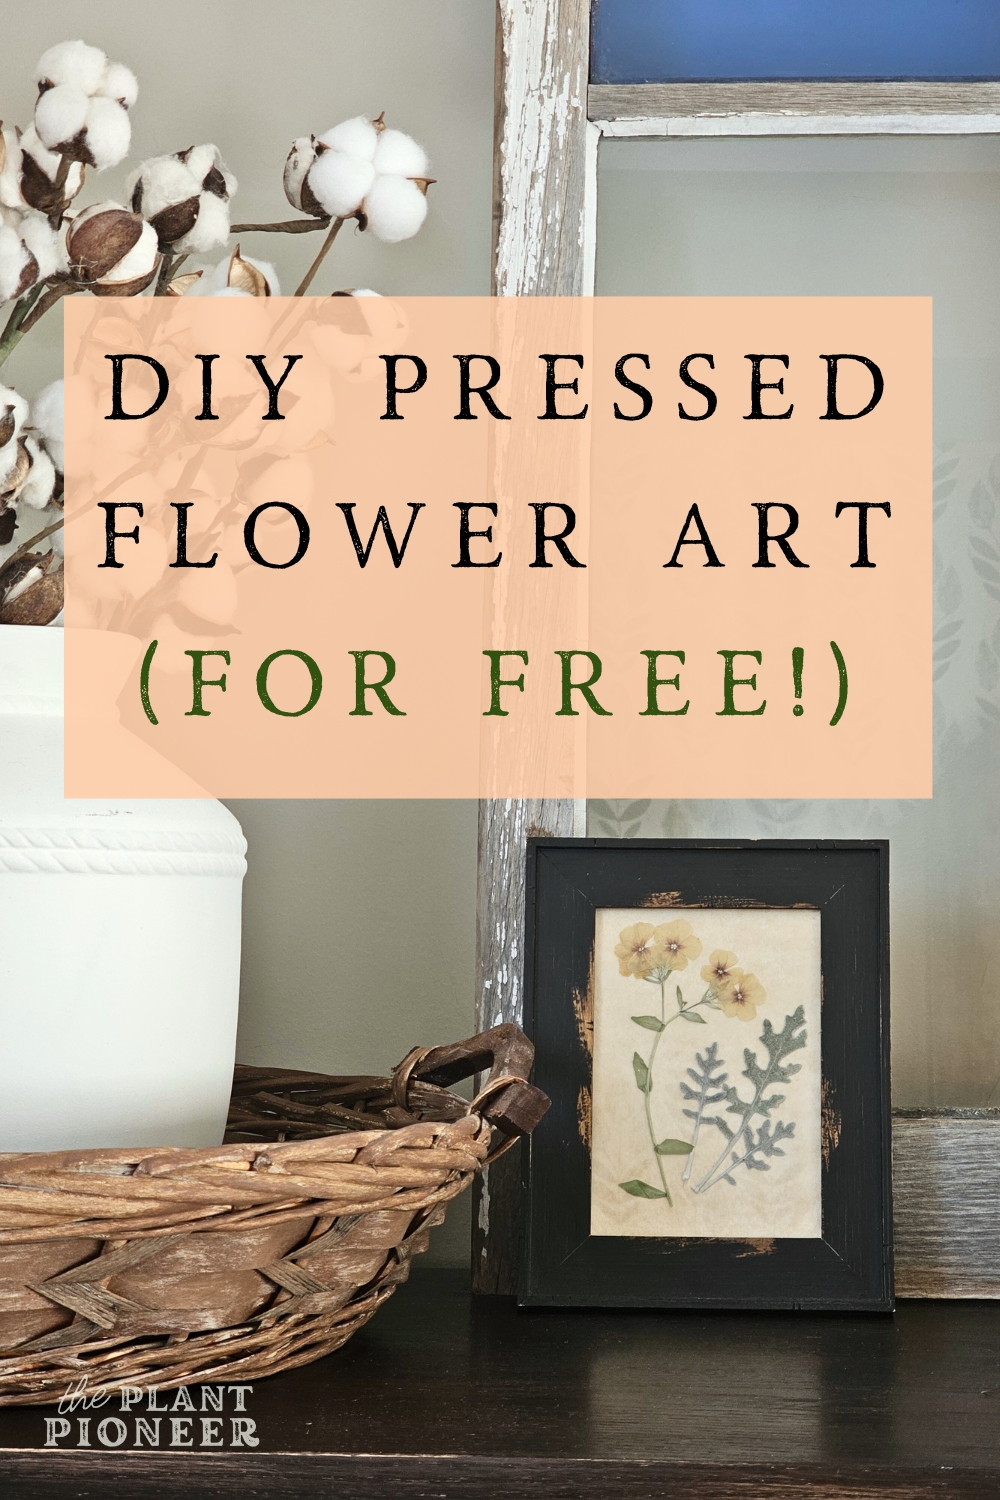
DIY Pressed Flower Art (for free!)
Creating your own pressed flower art is one of the easiest ways to add some charming and unique artwork to your home. And the best part is- you can do it totally for FREE. It’s also a great way to display and preserve sentimental flowers, whether they’re from your wedding, a gift from a loved one, a wildflower you picked on a special outing, or even wanting to have a keepsake from flowers you grew yourself (like I did here).
Pressed flower art can also make a great gift! Pressing really is the easiest method of floral preservation and will give you a beautiful keepsake.
To do this project, you will need:
The process of pressing flowers is so easy! You just need the patience to let them press. There are a few options available for pressing flowers, but this tutorial is how to do it for free, so I recommend using the tried-and-true method of pressing them inside books- this is the easiest method that doesn’t cost anything extra (assuming you have some books that can be used).
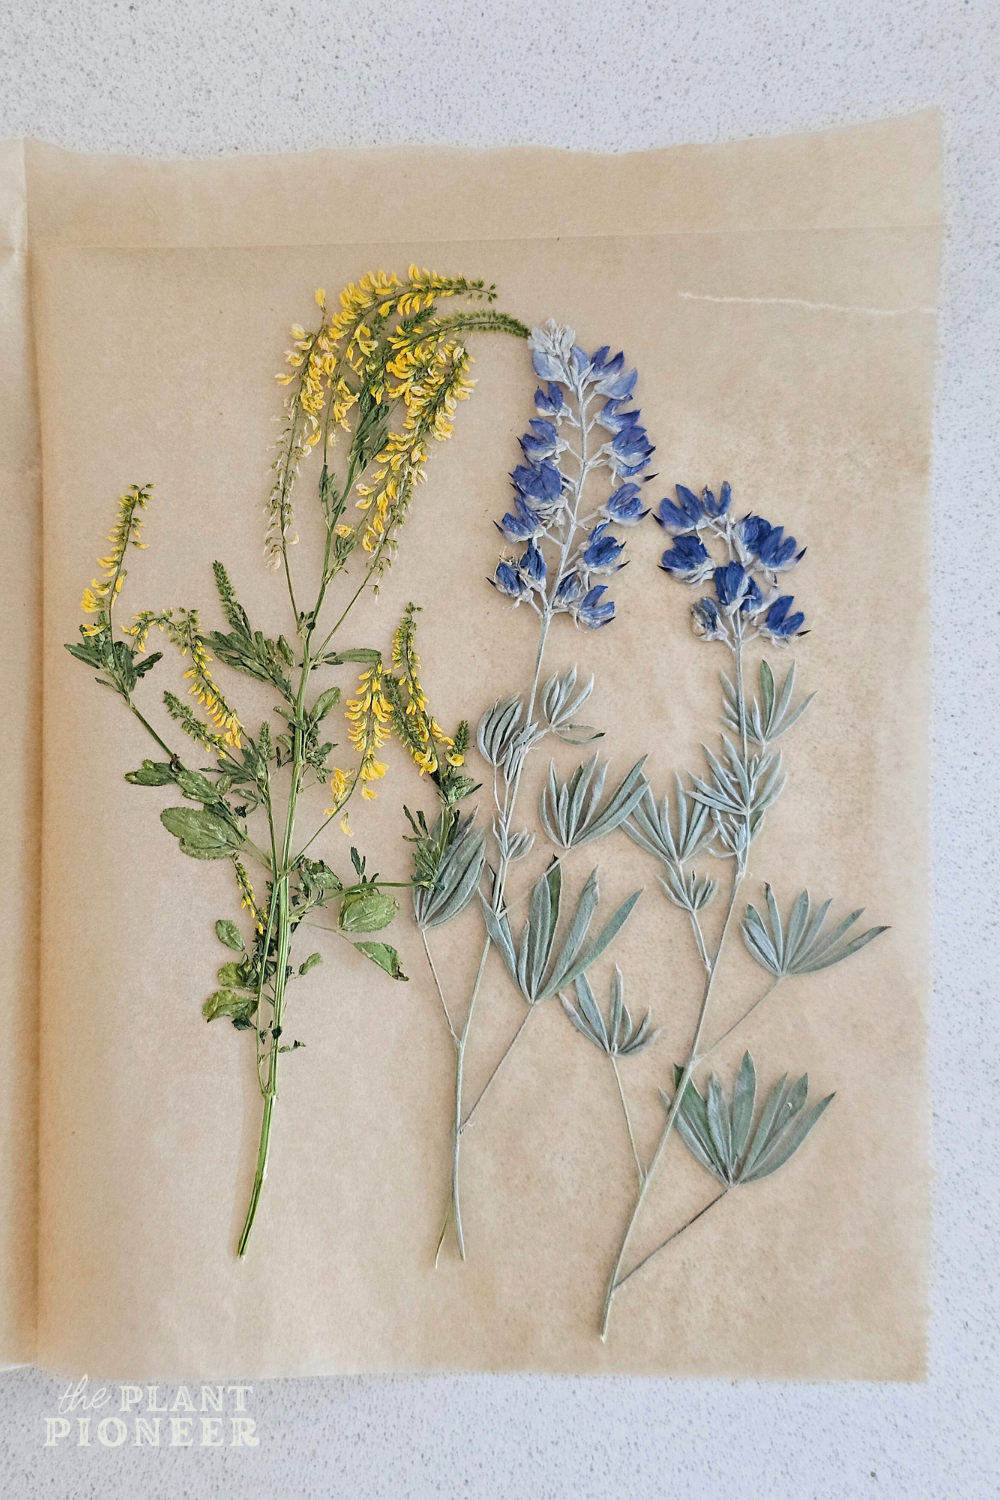
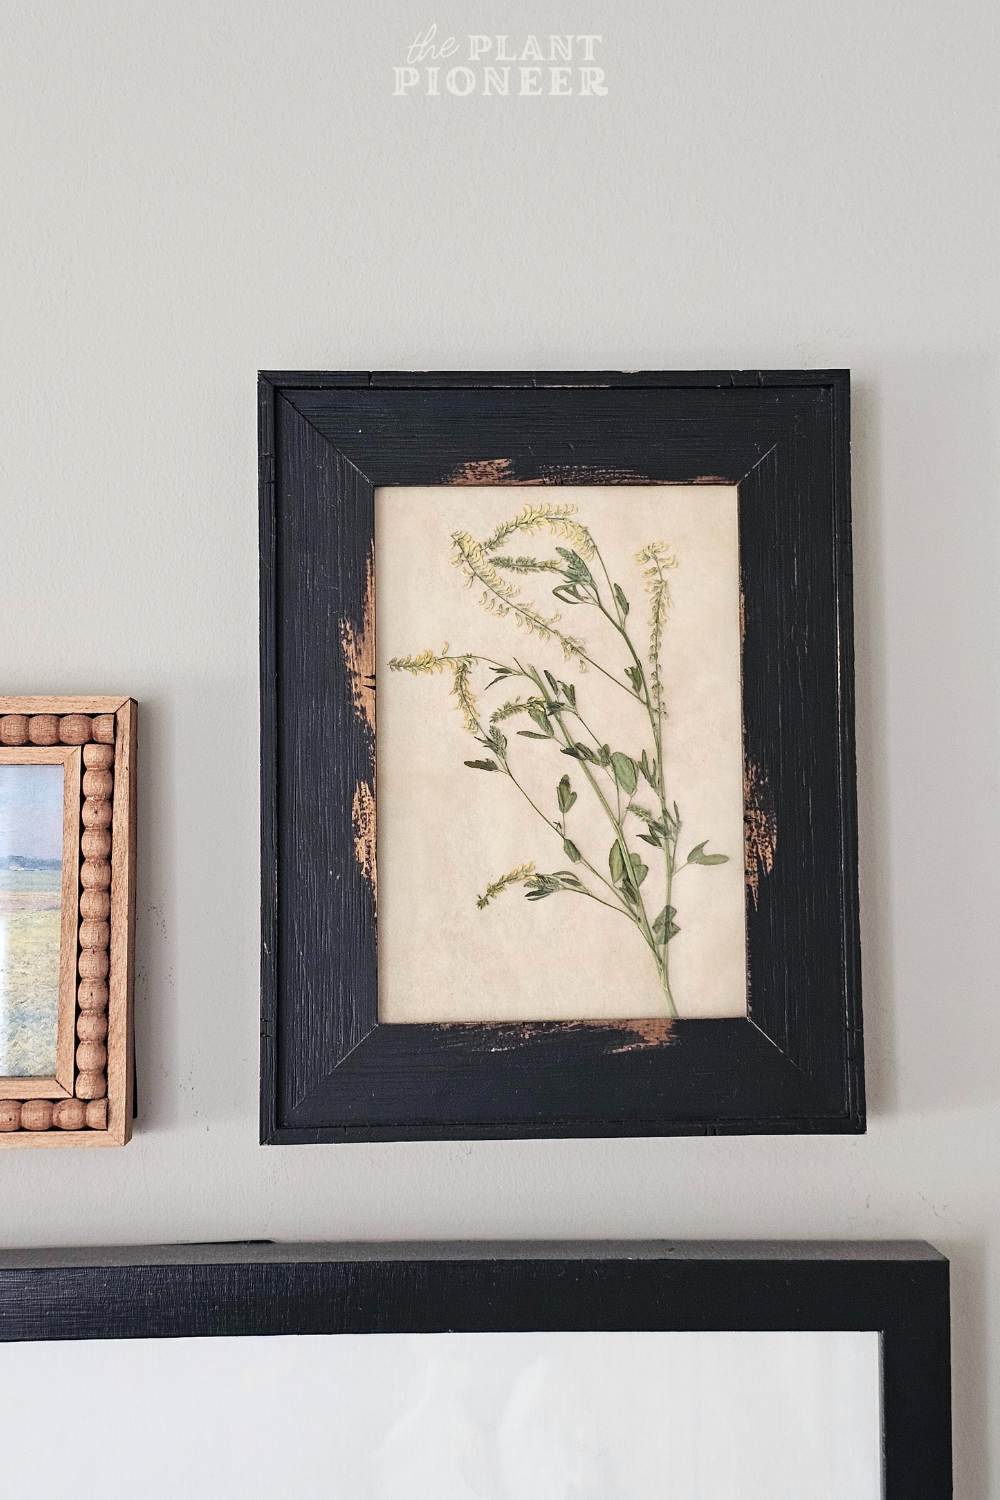
If you don’t have any fresh flowers or plants readily available to use for this, you can take plant clippings from a neighborhood park, ask a friend or family member for some clippings, or possibly ask a neighbor! If you do take some plant clippings from a wildlife area, be sure you are allowed to do so and that the plants are not endangered. A lot of “weeds” can look beautiful for pressed art too (like the yellow sweetclover shown below). You can even save a few stems from herbs that you purchased at the grocery store.
Here’s how to do it:
- Arrange your flowers and plant material in a single layer inside a folded piece of parchment paper or waxed paper. I simply cut a large piece of parchment paper then folded it in half. Add an extra layer of paper to protect your book pages if needed.
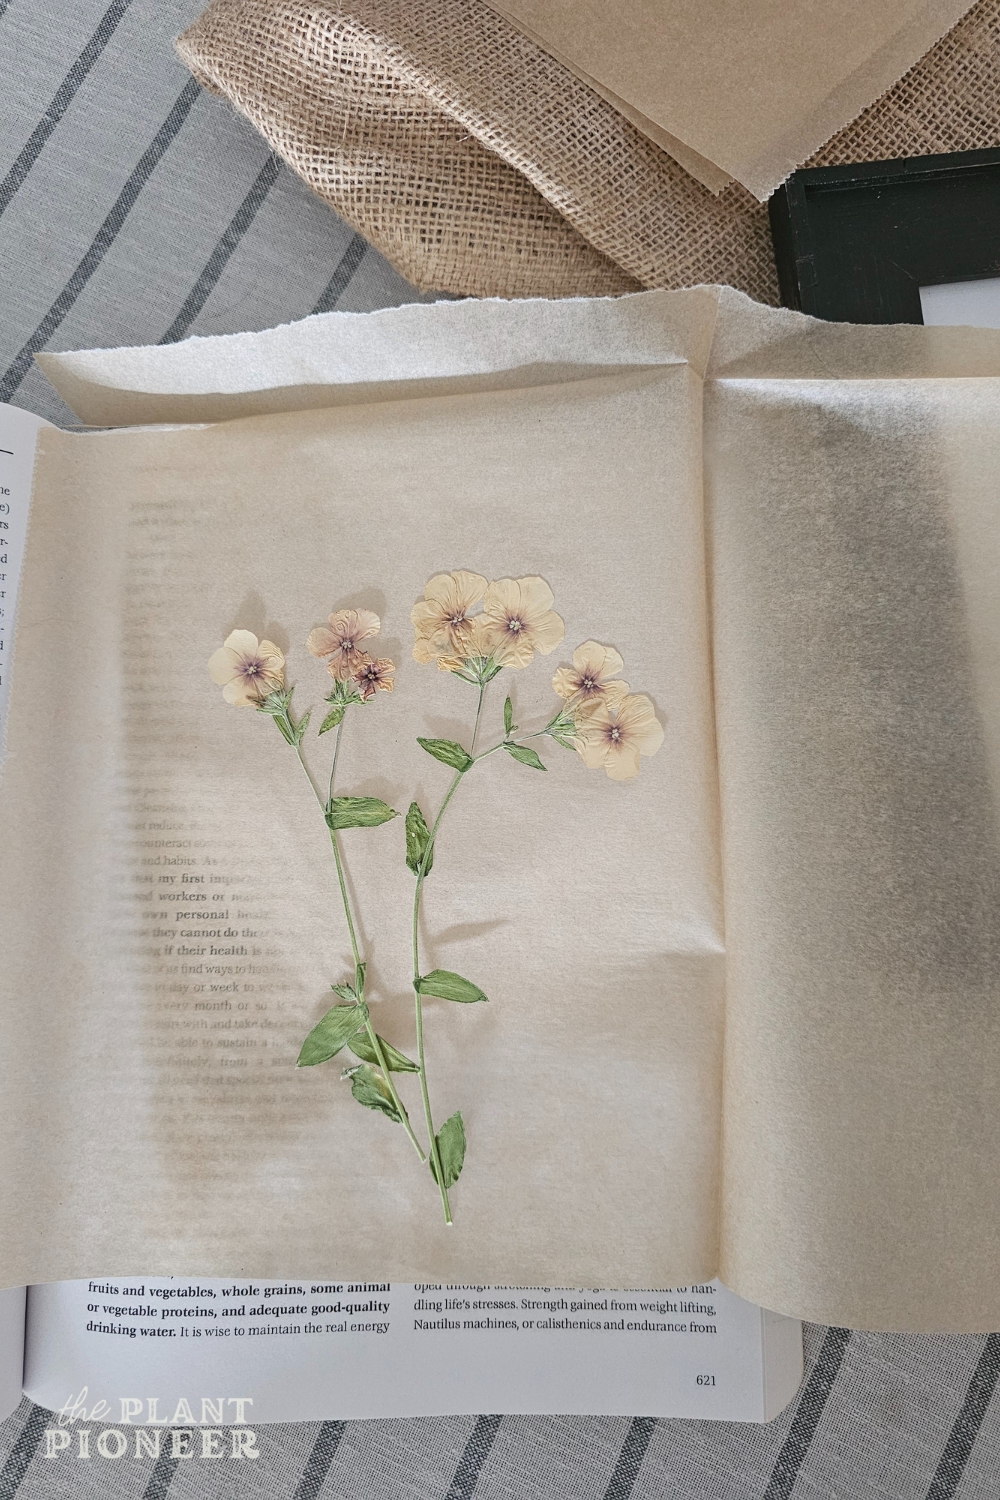
2. Place inside a heavy book, stacking additional books on top of it to create a good amount of weight for pressing.
3. Allow them to press for 2-4 weeks. Most will need about 2 weeks, but thicker flowers will need more time than thinner flowers. You can check on them after one week, but I usually like to leave them for 2 weeks just to be safe.
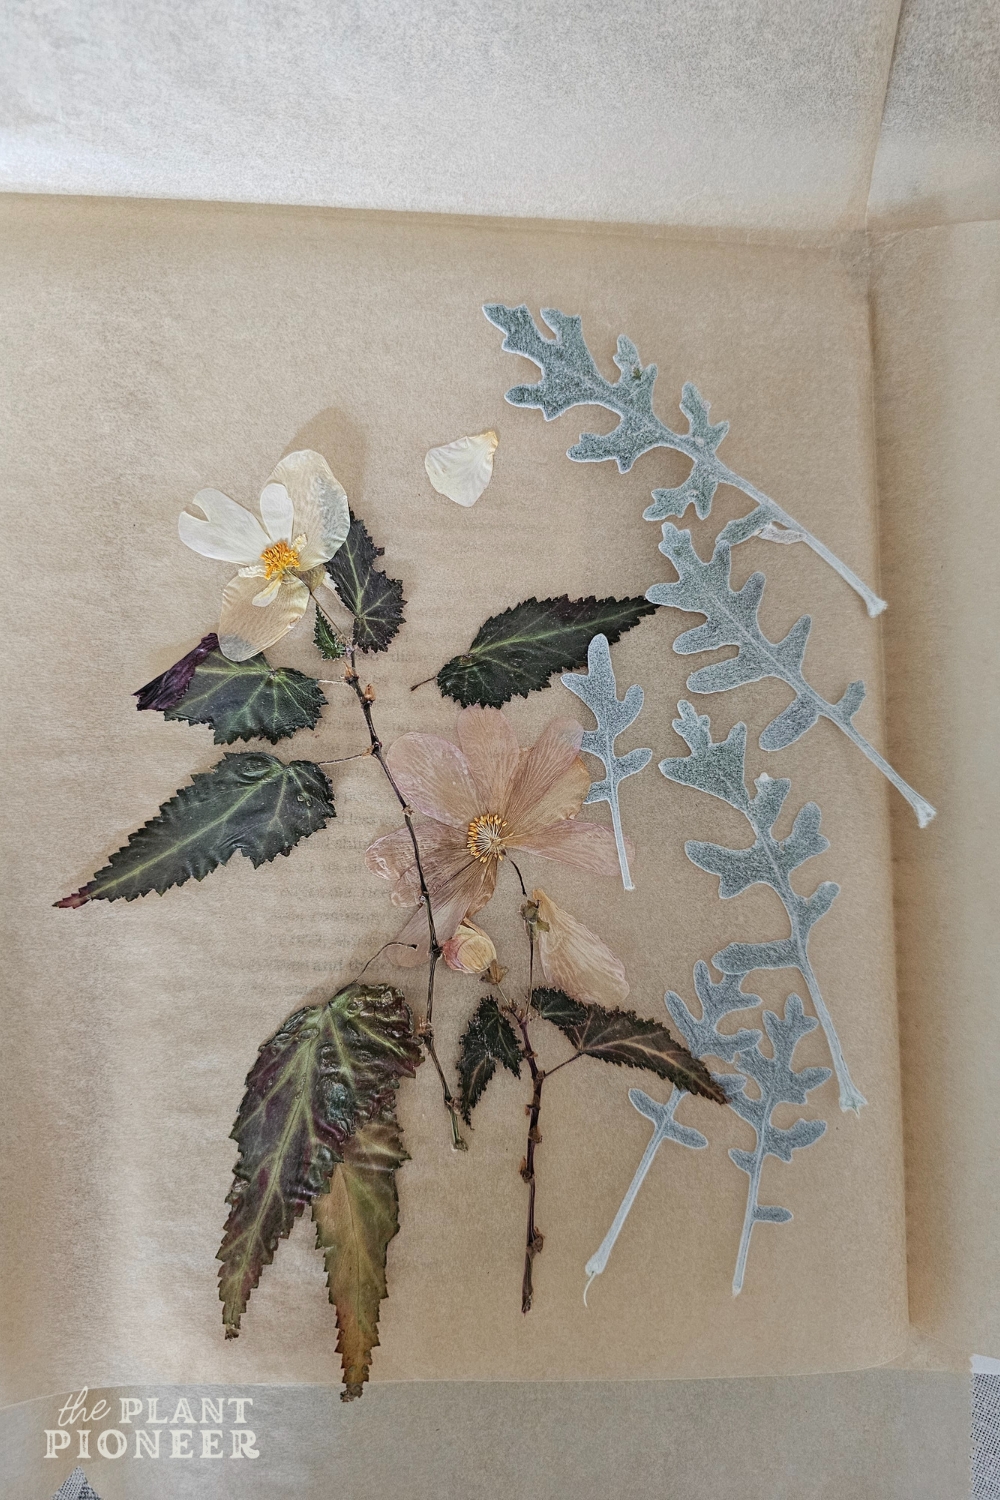
4. After they’ve finished pressing, determine how you would like the art to look by trying out different flower arrangements to get the look you like. The options are endless for this! You can do a more minimal look with one simple, pretty flower stem, or arrange a bunch of them for a more lush garden feel. You can even pull off petals and arrange them exactly how you like… Get creative!
5. To hold the flowers in place, you have a few options:
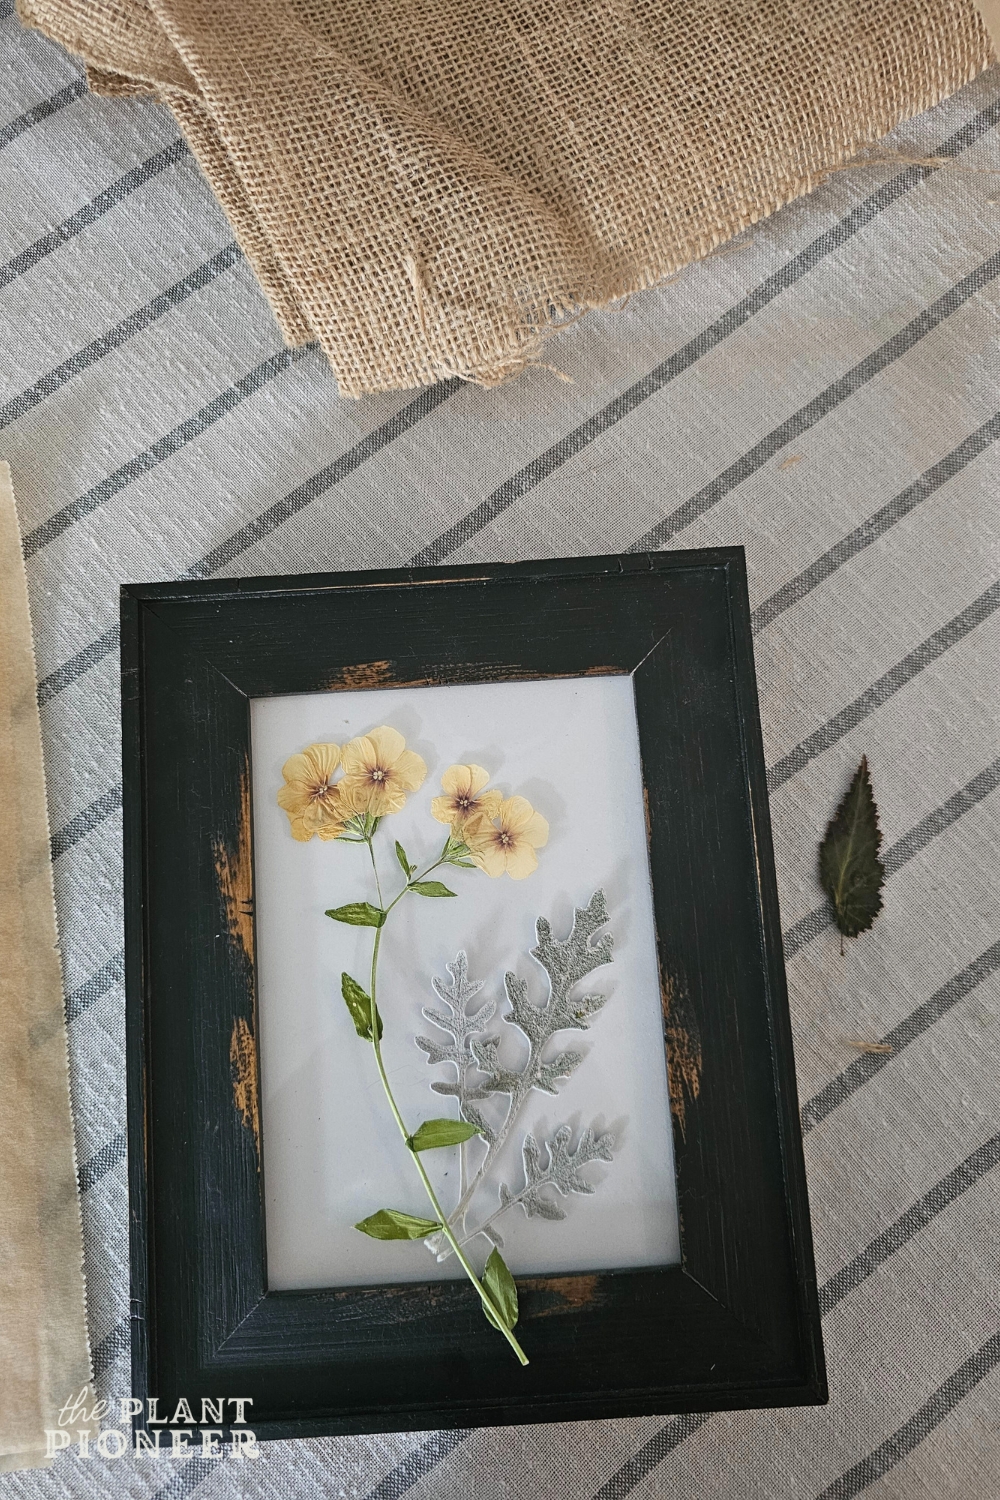
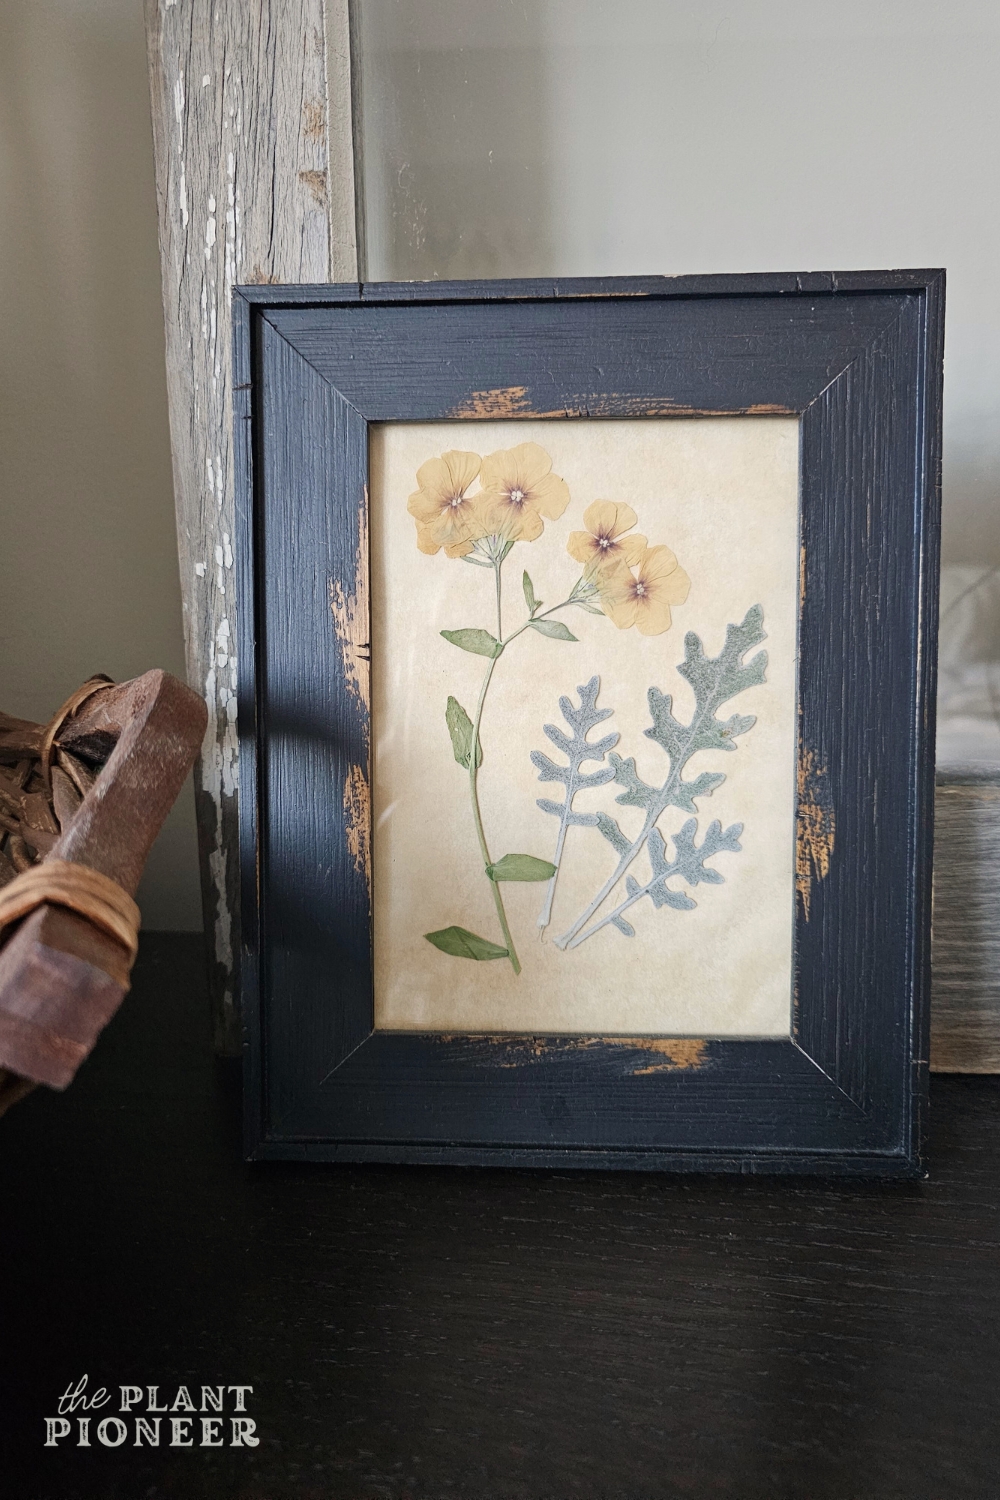
- Allow the pressure of the glass to hold them in place (this is how I did mine- works well for simple arrangements). You may need to layer in an extra piece of paper or backing in the frame in order to create more pressure inside the frame.
- Use a small piece of clear tape (works well for larger pieces of plant material).
- Or use archival glue or any glue that dries clear (simply brush a small amount onto the plant).
6. If not using any tape/glue like I did, arrange the flowers how you want on the glass by placing them front-facing side down, then gently place your piece of parchment paper on top of this, then fasten on the back of your frame. That’s it- you’re done!
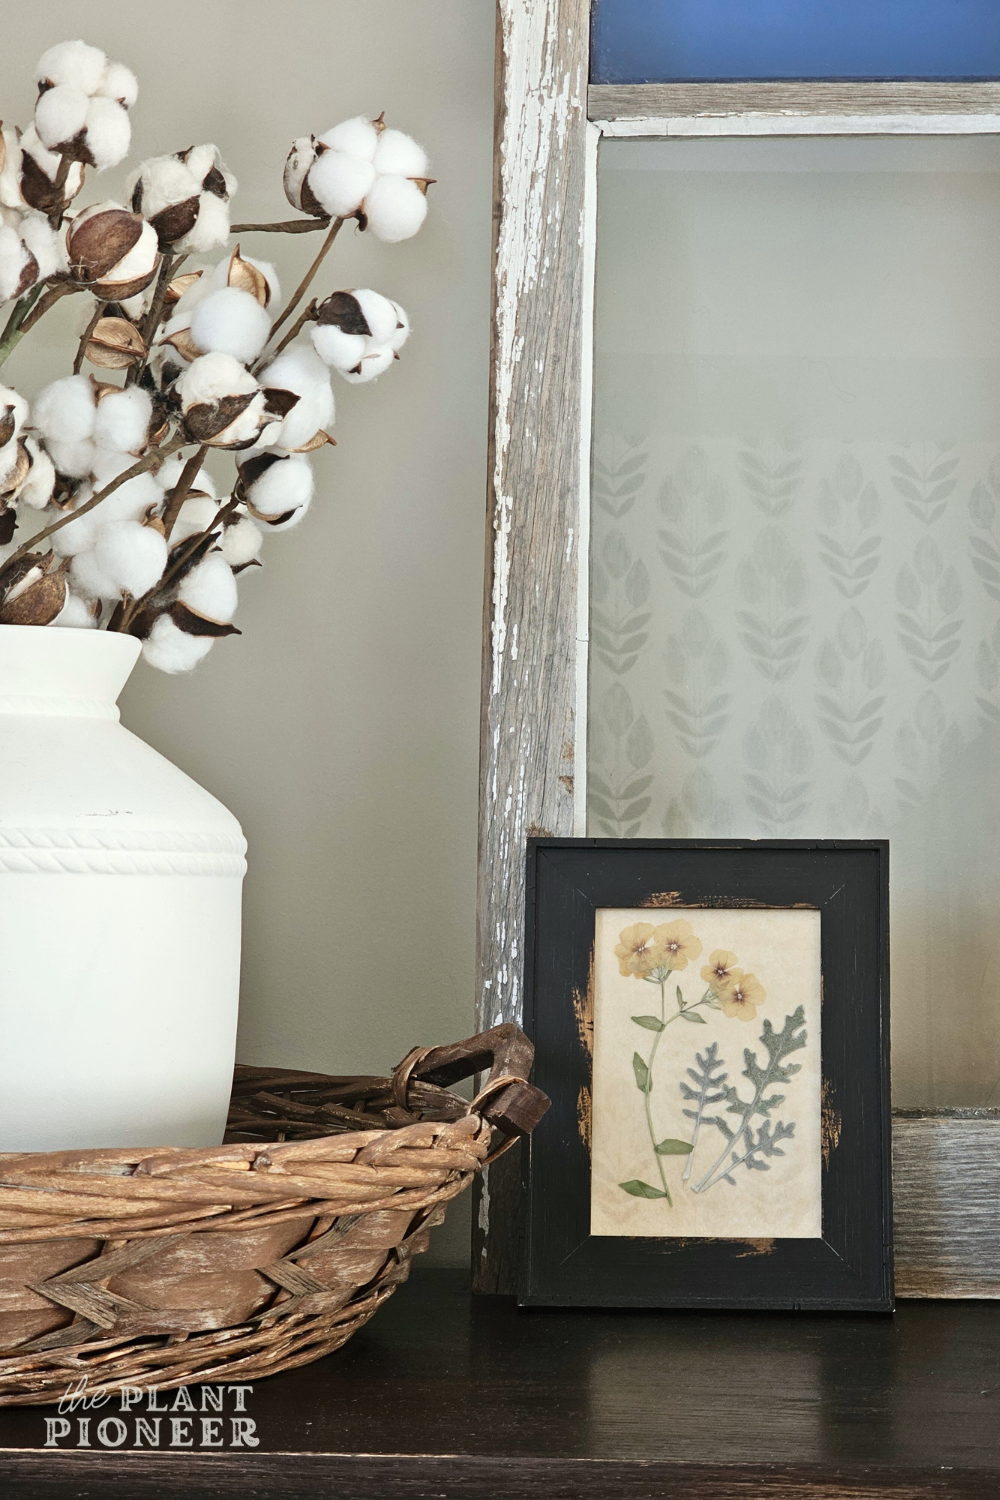
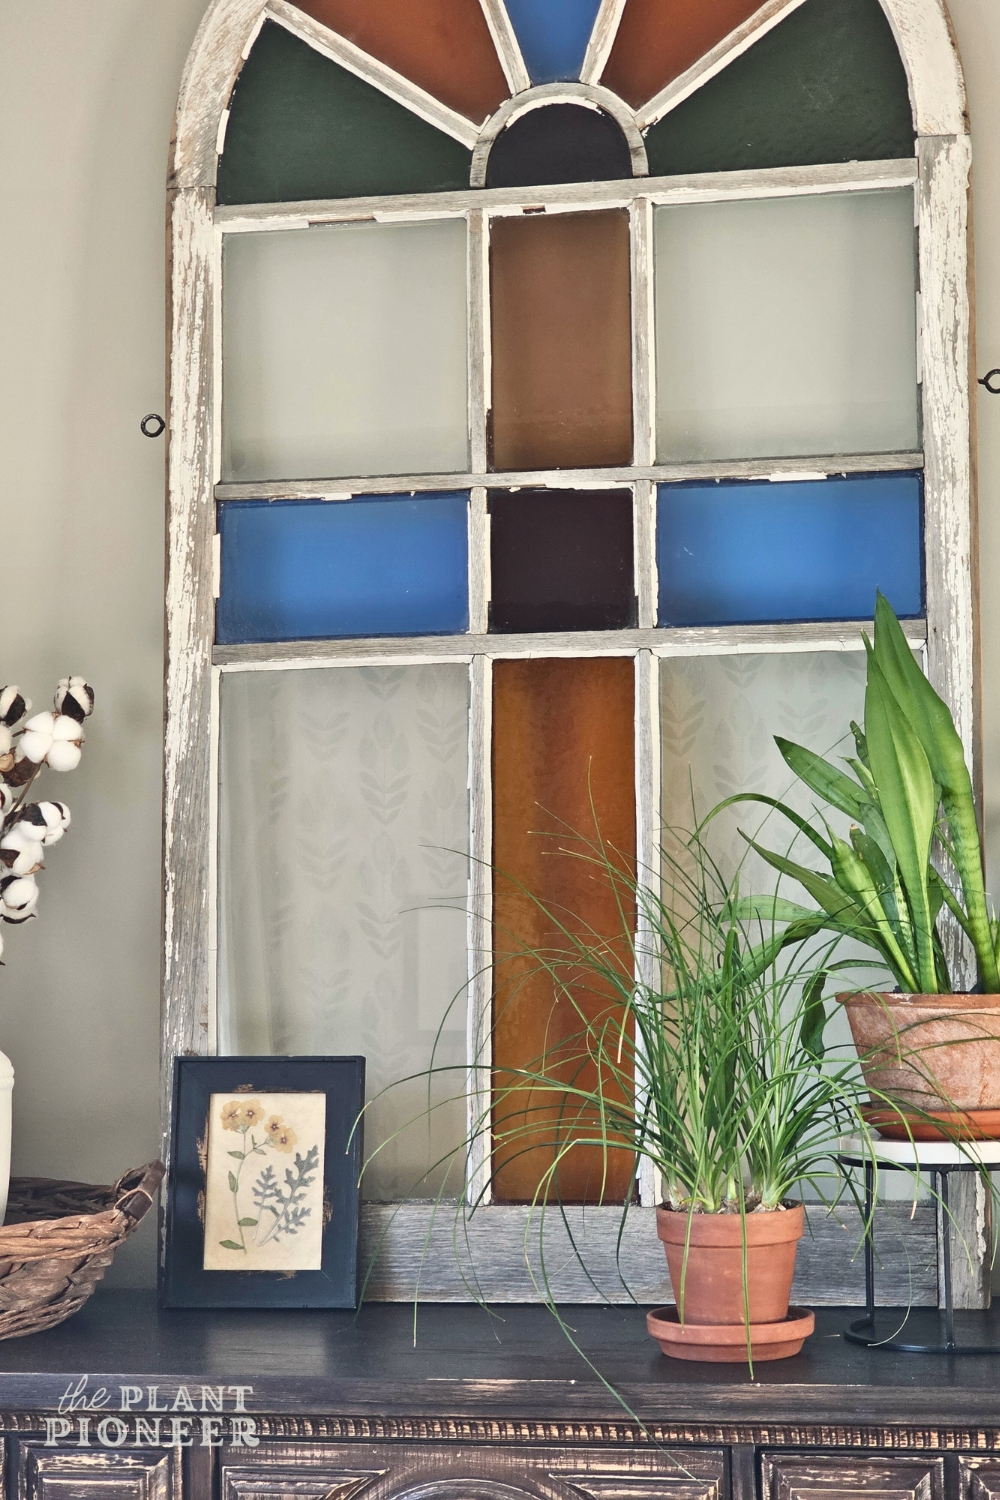
Enjoy your pressed flower art! I styled mine by layering it in front of the antique glass window on our bedroom dresser.
Later on, I changed out the flowers in the frame and hung it on the wall.
Helpful tips for the best results:
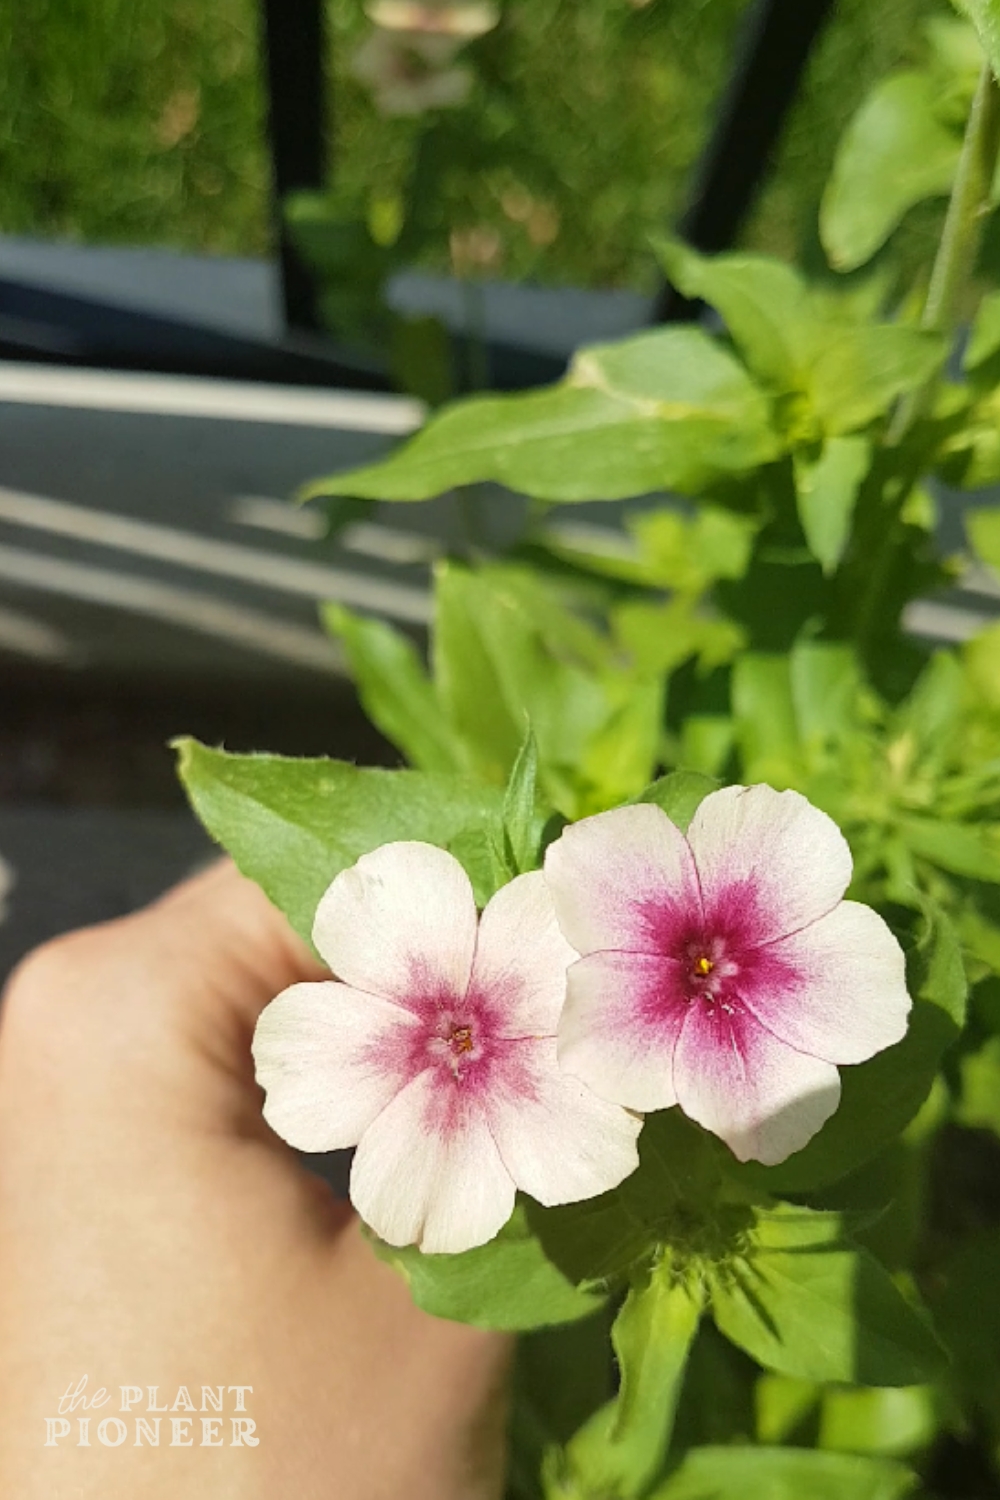
In my pressed flower art, I used phlox flowers that I grew from seed, and dusty miller stems that I had growing in my summer flower containers.
I hope this easy project has given you some inspiration on how to create some beautiful, natural artwork for free! Don’t forget to pin this post to Pinterest!


Join the List
Stay informed & receive my latest healthy living tips to your inbox.